- You are here:
- Home »
- Blog »
- Written Tutorial »
- How to Get a Smooth Look in Your Acrylic Glazes

How to Get a Smooth Look in Your Acrylic Glazes
Today, I’m going to post a mini-tutorial on how to get a smooth look with the acrylic glazing technique. Many artists struggle to overcome canvas texture, especially on a portrait–where that smoothness for skin is so important.
One of my online students wrote this question:
After following the videos two aspects I struggle with
The fine detail … I used a 0 and 1 round paintbrush but still I paint above the indentations in the canvas.
Dark colours create a matrix pattern
i.e. paint on top of indentation nothing in the holes
So fine work is a struggle.
Just wondering if I need to push the paint into the canvas as opposed to brushing?
Here’s my answer:
These are some excellent questions, and they get right into the heart of the acrylic glazing technique. I may need to touch on this more in future video lessons. You do need to push the paint in–actually “scrub” the paint into the texture of the canvas. Here’s how to do it, using a flat brush:
The Scrubbing Technique for Glazing
Step 1
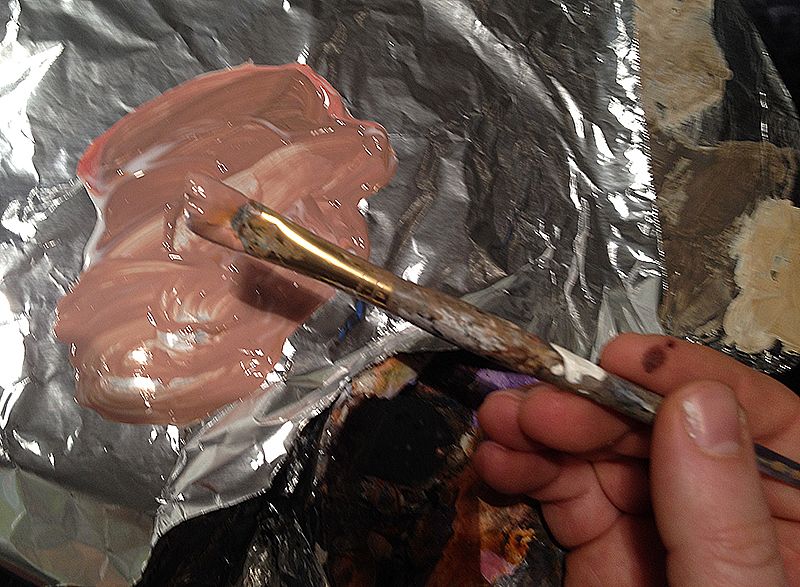
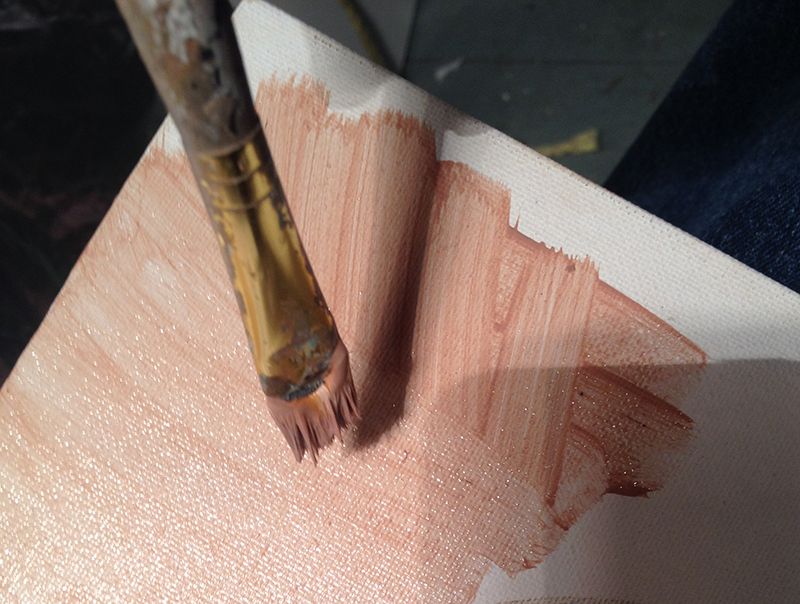
First, get a good amount of paint on the edge of your brush, almost “scooping” it from the pile of your mixture onto the edge of the bristles.
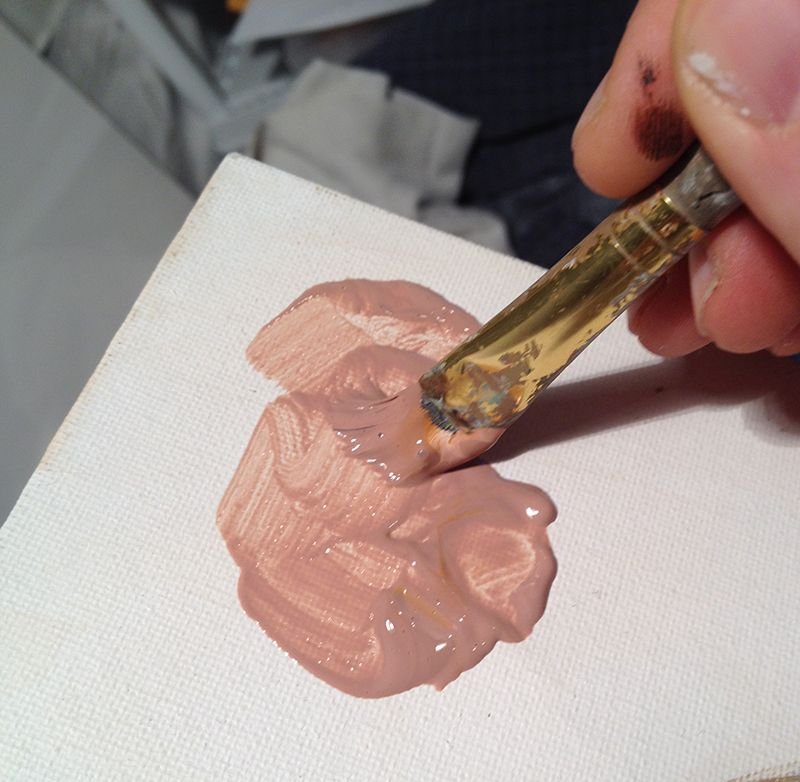
Step 2
Next, “scrub” the paint into the texture of the canvas, pushing the paint in the grooves with edge of the brush more perpendicular to the surface of the canvas, rather than parallel. You can see I’m using quite a bit of pressure to get the paint into the little holes of the canvas weave.
Step 3
Then, spread the paint out.
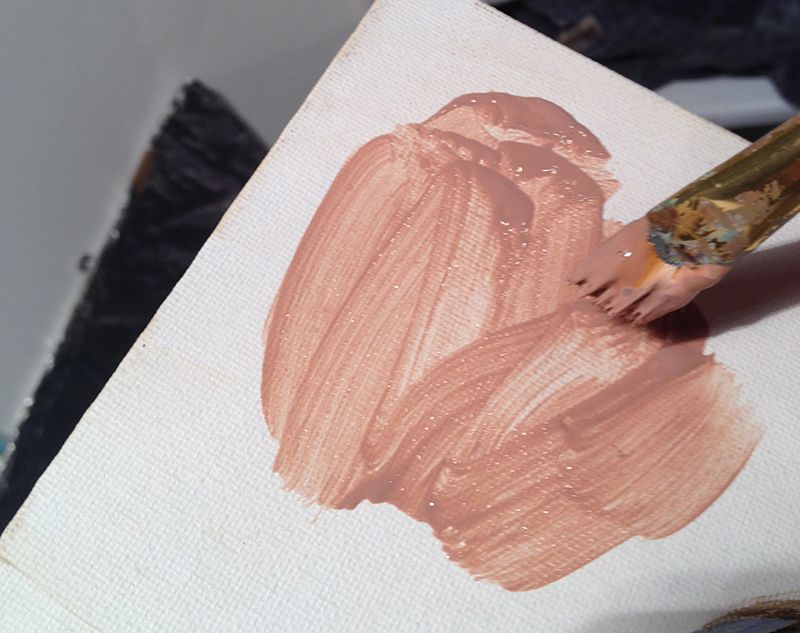
Step 4
After that, even it out with long strokes, applying lighter pressure. First use diagonal. Then go over with vertical.
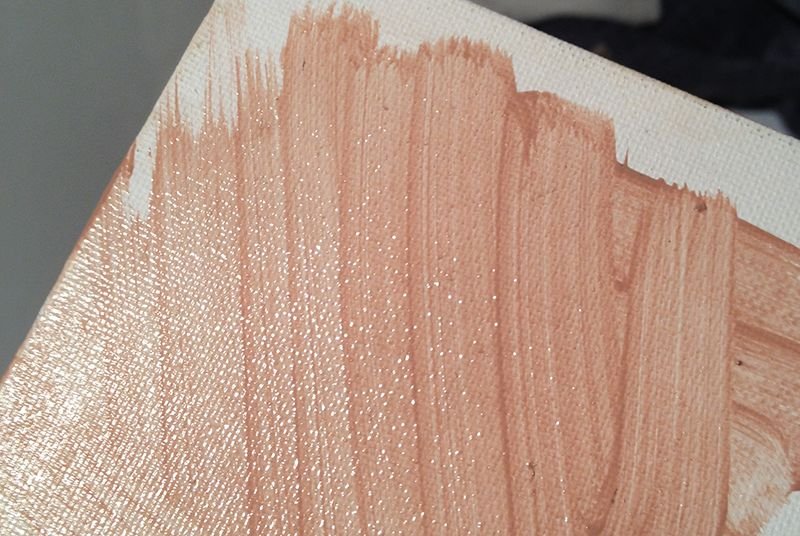
Step 5
Finally, go over the entire area again with diagonal strokes. You may need to criss-cross them to get an even blend. Use even lighter pressure for this. The trick is to just glide over the surface without digging in too far.
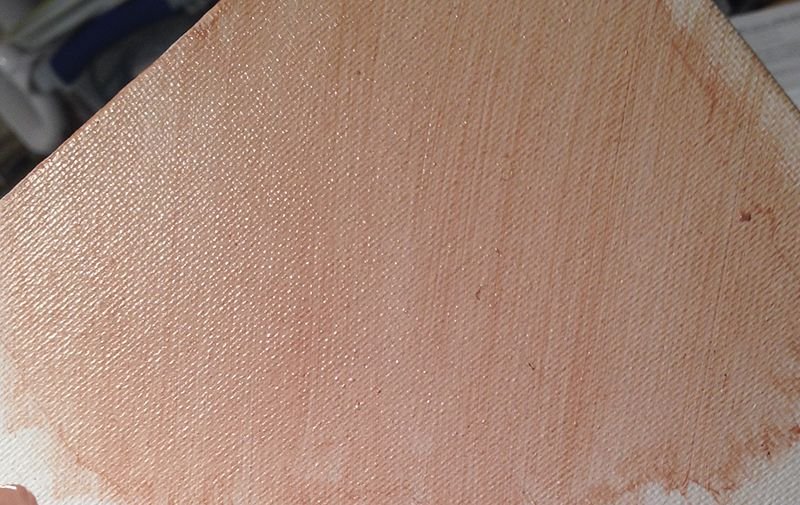
Step 6
This is how it should look when you’re done.
Finally
After this layer dries, you can apply more layers, and change the direction of the diagonal strokes to get an even smoother look.
For a small round brush, you can’t scrub or push the paint in. That would ruin your brush or at the very least, lessen your ability to paint precise detail. With that, what you need to do is thin the paint down with a mist of water from your spray bottle and make sure you’re using fresh matte medium in your mix. By keeping the paint fluid it will go into the grooves of the canvas.
However, the glazing technique works even better on a flat surface like hardboard. I love the traditional look of canvas, but sometimes I get tired of fighting the texture and get out a smooth board to work on–especially for smaller paintings.
Let me know how this helps!
Be blessed,

P.S. Did you find this post helpful or encouraging? If so, send it on ahead! Let others know with the share buttons below. I’d love to hear your comments. Thank you so much! Also, do you have a question on acrylic portrait painting you’d like answered? Let me know, and I’d be happy to help!