Archive Monthly Archives: July 2021

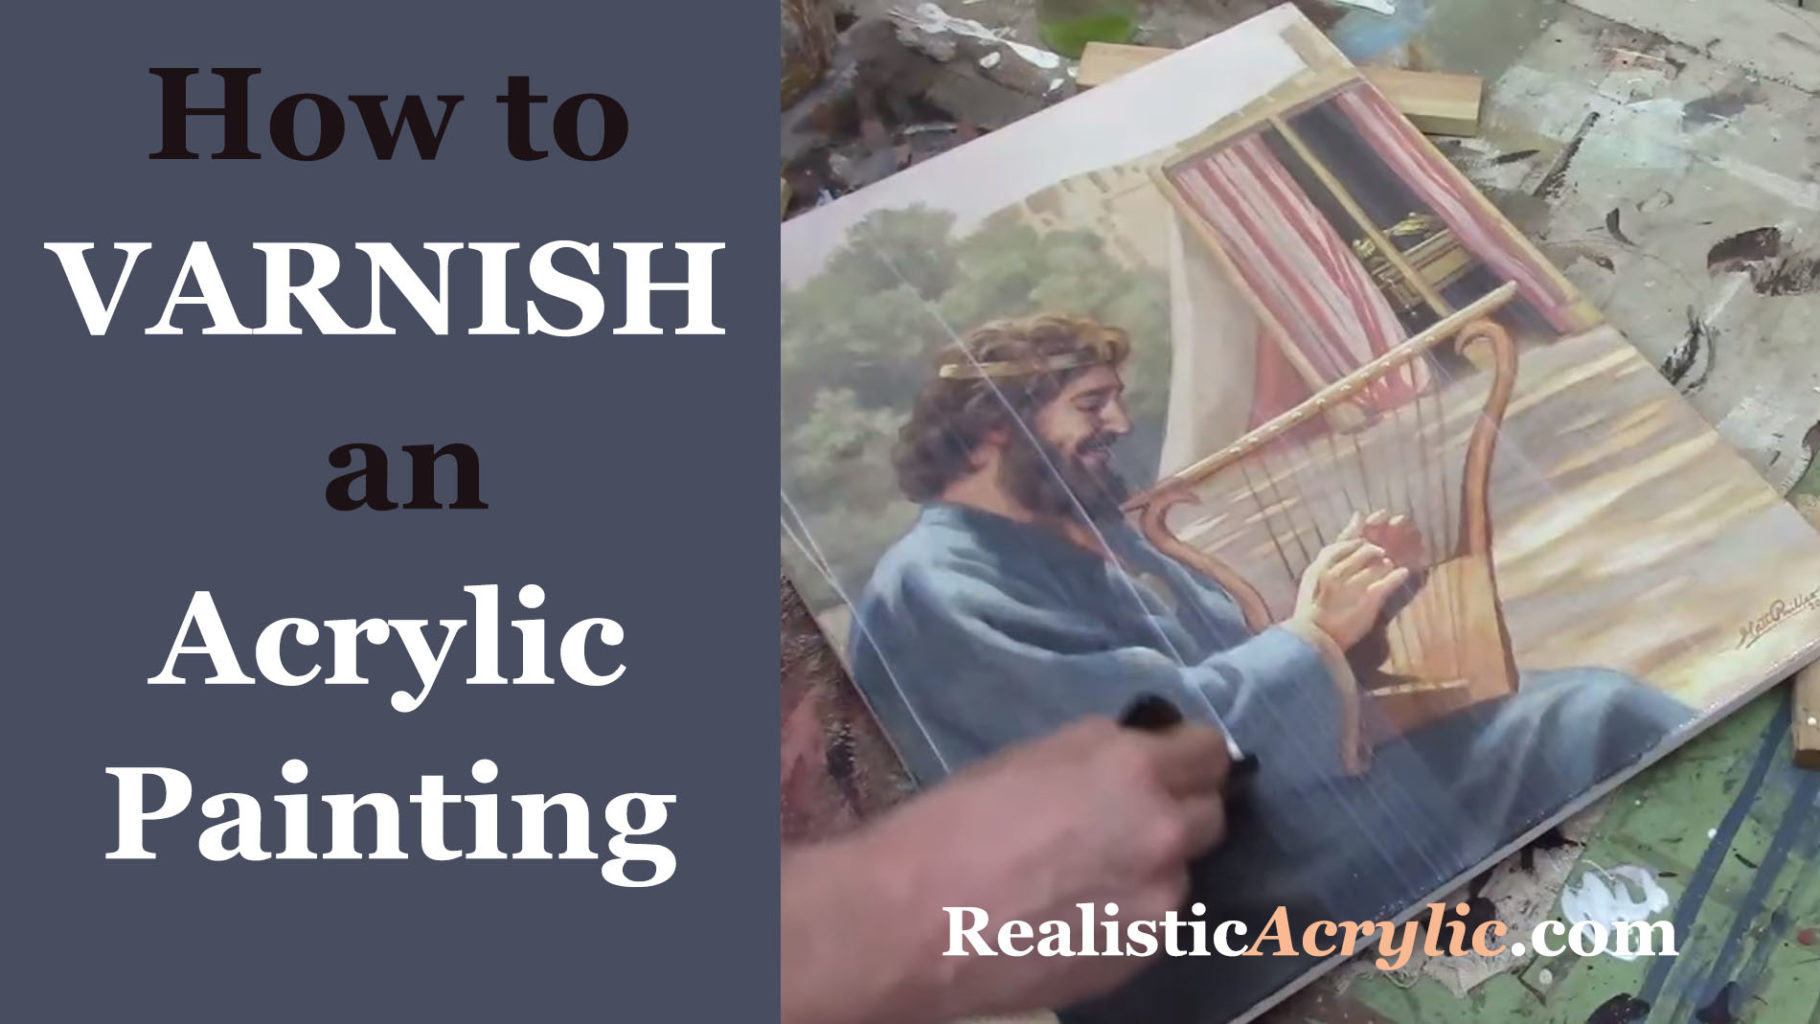
How to Varnish an Acrylic Painting in One Step
A question I get asked a lot is: how do you varnish an acrylic painting?
There’s a lot of controversy surrounding this topic, or at least, many different opinions on how to do it right.
Some say you need an isolation coat. Others say you should spray apply the varnish. And then there are some who pour it on or use a sponge!
I’m not here to dismiss any of those methods. If they work for that particular artist, more power to them.
Rather, I’d like to share with you the method I’ve been using for over 20 years as a portrait painter. It’s easy, and you can do it one step.
Let me break down this one-step acrylic varnishing method into how to actually do it…
- Lay your canvas flat on a table, oriented horizontally, but at an angle.
- Raise your canvas up, on four scraps of wood placed under each corner (make sure it’s level. 1″ x 2″s work well )
- Get your 4″ varnishing brush (Liquitex Freestyle works well)
- Pour matte varnish (Novacolor or Liquitex) into a clean yogurt container or any plastic container large enough to accommodate the width of the brush. Be sure to stir the varnish if it’s been sitting for a while! Over time the polymer resin can separate from the water in the mixture. If you don’t mix it, you may have streaks.
- “Sweep” any dust or debris off of the canvas surface with a large brush before you begin.
- Dip your brush into the varnish container, so the bristles are coated with varnish 1/3-1/2 of the way up from the tip.
- Begin brushing the varnish on the surface, starting with the end farthest from you. Brush in the longest direction of the canvas.
- Let your brush hit 1/3″ of the way from the left edge of the canvas. Apply even pressure and bring the brush all the way to the left edge.
- Bring the brush all the way to the right edge.
- Wipe any excess varnish that remains on your brush inside the top lip of your container.
- Flip the brush over and smooth out the entire first application, overlapping the edge slightly with 1-2 strokes. Do not overbrush!
- Dip your brush into the varnish container and repeat the process. Let your stroke slightly overlap the first (about 1/4″)
- You will be working your way toward your body. This will keep you from accidentally dripping onto the finished varnished surface.
- If you have any extra varnish that drips onto the side of the canvas, use a 3/4 flat brush to wipe it off. If the canvas will be framed, the side-drips are usually not a problem and can be left alone.
- Let your canvas dry flat on a table. It might look milky white in areas. Resist the temptation to brush it! If you followed my method, the varnish should dry crystal clear. It should dry completely within 3-5 hours, depending on humidity.
Disclaimer: I have used this method with great results in over 20 years of portrait painting. Your results are up to you, how you apply this method, and the humidity levels of your studio space. I cannot be held responsible for any painting that gets damaged during the varnishing process. It would be a good idea to varnish a test piece first. You can add another layer (after 3-5 hours of dry time) if you feel the first one didn’t cover as well as you’d like, but most of the time, you won’t need to.
Watch this video below to see the process in action…
Let me know if you have any questions and I look forward to teaching you more!
—Matt
Questions? Suggestions? Thoughts? Let me know, below in the comments. Please share this post with your friends!
