Category Archives for Flesh Tones
Bring Your Portrait Home with the Acrylic Glazing Technique
Create stunning portraits with the acrylic glazing technique.
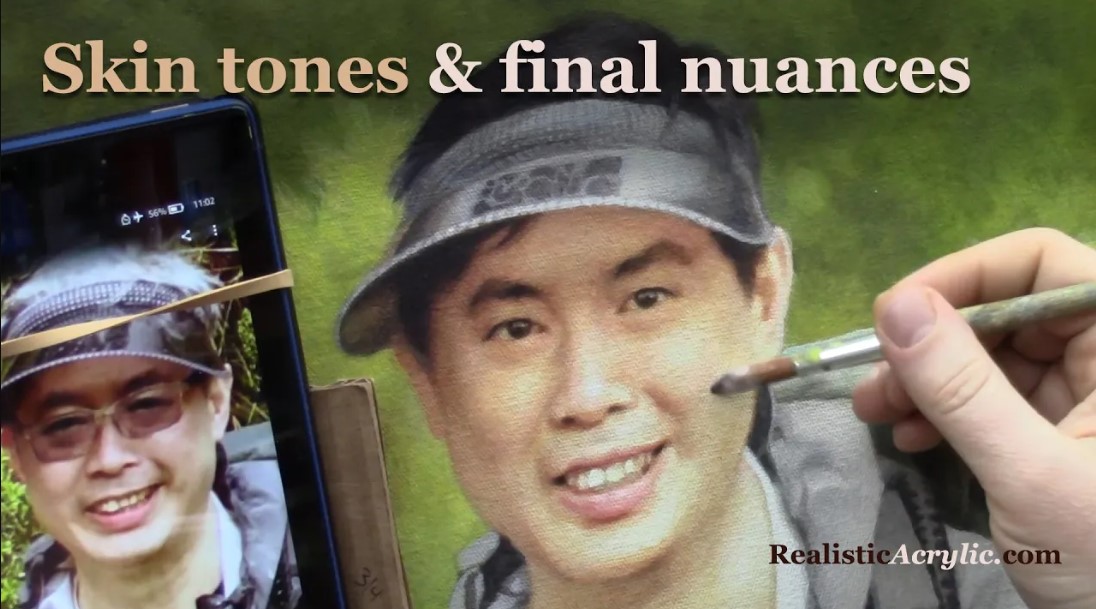
If you’ve been following my teaching for a while, you know I use the expression quite a bit: “Let’s bring your portrait home.” 🙂 I don’t know why I use the expression. I’m not even good at baseball. But anyway, there is a lot to be said about HOW we finish a portrait. And finishing it well is the reward for the several hours of work you put into it to get it to that stage.
In this video, I’ll show you how to paint those final nuances on your portrait that make it look REAL and ALIVE. You’ll be amazed at how small of a brush we use to smooth out skin tones and subtle shifts in value. I’m demonstrating a large 48″ x 72″ portrait I did several years ago.
The acrylic glazing technique (and some prayer) make this all possible. We all know how difficult it can be to blend with acrylic.
Now, with my technique, you don’t have to use oils anymore to get a smooth, blended look on your portraits. Watch the video and learn my secrets on how to “bring your portrait home!”
- Sketching Your Painting Accurately
- Beginning a Pet Portrait in Acrylic
- The Mystery of Realism in Painting
- Apply A Burnt Sienna Glaze to a Portrait
- Learn How to Sketch a Portrait Freehand in 45 Minutes
- Adding highlights to your acrylic painting
- 5 Excellent Reasons to Use Aluminum Foil
- Paint Realistic Wrinkles in Acrylic
- Painting Clothing in an Acrylic Portrait
- Paint a Cloudy Sky Acrylic
- How to add Semi-Opaque Highlights
- How to Enhance the Contrast in Your Acrylic
- How to Add Glaze to Your Acrylic Painting
- Paint Realistic Reflections on Eyeglasses in an Acrylic Portrait
- Build Up Depth on Your Acrylic Portrait Backgrounds
- How Do You Do Layers With the Glazing Technique?
- Learn How to Paint Wrinkles in Acrylic
Read more about how to paint a portrait that you can surely be proud of!
I’d love to hear your thoughts on this video. Please share it with your friends and family. Let me know if you have any further questions. I’ll greatly help you.
If you’d like to learn more, sign up for my free email tips and video class today.
Learn How to Paint Acrylic Portraits With My Free Mini-Video Course!
Thank you so much for taking the time to read this tutorial and watch the video. That means a lot to me. I hope you find it very helpful in your portrait painting.
Yours for Better Portraits,

P.S. Did you find this post helpful or encouraging? If so, send it in ahead! Let others know with the share buttons below. I’d love to hear your comments. Thank you so much! Also, do you have a question on acrylic portrait painting you’d like answered? Let me know, and I’d be happy to help!
How to Adjust Skin Tones on a Hardboard Portrait
Achieve your ideal skin tone when creating portraits on a hardboard.
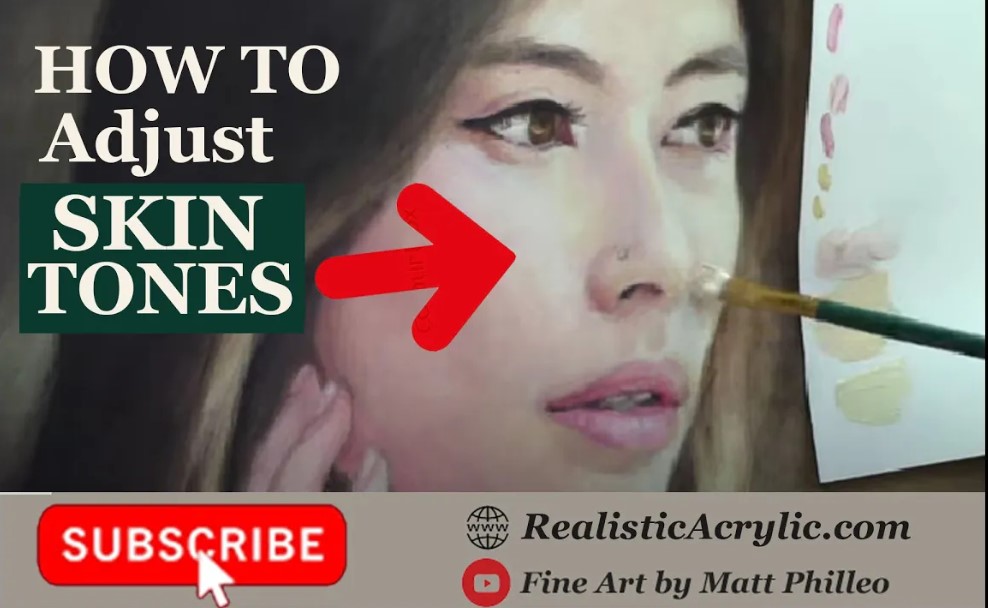
We’re going back in time to the portrait of “Jess” that I did for the 2021 Portrait Challenge. In this video lesson, I’ll show you how to adjust skin tones. Specifically, we’re looking at those difficult areas like the nose and skin around the eyes. It’s hard to get the right tint, especially in highlights. But I will break it down for you, step-by-step, showing you a portion of the finishing process.
To learn more watch my free video tutorial on how to adjust skin tones on a hardboard.
- Sketching Your Painting Accurately
- Beginning a Pet Portrait in Acrylic
- The Mystery of Realism in Painting
- Apply A Burnt Sienna Glaze to a Portrait
- Learn How to Sketch a Portrait Freehand in 45 Minutes
- Adding highlights to your acrylic painting
- 5 Excellent Reasons to Use Aluminum Foil
- Paint Realistic Wrinkles in Acrylic
- Painting Clothing in an Acrylic Portrait
- Paint a Cloudy Sky Acrylic
- How to add Semi-Opaque Highlights
- How to Enhance the Contrast in Your Acrylic
- How to Add Glaze to Your Acrylic Painting
- Paint Realistic Reflections on Eyeglasses in an Acrylic Portrait
- Build Up Depth on Your Acrylic Portrait Backgrounds
- How Do You Do Layers With the Glazing Technique?
- Learn How to Paint Wrinkles in Acrylic
Read more about how to paint a portrait that you can surely be proud of!
I’d love to hear your thoughts on this video. Please share it with your friends and family. Let me know if you have any further questions. I’ll greatly help you.
If you’d like to learn more, sign up for my free email tips and video class today.
Learn How to Paint Acrylic Portraits With My Free Mini-Video Course!
Thank you so much for taking the time to read this tutorial and watch the video. That means a lot to me. I hope you find it very helpful in your portrait painting.
Yours for Better Portraits,

P.S. Did you find this post helpful or encouraging? If so, send it on ahead! Let others know with the share buttons below. I’d love to hear your comments. Thank you so much! Also, do you have a question on acrylic portrait painting you’d like answered? Let me know, and I’d be happy to help!
How to Paint Beard Hair Easily in Your Acrylic Portrait
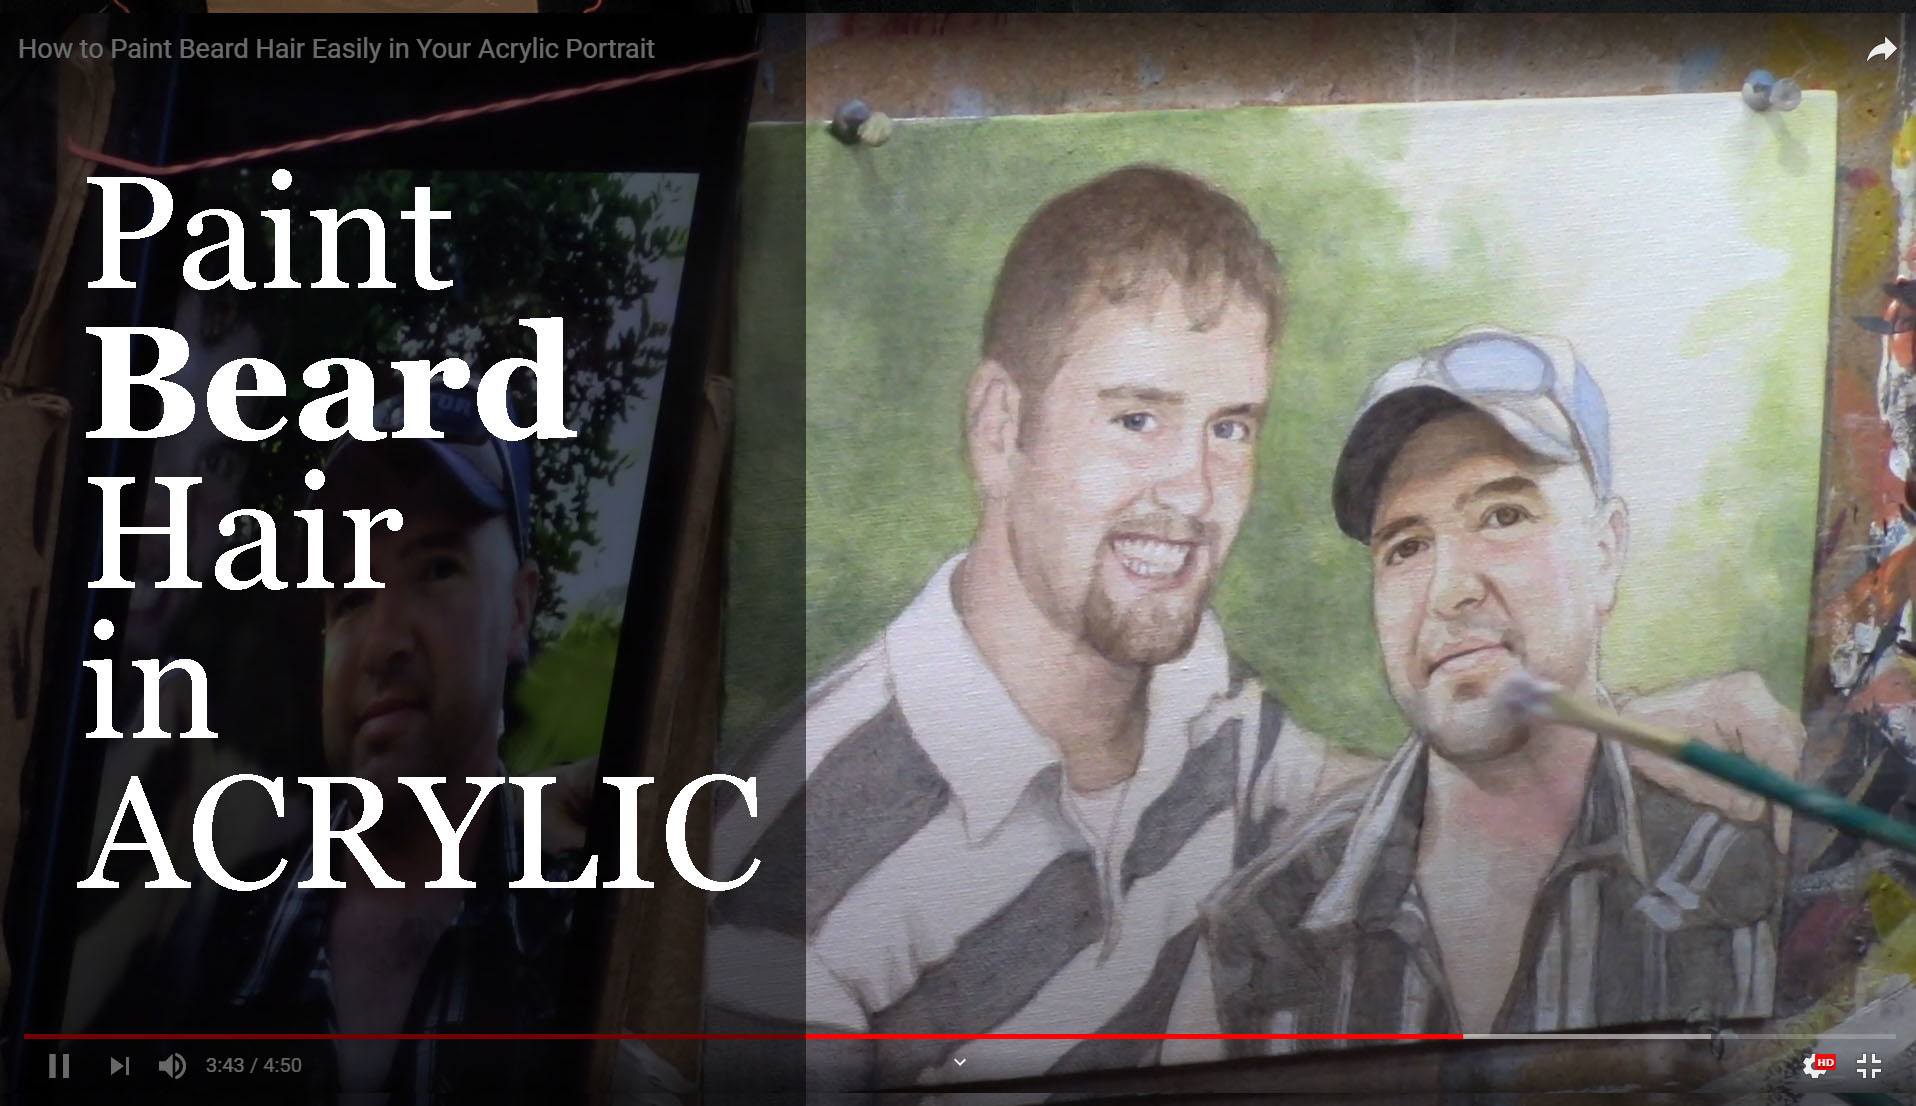
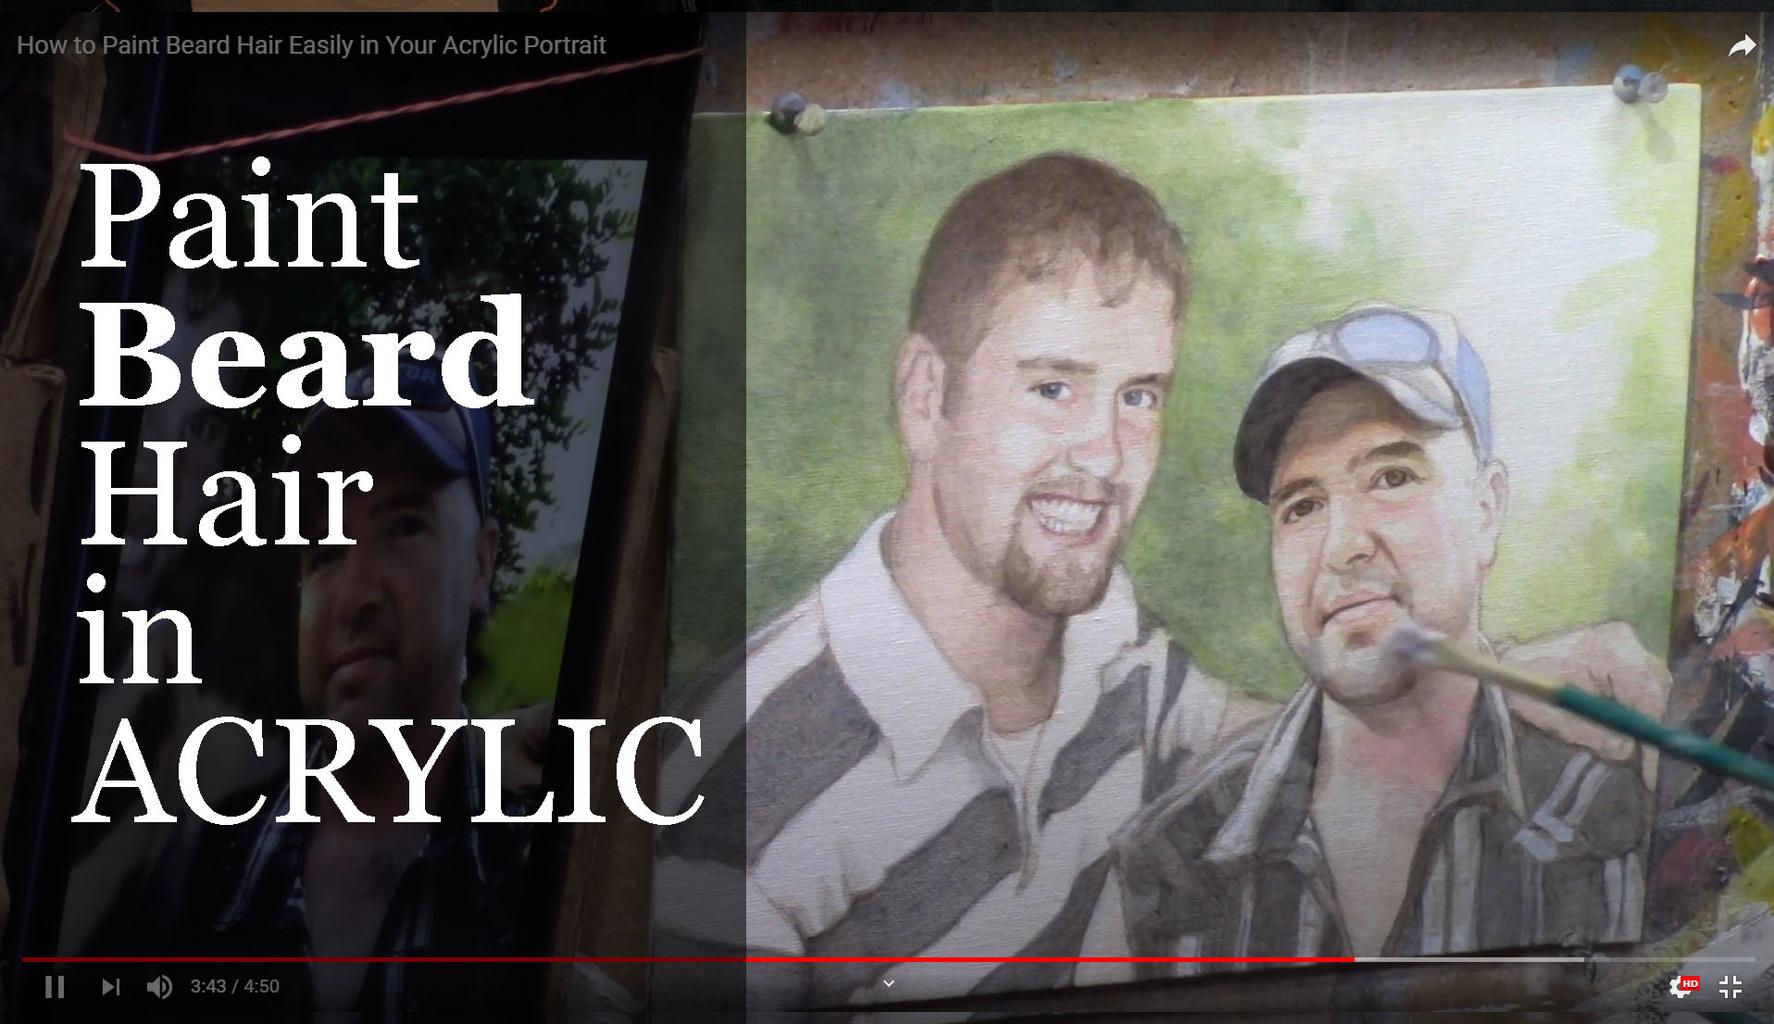
Painting beard hair, facial hair or stubble in your acrylic portrait doesn’t necessarily need tons of detail to make it look realistic.
Let me show you how to paint a “5 o’clock shadow” quickly and effectively by the proper placement of color and value.
Watch my free video tutorial and I’ll show you how…
Let me know how this video has helped!
Yours for Better Portraits,
![]()
If you found this post helpful or encouraging, would you send it on ahead? Let others know with the share buttons below. I’d love to hear your comments. Thank you so much!
[PORTRAIT CHALLENGE] Masterclass Lesson #8: Finishing Your Portrait Well
The Acrylic Portrait Painting Challenge Masterclass, Lesson #8, is out!
This is our FINAL lesson together.
It’s kind of sad to see the challenge drawing to a close. As I write this, it’s been an entire month since I started this challenge on April 6, 2020.
My goal was to create a way for artists to overcome the challenges of being in COVID-19 lockdown, create something beautiful with their time, and grow their skills as artists.
Many, many have risen to the challenge and done exactly that. If you’re reading this, and you’ve taken the challenge; you’ve gone through steps 1-7, I’m so proud of you! It’s not easy to paint a realistic portrait in acrylic, let alone during a quarantine. But you did it! And you’ve encouraged many others along the way.
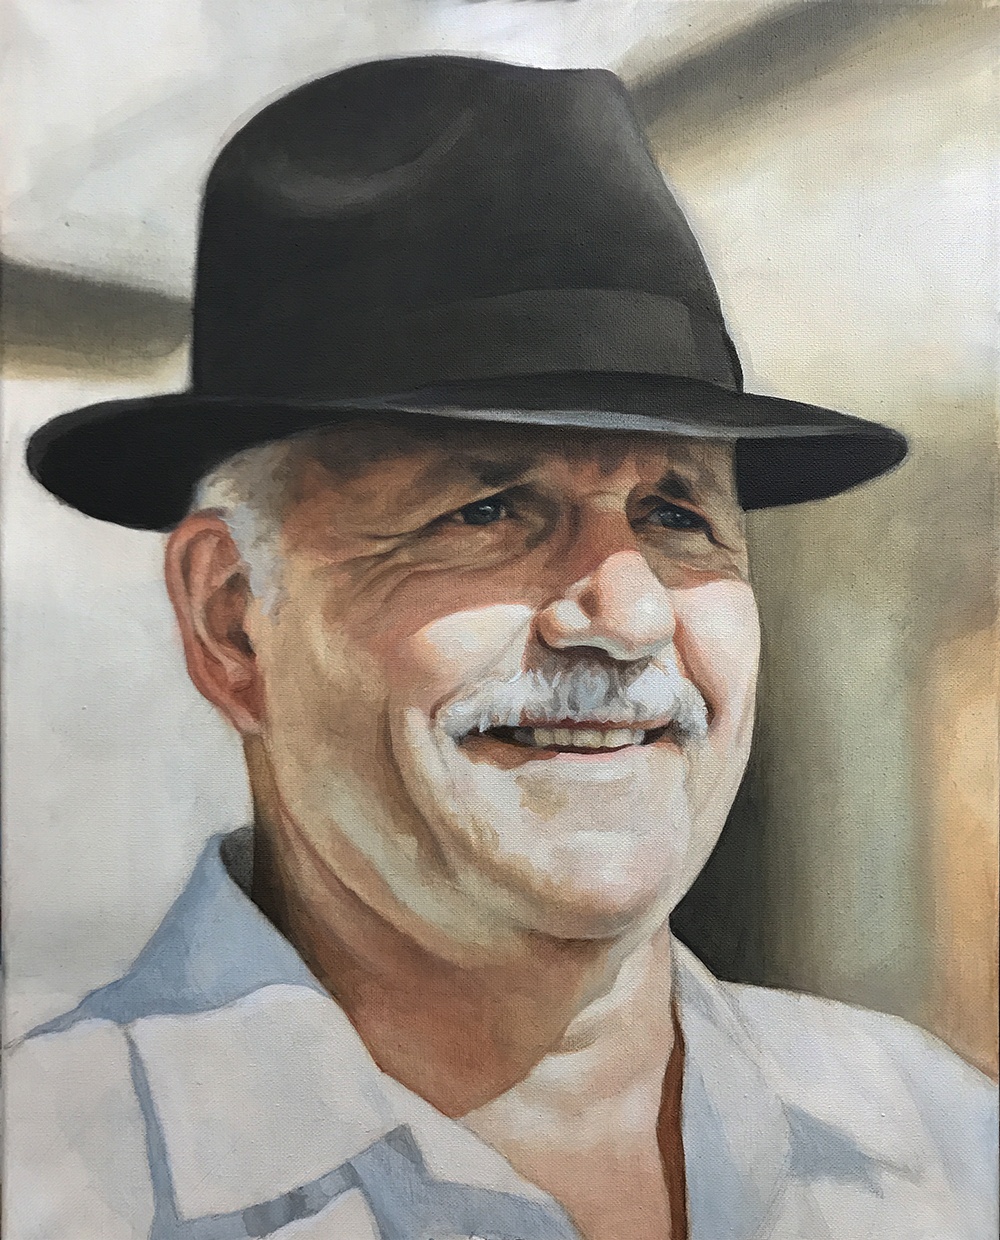
Acrylic Portrait Painting Challenge example portrait 16 x 20 acrylic on canvas, ©2020 by Matt Philleo
Because of that, you are a better artist, and have grown in character as a human being.
Your portrait —hopefully—is nearly done. What next? How do we “bring it home”, so to speak?
Let me show you, below!
Six Steps to Finishing Your Portrait Well
STEP ONE: Double-check the tonal values. Use my Value Checker tool for that.
STEP TWO: Double-check and add more detail to the eyes.
STEP THREE: Add vibrance to areas where certain shadows and highlights meet
STEP FOUR: Refine the shadows
STEP FIVE: Redefine the edges of your subject and objects
STEP SIX: Paint pin-point highlights on the face
When is the painting done?
Watch the video to find out…
[PORTRAIT CHALLENGE] Masterclass Lesson #8: Finishing Your Portrait Well
Is it too late to join the challenge? No, not at all. This challenge is meant to be ongoing—something you can do at your own pace. The lessons are free and they aren’t going anywhere.
If not, register below for FREE and I’ll send you:
- a downloadable/ printable”Welcome Kit” with a Supplies List and a Palette Color Layout Guide.
- high-resolution images of the photo we’ll be painting from for this challenge.
- each new lesson that comes out in this Masterclass series.
- a link to my private Facebook group, where you can do this challenge with other artists, get feedback and help on your portrait, and not feel alone.
REGISTER TODAY. It’s not too late to enter!
Register for the Challenge!
Where do we go from here?
I am so happy that you have done this challenge with me and hundreds of other artists. I give you a virtual high-five for the effort and dedication you have put in.
First, I give God the glory and thanks for entrusting all of us a talent to use. Next, I thank you and the other artists for taking your time and investing it into yourself as an artist and into others’ lives to encourage them.
You’ve left great comments for each other and your building skills to be able to paint a portrait you can take pleasure in and others can too.
This is what art is about. It transcends a piece of cotton canvas stretched on a wood frame, with plastic polymer resin on it. In the hands of a skilled painter, it becomes something beautiful that can last forever.
When we touch lives, bring hope and encouragement both in the creation and in the giving or selling of the art, we are doing something that has the potential to last for eternity!
So what we all have done in this group, by God’s grace, is amazing. And I believe it is just the start! 🙂
If you would like to work with me more closely, so I can personally help you become the portrait artist you’d like to be, be sure to watch my invitation at the end of the video. Whatever you decide, thank you so much for taking part in this challenge and may God richly bless your talent, and multiply it many times over!
Yours for Better Portraits,
![]()
If you found this post helpful or encouraging, would you send it on ahead? Let others know with the share buttons below. I’d love to hear your comments. Thank you so much!
Let me know if you have any questions about the challenge that I didn’t answer. Leave your question in the comments below and I’ll get back to you!
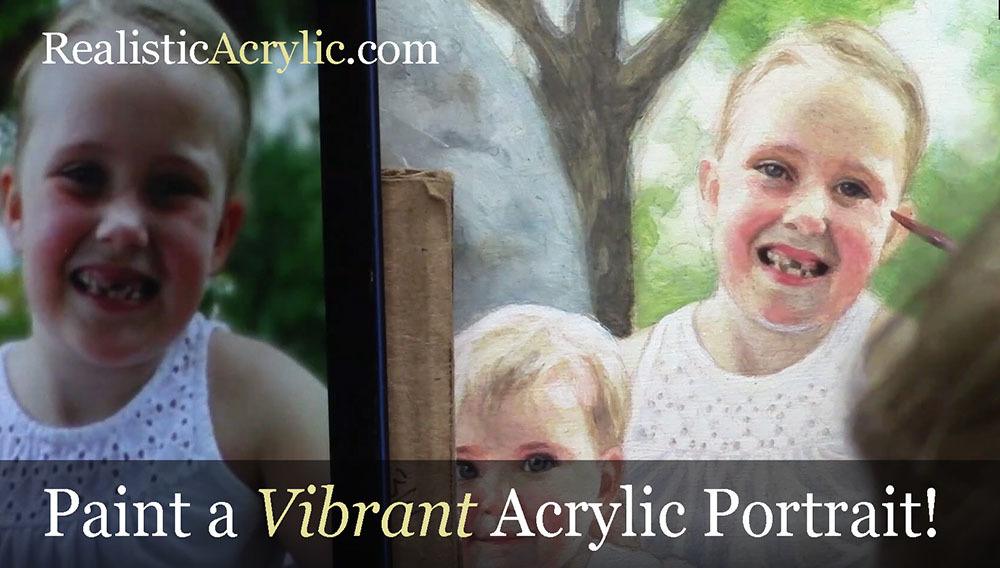
Step-by-Step Journey of Painting a Vibrant Acrylic Portrait
How do you paint an acrylic portrait that looks alive?
In this video, I share how I painted an 11″ x 14″ portrait of three beautiful children, using the classical glazing technique.
This is not a time-lapse video, but rather real-time snippets of my studio process, step-by-step, with explanations of what I’m doing. I share all the tips I can within about 20 minutes so that you can learn to paint an amazing acrylic portrait that you can give as a gift or even do for a living!
This tutorial shows the entire process of painting a portrait. Here are the steps I show in this tutorial:
- Sketch the portrait.
- Seal in the sketch.
- Block in the initial values
- Develop contrast, depth, and skin tones
- Add final nuances, details and finish.
Watch the video below and happy painting! 🙂
Of course, I always love to hear from you. Please let me know how this video helps.
Also, do you have a question about your portrait that I could answer for you? Let me know in the comments below!
Yours for Better Portraits,
![]()
If you found this post helpful or encouraging, would you send it on ahead? Let others know with the share buttons below. I’d love to hear your comments. Thank you so much!
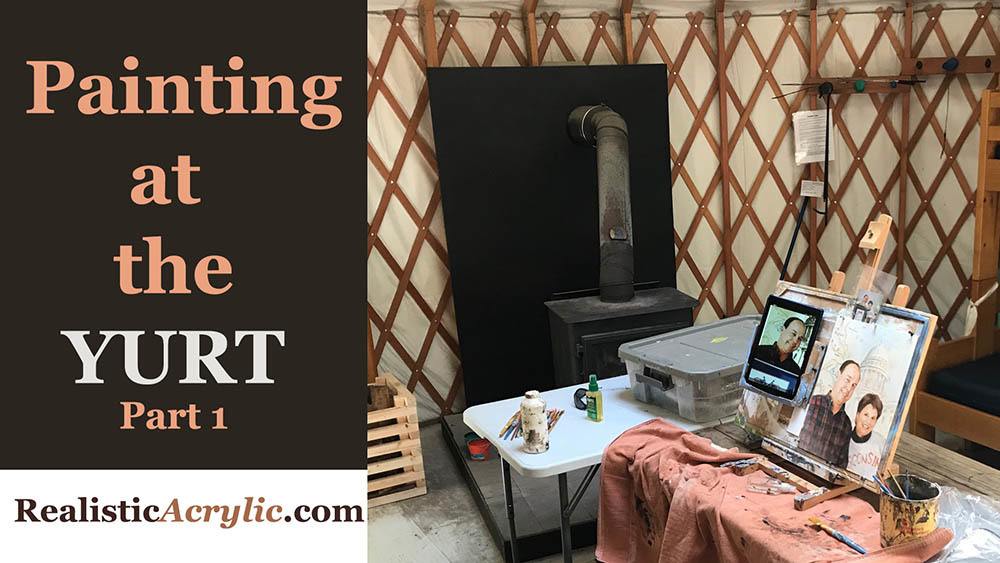
Portrait Painting of a Veteran at the Yurt
Is it possible to do portrait painting while you’re away from your home, your usual studio area?
This was something I’ve always wanted to do: create art while camping. And for all the years I’ve gone camping, I’ve never been able to successfully do it.
But finally, at the end of June, my brother and I decided to go camping at a rustic yurt up in Cable, WI. Where is that? Let’s just say, it’s “way up north.” 🙂 And what is a yurt? It’s a round tent-like house, a permanent structure made of lattice wood, bound together with steel cable, and covered with fabric. We rented it through Airbnb for two days.
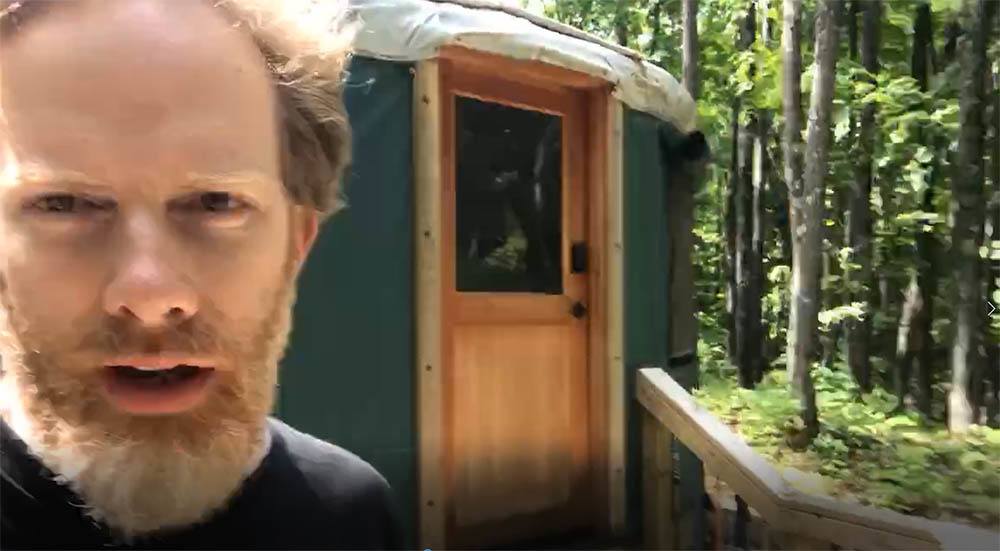
Acrylic portrait artist Matt Philleo ready to paint at a yurt in Cable, Wisconsin
We parked at the bottom of the hill and carried our gear up about a mile. We realized how out of shape we were! I also had my painting supplies: easel, palette, and brushes with me. In the middle of hiking and cooking, we decided to both do a little work: my brother wrote (he’s an author) and I painted.
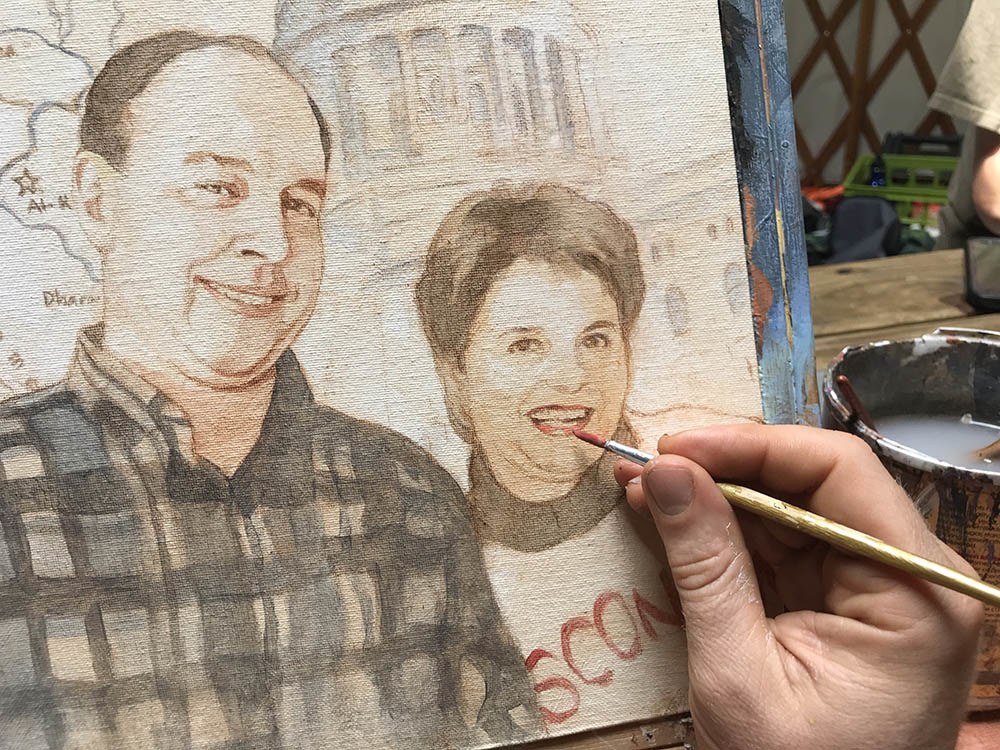
Painting an acrylic portrait from photo inside a yurt while camping, 11 x 14 acrylic on canvas ©2019 by Eau Claire area portrait artist Matt Philleo
I know. You’re probably thinking I should have painted the scenery up there, and yes, it was beautiful. But I had a commissioned portrait from a photo to get done: a painting of a veteran that served in the gulf war. And I love painting people, so it hardly seemed like work.
After bacon, eggs, and oatmeal for breakfast, it was time for painting.
Here is a video showing the beginning part of the process. In this video, I am basically blocking in the values with just raw umber dark and ultramarine blue. Of course, it’s all thinned out and made translucent with matte medium.
And then, here’s the next video in the process. Here I’m adding some color with burnt sienna, alizarine crimson and a few other colors. We’re starting to build up some skin tones. Also working on the flannel shirt. It takes a lot of layers to get it dark enough to look realistic!
After lunch, we hiked, and then came back and did more work: refining the shadows and making sure the likeness is accurate.
Sometimes your sketch just won’t cut it. It will get you about 80% of the way there, and you do the remaining 20% with paint. As you apply the paint, you can change the shape of the nose, the distance between the eyelids, lengthen the smile, etc., to adjust whatever might have been off during your sketch.
Of course, there is more to go on the painting. I’ll share the rest with you soon. I wasn’t able to finish it at the yurt, but I put in several hours. So, not only did I get to spend some great quality time with my brother, but I got to do some enjoyable work as well. After the big move, I finally feel like I’m getting into a regular groove of painting and posting tutorials. Thanks so much for your patience.
UPDATE: Here is the final video of this portrait, painted at my regular studio…
And a photo of it…
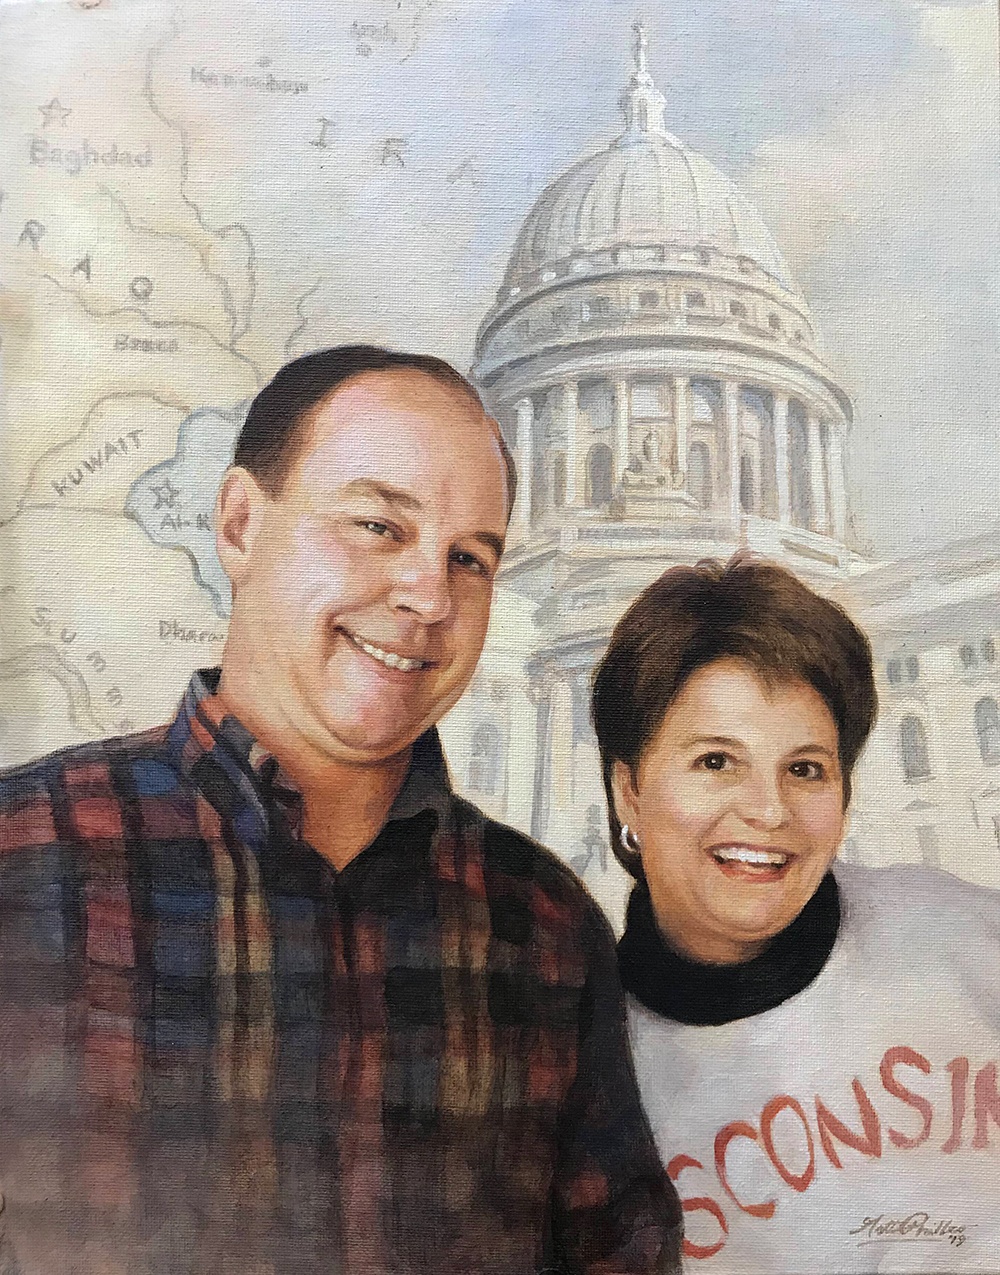
Custom realistic acrylic portrait of a veteran and his wife painted by Eau Claire area portrait artist Matt Philleo, 11 x 14, acrylic on canvas, ©2019 by Matt Philleo
I really enjoyed painting this for the client, putting all the elements–the map of Iraq, the capitol building, and the people together into one cohesive portrait that I hope will be a cherished keepsake for the family for years to come.
I hope this painting has encouraged you and given you some ideas to use in your own portrait painting. I would love to help you learn to paint portraits your very best. Let me know if I can be of more help to you in any way.
Yours for better portraits,

P.S. Did you find this post helpful or encouraging? If so, send it on ahead! Let others know with the share buttons below. I’d love to hear your comments. Thank you so much! Also, do you have a question on acrylic portrait painting you’d like answered? Let me know, and I’d be happy to help!
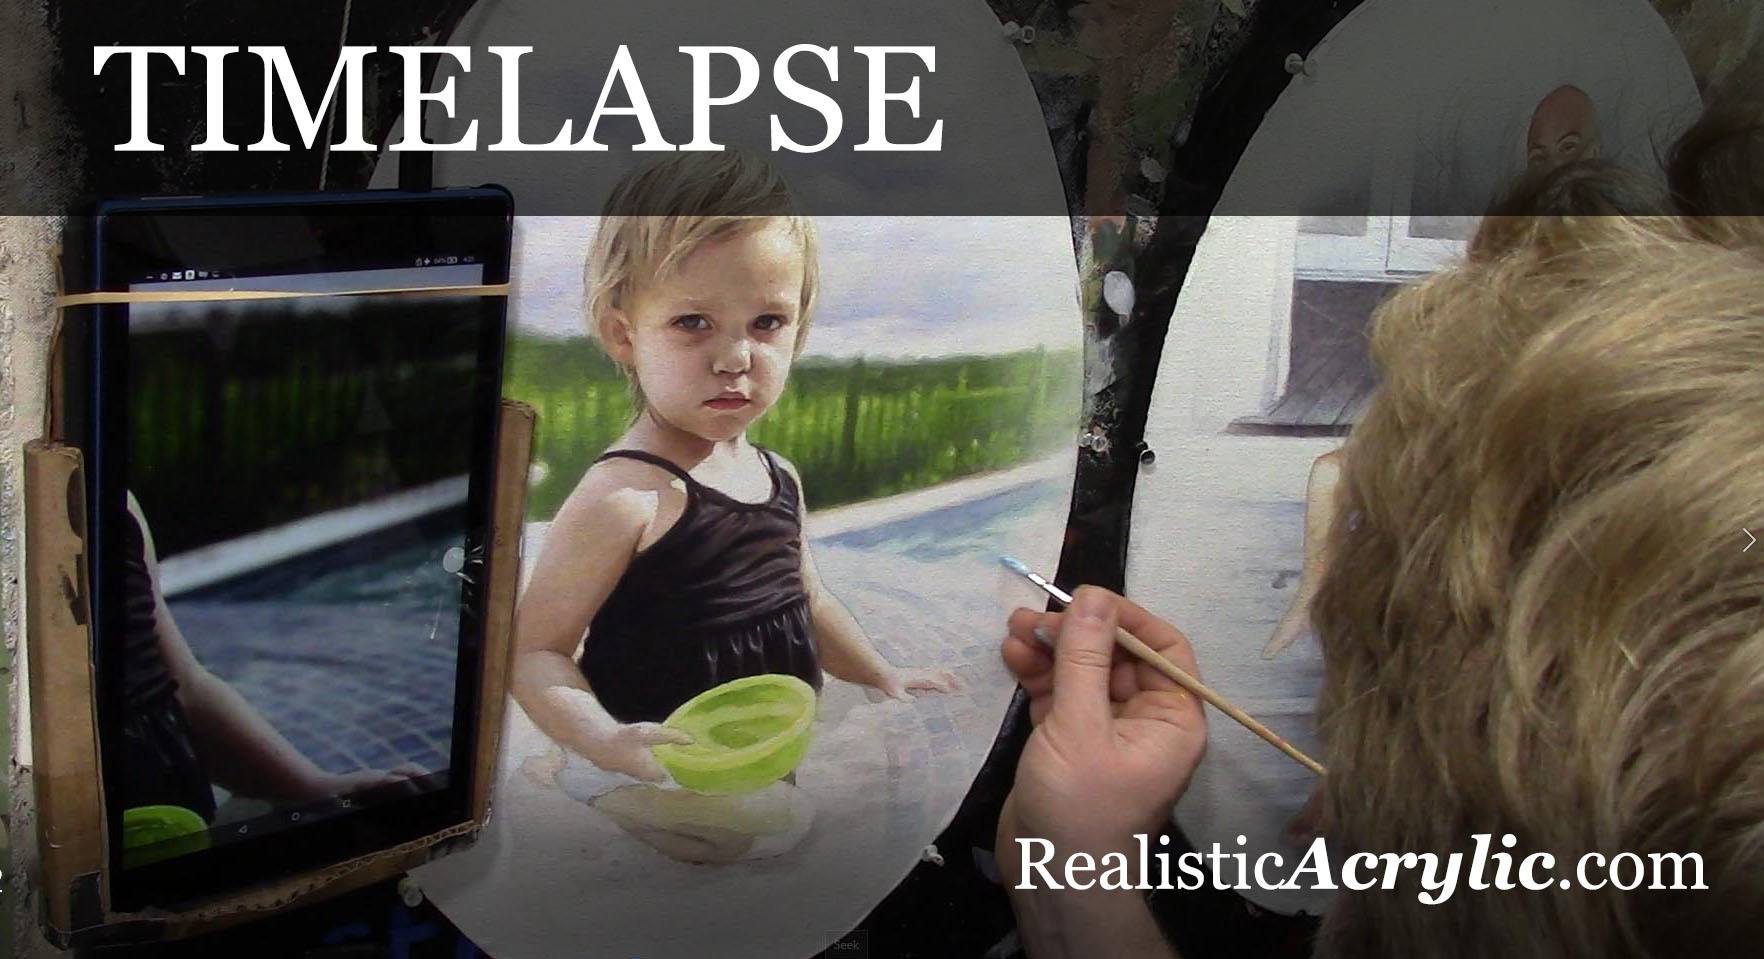
Oval Vignette Acrylic Portrait Timelapse
It’s fun to paint a portrait using the acrylic glazing technique. Although it takes a little longer, it allows you the ability to build up some fantastic depth, color saturation, and shading.
In this painting I did toward the end of 2018, actually two 14″ x 20″ oval vignette bubble portraits, I demonstrate how the glazing technique works, in about nine minutes. If you would like to see the process, at a slower pace, with explanations of my technique, check out this post here.
And now for the 9-minute timelapse video…
Let me know how you enjoyed this video and if you have any questions on acrylic portrait painting, I’ll be happy to help.
Yours for better portraits,

P.S. Did you find this post helpful or encouraging? If so, send it on ahead! Let others know with the share buttons below. I’d love to hear your comments. Thank you so much! Also, do you have a question on acrylic portrait painting you’d like answered? Let me know, and I’d be happy to help!
12 Steps to Painting Realistic Skin Tones in Your Acrylic Portrait
“What do you MOST want to learn?”
This is a question I asked the artists in my Facebook group. The #1 answer was skin tones.
So I decided to put together a 5-week live video class, showing the whole process of painting an acrylic portrait, step-by-step, concentrating on flesh tones.
Most people know me as the guy that does slow, methodical glazes. But in this series, I wanted to meet artists where they’re at and do the portrait in more of an opaque technique. We had a great response to the class, with about eighty students on board right away during the first lesson!
I decided to create a printable guide that shows what we covered during the classes, although obviously not in as much depth as you’d get out of watching 5 hours of video! I think you’ll find this guide helpful. This online tutorial is an adaptation of the guide, showing a portrait from a photo I painted of my wife. If you take the video course (now open for enrollment) it will complement it well, and give you something to keep next to your easel as you paint. It can stand on its own, too. If you put the techniques to practice, you’ll see improvement in your portrait painting, for sure.
Either way, enjoy this tutorial, and I look forward to teaching you more!
Step 1: Create a Basic Sketch
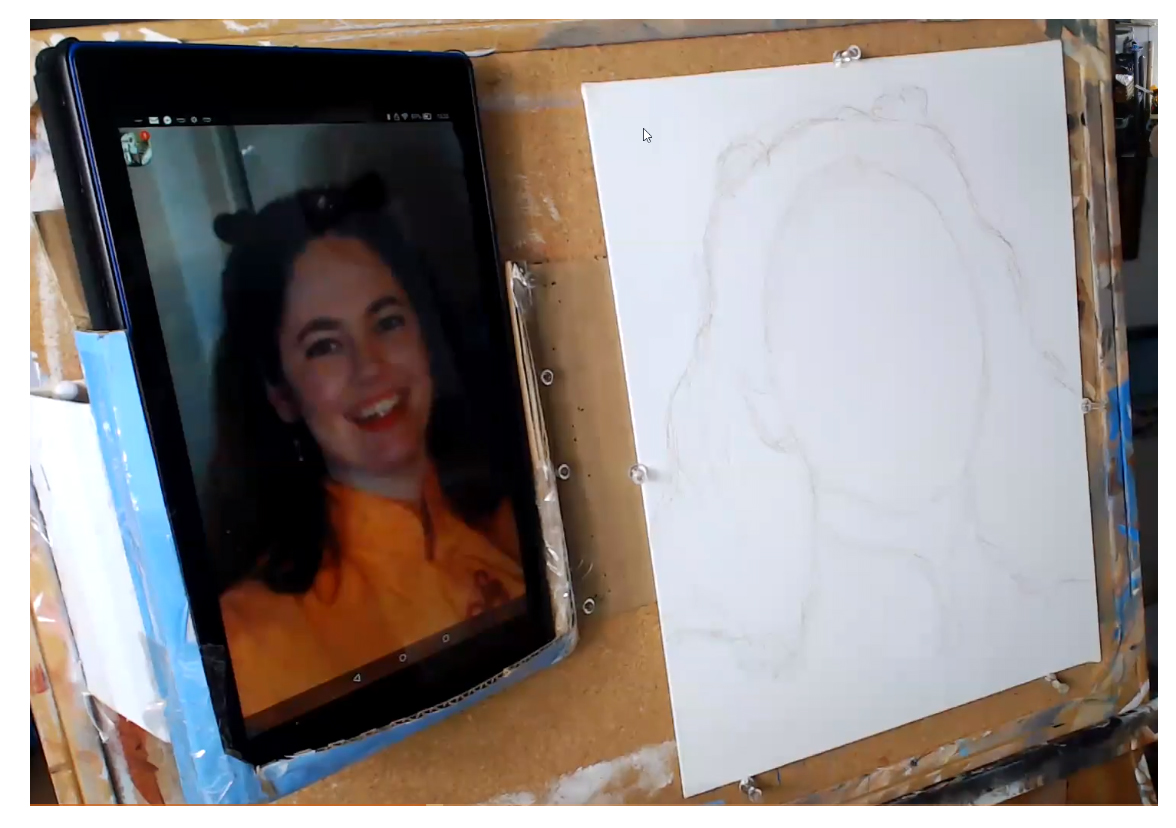
To begin your portrait, just fill in the outlines of the face. Don’t draw in the features. All you need is enough information to know where to block in the color. You can sketch it freehand if you’re comfortable with the process, or grid if necessary.
Step 2: Block in the Hair Color and Value
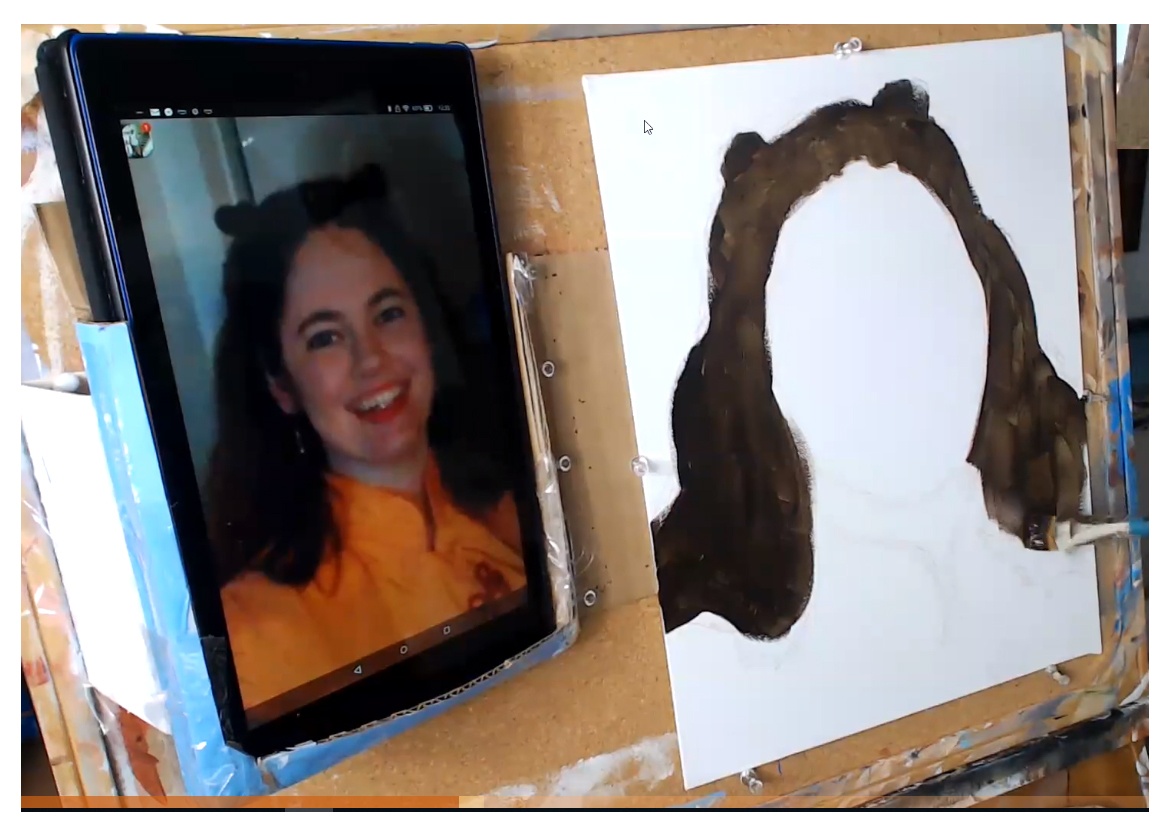
Although we are concentrating on skin tones, quickly blocking in the hair color and value frames the face. It will help us determine what colors to use for the skin tone, and make sure it is accurate. When you paint on top of plain white, you will think your skin tone is too dark, when in reality it’s not. We look for the predominant color in the hair. In this example, I’m using raw umber dark, and applying with a 3/4” -1” flat brush.
Step 3: Fill in the Skin Tone Base
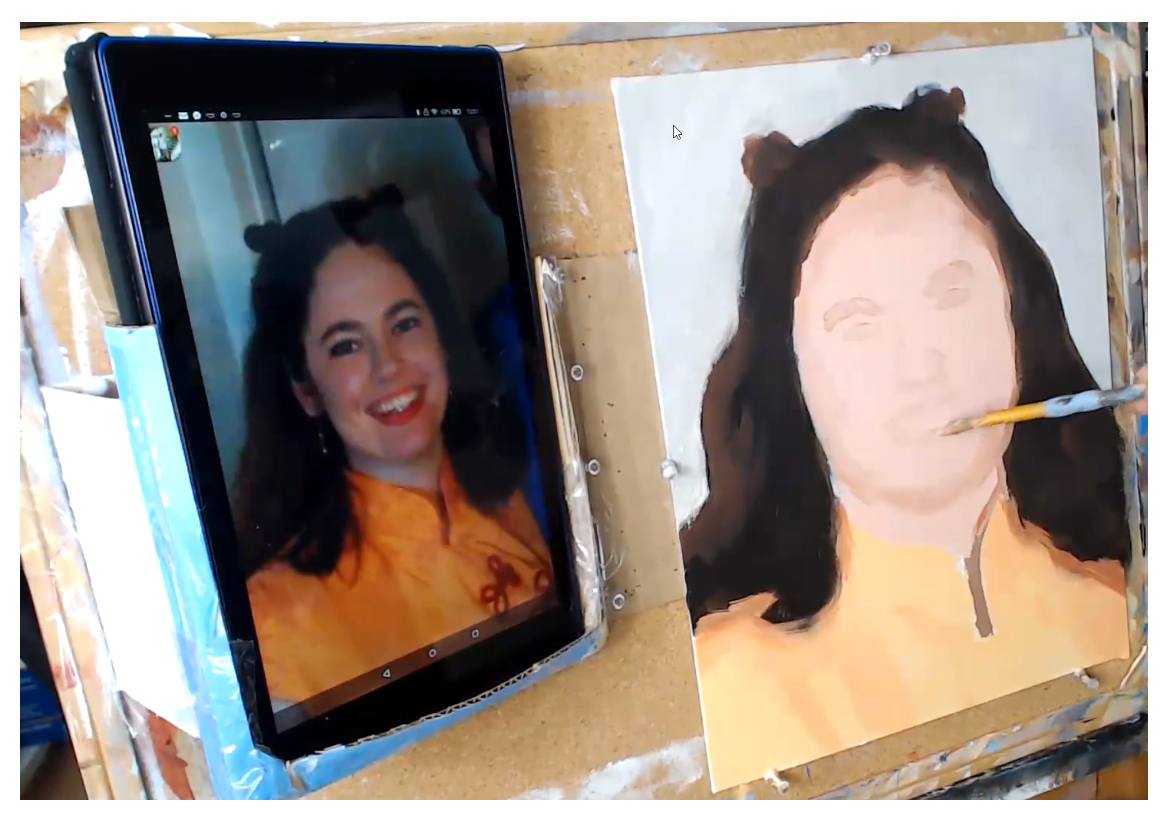
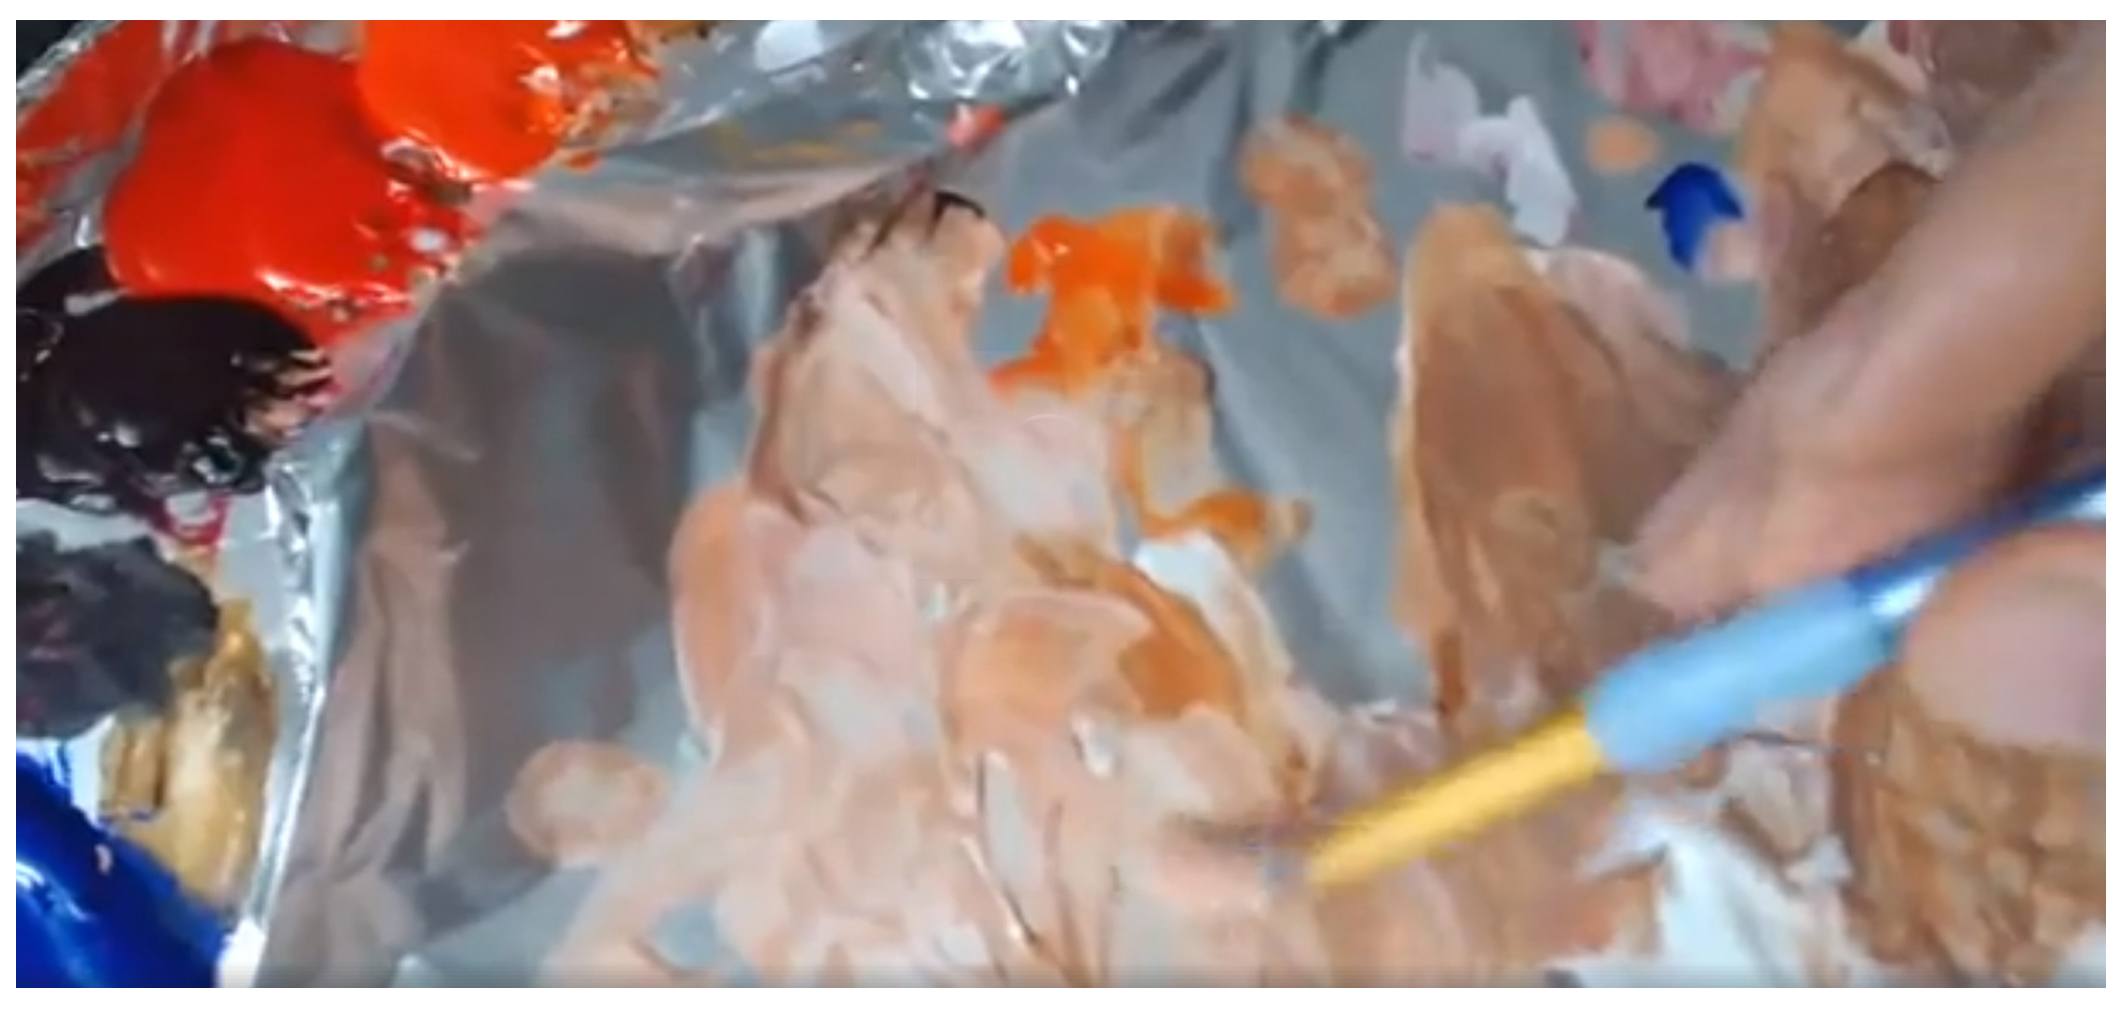
In this step, I’m using a mixture of titanium white, burnt sienna, and organic red orange for the first, foundational skin tone layer. Make the paint as fluid as you can, by adding a little matte medium (10%) and brush quickly, just filling the whole area in.
Print off Your Own Guide to Paint Realistic Skin Tones in Acrylic
I created a handy reference guide that covers all the steps in this article in a 7 page PDF. You can download it right now, print it, and set it next to your easel, so you know exactly what colors, what techniques and what steps to take when you paint skin tones on your portrait. Download it below…
Download and Print the Skin Tones Guide
Step 4: Suggest the Features
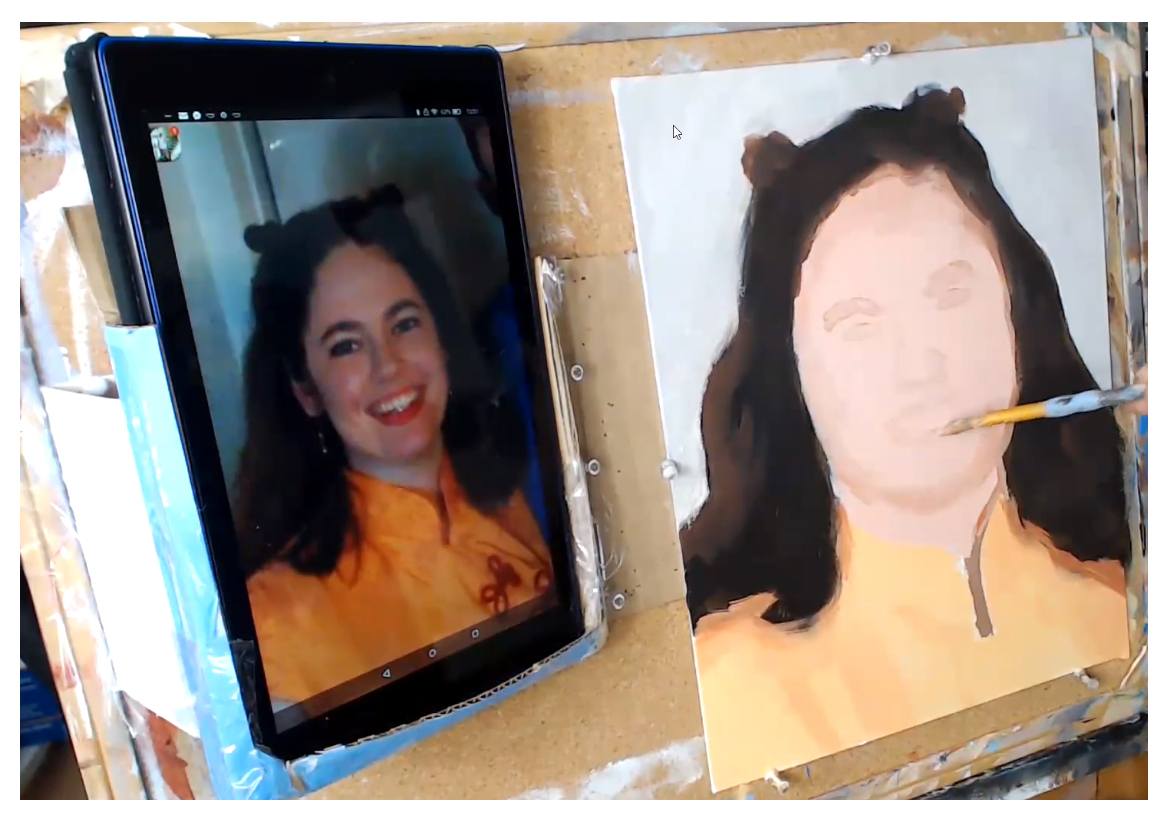
Now it’s time to get the fun part: actually painting in the facial features–the eyes, nose and mouth. But we don’t want to paint them too dark right away. Lightly “suggest” them in using a mixture of the skin tone base from the previous layer and burnt sienna. Painting the features this way at first will allow you to adjust them if necessary.
Step 5: Darken and Refine the Features
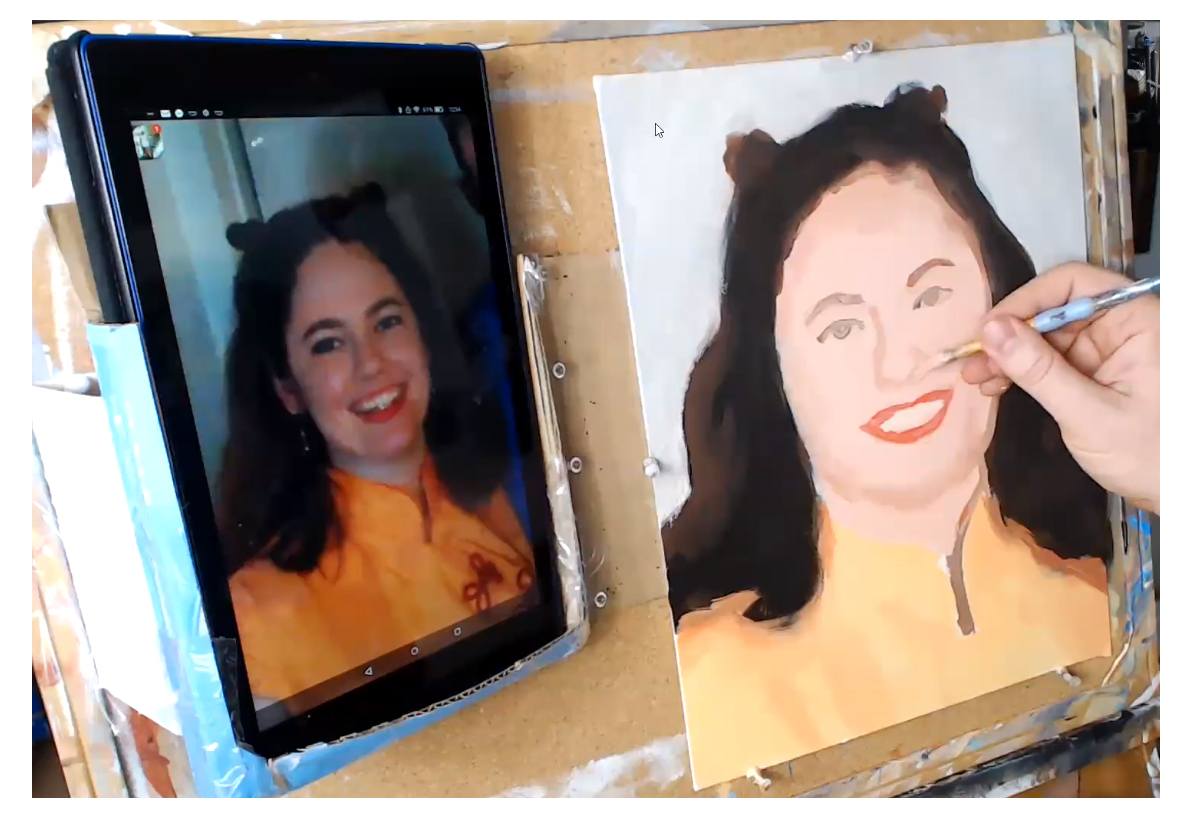
After the facial features dry, you can go over them with a darker color. Just add a little more burnt sienna for the eyebrows and nose. For the eyes, a bit of raw umber will cool down the color enough so that if the eyes are a different color than brown, you can easily adjust it. We’re not trying to dial in the exact eye color; rather, we’re just trying to ger the main shape and value established. For the lips, in this case, I’m using napthol red and burnt sienna, diluted a bit by the main flesh tone color.
Step 6: Block in the Mid-tone Shadows
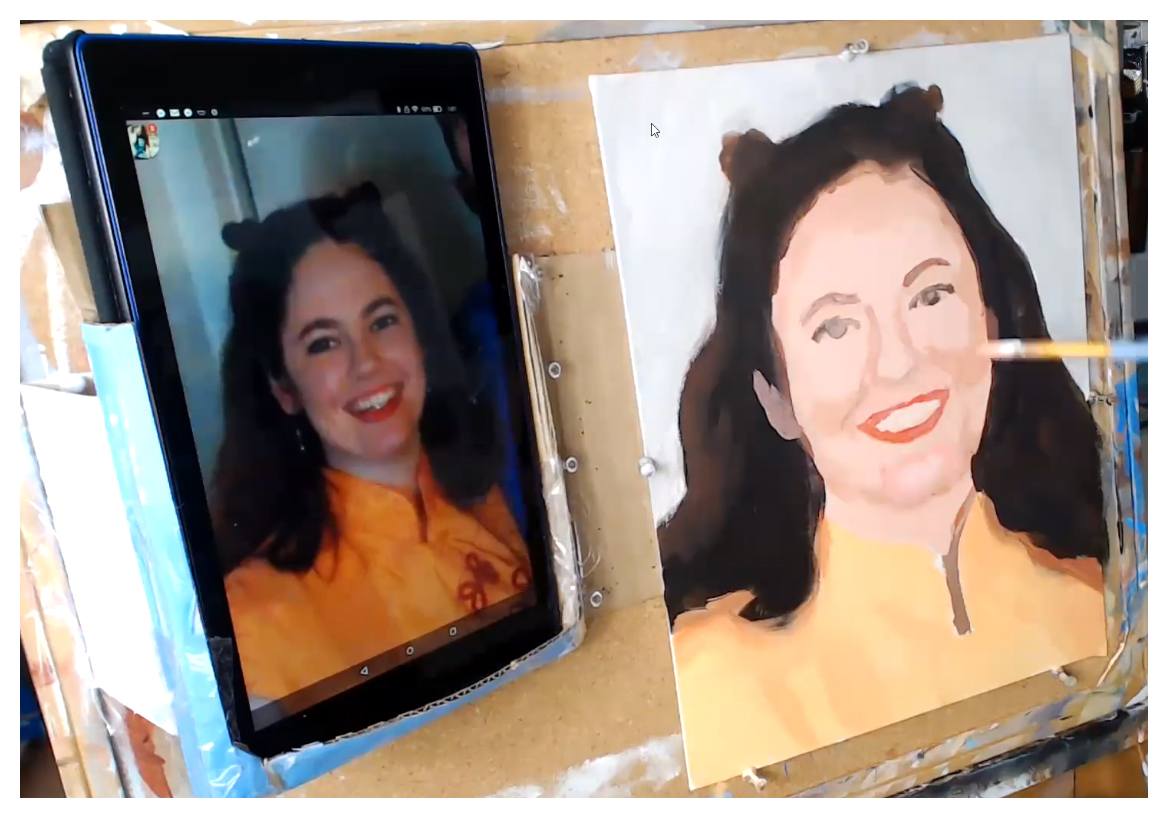
Unless we add in shadows on the face, it will look flat. That is obvious. The trick is to use the right color and value. And then to place that tone in the right places to give the illusion of three dimensionality, In my example, I use a similar color to what I used for the previous step, and lightened it up just a bit with the main skin tone color, so it’s easy to control and doesn’t get too dark.
Step 7: Refine the Eyebrows
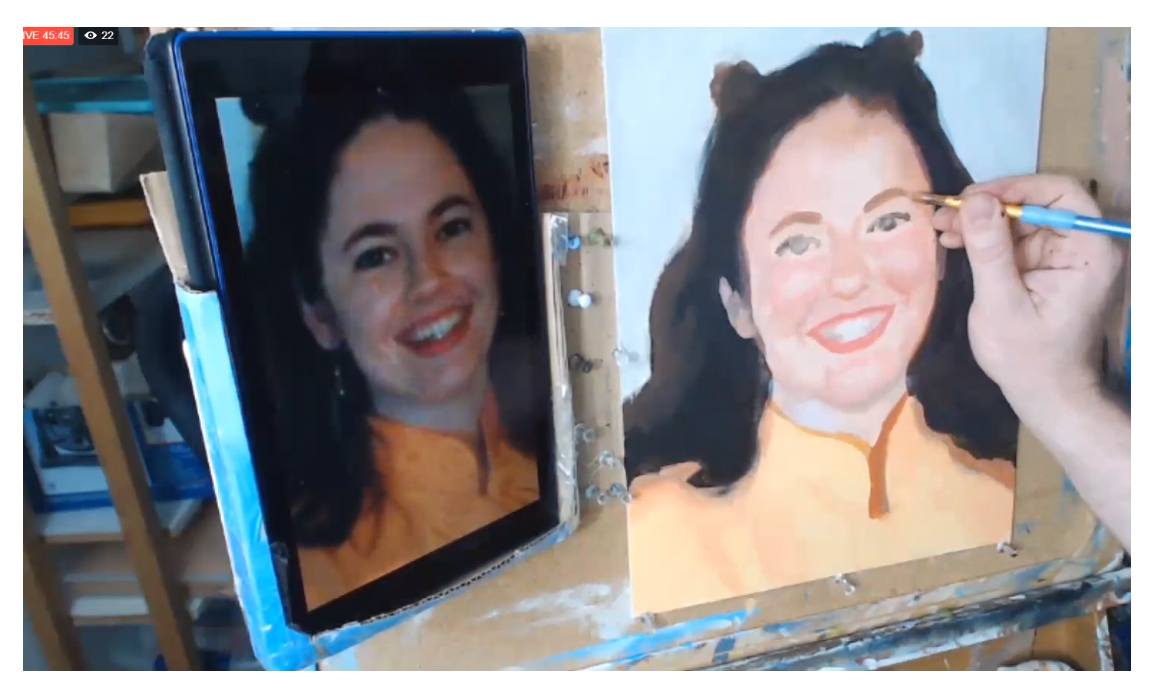
The eyebows up to this point look too thin. So what I’m doing here is creating a mixture of raw umber dark, alizarine crimson, raw sienna, and a touch of burnt sienna. Then, I carefully go over the eyebrow areas, and also thicken them up a bit too. You have to think of the eyebrows not just as hairs but also the shadow under the eye socket. What we’re doing is actually painting the base tone for the eyebrows. Then we go over with a darker color to suggest the hairs.
Tired of Muddy Colors?
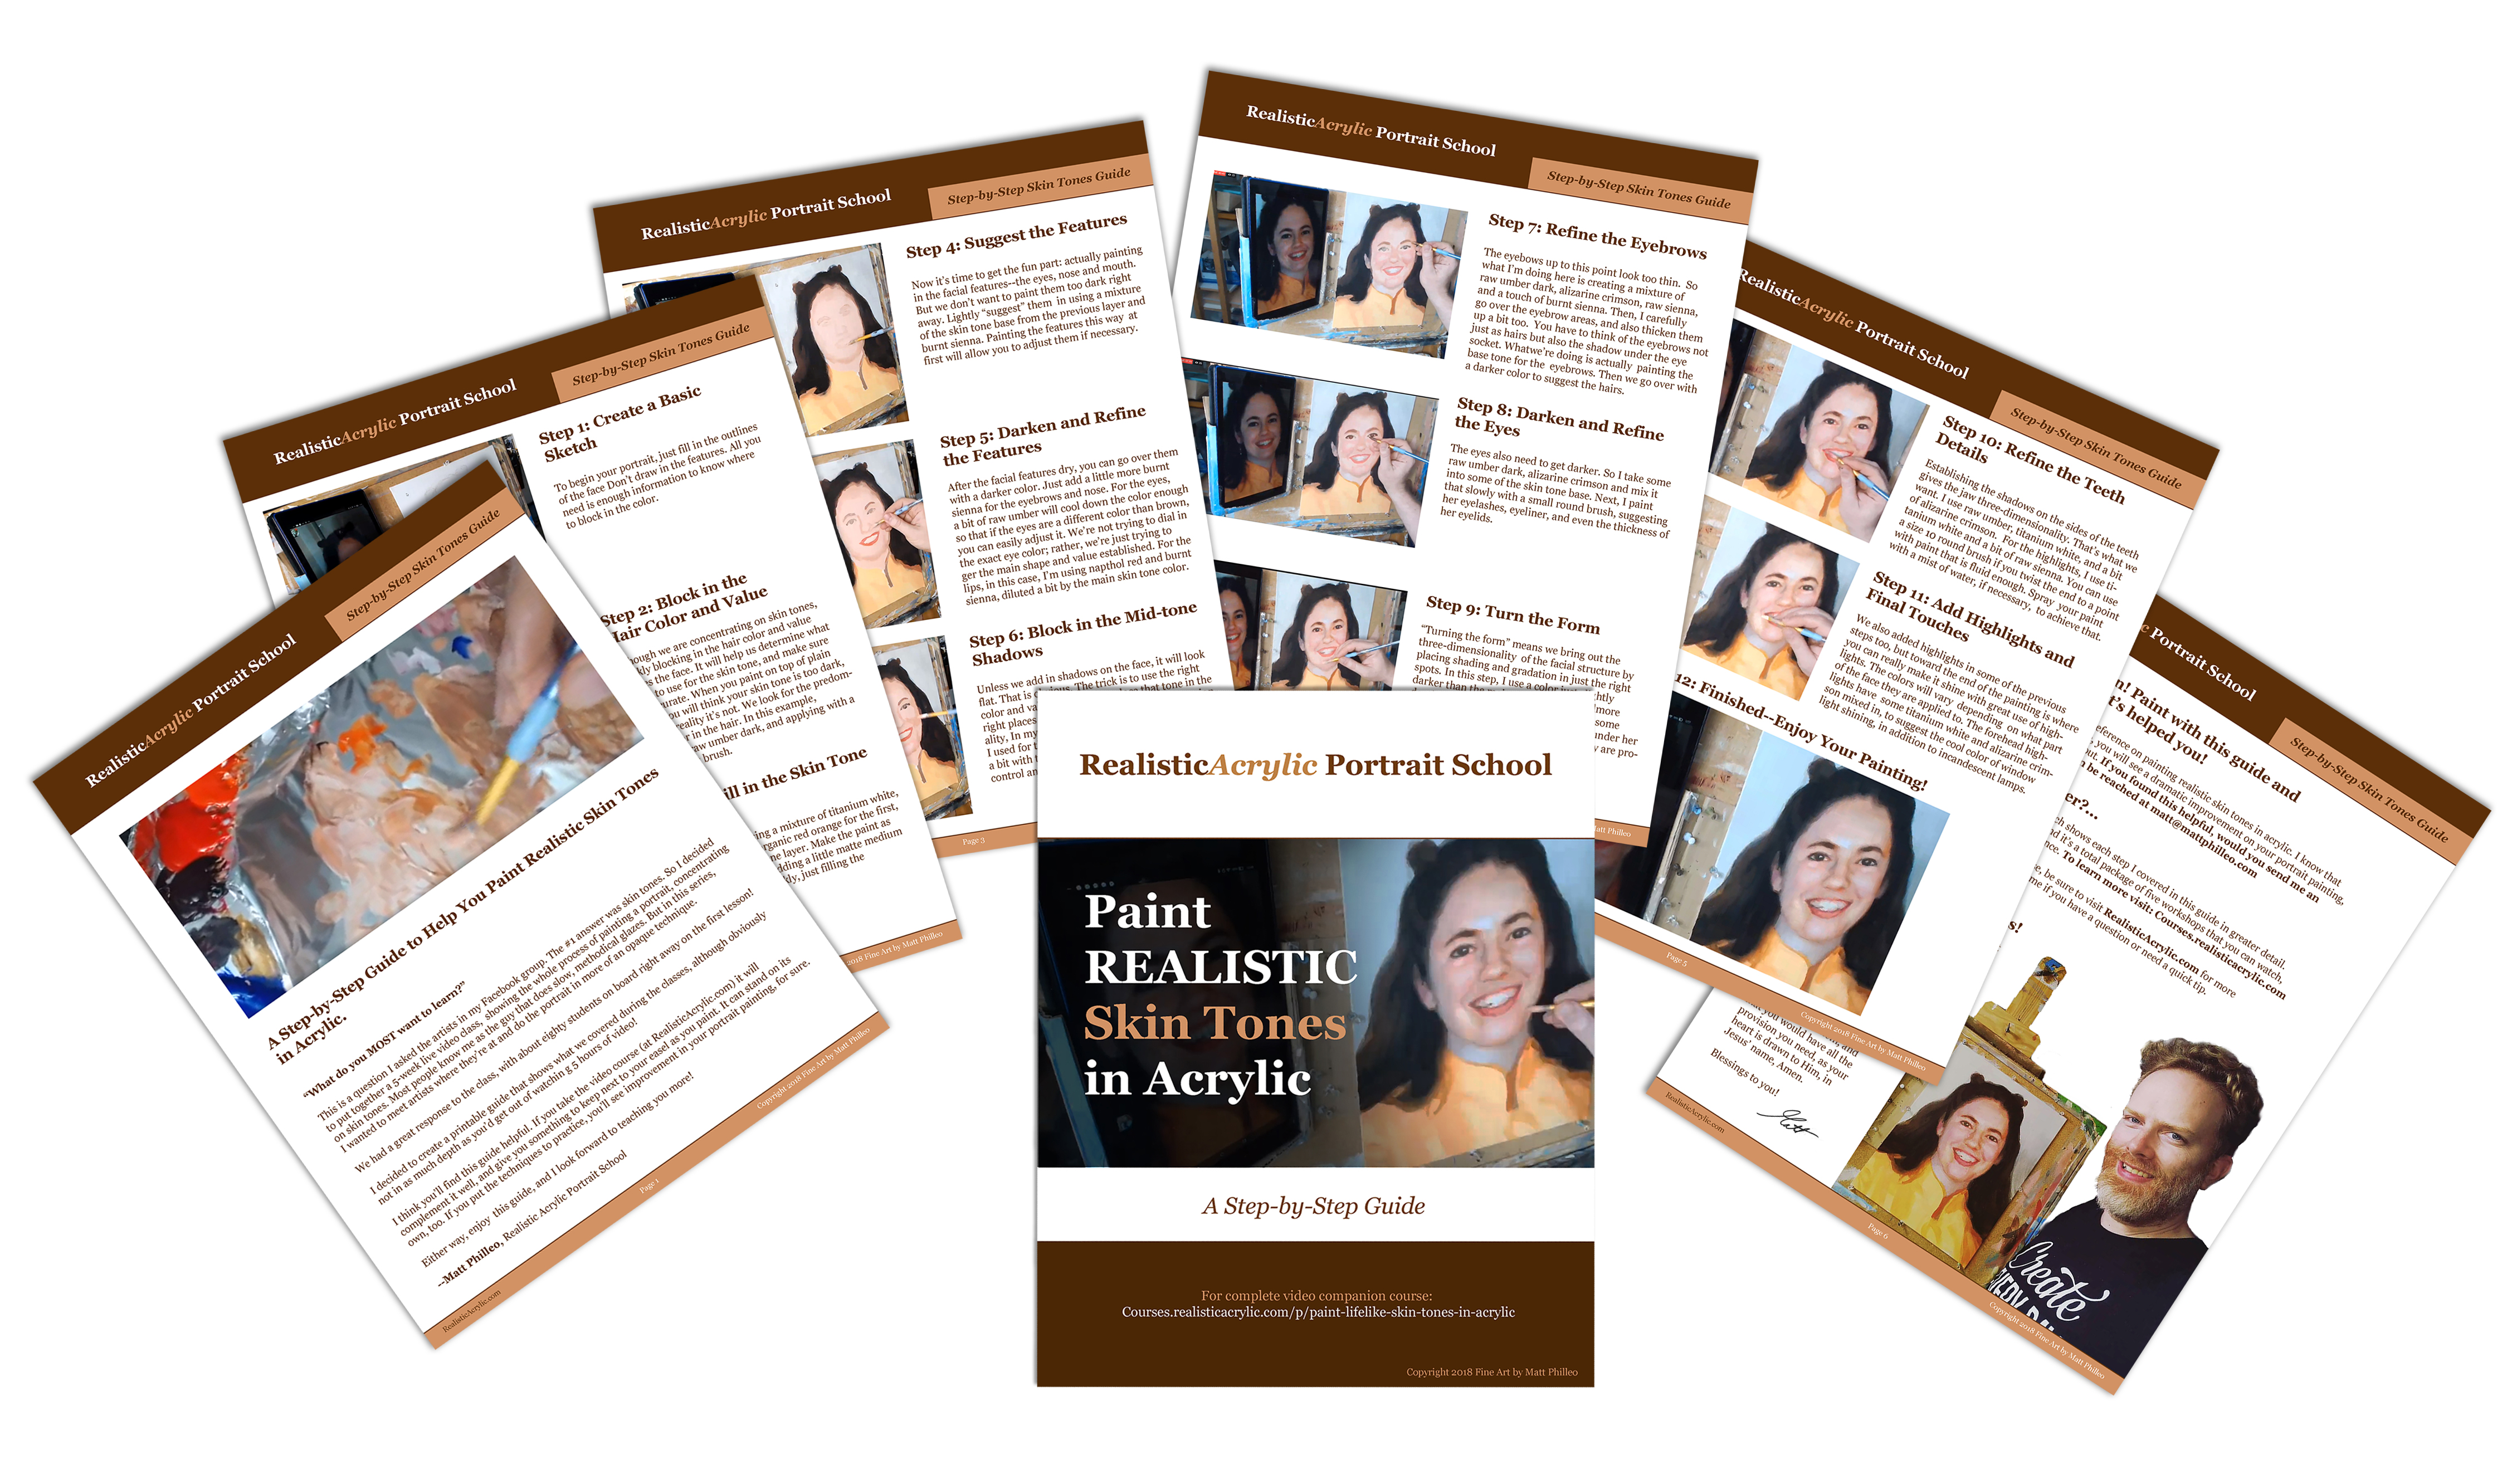
Get my complete guide on painting skin tones, for free, and start mixing and blending realistic skin tones right away…
Download and Print the Skin Tones Guide
Step 8: Darken and Refine the Eyes
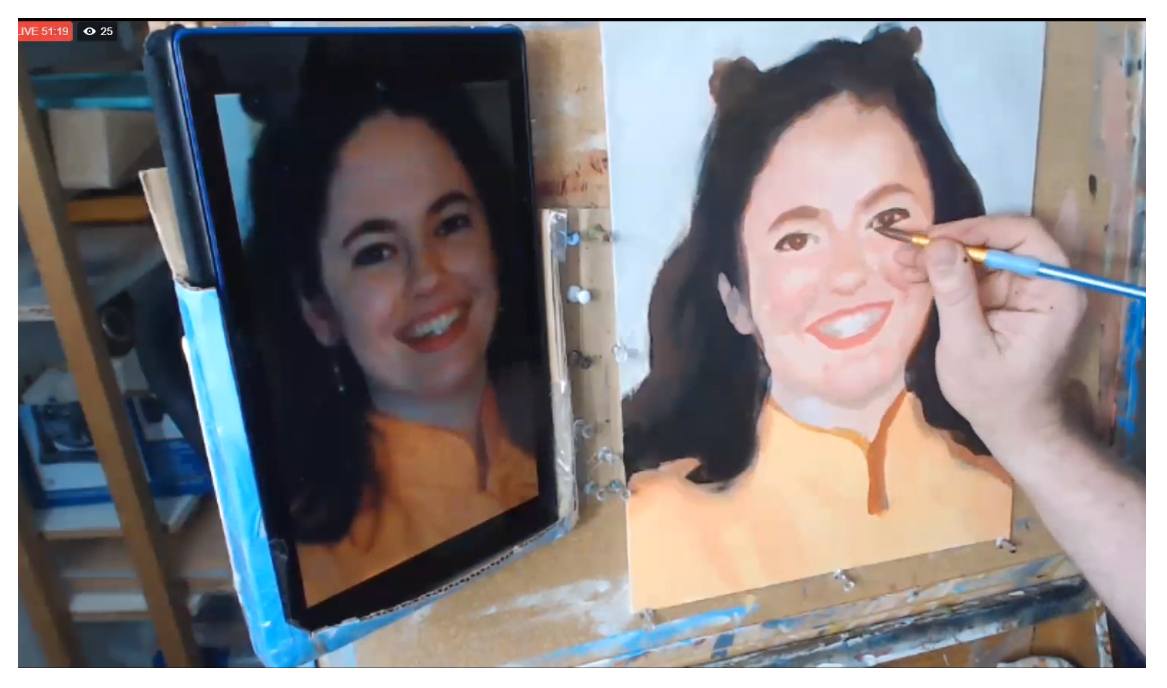
The eyes also need to get darker. So I take some raw umber dark, alizarine crimson and mix it into some of the skin tone base. Next, I paint that slowly with a small round brush, suggesting her eyelashes, eyeliner, and even the thickness of her eyelids.
Step 9: Turn the Form
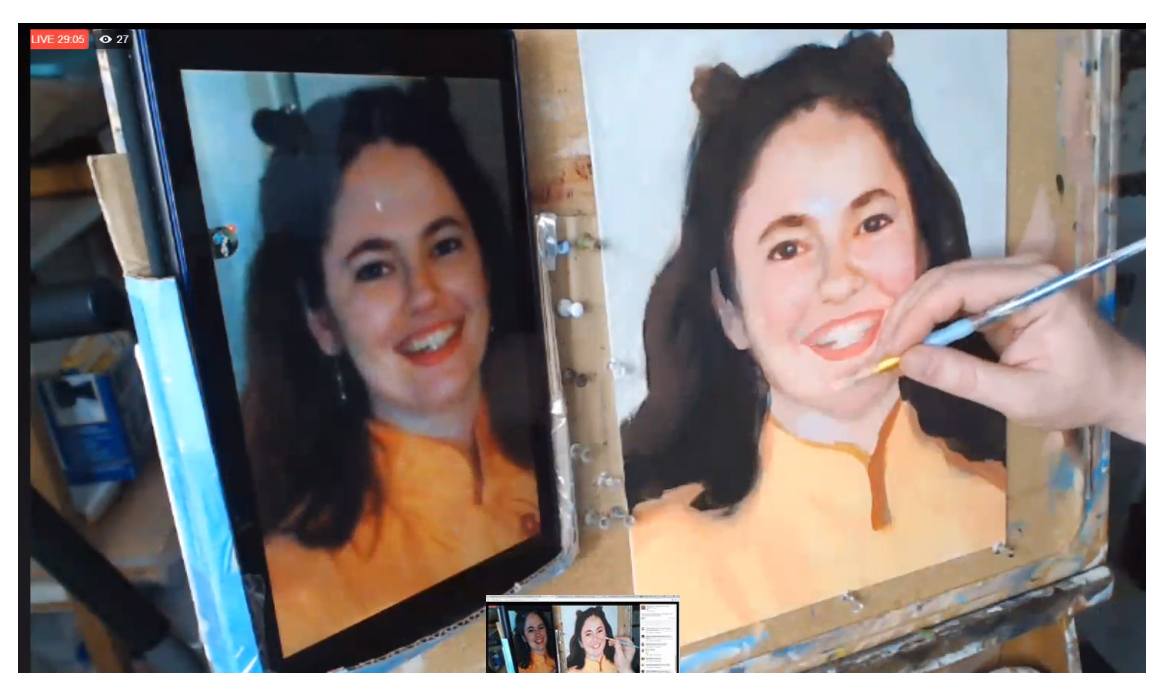
“Turning the form” means we bring out the three-dimensionality of the facial structure by placing shading and gradation in just the right spots. In this step, I use a color just slightly darker than the main skin tone and add more depth to her chin. In addition, I deepen some of the shadows alongside her nose, and under her eyes, to make the cheeks appear as if they are projecting forward in space a little bit.
Step 10: Refine the Teeth Details
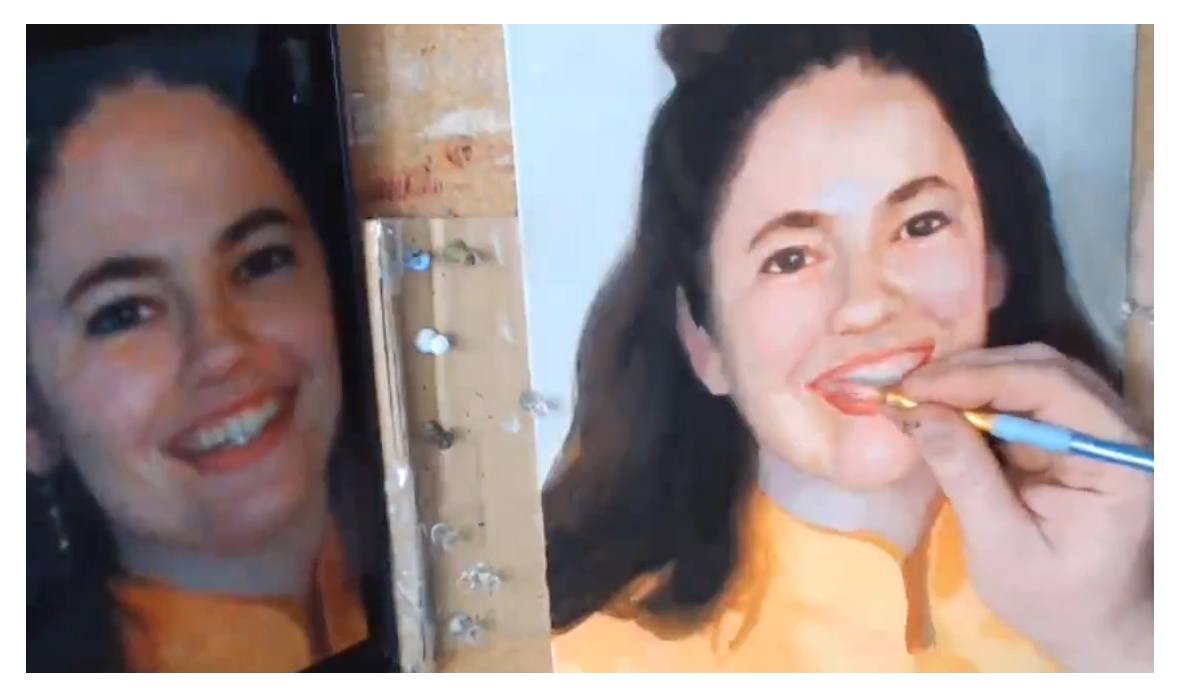
Establishing the shadows on the sides of the teeth gives the jaw three-dimensionality. That’s what we want. I use raw umber, titanium white, and a bit of alizarine crimson. For the highlights, I use titanium white and a bit of raw sienna. You can use a size 10 round brush if you twist the end to a point with paint that is fluid enough. Spray your paint with a mist of water, if necessary, to achieve that.
Step 11: Add Highlights and Final Touches
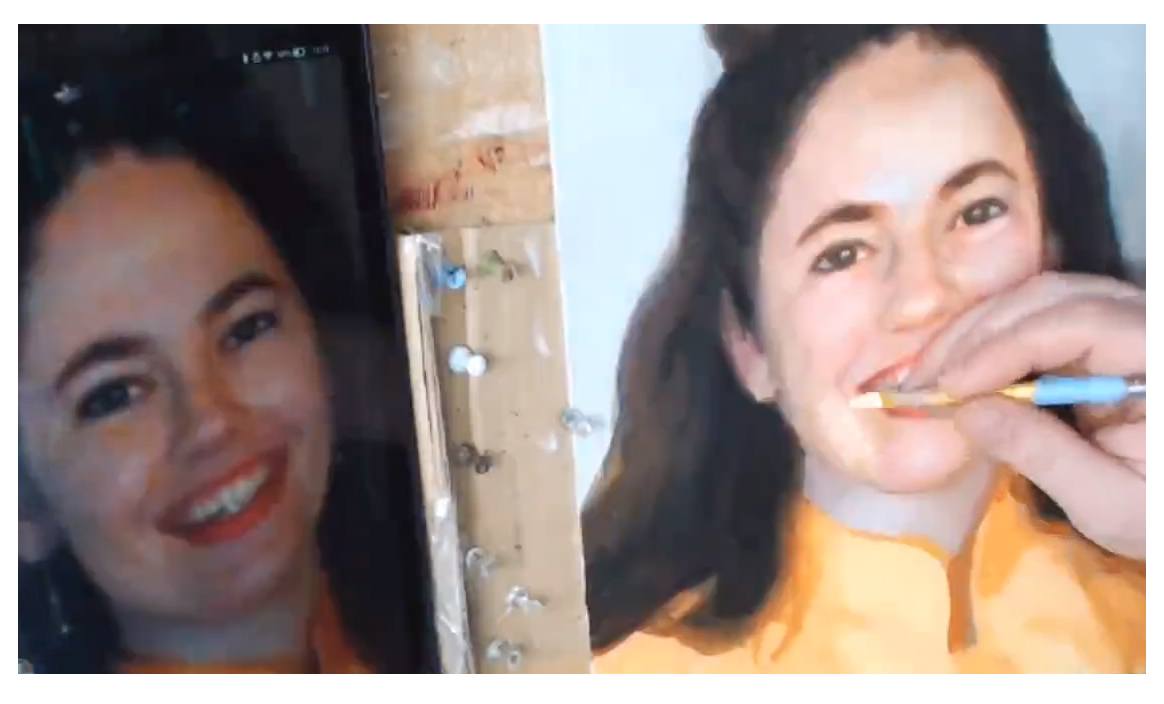
We also added highlights in some of the previous steps too, but toward the end of the painting is where you can really make it shine with great use of high- lights. The colors will vary depending on what part of the face they are applied to. The forehead high- lights have some titanium white and alizarine crimson mixed in, to suggest the cool color of window light shining, in addition to incandescent lamps.
Step 12: Finished–Enjoy Your Painting!
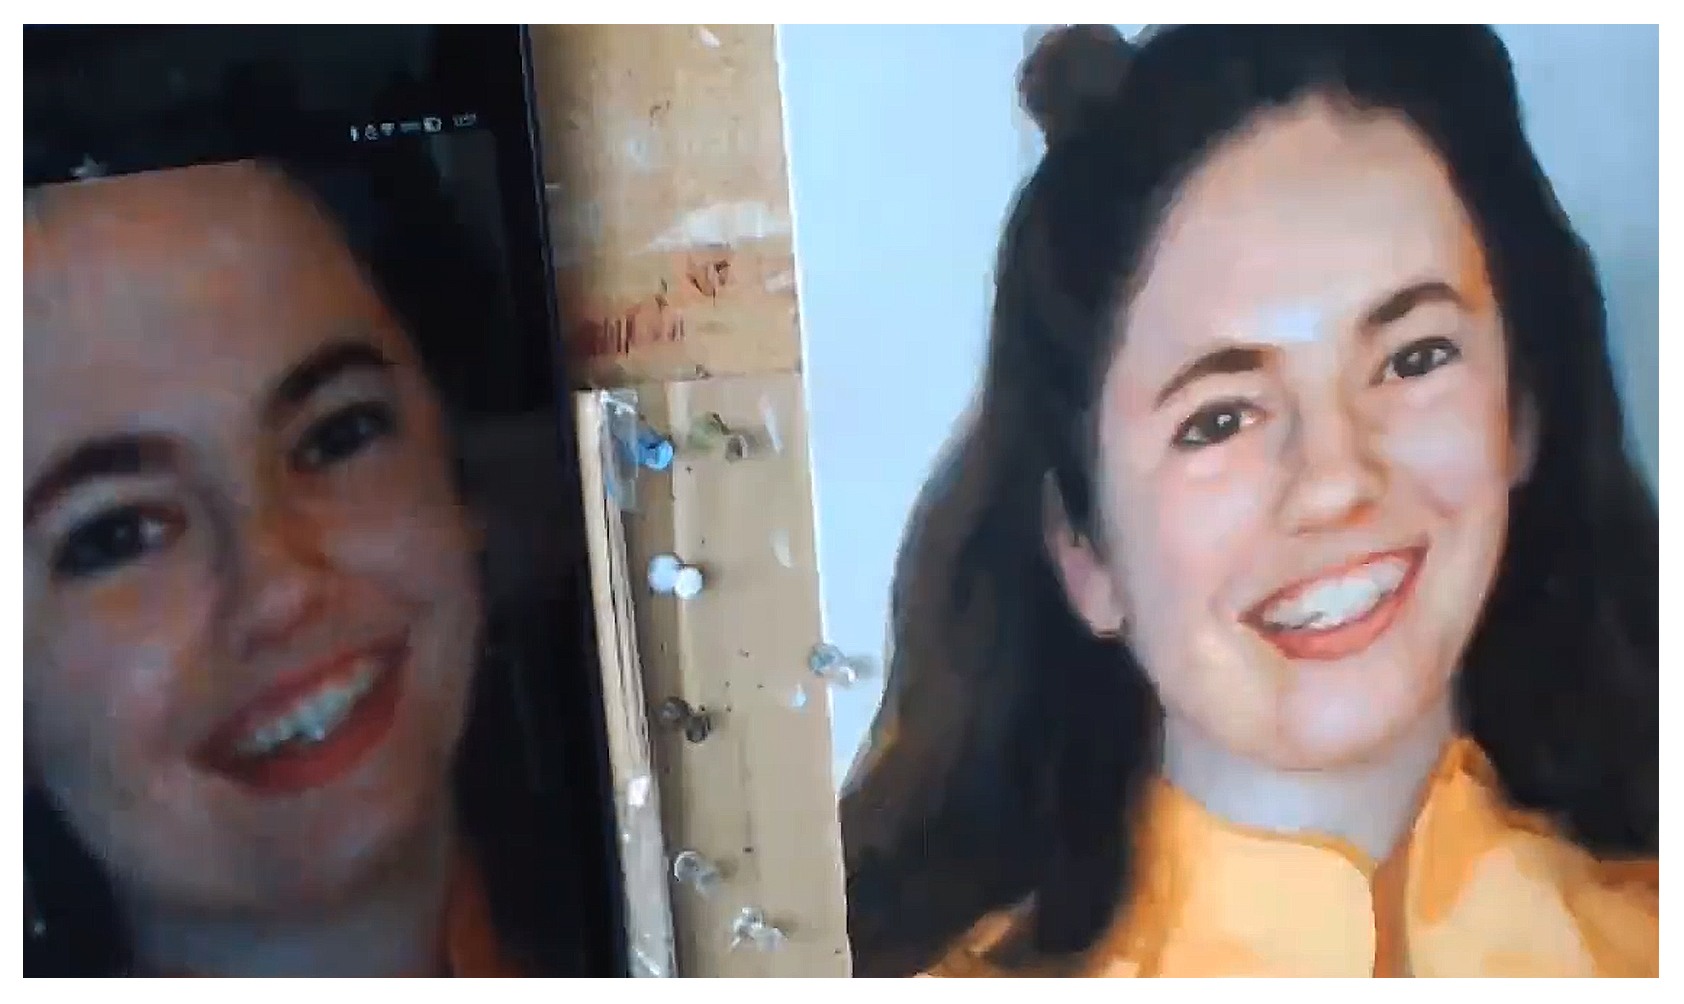
Now, it’s your turn! Paint with this guide and let me know how it’s helped you!
I enjoyed creating this helpful reference on painting realistic skin tones in acrylic. I know that if you put the steps into practice, you will see a dramatic improvement on your portrait painting, especially if you’re just starting out. If you found this helpful, would you send me an email and let me know? I can be reached at [email protected].
Make you print off the skin tones guide so you can paint a lifelike portrait you can be proud to show. Click the button below to download it.
Download and Print the Skin Tones Guide
Can I help you further?…
I have a video course available which shows each step I covered in this guide in greater detail. The course is about 5 hours long, and it’s a total package of five workshops that you can watch, step-by-step, at your own convenience. To learn more visit: Courses.realisticacrylic.com Even if you aren’t able take the course, be sure to get the free printable reference guide on painting skin tones in acrylic. Email me if you have a question or need a quick tip. I’ll be happy to help.

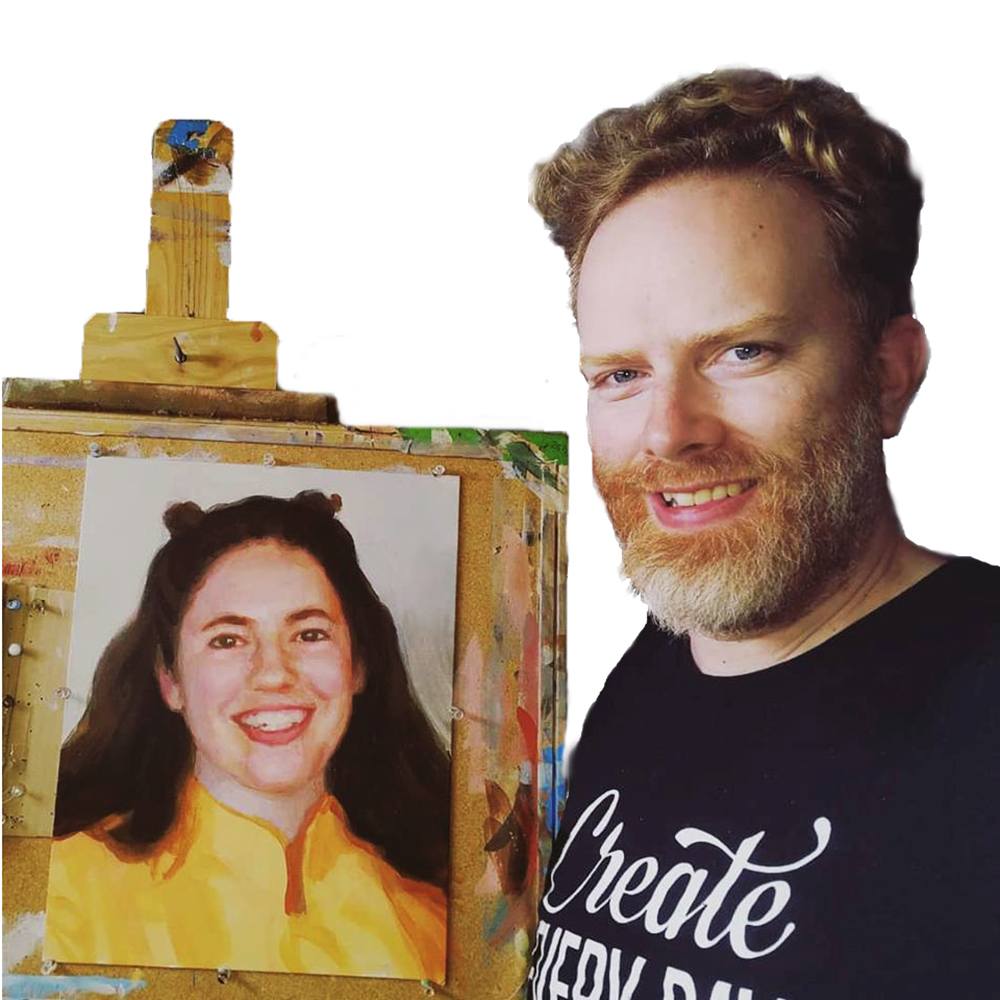
Acrylic portrait artist Matt Philleo posing next to a painting of his wife, painted for the Paint Realistic Skin Tones in Acrylic online class, teaching you how to paint with step-by-step lessons.
Share with your friends!
Let your fellow artists know about Realistic Acrylic Portrait School. My desire is to help artists learn how to paint an acrylic portrait they can be proud of. As I do for all my students, I pray that God would bless you with His peace in your painting process, direct your brush-strokes, that your paintings would encourage those who seem them, and that you would have all the provision you need, as your heart is drawn to Him, in Jesus’ name, Amen.
Blessings to you!

P.S. Did you find this post helpful or encouraging? If so, send it on ahead! Let others know with the share buttons below. I’d love to hear your comments. Thank you so much! Also, do you have a question on acrylic portrait painting you’d like answered? Let me know, and I’d be happy to help!

