- You are here:
- Home »
- Blog »
- Facial Features »
- Step-by-Step Journey of Painting a Vibrant Acrylic Portrait

Step-by-Step Journey of Painting a Vibrant Acrylic Portrait
How do you paint an acrylic portrait that looks alive?
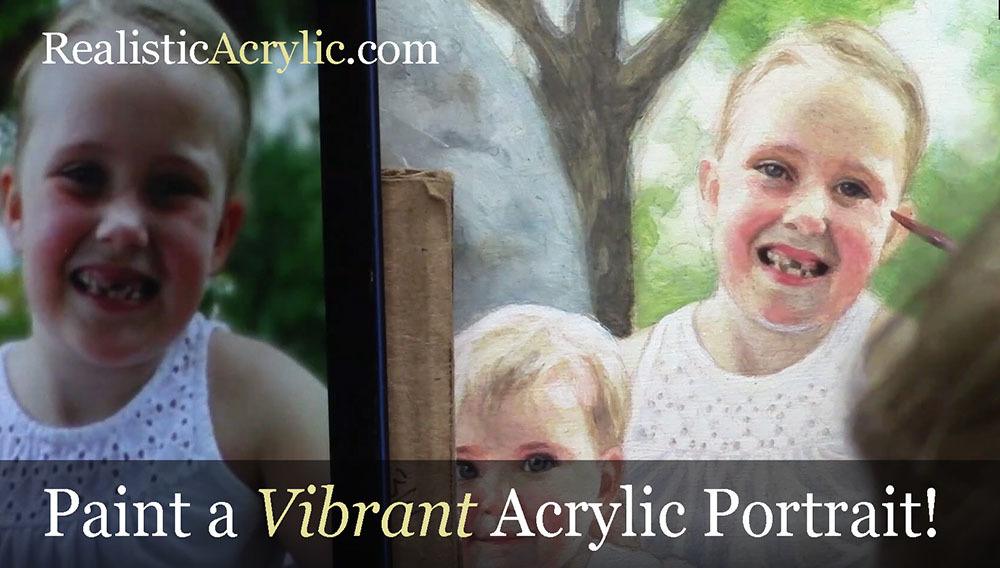
In this video, I share how I painted an 11″ x 14″ portrait of three beautiful children, using the classical glazing technique.
This is not a time-lapse video, but rather real-time snippets of my studio process, step-by-step, with explanations of what I’m doing. I share all the tips I can within about 20 minutes so that you can learn to paint an amazing acrylic portrait that you can give as a gift or even do for a living!
This tutorial shows the entire process of painting a portrait. Here are the steps I show in this tutorial:
- Sketch the portrait.
- Seal in the sketch.
- Block in the initial values
- Develop contrast, depth, and skin tones
- Add final nuances, details and finish.
Watch the video below and happy painting! 🙂
Of course, I always love to hear from you. Please let me know how this video helps.
Also, do you have a question about your portrait that I could answer for you? Let me know in the comments below!
Yours for Better Portraits,
![]()
If you found this post helpful or encouraging, would you send it on ahead? Let others know with the share buttons below. I’d love to hear your comments. Thank you so much!
