- You are here:
- Home »
- Blog »
- Step-by-Step Tutorial »
- How to Paint A 48″ x 72″ Commissioned Portrait: My Adventure

How to Paint A 48″ x 72″ Commissioned Portrait: My Adventure
Last week, I shared with you the beginning of my adventure on painting a huge 48″ x 72″ portrait.
Thank you so much for all your kind words and feedback on this project!
In that post, I mentioned how I tracked down the canvas, brought it back, and then created a layout for the portrait with Photoshop.

Today, I’m going to show you the sketching process, and with that, maybe spark a little controversy! 🙂
Controversy? How can sketching be controversial?
Well, there’s a huge debate in the artist community on tracing/ using projectors and whether or not it is cheating.
I’m going to show you the process I used and argue that it is not cheating. But I am open to discuss it.
First of all, I wondered with this big canvas, “should sketch on it using the grid method, or even freehand?” I’ve done hundreds of freehand sketches for portrait drawings and paintings, and in fact, it was the only way I ever drew anything from my childhood up until I started doing murals in 1999, when I was 22.
Then, through a contact I made while studying at the Milwaukee Institute of Art & Design, I got in touch with Bob Jenny, a prolific and successful muralist from Ft. Lauderdale. We did several murals together, starting with two 6′ x 30′ murals in Womack Army Hospital in Fort Bragg, NC, and then a couple in Kenner Clinic in Fort Lee, VA.
Here are some images of those murals…
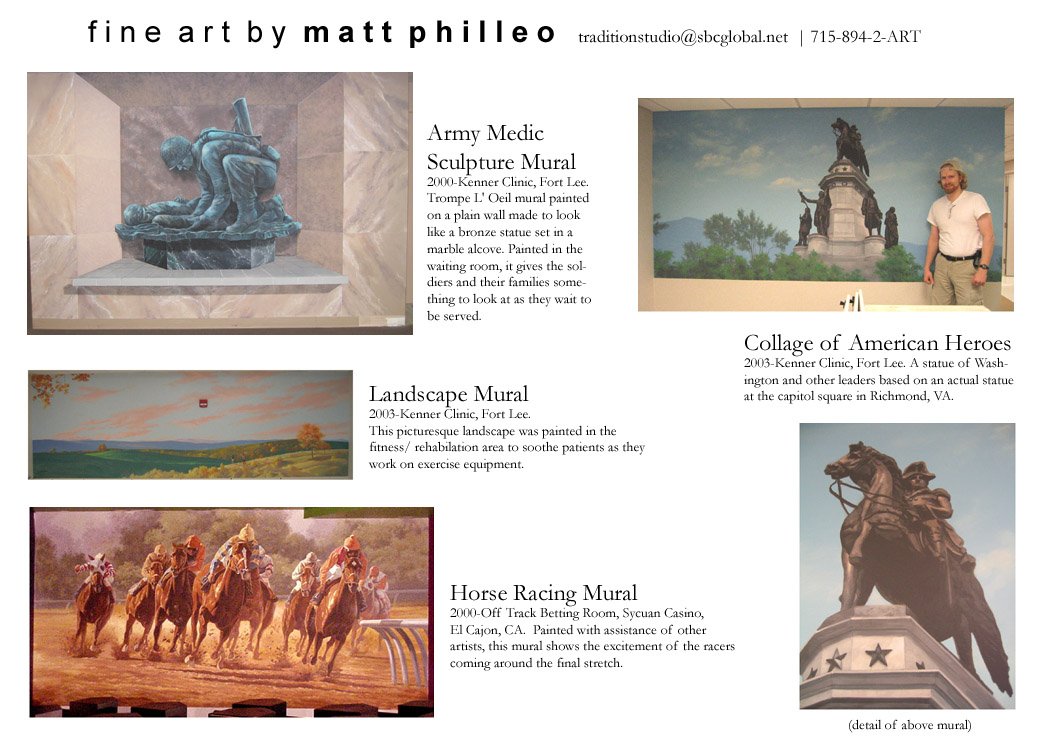
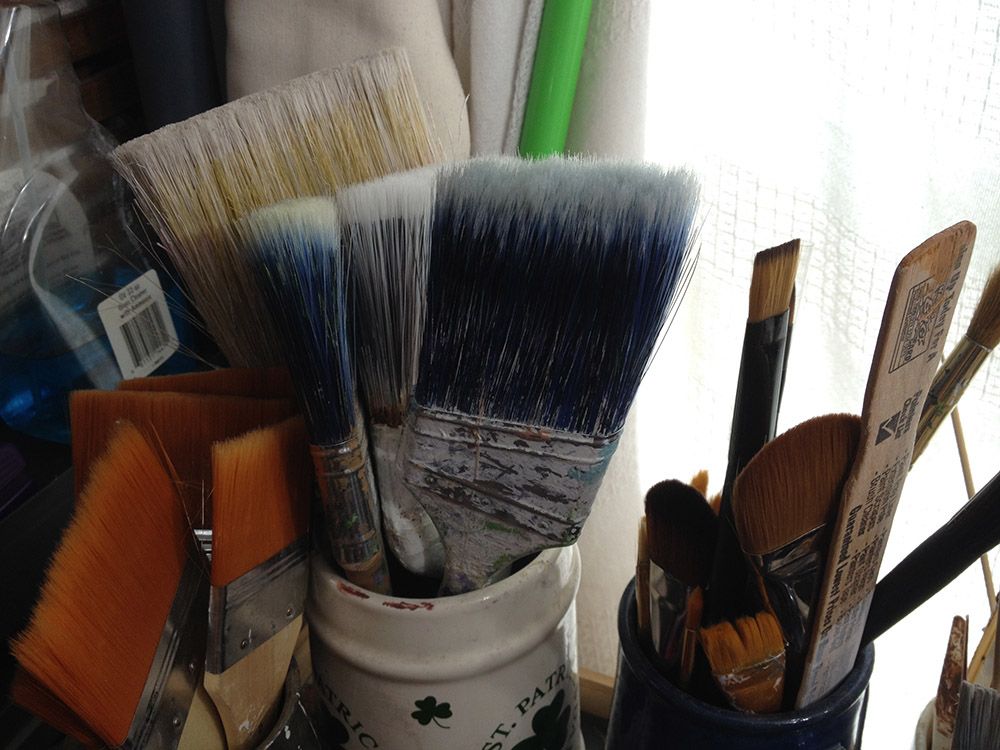
“You paint like an artist!” Bob chided me when he saw my technique. I used tiny brushes, piddling away on a large surface.
It would be like trying to paint your average 16″ x 20″ portrait using toothpicks.
Not only that, but I attempted to sketch out an expansive scene of the army medic serving in World War I & II in freehand on the hospital wall.
It looked good, but it was taking way, way too long. It wasn’t just a matter of it eating into our profits, but it was also the fact that there were many contractors working in the hospital, and the thing had to be done by a certain time.
So Bob showed me how to paint like a painter. He taught me how to use large brushes and even a roller to cover large areas quickly and effectively.
For setting up the sketch, Bob instructed me to use a projector. Some artists spend a fortune on snazzy art projectors that can project a regular photo print on the wall, but Bob used just an overhead projector–the kind that people used for teaching and media presentations, “back in the day” before PowerPoint became the thing.
You just make a transparency of your photo reference at your local copy shop and you’re ready to go. Or, you can buy transparency film that runs in your inkjet home printer and make your own.
Using the projector on a mural or large painting saves a ton of time. It’s very difficult and time consuming to get accurate proportions drawing freehand over a large surface. Your brain just can’t see the whole picture. So, I learned to use a projector while working with Bob, and it’s been great for quickly getting a sketch up on my canvas or panel.
Some artists feel like it’s cheating.
I don’t.
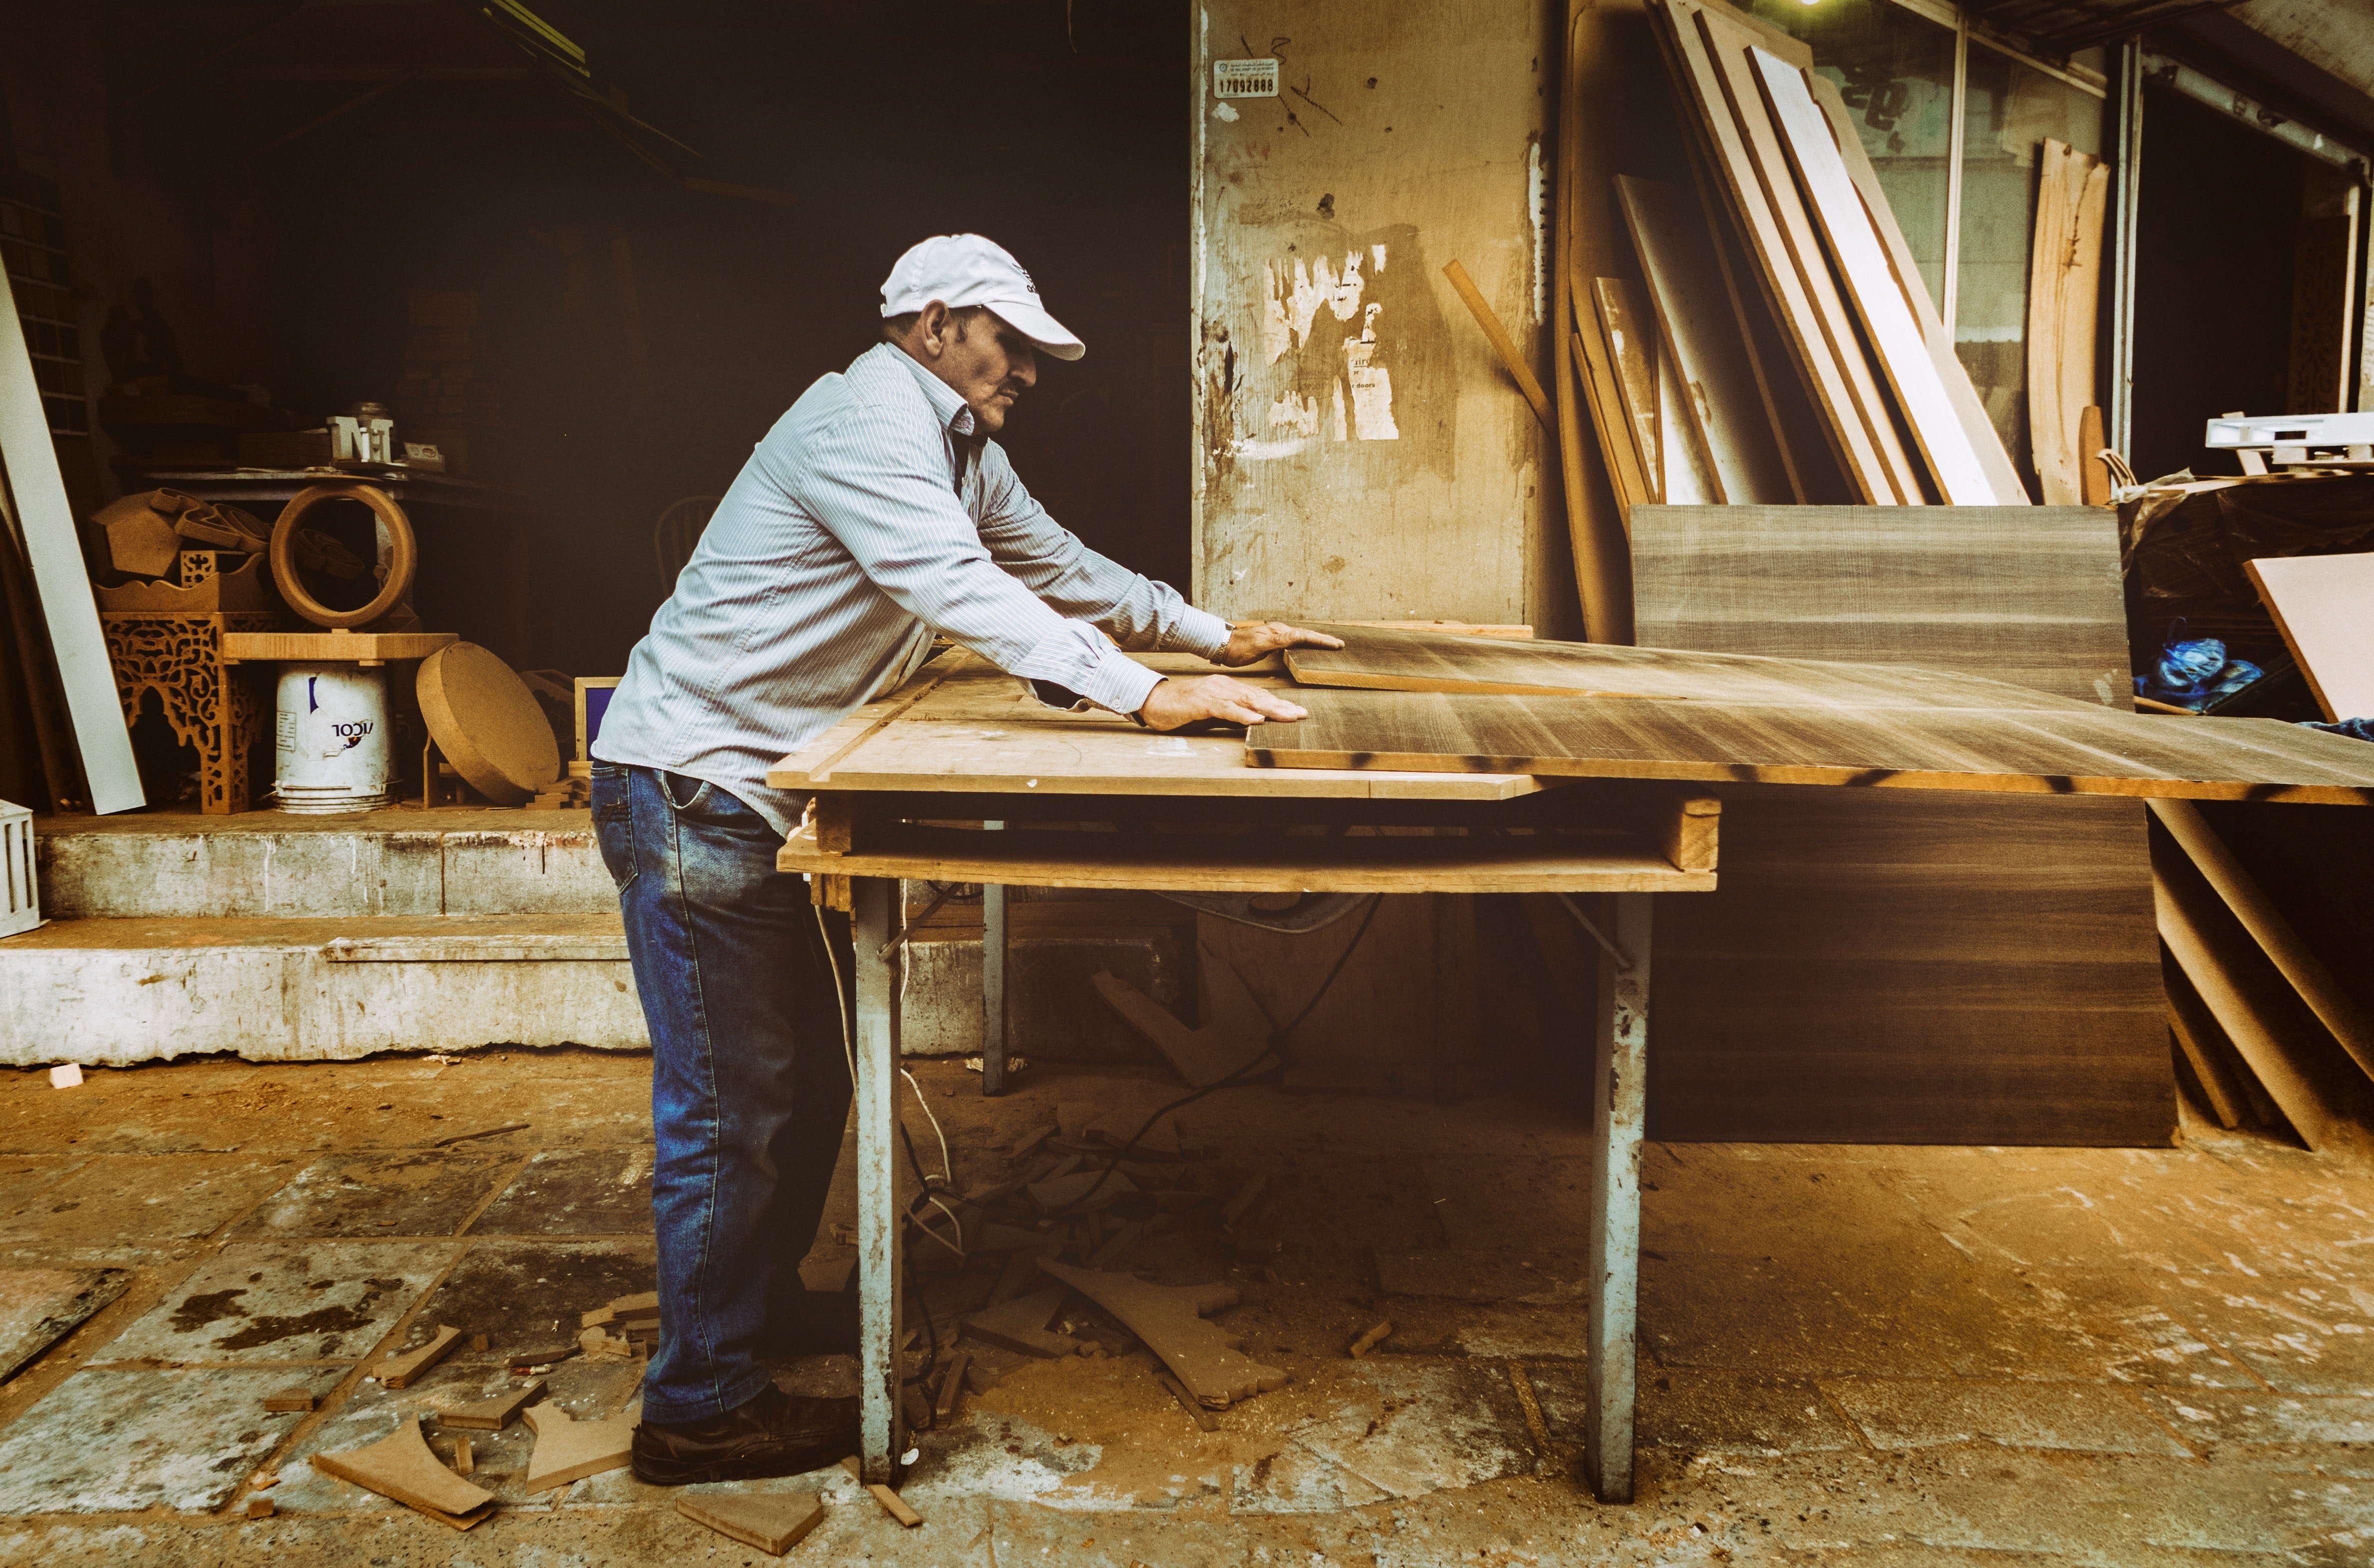
I see it as a tool. It’s the same way you would expect a carpenter to use a ruler, level, clamps, power saws, power sanders, nail-guns, etc. to get his job done quickly, reliably, and effectively.
But as an artist, you don’t want to use it all the time. It’s important to learn how to draw freehand as well. You can use a grid to start with. And then go completely freehand as you gain confidence. These drawing skills will translate into painting skills–because painting a realistic portrait is always fighting the internal battle of painting what you actually see, rather than what you think you see.
If you want to paint a portrait from a photo, and do it well, it will be a lot easier if you learn how to draw.
With this 48″ x 72″ portrait, the size is large enough that I decided to use a projector to accurately transfer my Photoshop design onto the canvas. I thought about using the grid system for a moment, but I decided it would take too long to set up all the grid lines, seal them in, and then try to mask them out at the end after doing the sketch.
The figures in the portrait just have too much detail for that to work, not to mention the background.
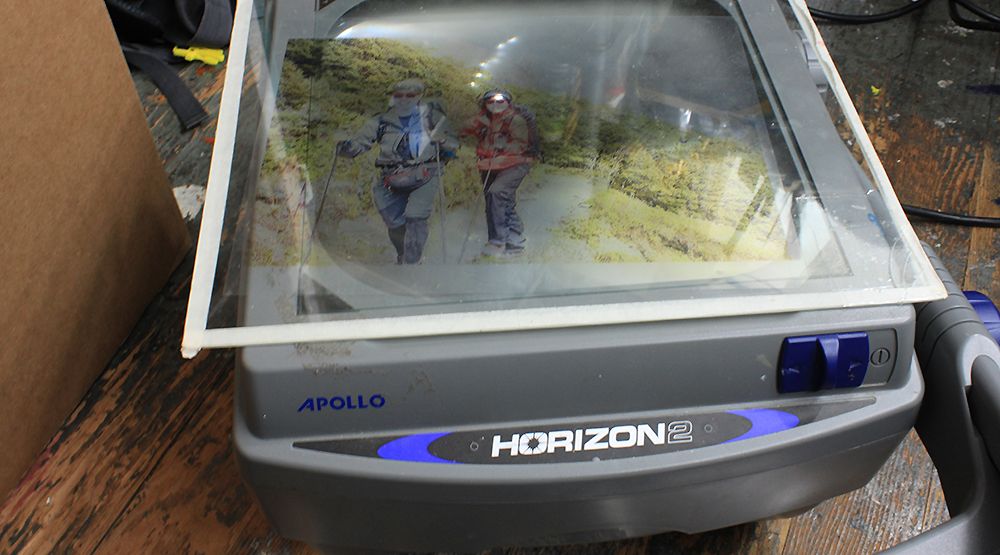
So I set up my projector. I use an Apollo Horizon 2, which I purchased for about $200 several years ago.
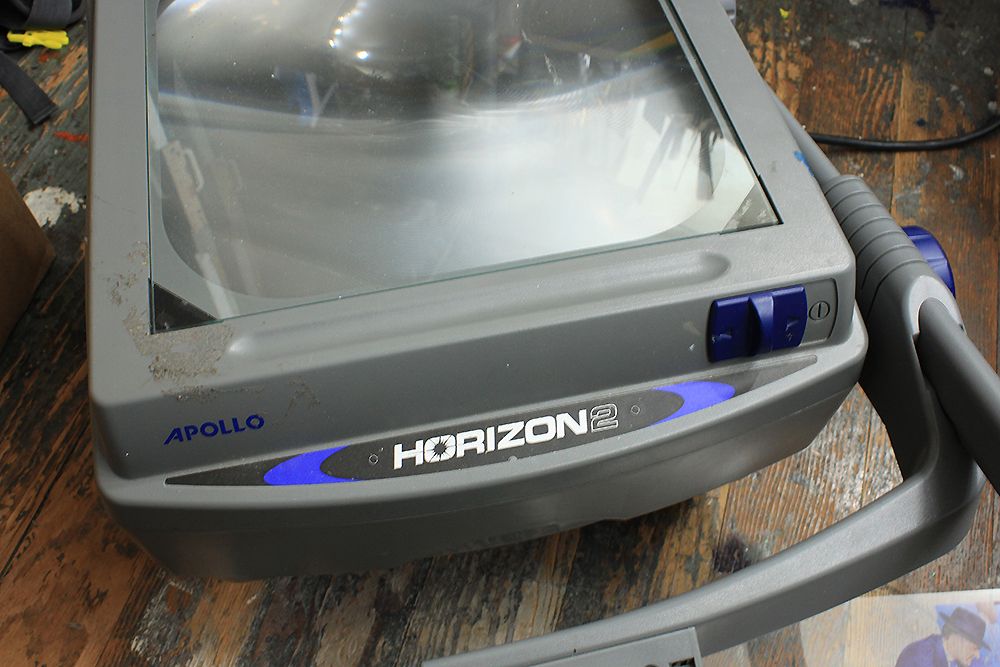
I printed off the design on my inkjet printer and then laid it flat on the surface of the projector.
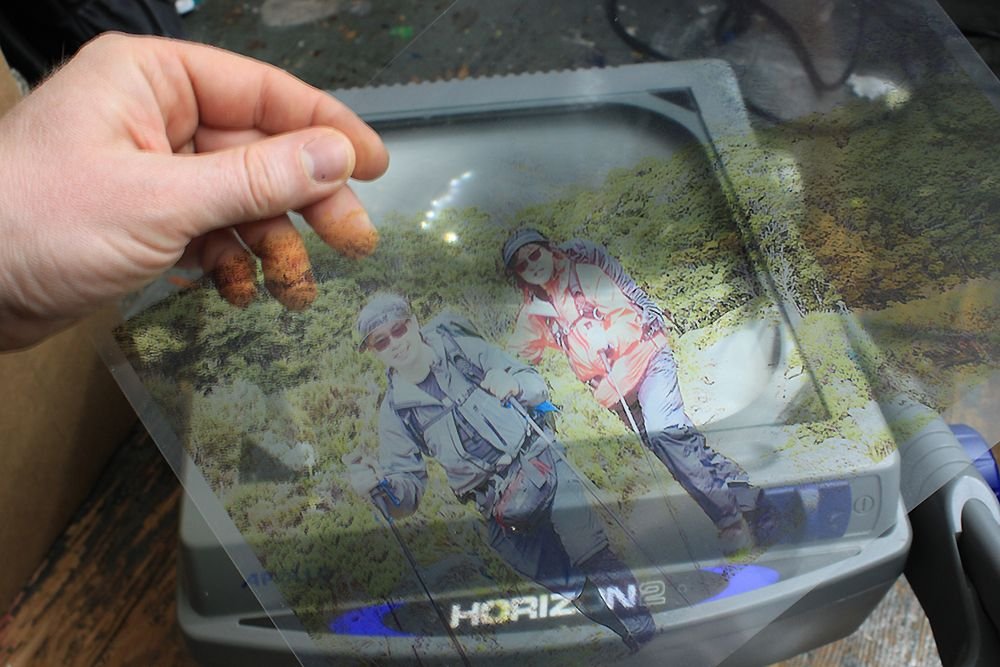
Now, you will find that the lightweight plastic sheet will want to curl on you from the projector’s heat. So, if you put a piece of glass on the top (I tape the edges with masking tape, so it doesn’t cut me by accident) it will be enough to keep your transparency in place.
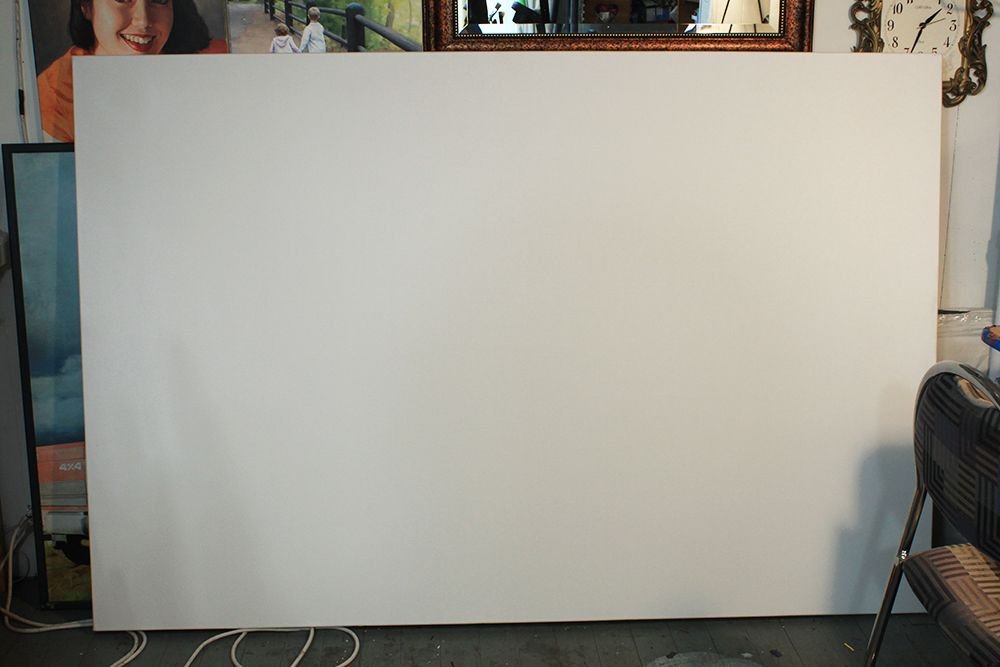
After that, I set up my canvas vertically against the wall. I have pretty small studio, but the room is long, so I faced it so I had room get the projection lined up straight on the canvas.
Next, I turned on the projector and lined it up. There were a few inches on either side that I couldn’t cover, but that would be easy enough to fill in later. Also, I needed to move that chair out of the way! 🙂
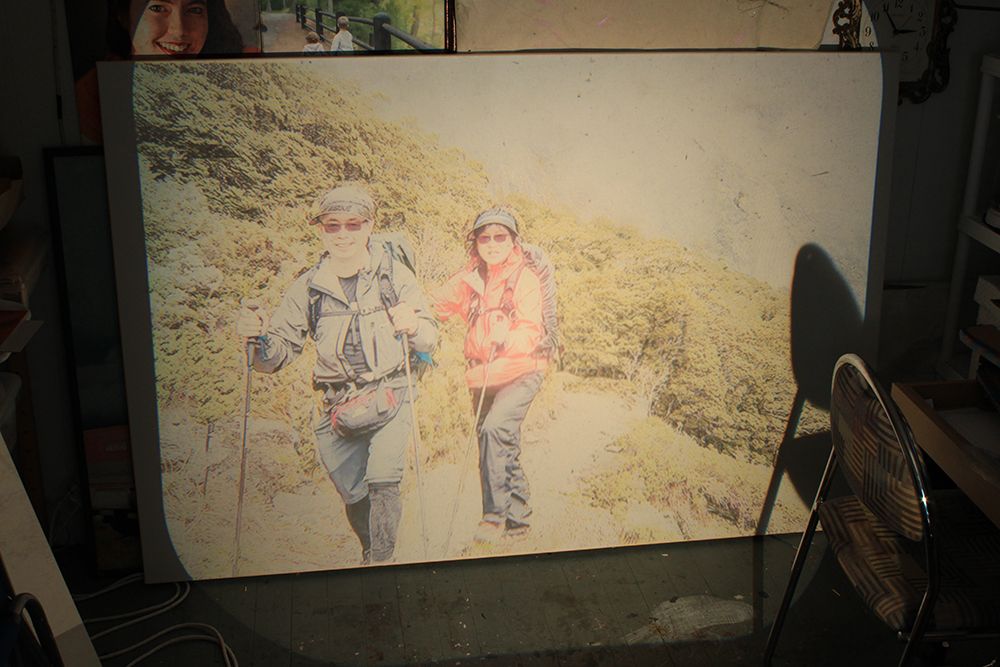
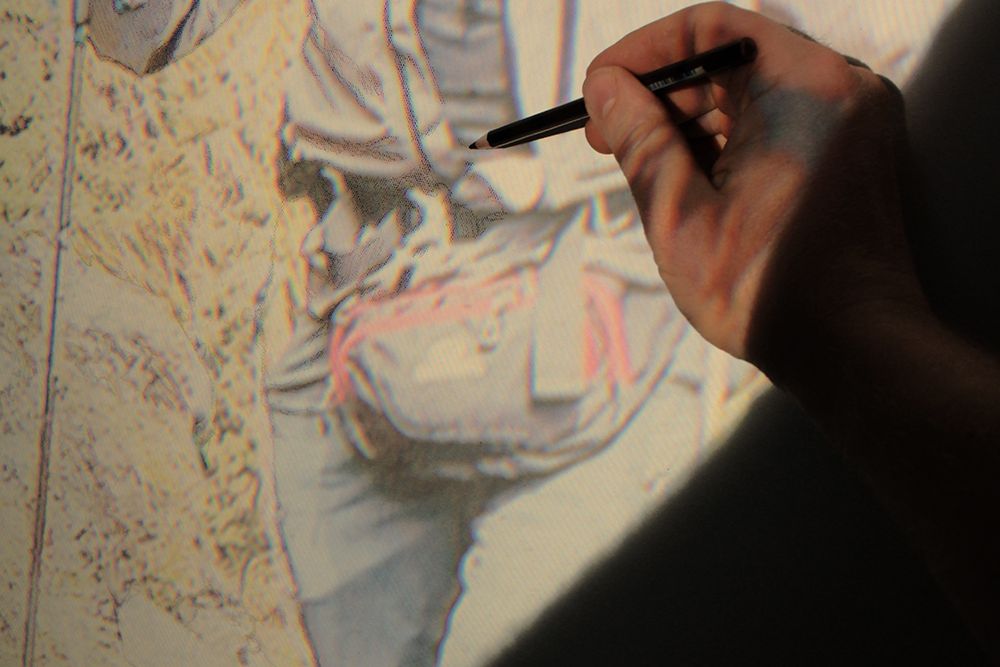
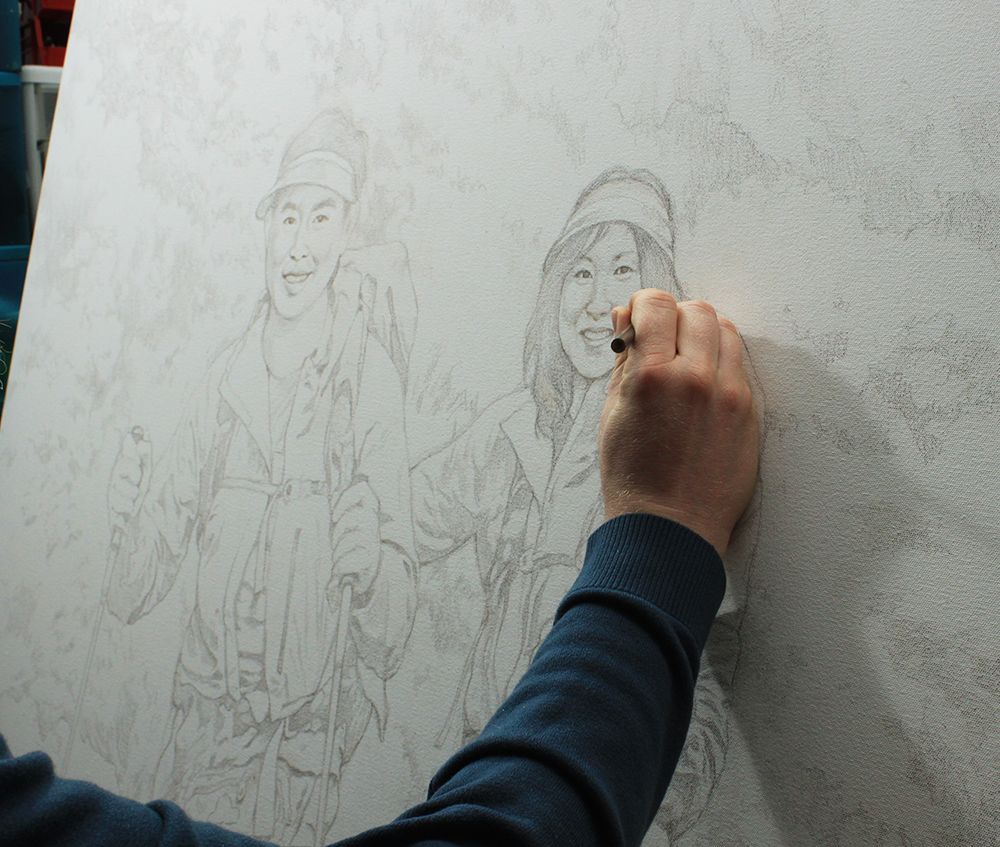
I used a sepia toned-colored pencil to do the tracing. I work from the left to the right, keeping my body from obscuring the projection.
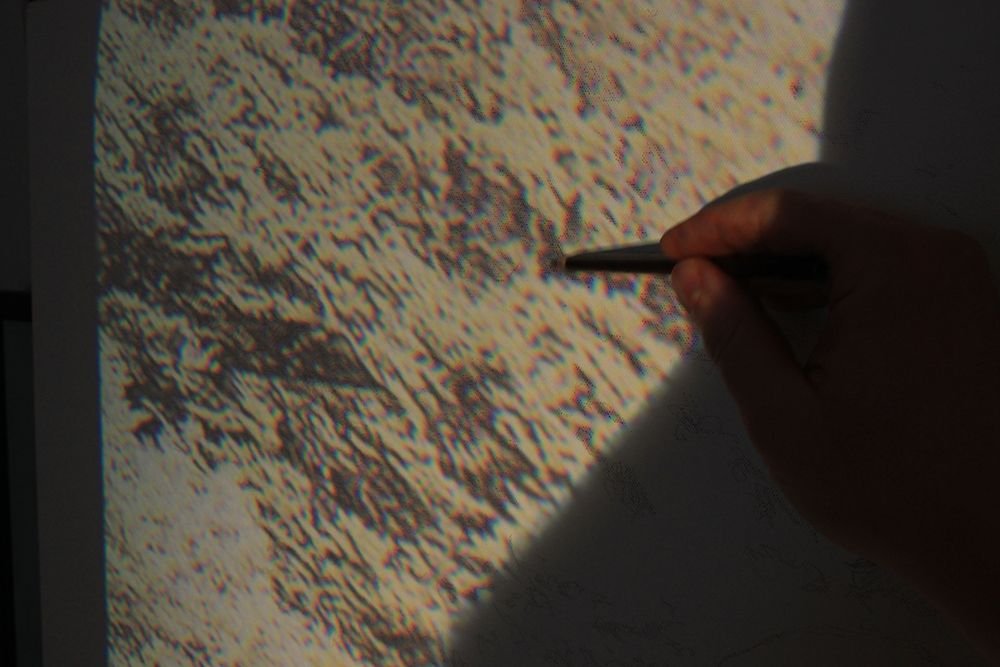
You would think that tracing is just a mindless process, and so simple that a caveman could do it. But you have to discern what lines are important and what are excessive.
Why?
The projection will take the image and flatten it out. Background, foreground, subjects all become a jumbled mess of contours and details. You will lose discernment over what you’re actually tracing when you are close to the image. It’s good to hold a printed image of what you are tracing, or tape it up next to your canvas. That way, you’ll see the whole picture and if you can’t tell what it is that you are tracing, you’ll get a clue from your reference photo.
It’s good to fill in some of the shadow areas even while tracing, or you’ll have a tough time recognizing what the lines represent visually, when you shut your projector off.
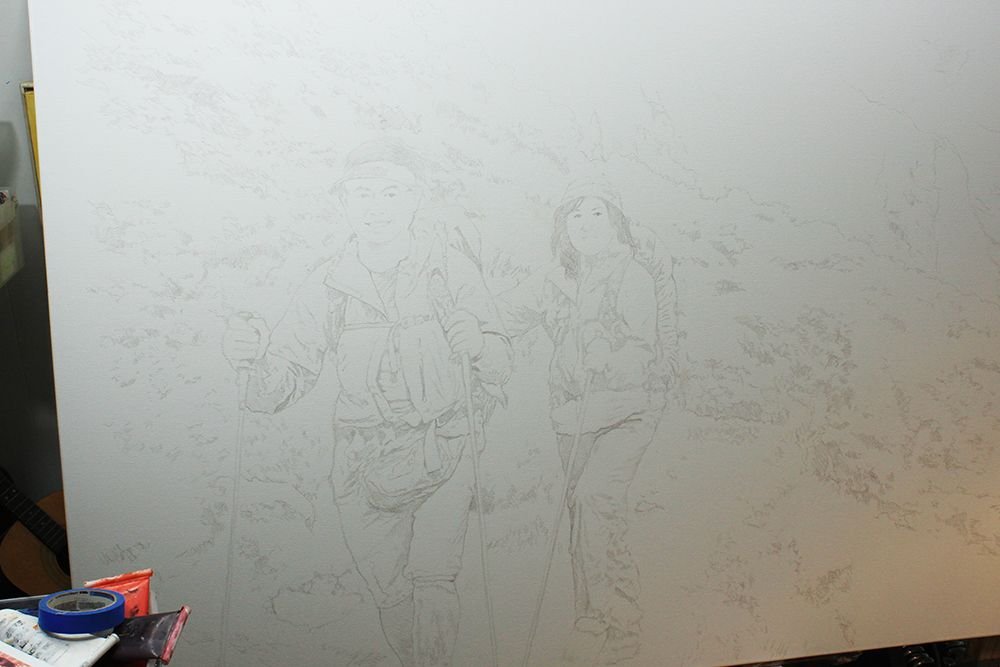
It took me over an hour just to trace everything. And with that, my work only had just begun.
When you have a tracing done, you are not finished yet. Not by a long shot.
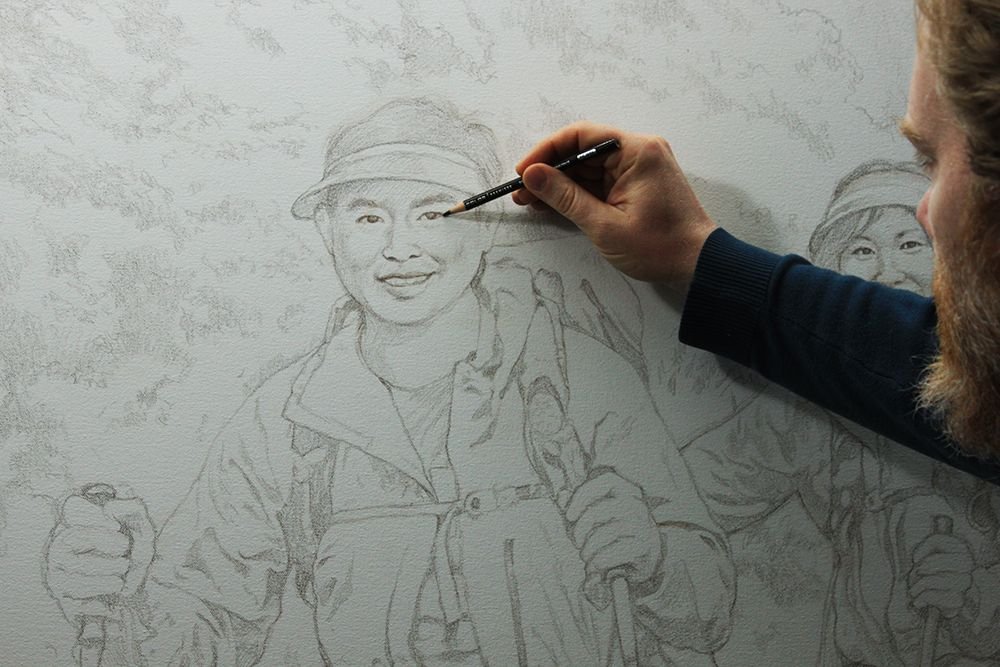
This is where your freehand drawing skills come into play. If you want an accurate sketch as a solid foundation for your portrait, you have to go back over the tracing and enhance it.
You may be able to pin-point where the eyes or mouth are on the face with the projected image, but you’ll have to actually draw their shapes in. You’ll need to take the jumbled lines representing the background and subjects and add detail to them. The projection just won’t do that for you. All it does is give you the overall composition and proportions.
You’ll also need to darken some of the lines, and leave other lines light.
That’s what I did with this picture. In addition to that, the client wanted some changes. I think I mentioned that in my previous post. He wanted he and his wife to look younger, and their sunglasses to be removed.
So, after I finished the tracing, I put in a couple hours changing their faces, using reference photos that the client supplied as a guide.

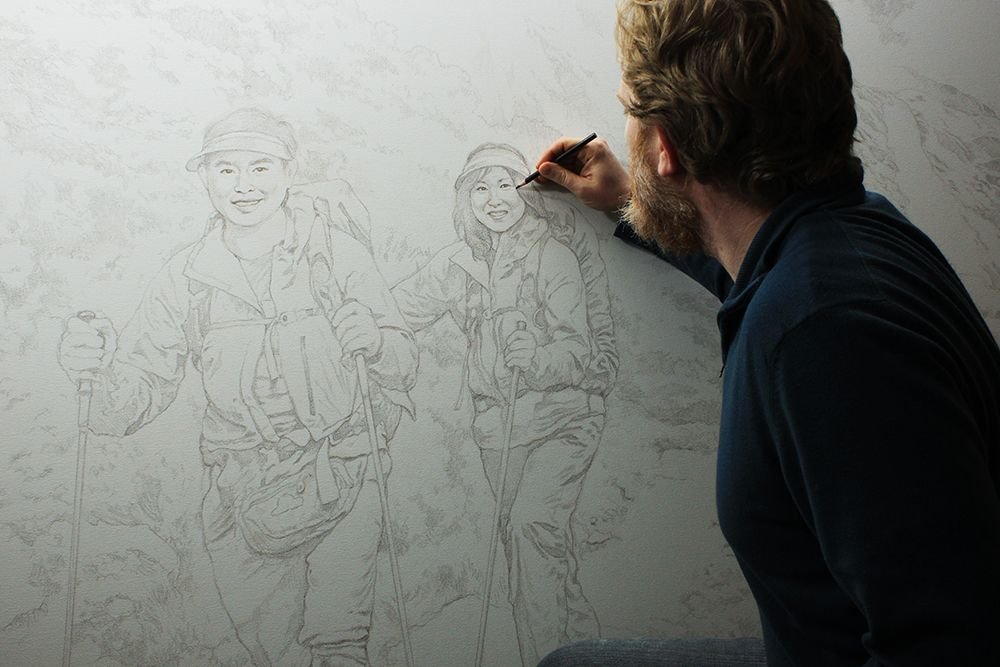
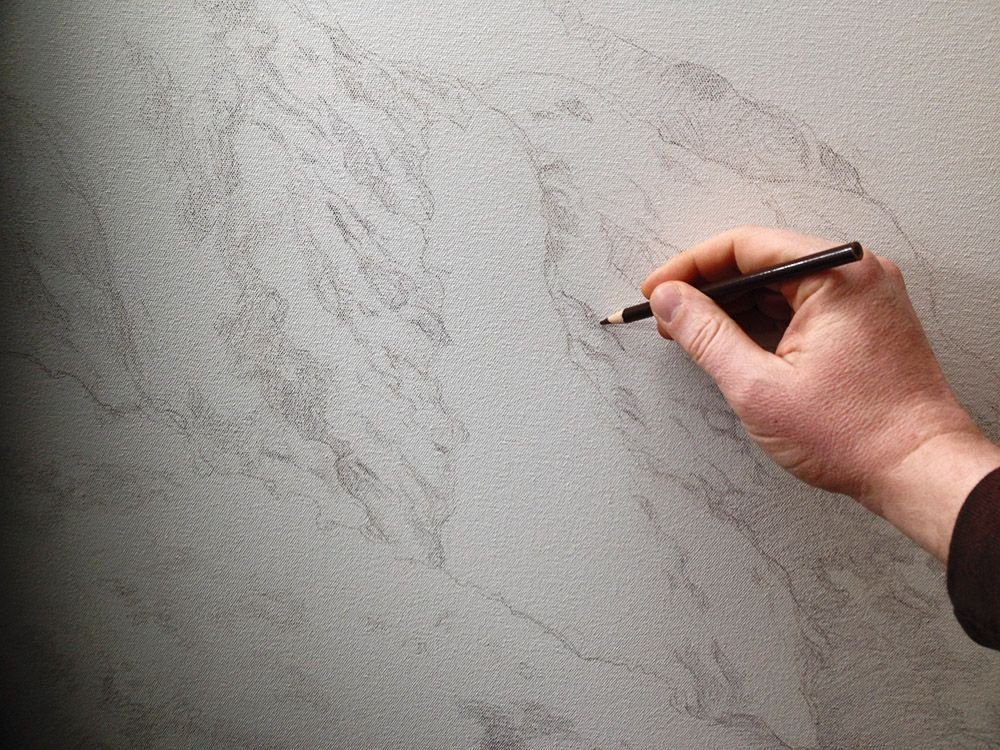
I also refined the details of their clothing, supplying the visual information that the projection left out. I went into the background, making sure I could identify what were the edges of hills, and what was just foliage within the hills.

I defined the edges and rock formations within the waterfall, because in the tracing, I could only make out just a couple angles and nothing more.
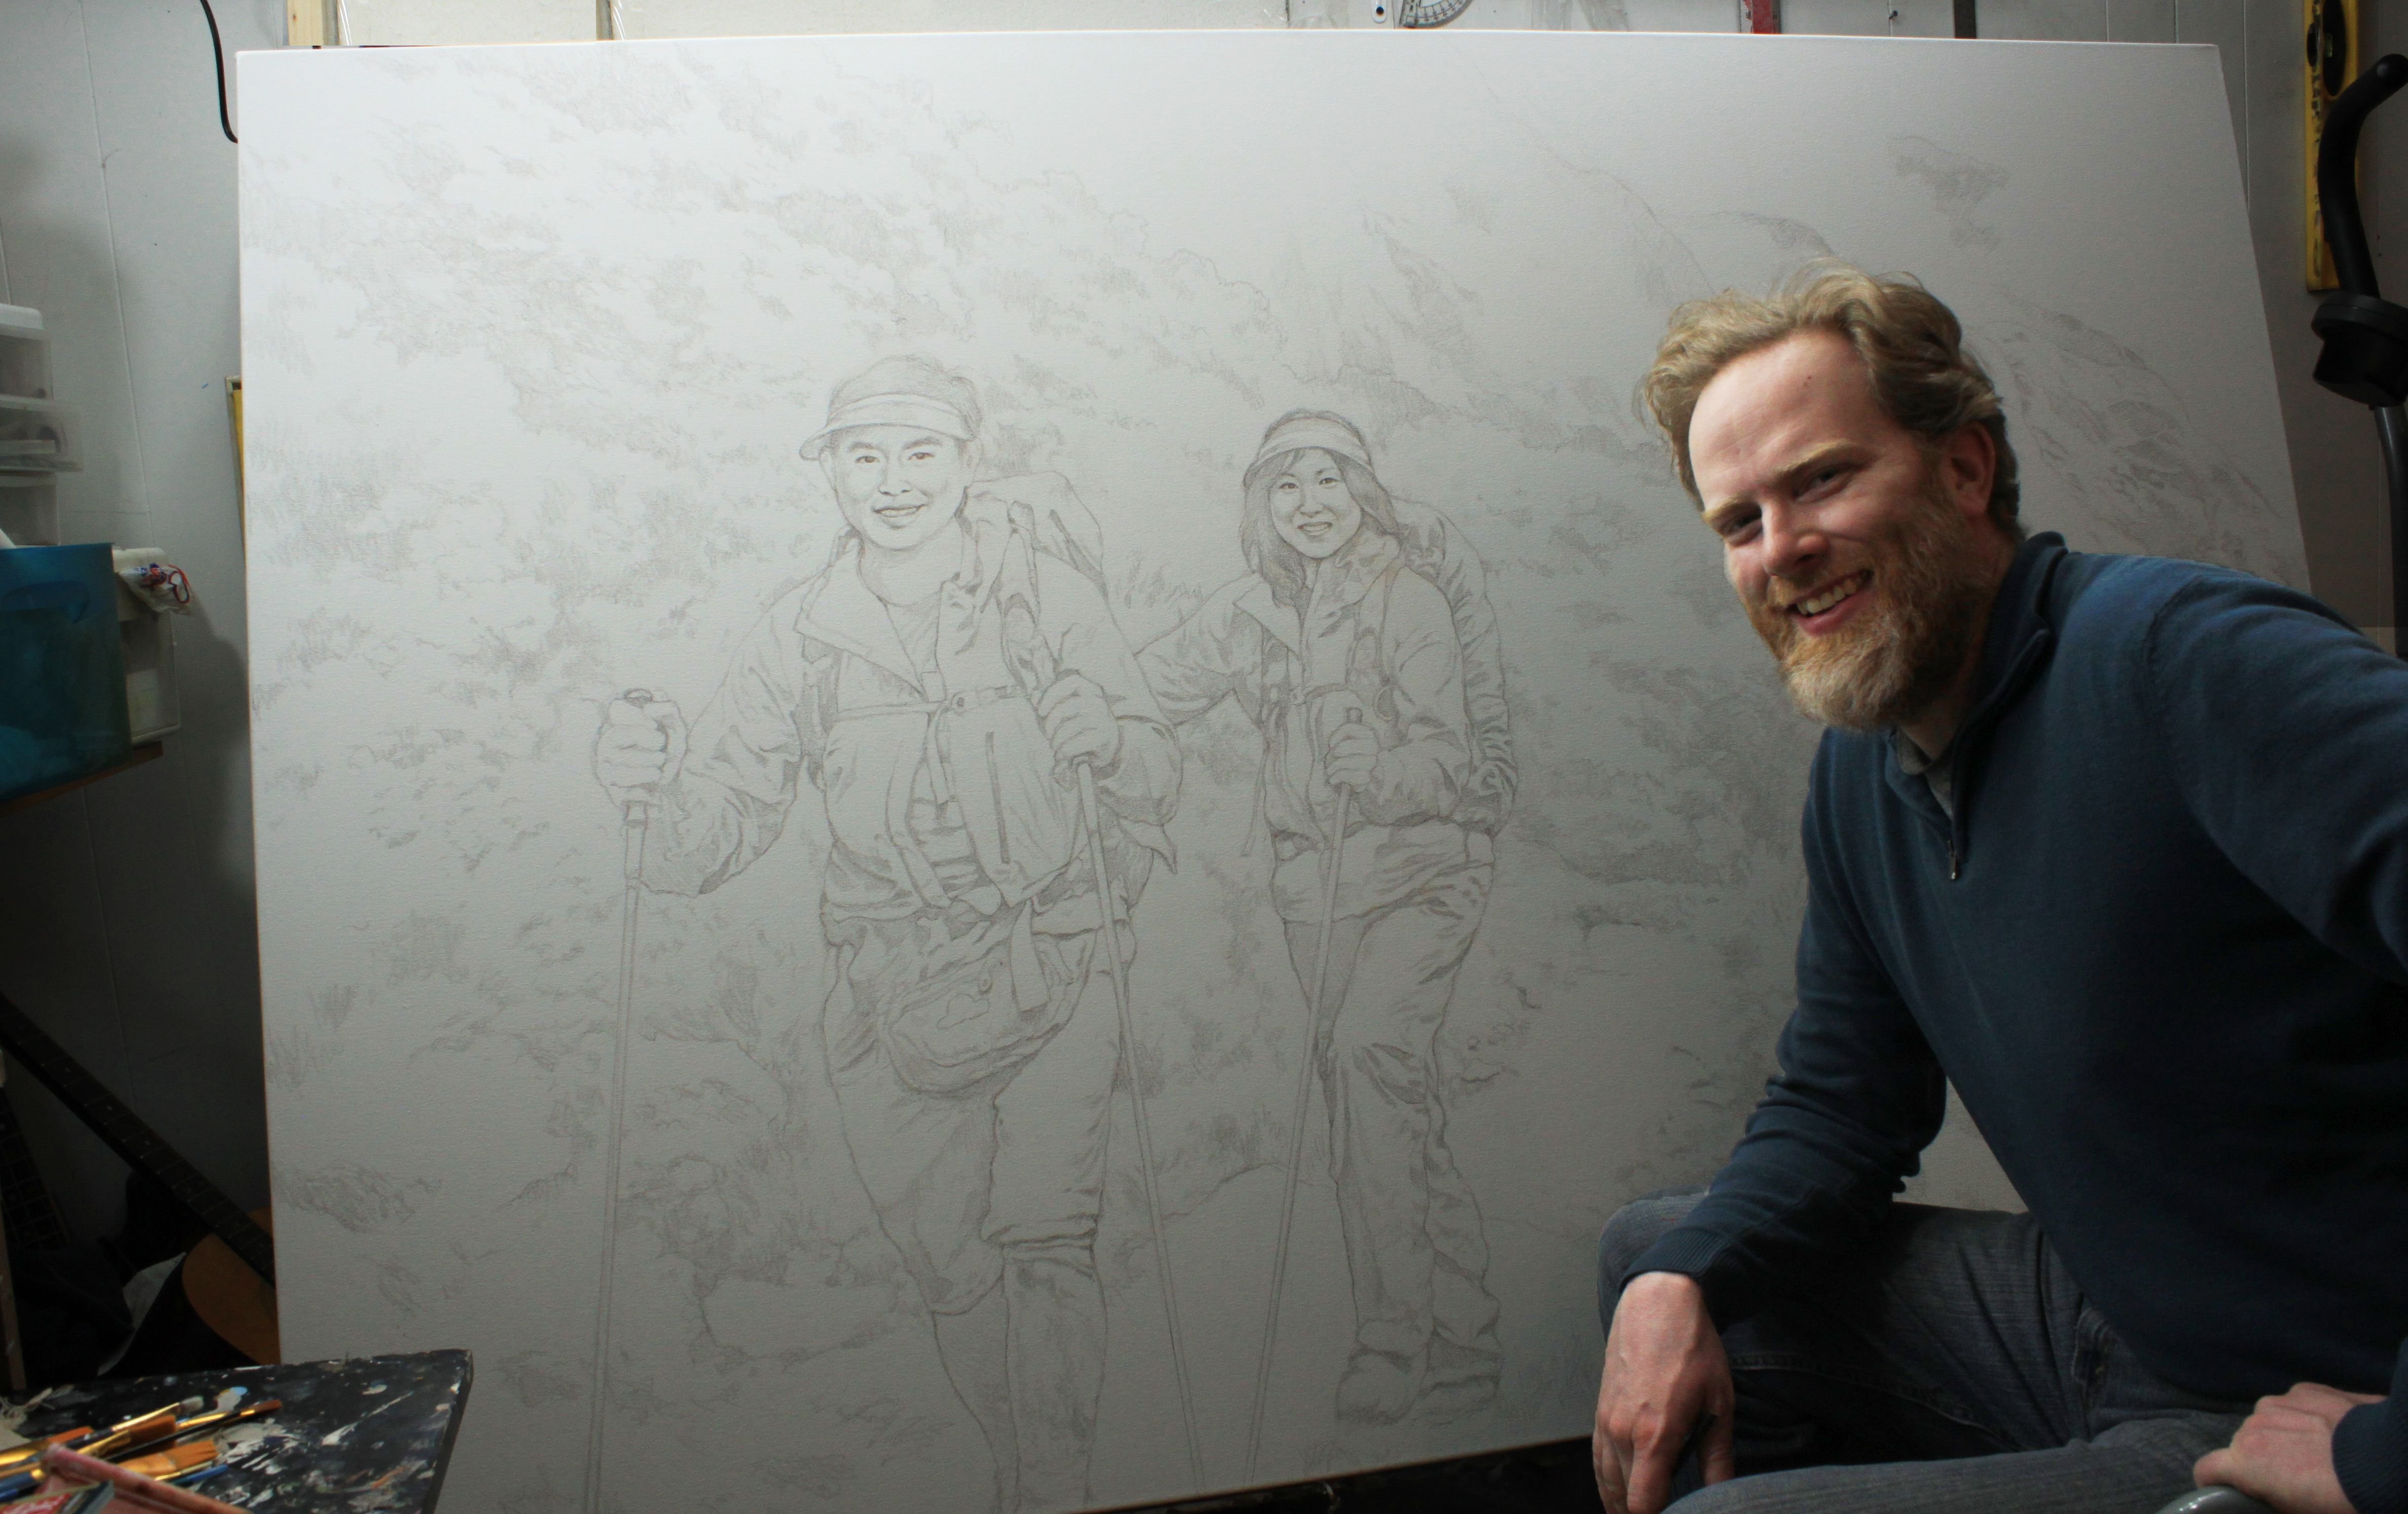
Finally, after about five hours or so, I’ve got the sketch finished!

The client has approved it, and now I am ready to paint. I’ll share that part of the adventure next time. ‘Til then, have a fantastic Easter/ Resurrection Sunday, and I’ll be in touch! (Here is a video I recorded where I talk about a mural that a friend and I painted that goes along with the Easter theme. Enjoy!)
Be blessed in your painting and creative ventures…
All the best,

P.S. Did you find this post helpful or encouraging? If so, send it on ahead! Let others know with the share buttons below. I’d love to hear your comments. Thank you so much! Also, do you have a question on acrylic portrait painting you’d like answered? Let me know, and I’d be happy to help!