- You are here:
- Home »
- Blog »
- Step-by-Step Tutorial »
- A 48″ x 72″ Commissioned Portrait Adventure, Part 1

A 48″ x 72″ Commissioned Portrait Adventure, Part 1
There’s something about a large painting.
It just seems to have more impact.
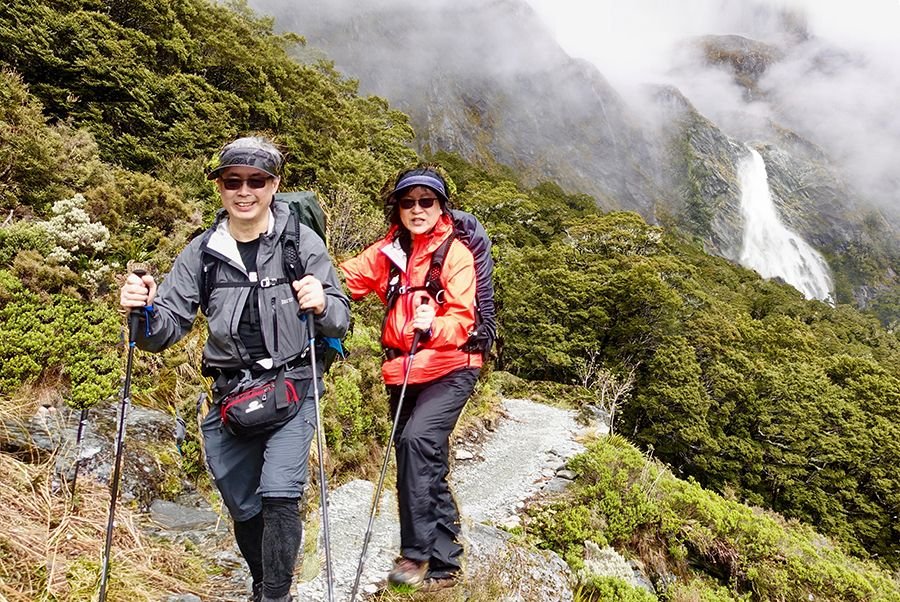
Recently, I was commissioned to do a 48″ x 72″ portrait by a man in Brunei (an island near China) of he and his wife hiking in New Zealand.
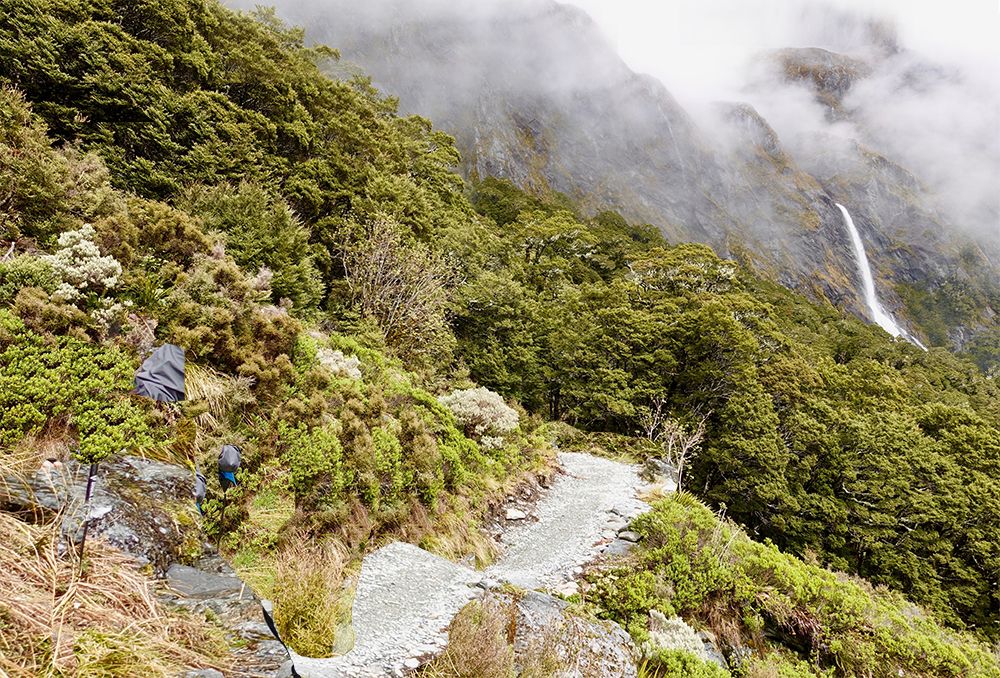
It was based off this photo.
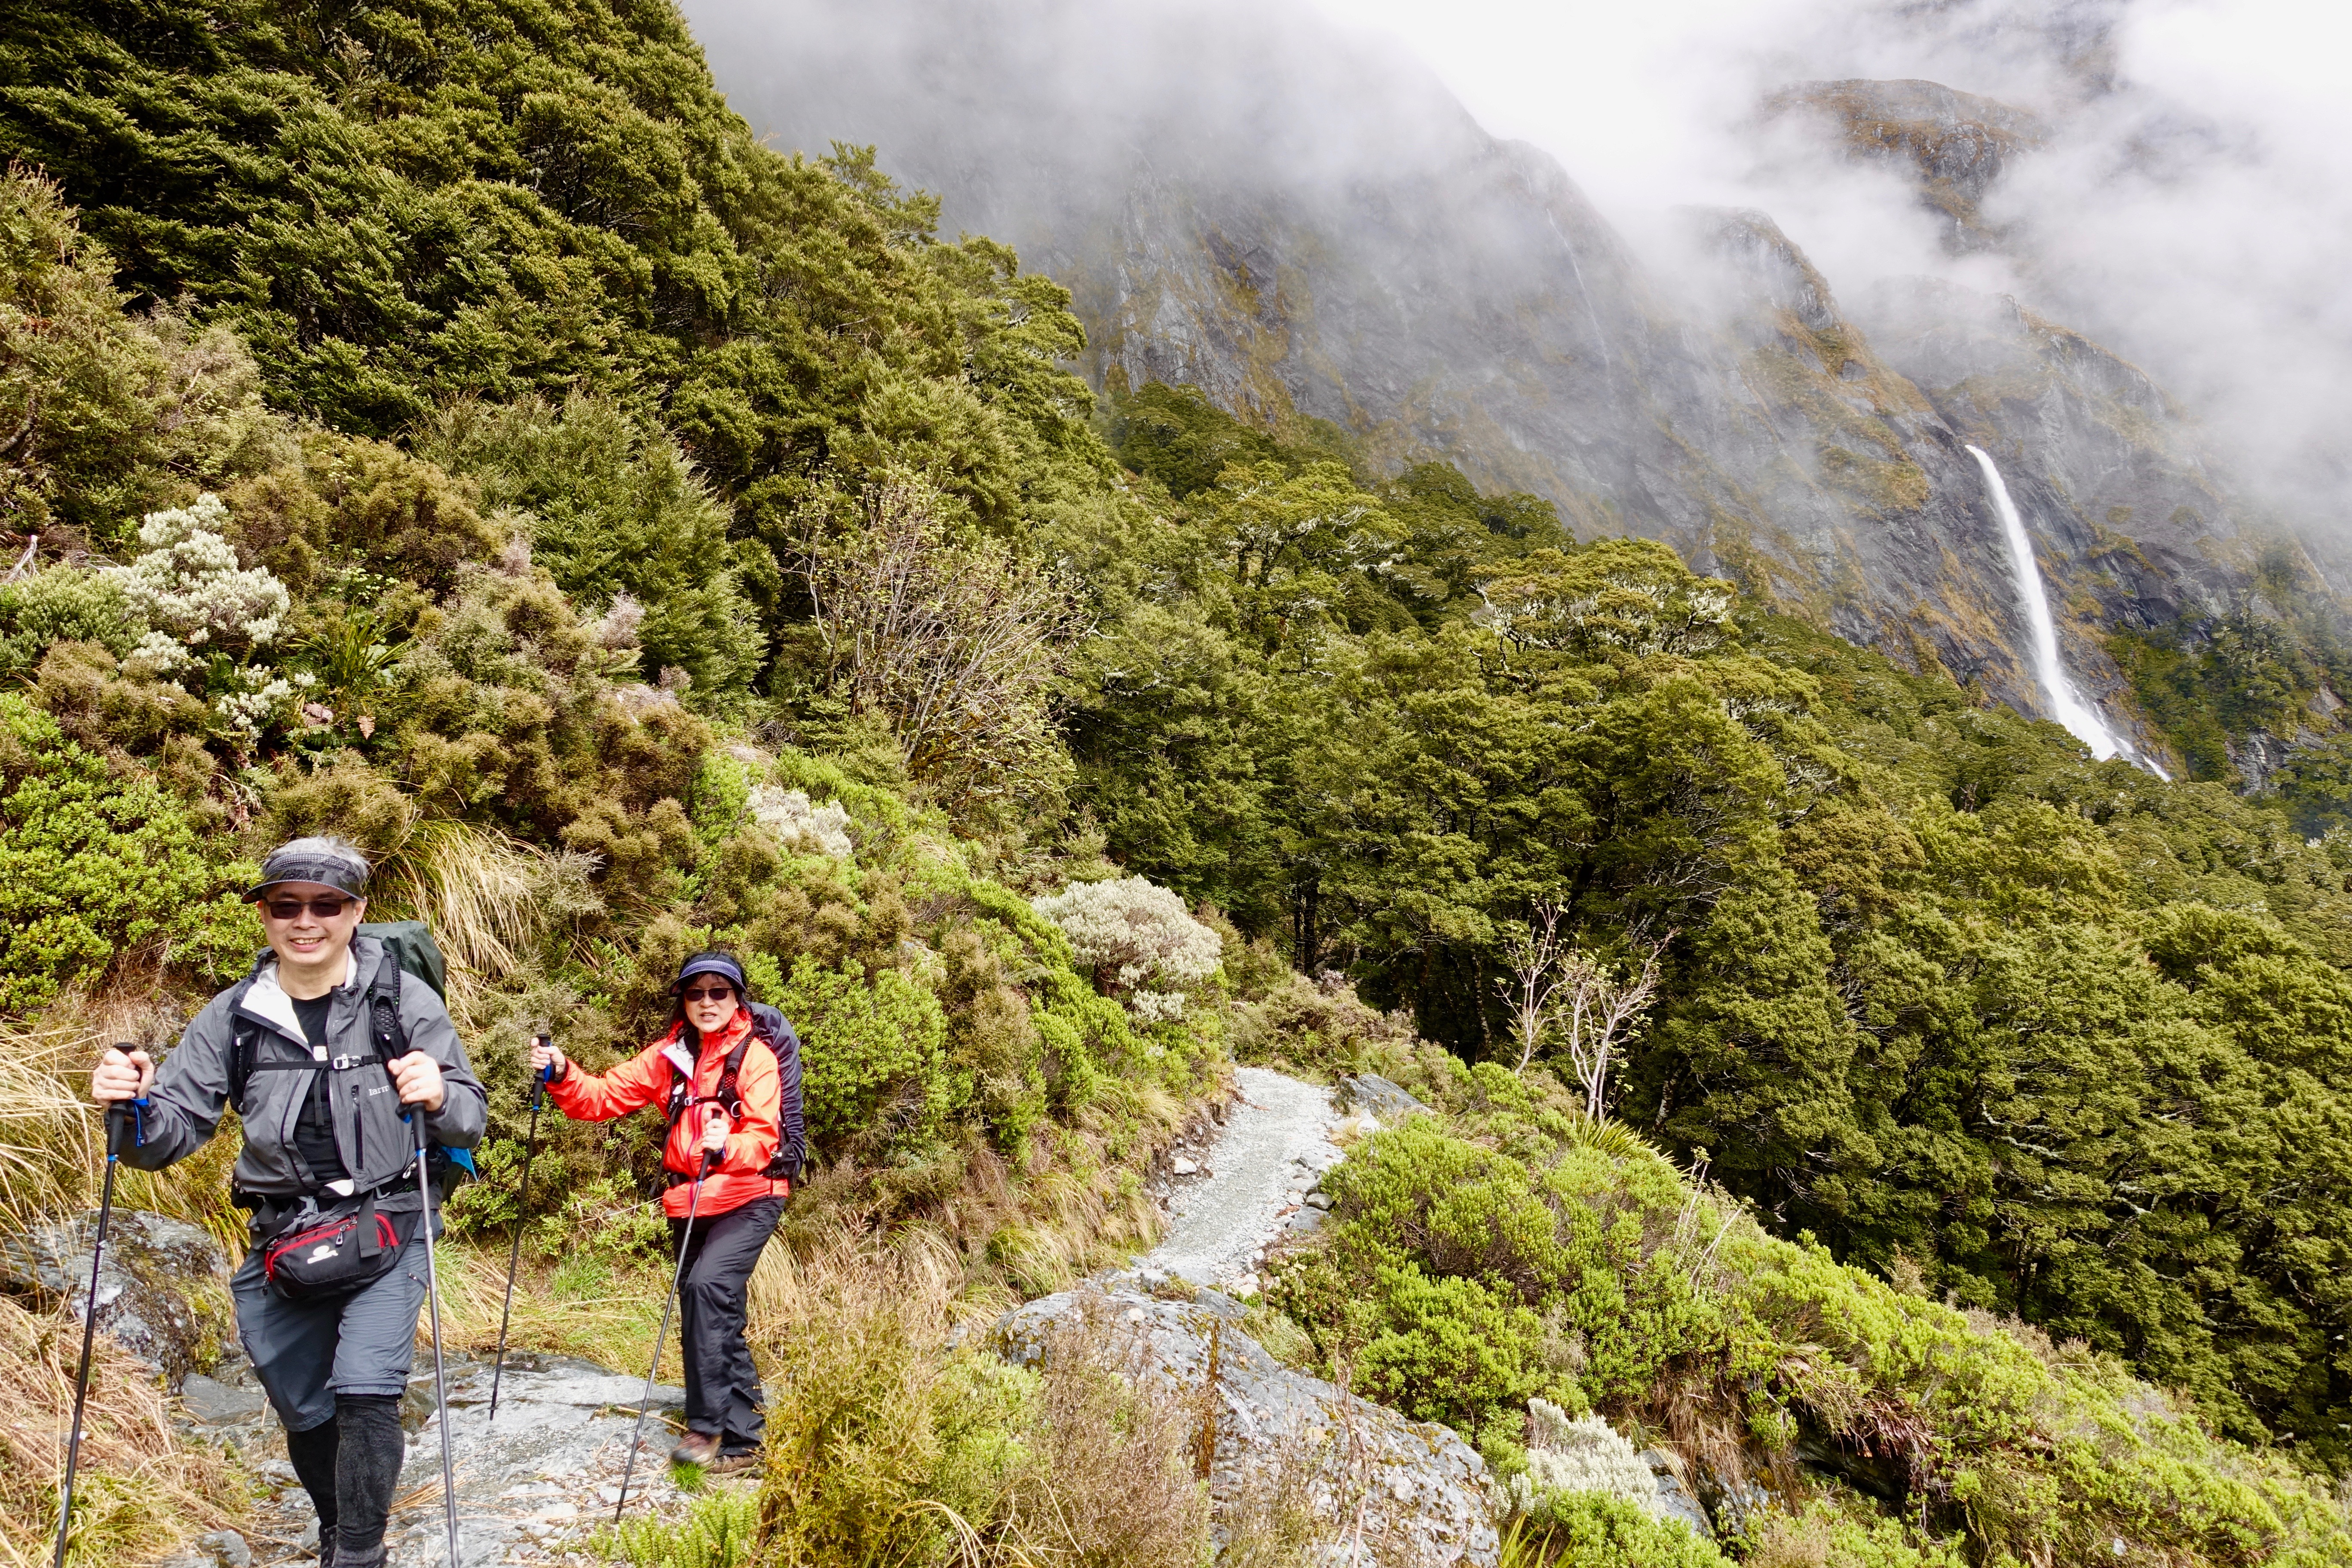
It’s a beautiful scene, showing the couple winding their way up the scenic mountain ridge, with gorgeous hills and a misty waterfall in the background. I feel honored to be asked to capture this moment–and adventure–for them. This project ties up for the largest canvas painting I have ever done, and it will keep me busy for a while.
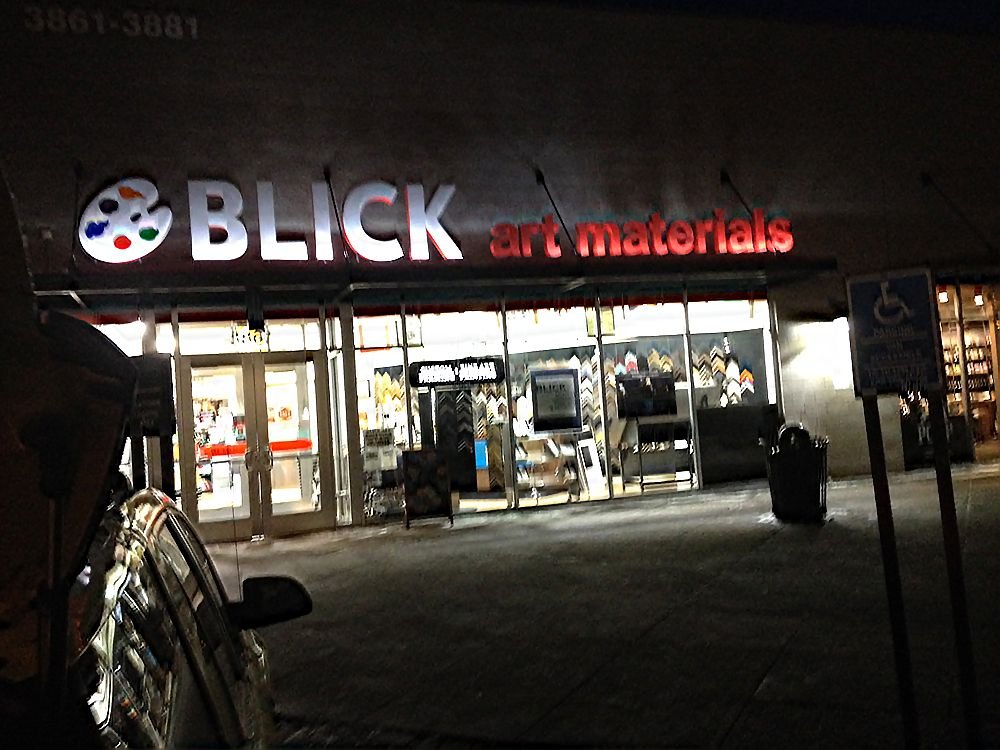
One of the challenges is to be able to find the 4′ x 6′ canvas for the painting. My local art store doesn’t carry any that big. But after doing some research, I found out Blick Art Materials in nearby Minneapolis carries them.
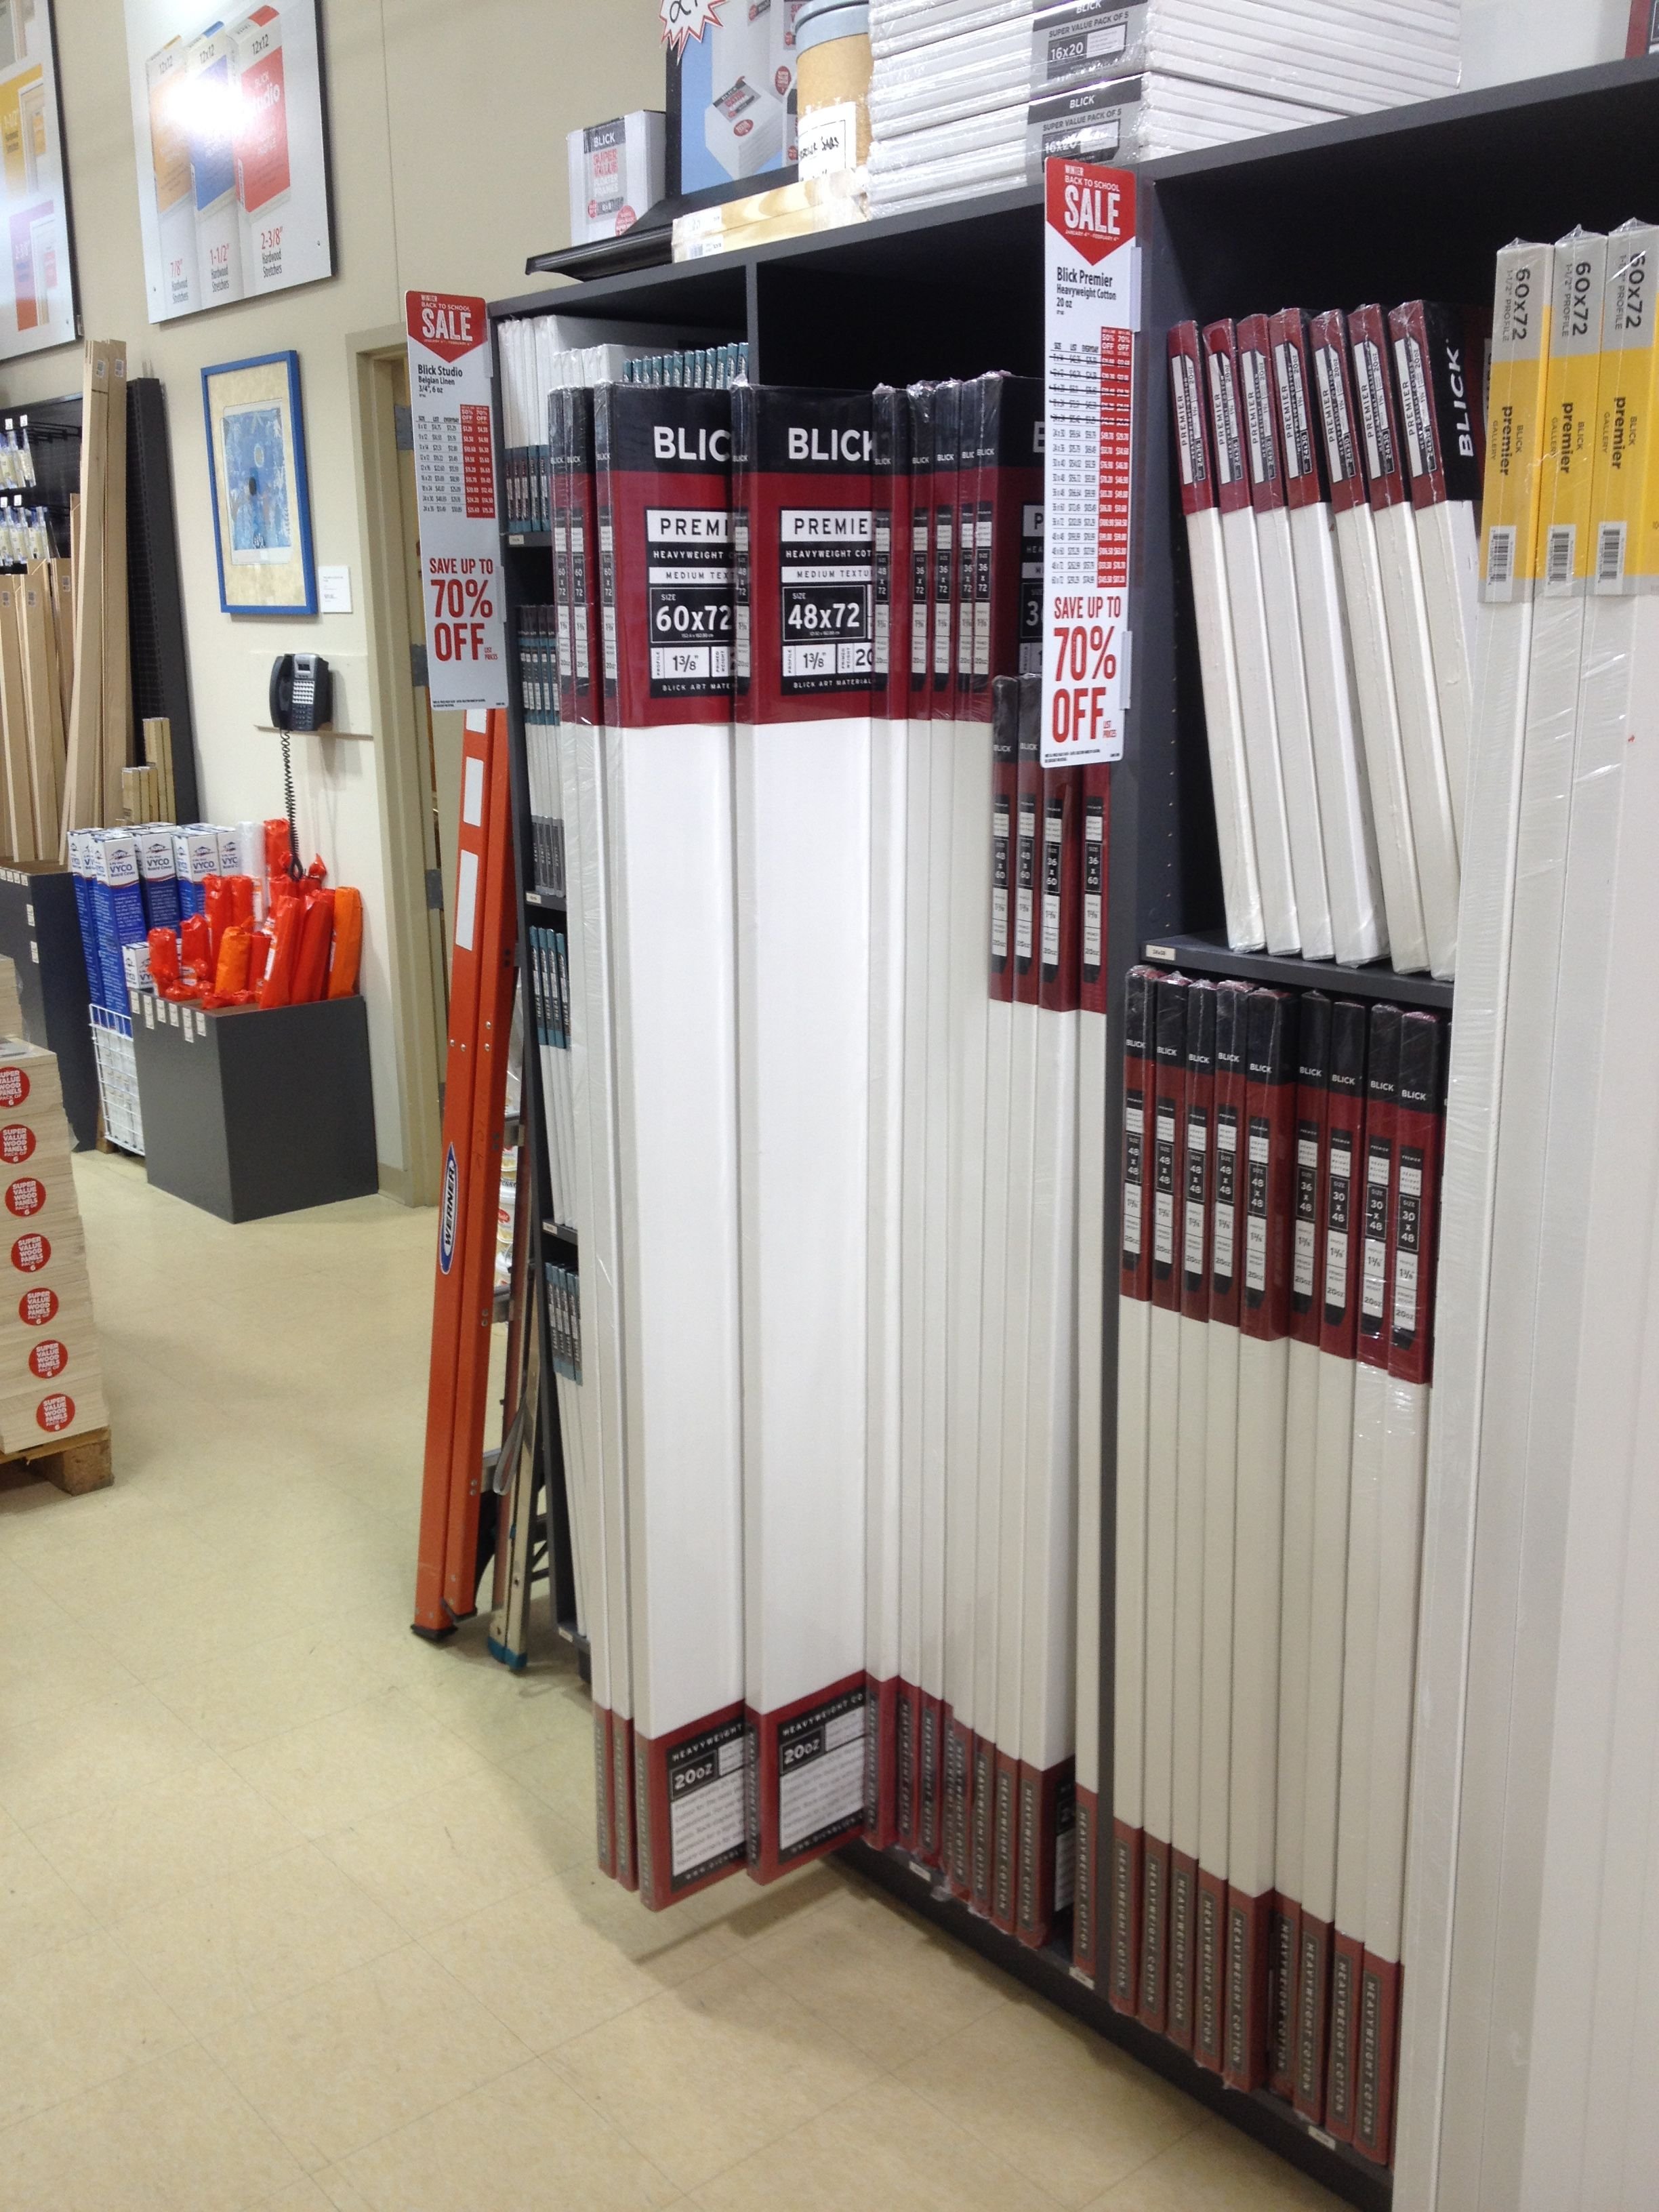
Although I have stretched canvases before, in this case, the cost for a high-quality 20 oz. pre-stretched canvas was only slightly more than what it would cost to stretch it myself. And I know there are purists who say you must stretch your own, but I would rather spend my time painting than stretching.
So off I went to hunt down a canvas.
I had never been to that store before. When I walked through it was love at first sight. I have only been to arts and crafts stores. But to be at a true art supply store, and especially one this size was amazing!

It didn’t take long to find my canvas.
Buying it was easy…
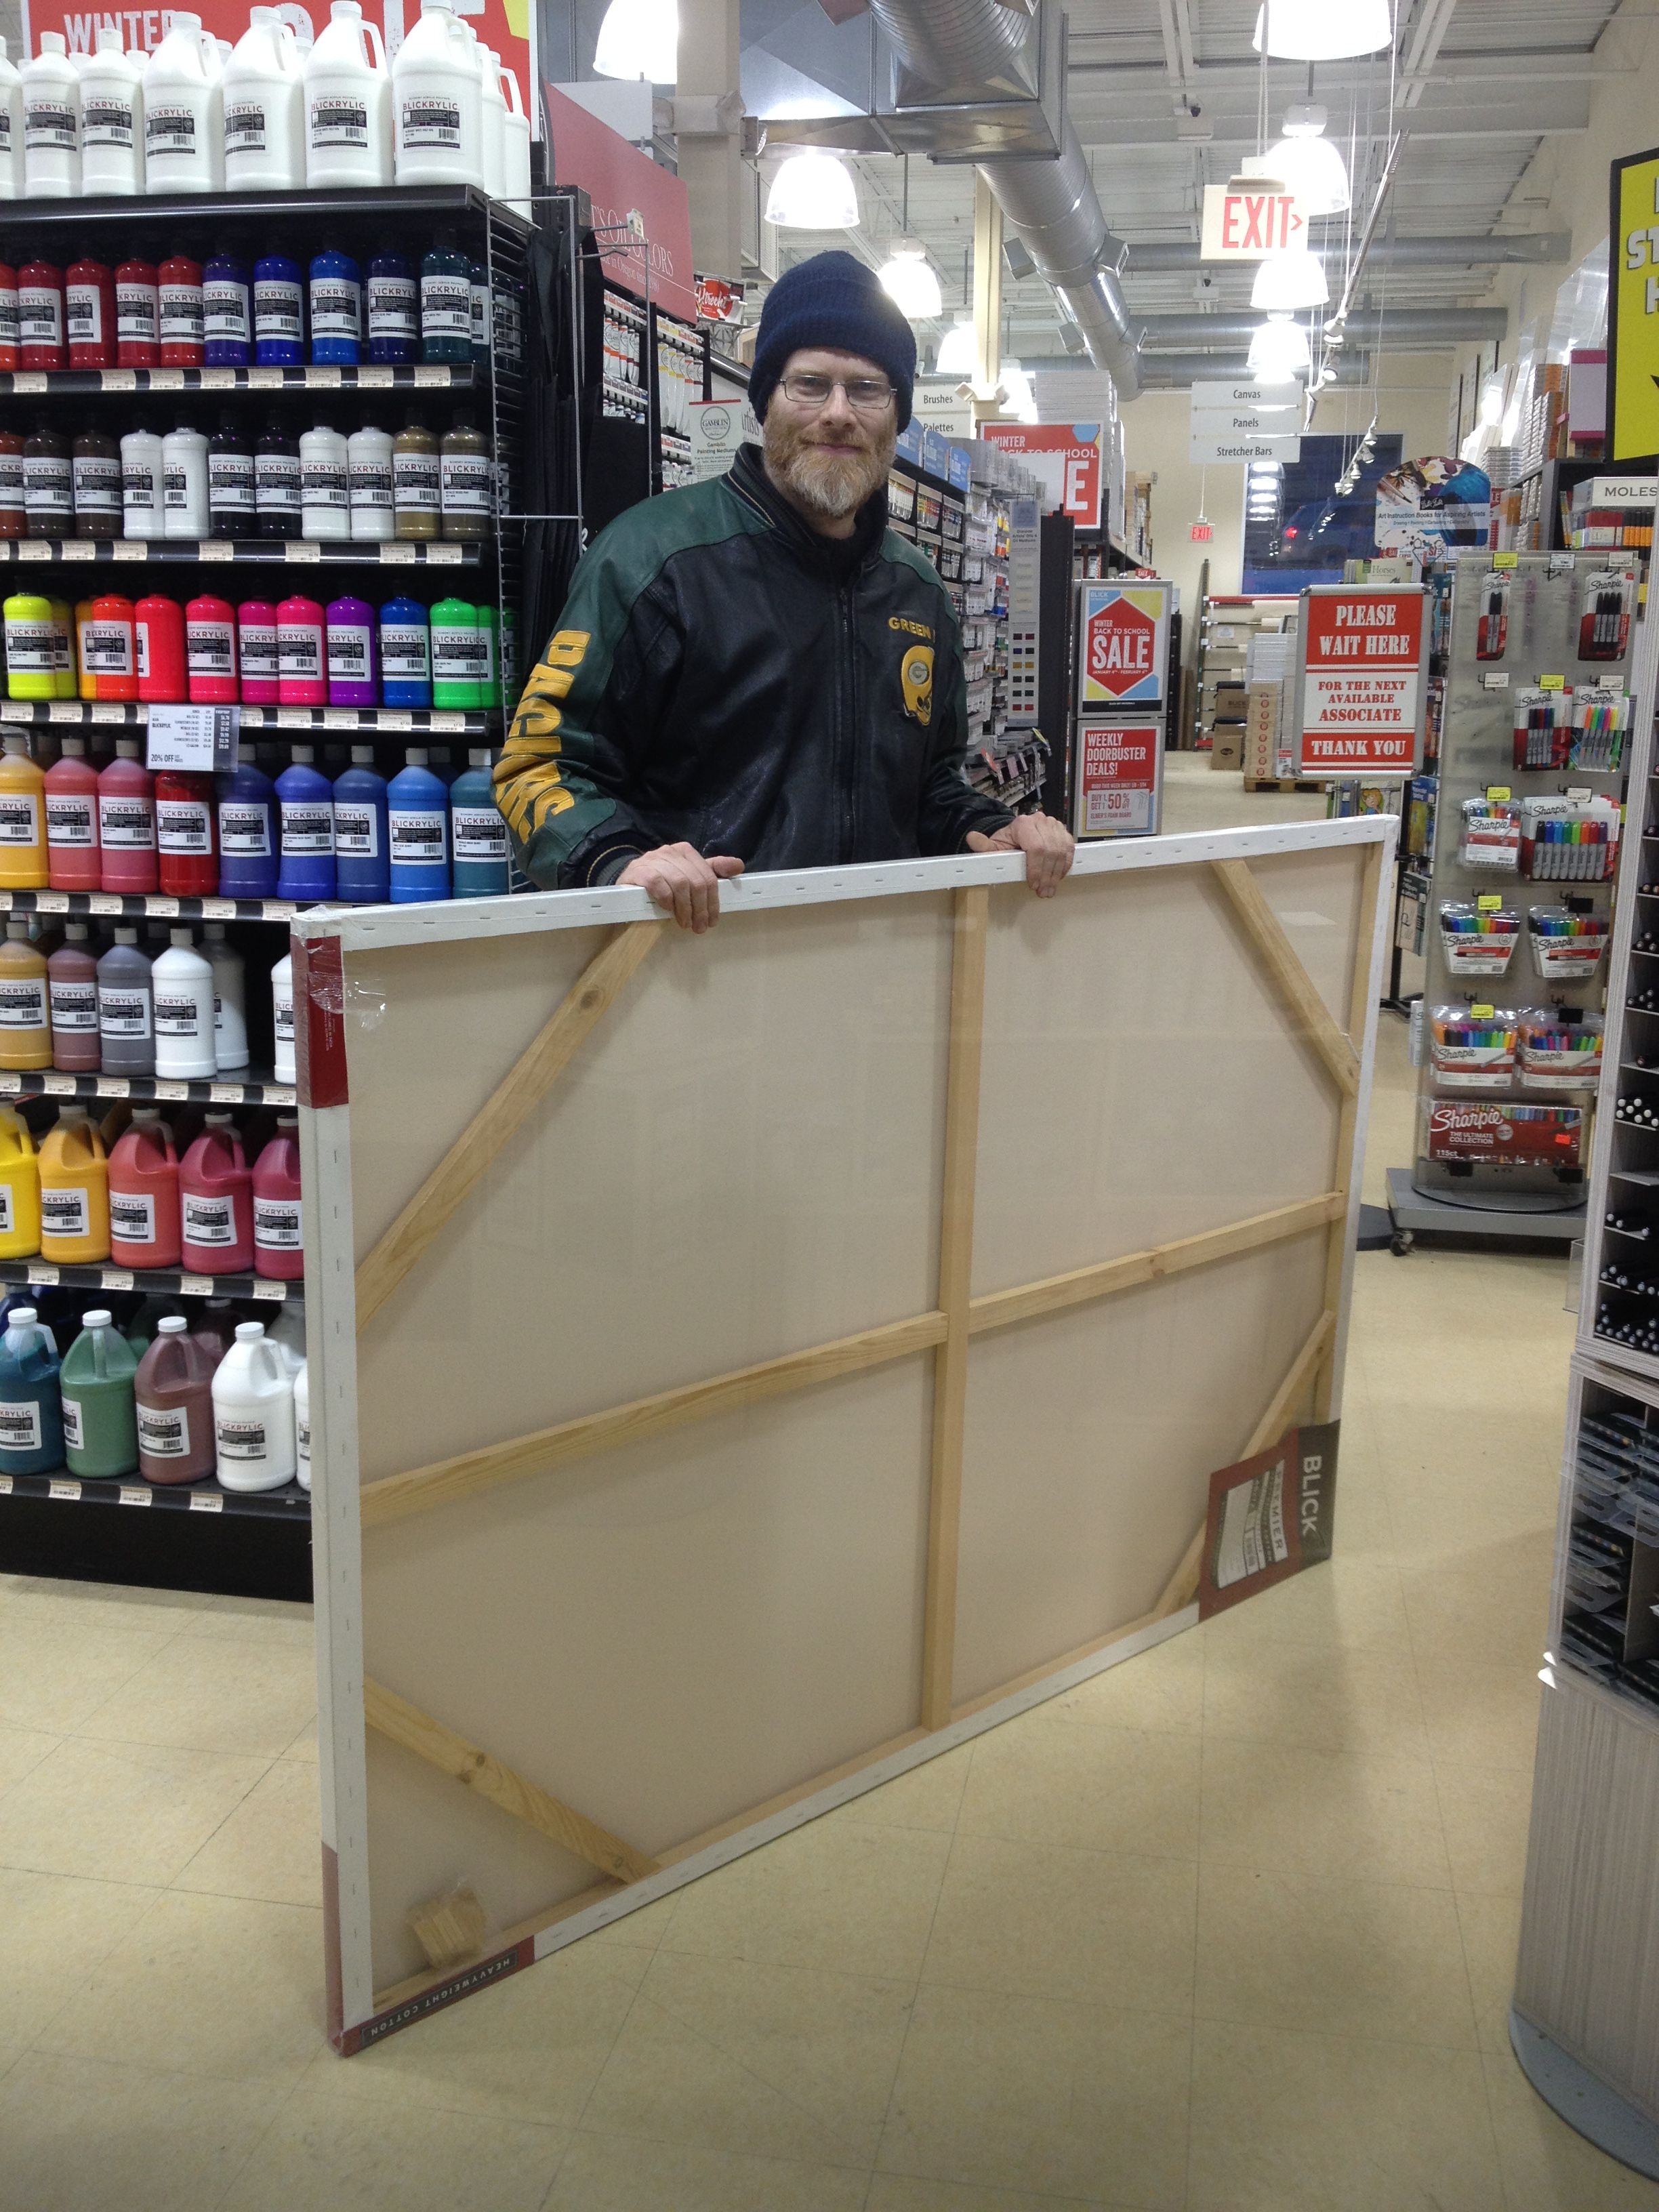
Getting it to fit in my SUV was a little more challenging! Would it fit?
Like a glove.

Learn How to Paint Acrylic Portraits With My Free Mini-Video Course!
Once I had it home, the next step was to prepare the design. The client didn’t want a straight-up reproduction of the photo he sent me.
First, he wanted he and his wife to look younger.
Second, he wanted the two of them to be much larger, more prominent within the image.
Third, he wanted the waterfall in the background to be larger.
This sounded like a job for Photoshop!
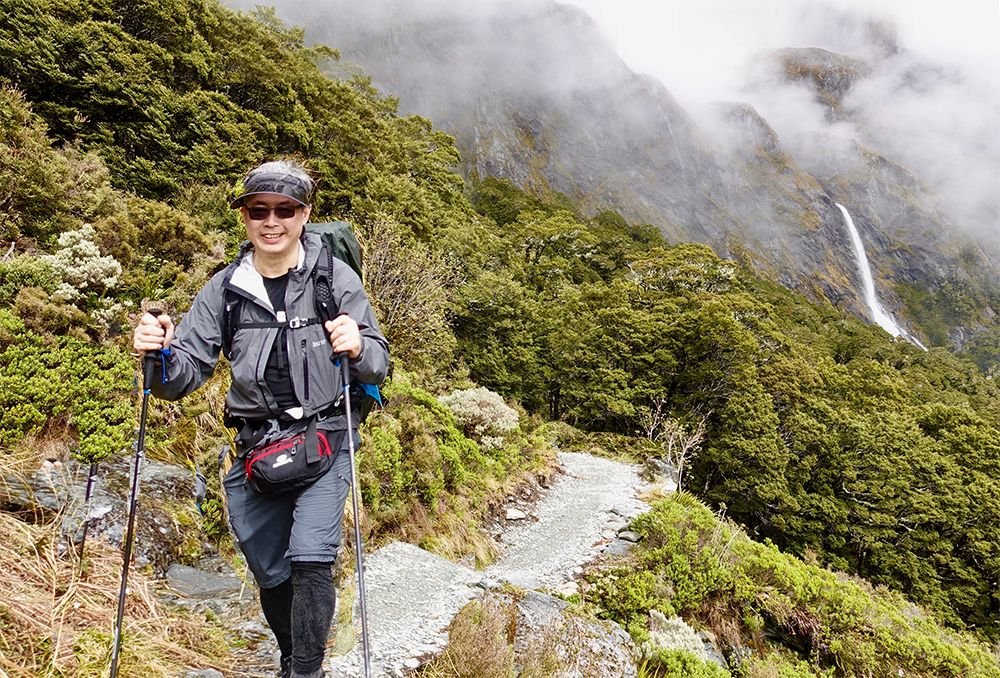
The first step was to cut out the figures, so I could resize them larger and insert them back into the image. That takes a little work! After that, I cut and pasted pieces of the background and stitched them together to cover over the areas left by my earlier incisions.
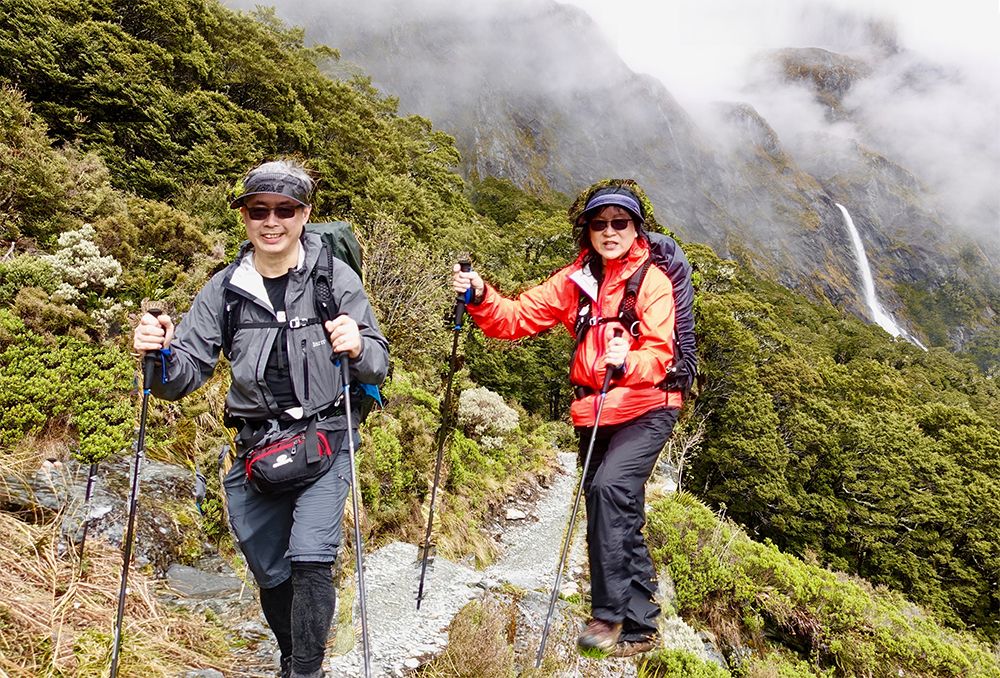
I felt it would be good to move the man and wife close together, and have them slightly overlapping to enhance the three-dimensional effect of one being slightly closer than the other.
Because the format of the photo is a different proportional ratio that the canvas I will be painting on, I had to add extra material to the top. But my client also wanted a larger waterfall.
So I took this picture and added it in…
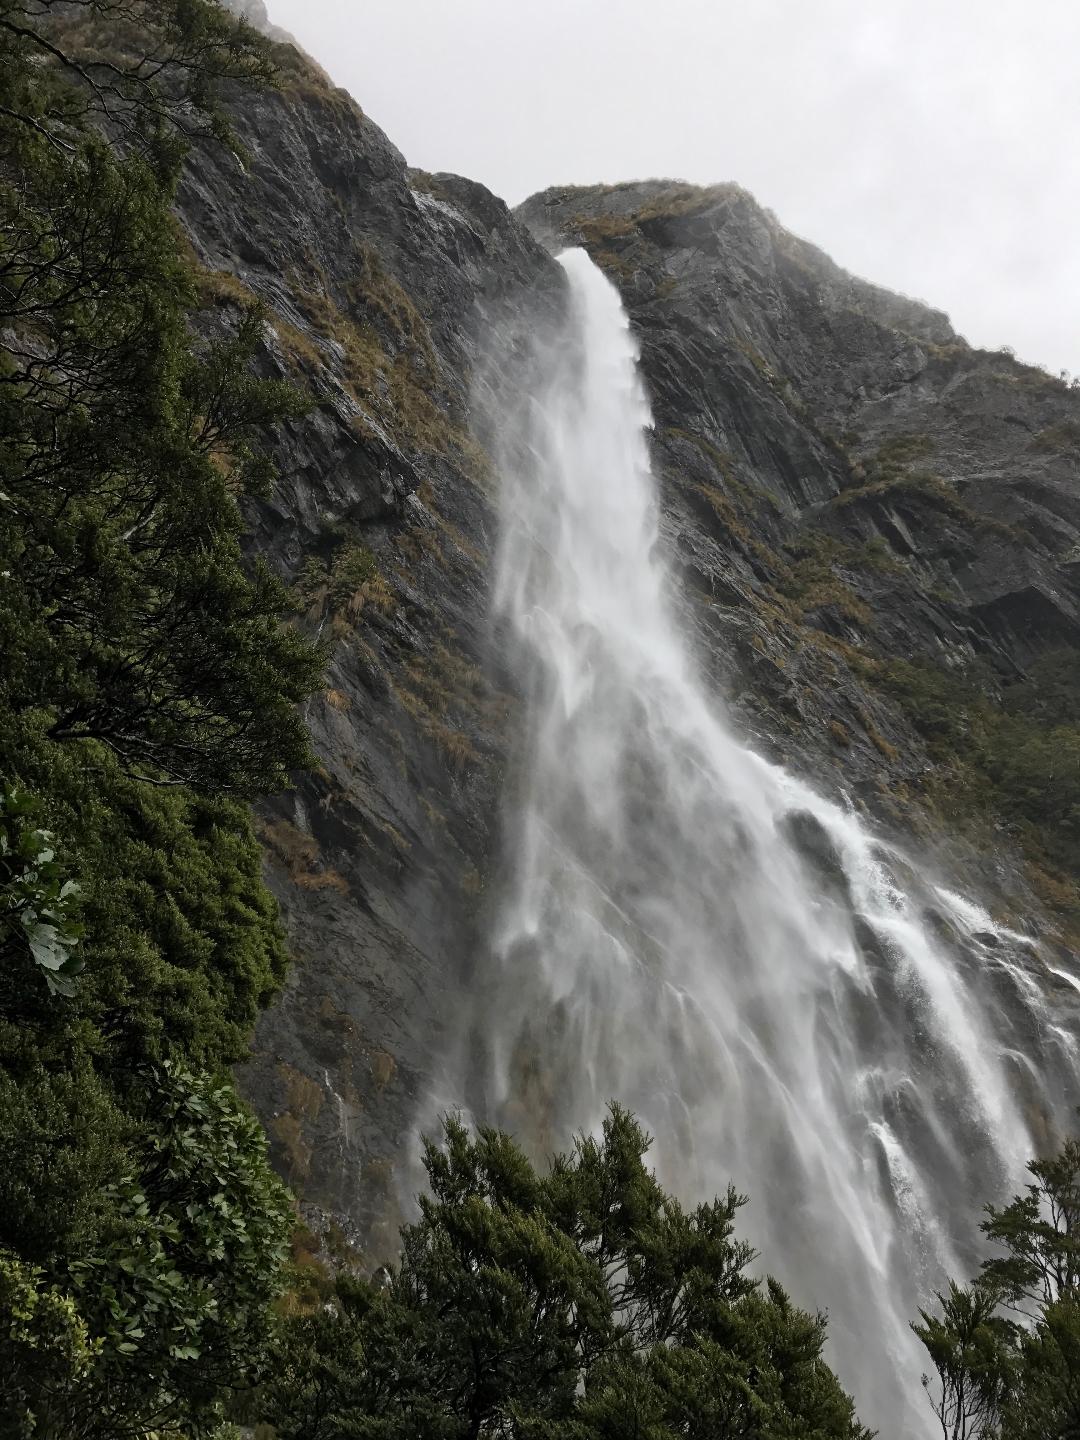
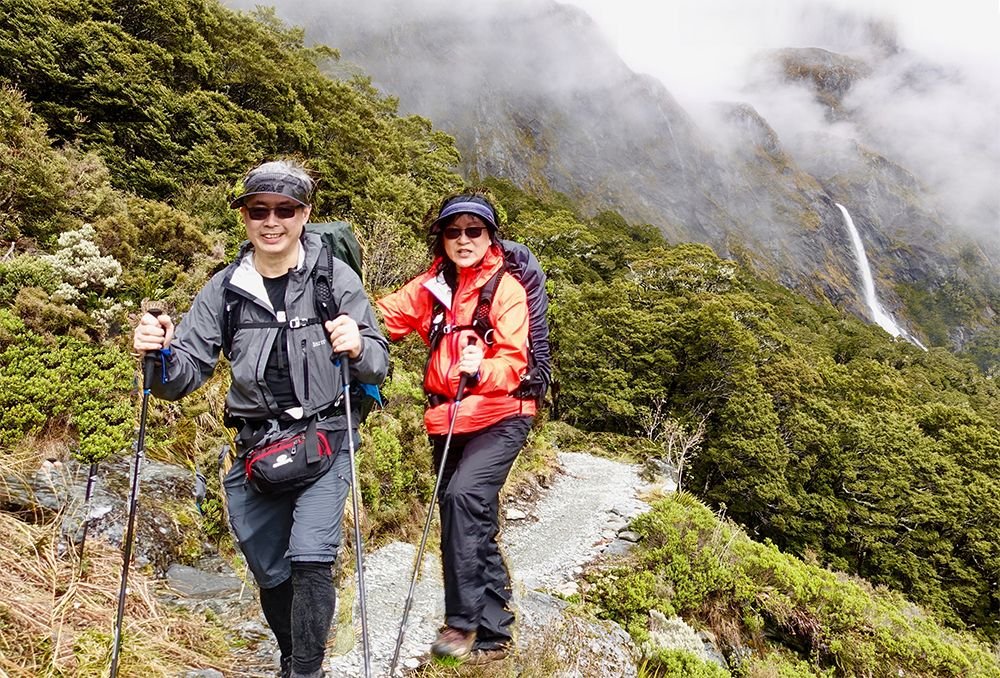
And then cut and pasted pieces of the hill together. It’s a process of cutting, stretching, warping, sometimes even rotating the pieces like a jigsaw puzzle to make them work.
Finally, I got a cohesive design, ready to paint from.
With the client’s approval, I am ready to begin the sketch. But that will be an adventure I’ll save for another day!
Be Blessed,

P.S. Did you find this post helpful or encouraging? If so, send it on ahead! Let others know with the share buttons below. I’d love to hear your comments. Thank you so much! Also, do you have a question on acrylic portrait painting you’d like answered? Let me know, and I’d be happy to help!