- You are here:
- Home »
- Blog »
- Written Tutorial »
- How to Paint a Children Walking in the Woods

How to Paint a Children Walking in the Woods
Here is the final painting of my children walking through the woods, “Come as Children,” 16″ x 20″ acrylic on canvas, with a step-by-step breakdown of how I did it.
It will be used for a book cover illustration of Charles Spurgeon’s Devotionals for children. Below I want to do a recap of my previous posts from Facebook and Steemit, showing you the process of how I did this painting.
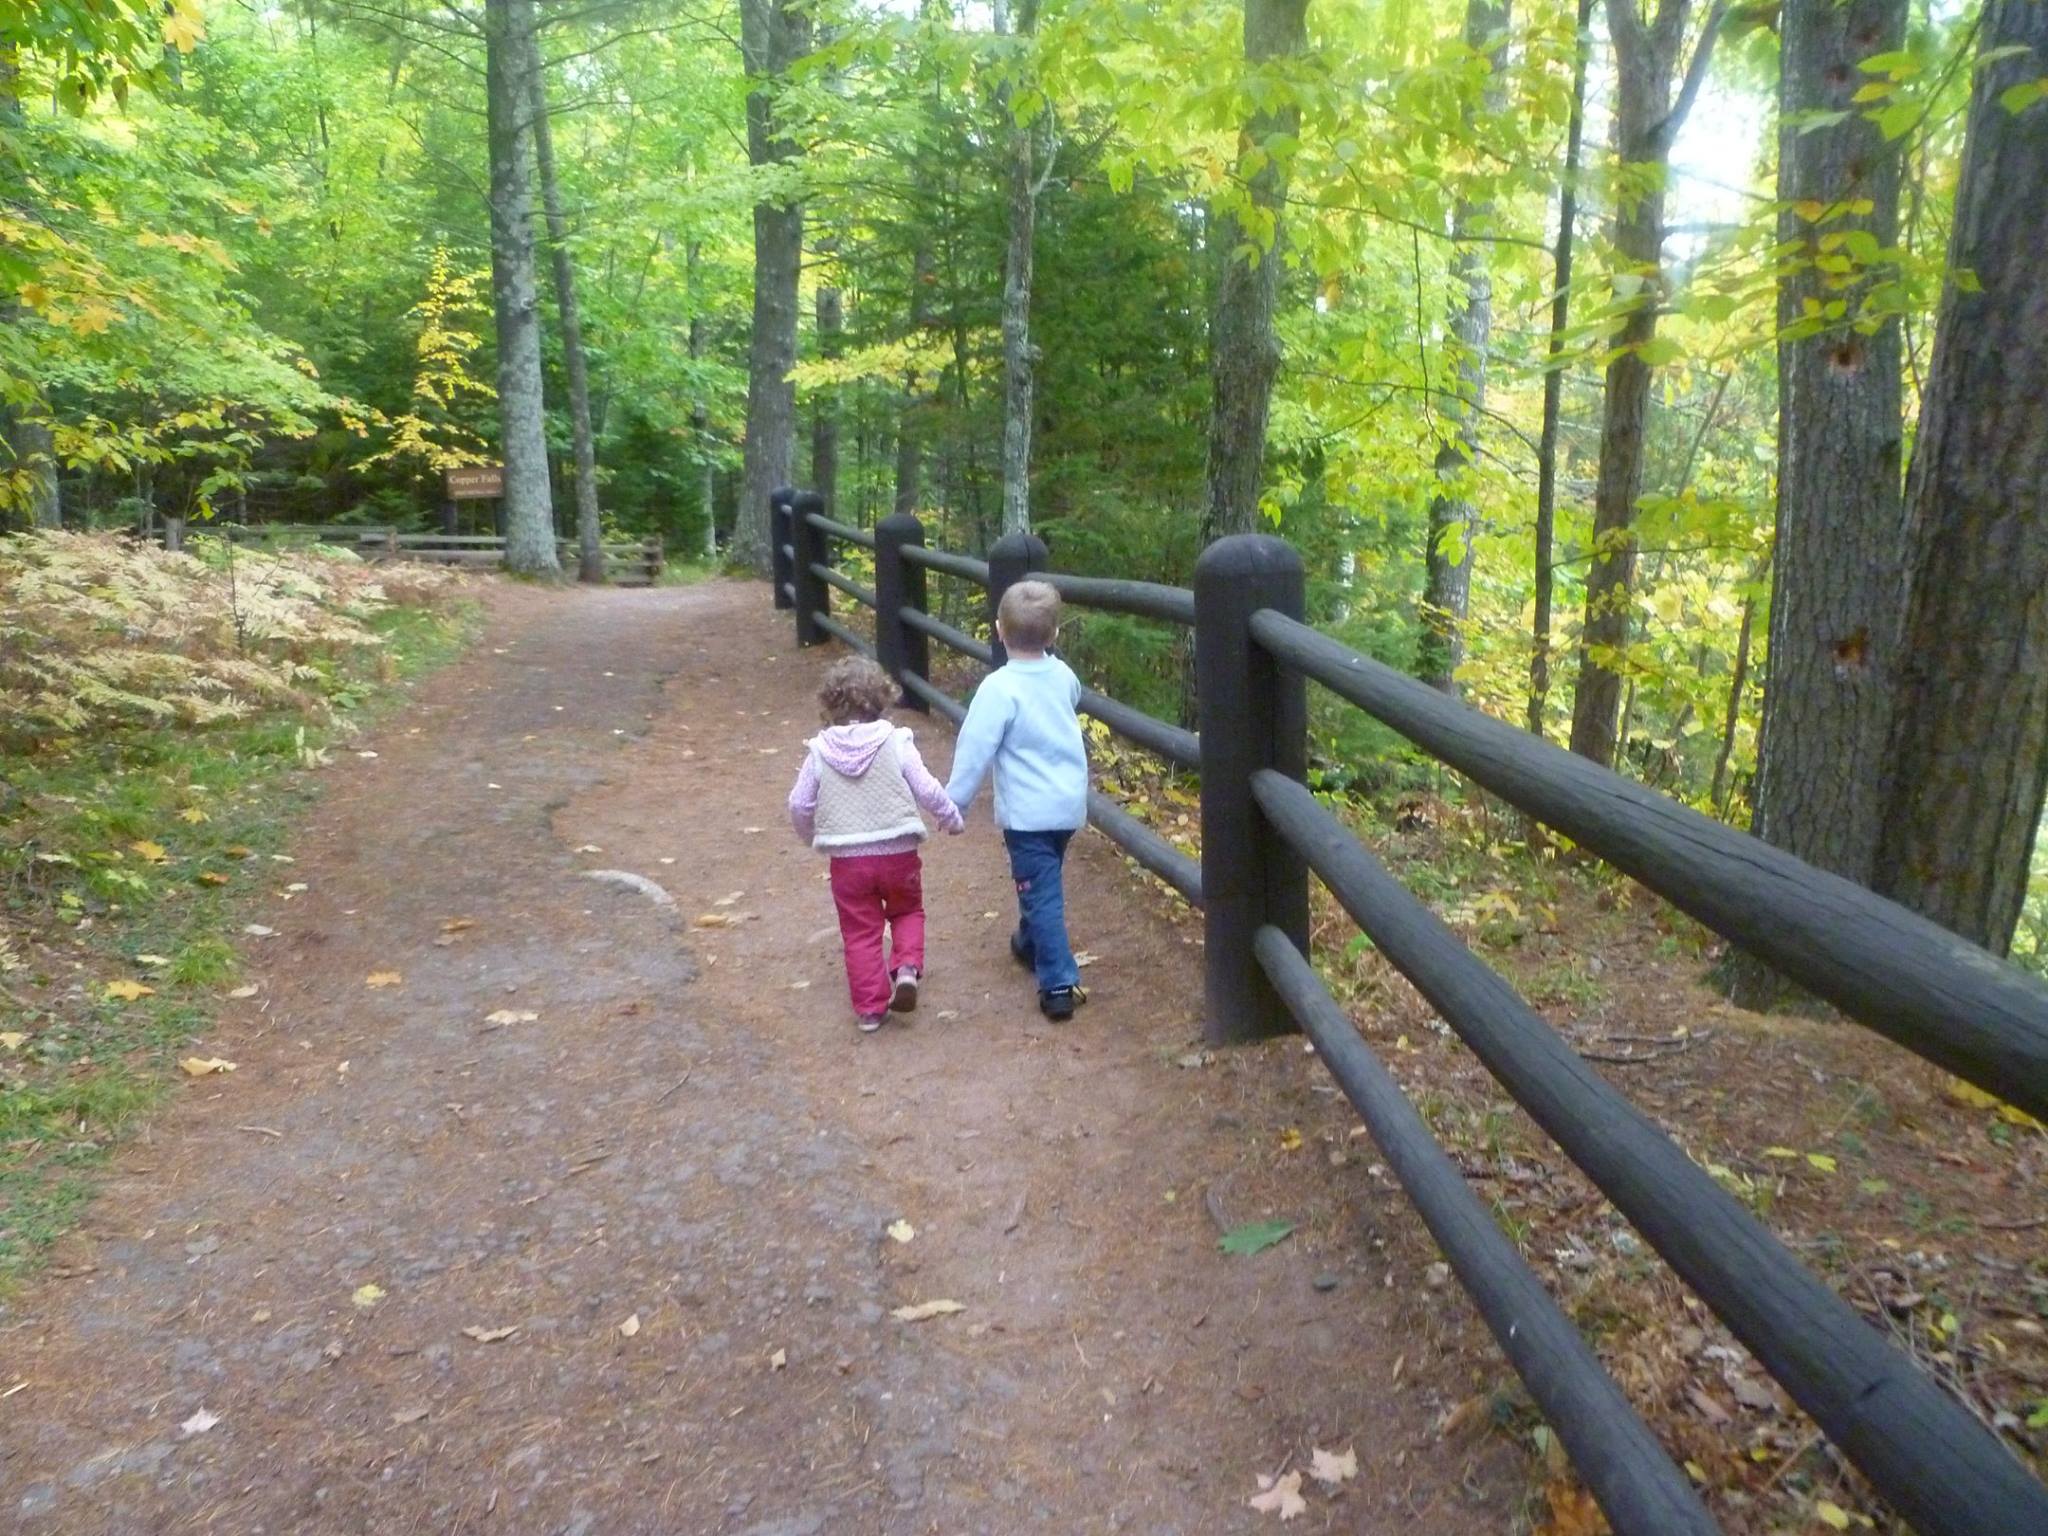
Reference Photo
In Progress Painting
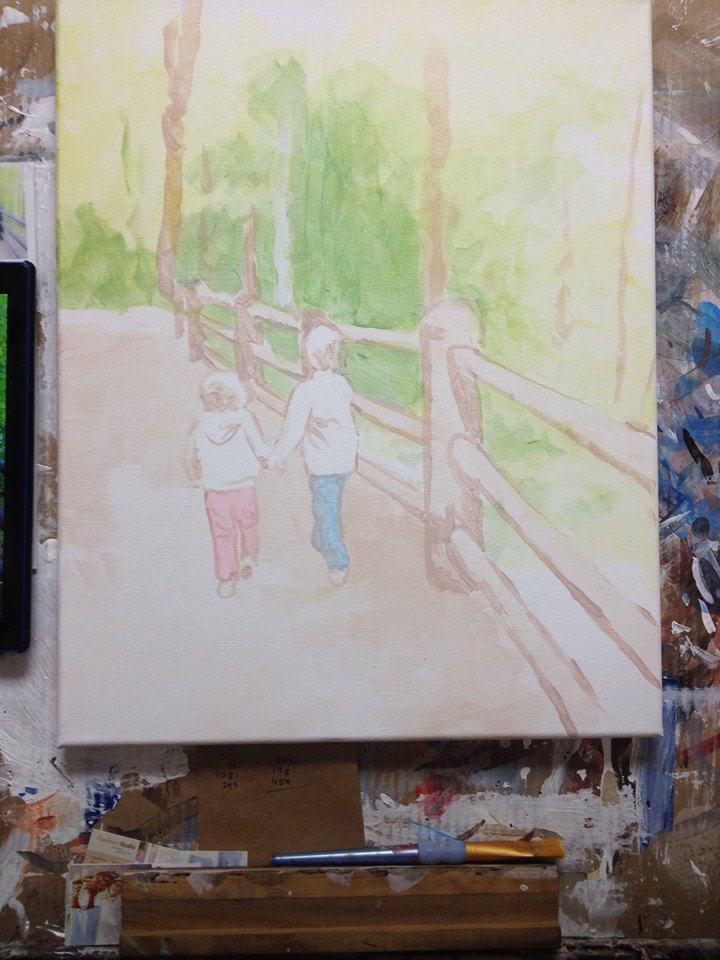
Step 1: Blocking In the Forms
I start off very faint, just blocking in the colors with glazes. I mix about 90% clear acrylic medium to about 10% paint and just block in the composition, suggesting where the future colors will go. Here is my palette…
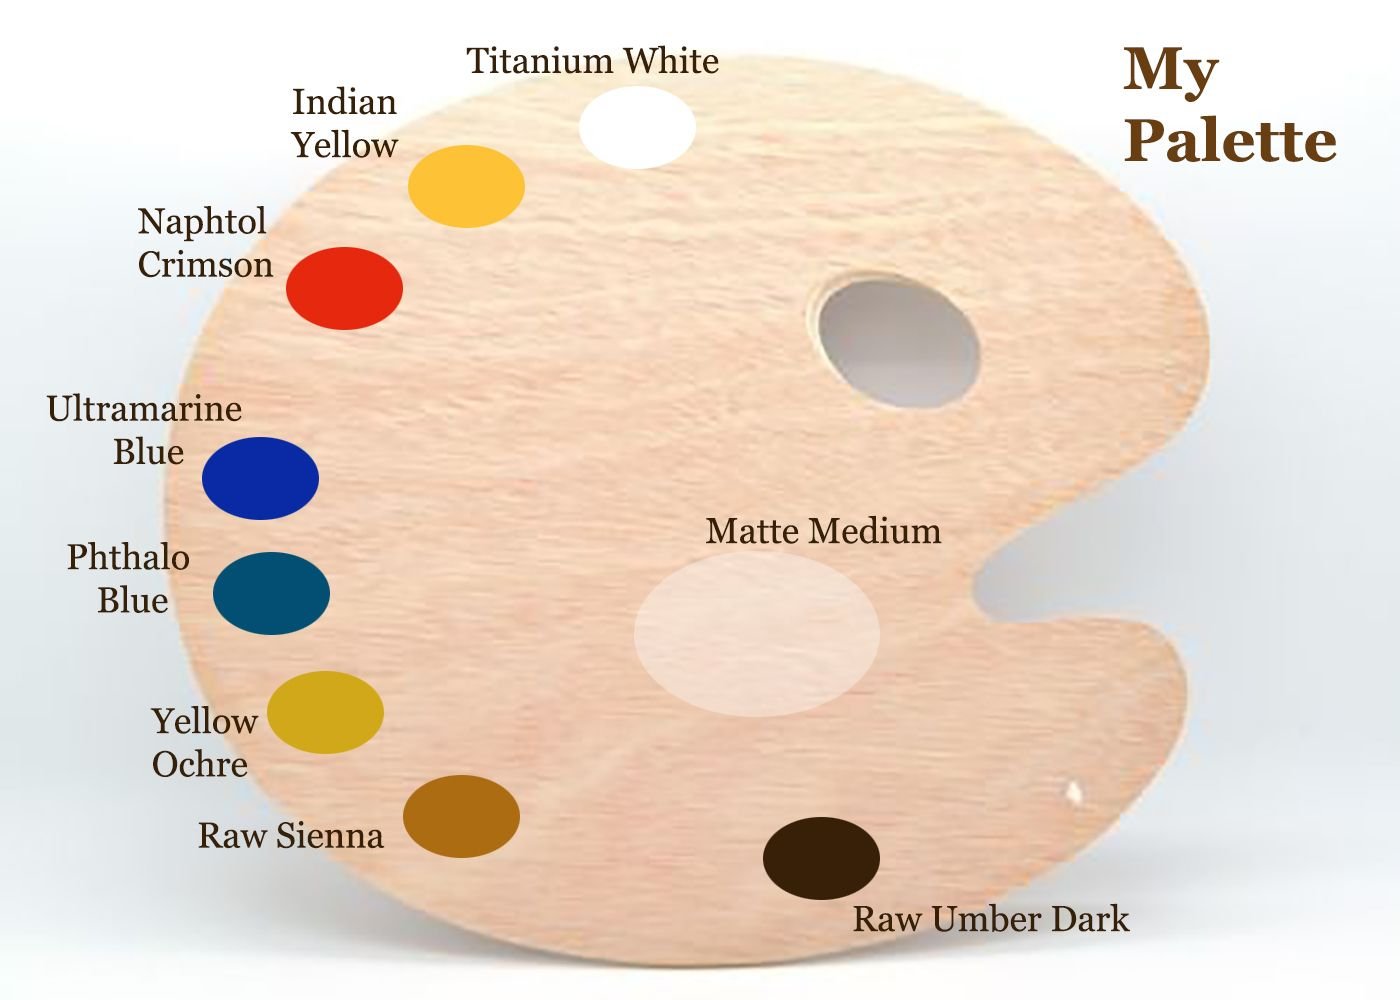
Normally, I use burnt sienna, but to challenge myself and also to enhance the color harmony within the painting, I omitted it.
The first layers consisted of raw sienna, yellow ochre, phthalo blue and indian yellow for the background, and then for the posts: raw umber dark, ultramarine blue and napthol crimson. I blocked in the blue jeans with phthalo blue, and my daughter’s pants with napthol crimson.
Step 2: Establishing Contrast
In this step, I added some phthalo blue, raw sienna and yellow ochre in a glaze to the background to suggest trees, and went over the trees with some raw umber dark, napthol crimson and ultramarine blue.
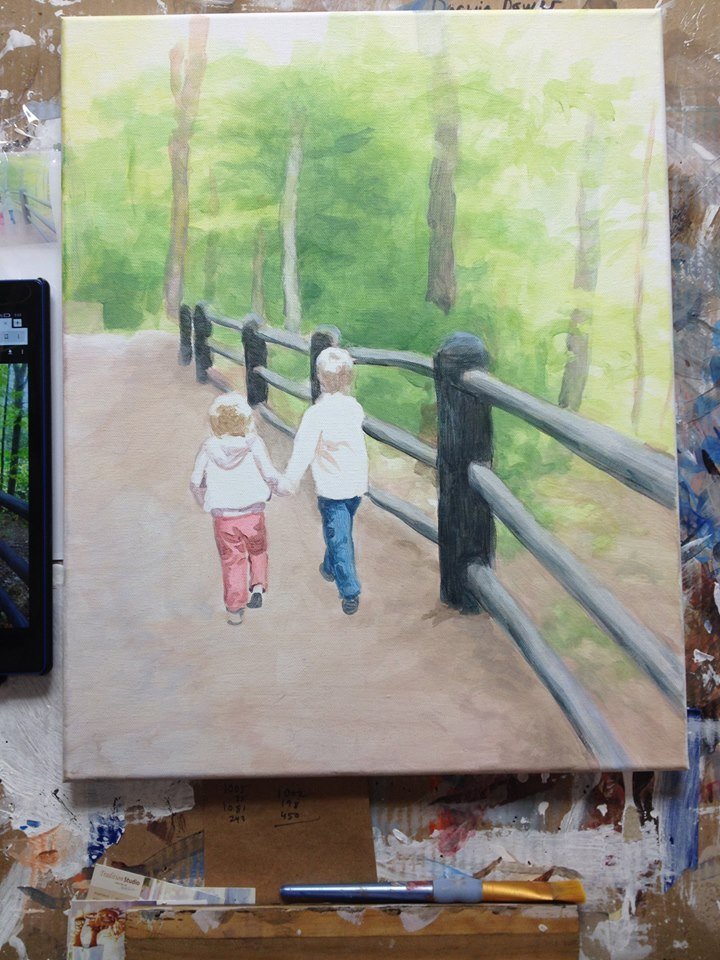
Step 3: Creating Nuances
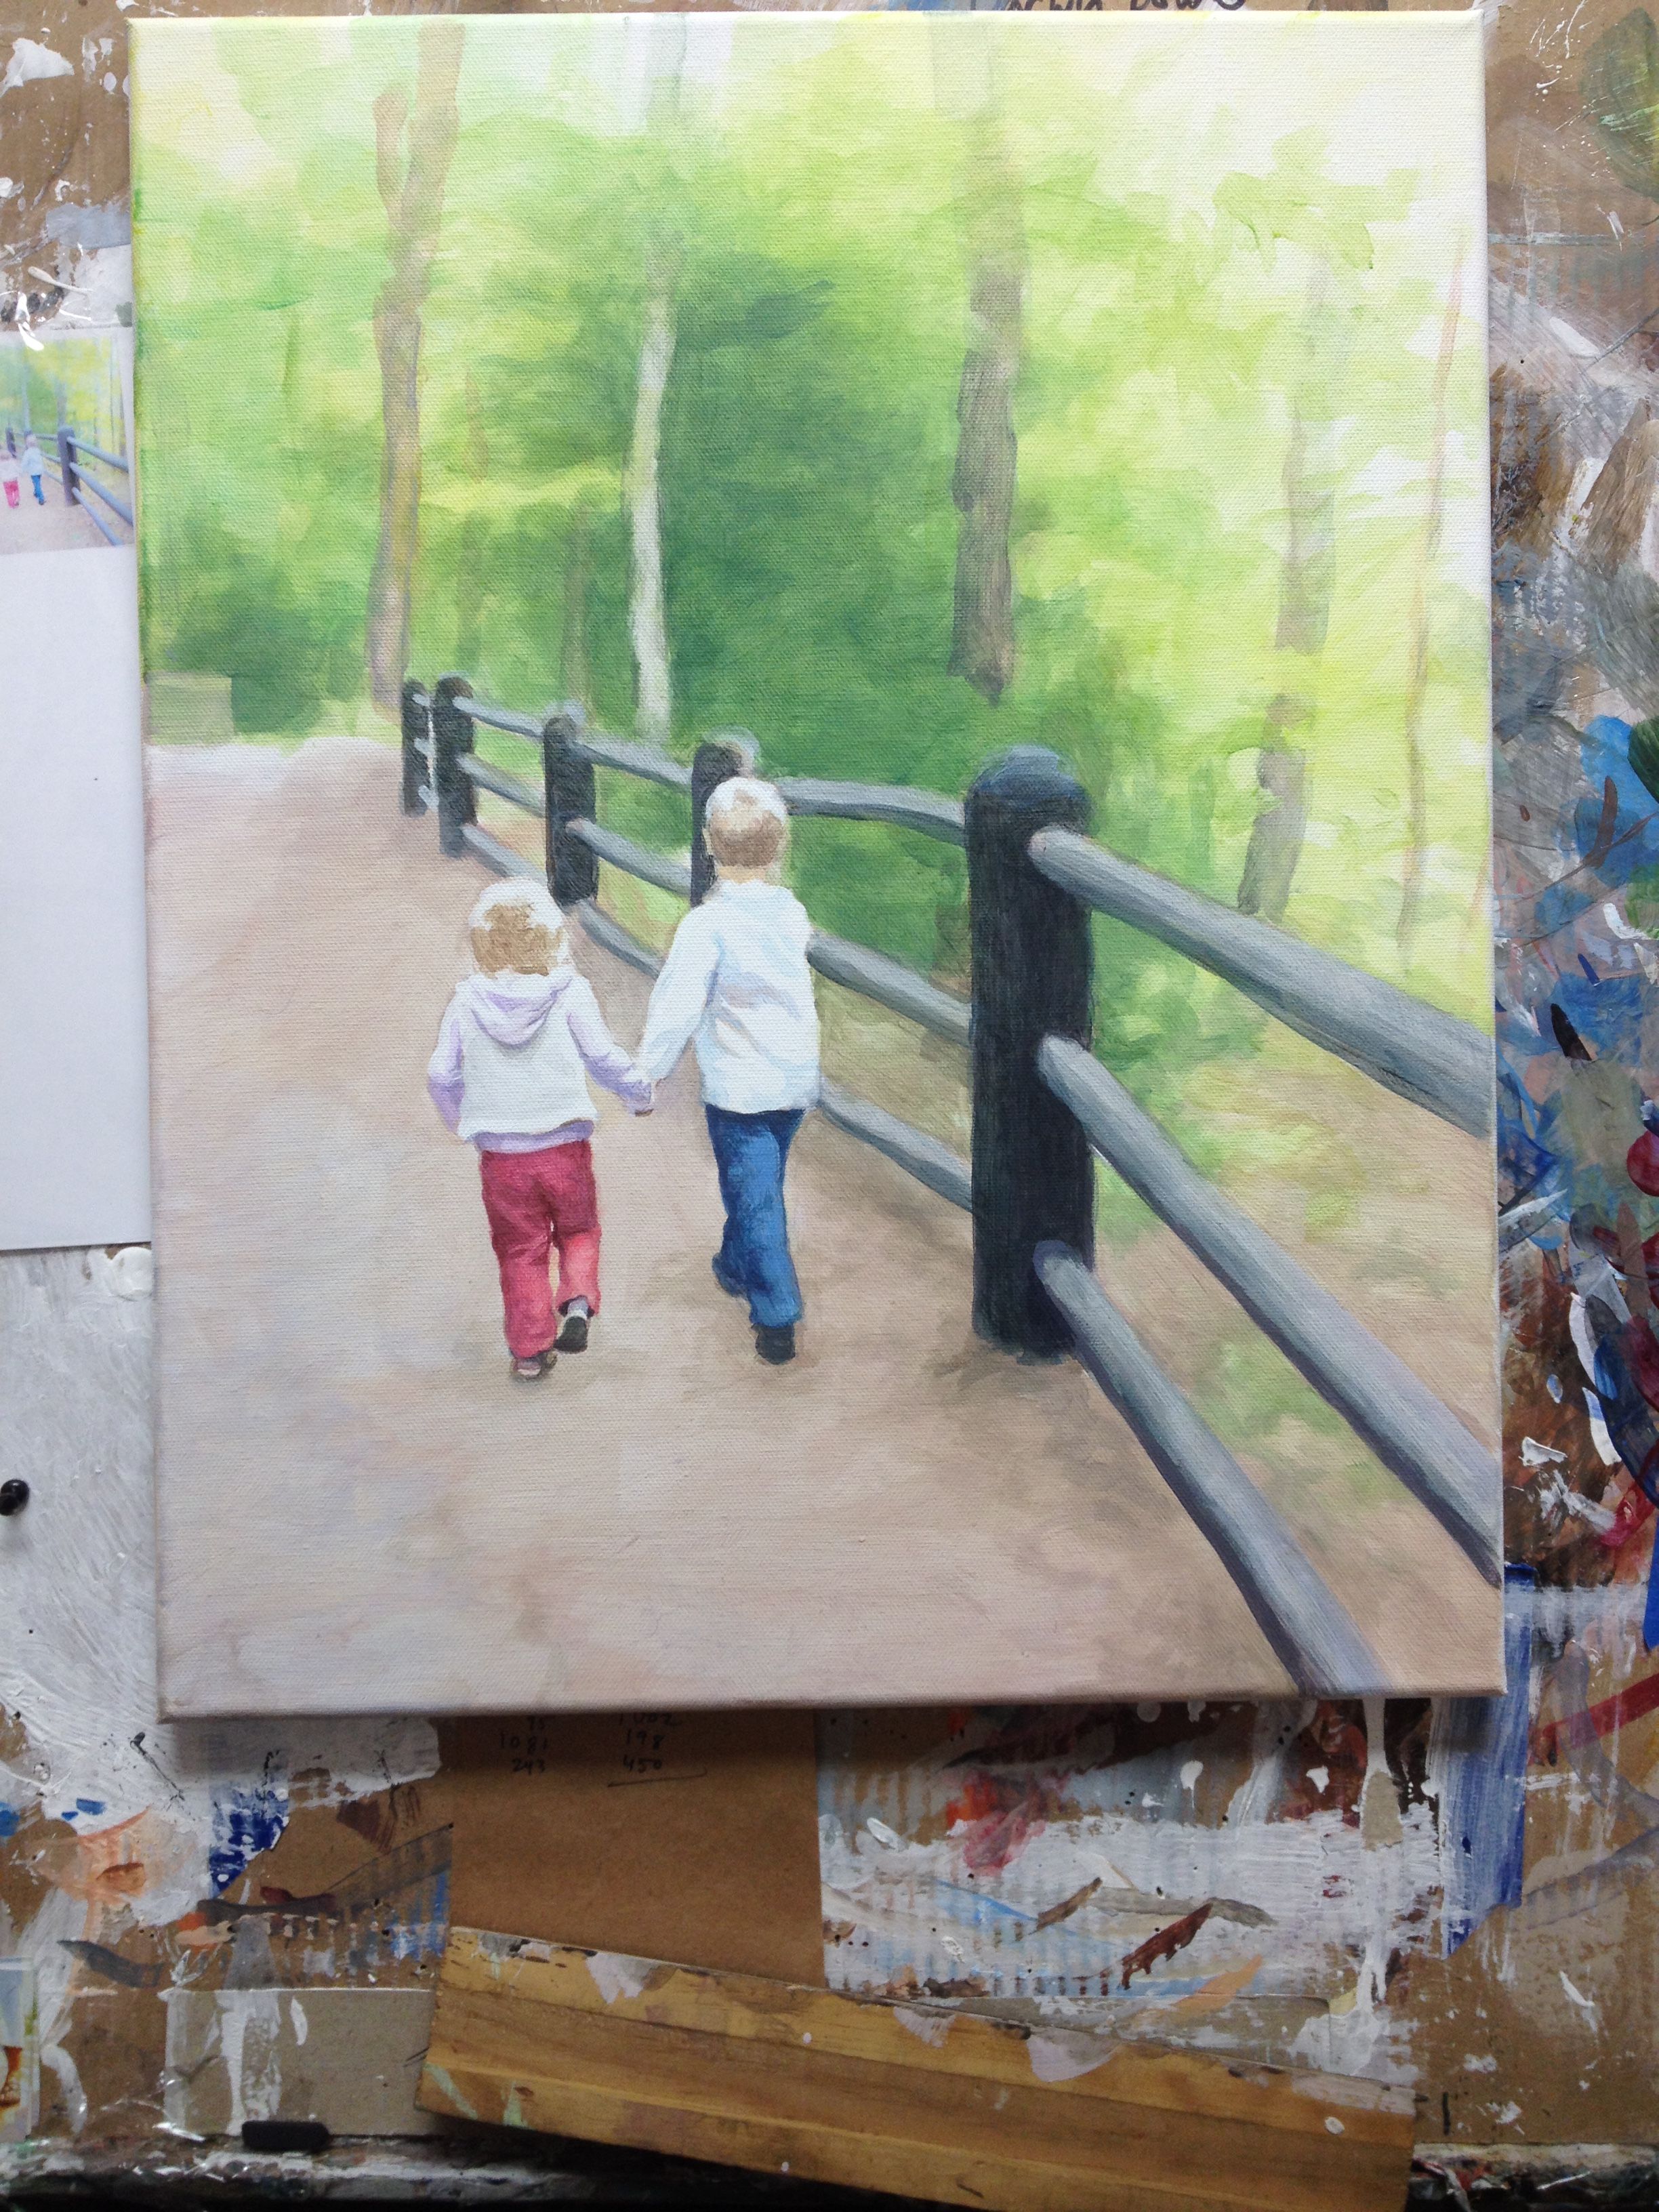
In this step, I added in more layers of green to the background, and filled in the colors for both kids’ pants. I also added in some shadows as well below the fence posts and filled in the shadows a little deeper and more dramatically.
Step 4: Adding Detail to Background and Figures
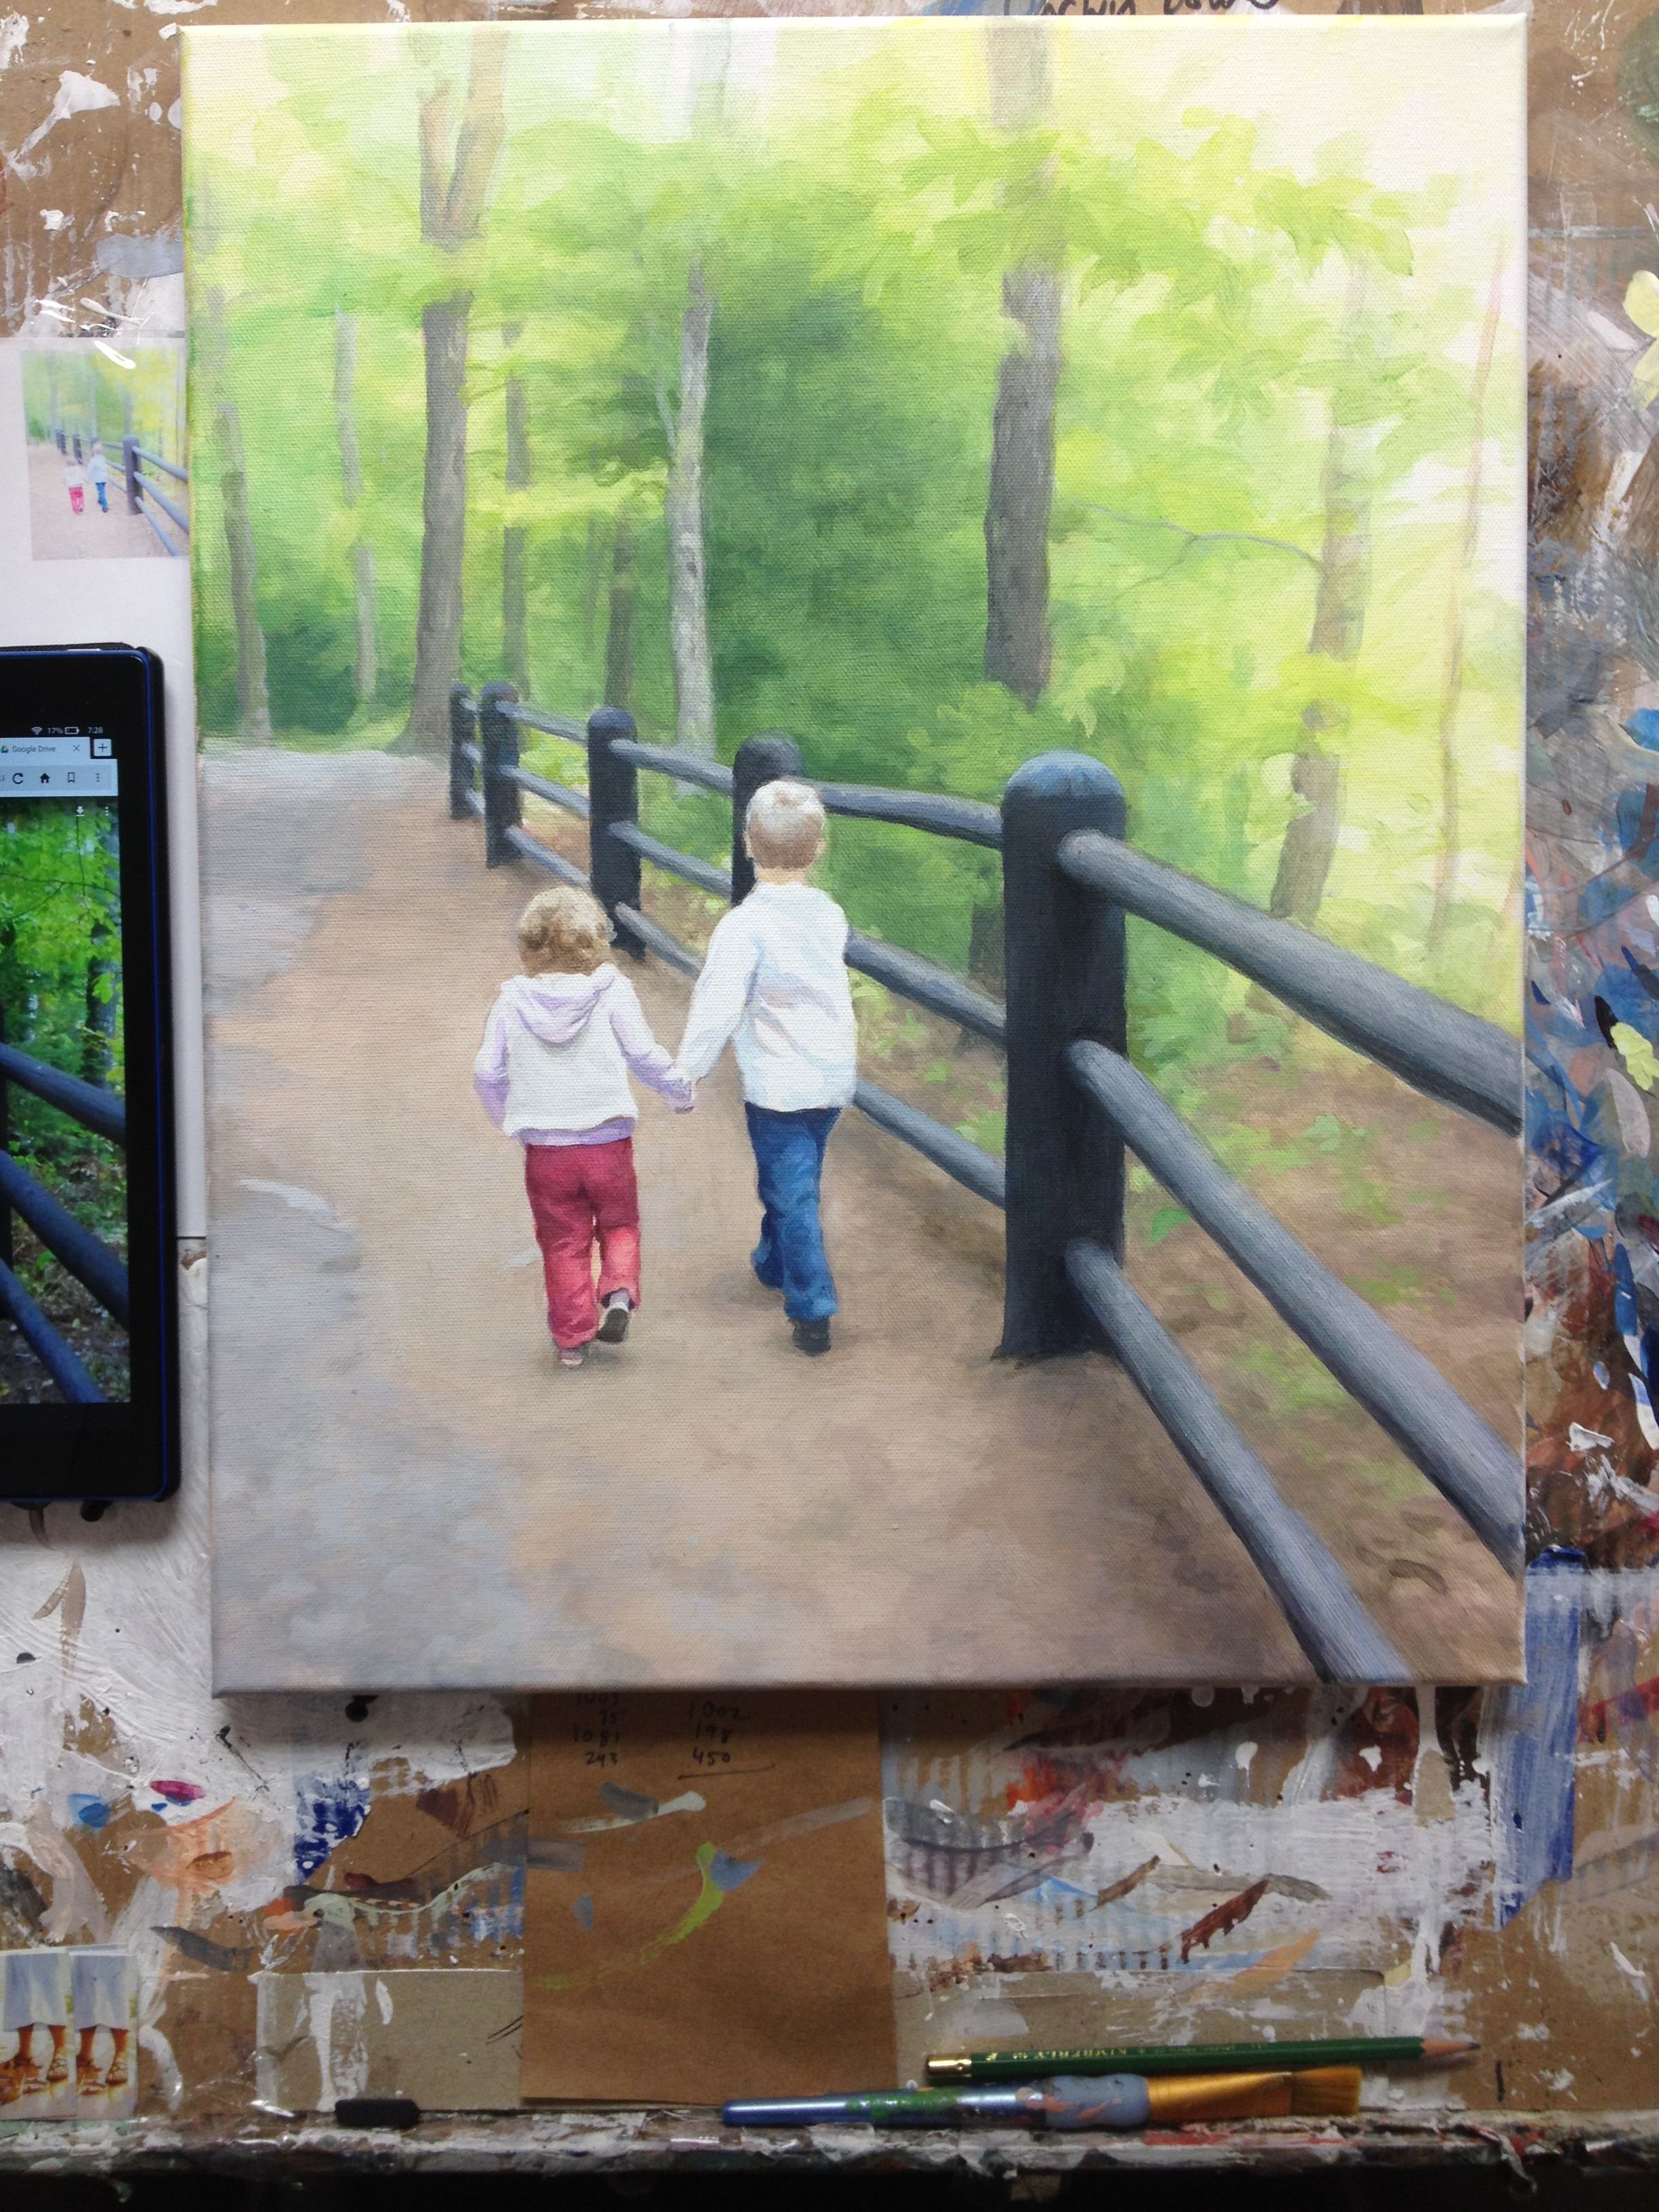
I added some more detail to the background and shading to the children, especially my daughter’s hair. Overall, since I use the glazing technique, I incrementally darken the entire surface, bringing out more details and nuances by “pushing and pulling” the paint: darkening certain areas and lightening others.
With the winter weather we’ve been having in Wisconsin, a walk on a warm day like this picture looks pretty good.
Step 5: Refining With Highlights and Additional Detail
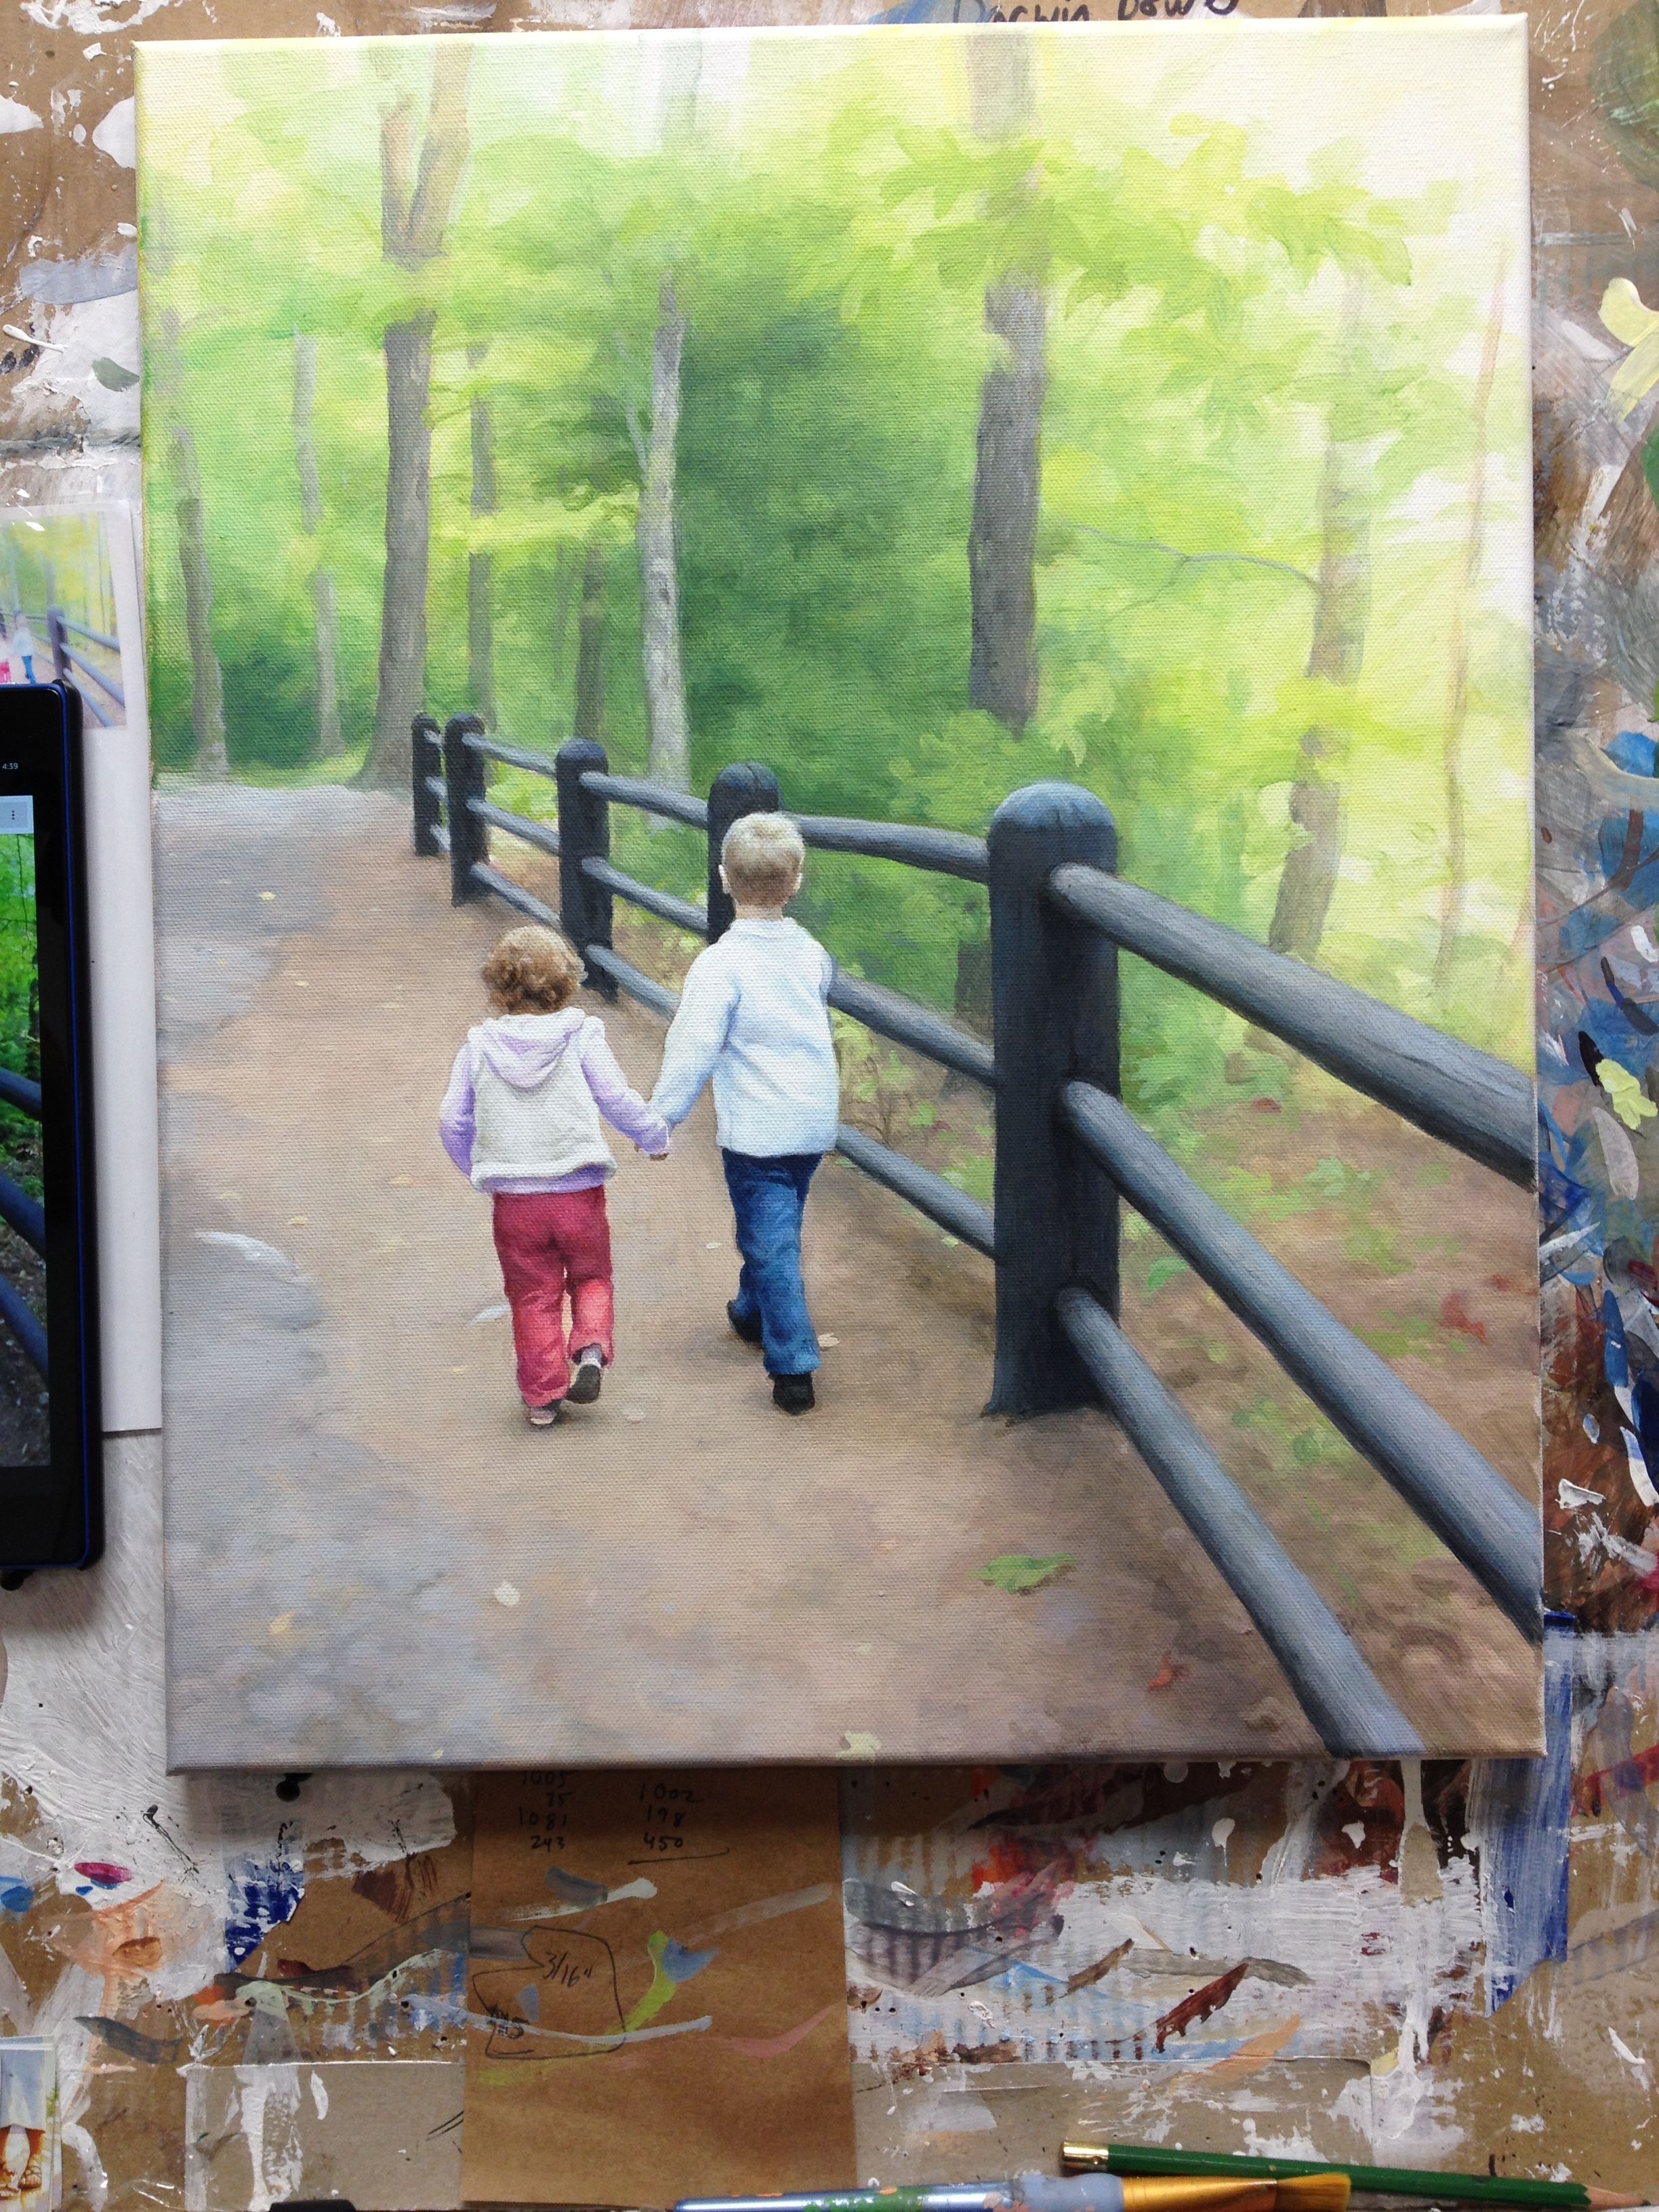
I’m almost done with this painting: I added some contrast to the posts, more nuances within the clothing, some fallen leaves, and some darker areas within the trees in the background to tie the values in with the posts. Still not quite there yet.
I’ll need to substantially darken the overall value of the background to match the much darker and more vivid foreground. Sometimes creating art can be a balancing act. But it’s much safer than being on the high beam!
Final Painting
In the final rendition, I darkened the values in the background, to tie them in with the very dark posts of the fence, and even the shadows on the children. I also added a few details to the children’s hair, and highlights to edges of the clothing to make them stand out more. Lastly, I put a few more glazes of raw umber dark, ultramarine blue, and titanium white for the trees.
This painting took about 20 hours to do. It was my pleasure going on this journey with you, showing the process, and maybe even help you to think about warmer weather at a time when many of us are ready for spring!
A Video Demonstration Showing Part of the Process
Be blessed in your painting,

P.S. Did you find this post helpful or encouraging? If so, send it on ahead! Let others know with the share buttons below. I’d love to hear your comments. Thank you so much!