Category Archives for Tips and Techniques
How to Paint Foliage Using the Acrylic Glazing Technique
How do you paint people are standing in front of trees and other foliage?
As portrait painters, we are often asked to paint images where people are standing in front of trees and other foliage. What colors do you use to paint them? What kind of brushes and what techniques does it take to make it look realistic?
Watch my tutorial to learn more about how to paint foliage using the acrylic glazing technique.
- Adding highlights to your acrylic painting
- 5 Excellent Reasons to Use Aluminum Foil
- Paint Realistic Wrinkles in Acrylic
- Painting Clothing in an Acrylic Portrait
- Paint a Cloudy Sky Acrylic
- How to add Semi-Opaque Highlights
- How to Enhance the Contrast in Your Acrylic
- How to Add Glaze to Your Acrylic Painting
- Paint Realistic Reflections on Eyeglasses in an Acrylic Portrait
- Build Up Depth on Your Acrylic Portrait Backgrounds
- How Do You Do Layers With the Glazing Technique?
- Learn How to Paint Wrinkles in Acrylic
Read more about how to paint a portrait that you can surely be proud of!
I’d love to hear your thoughts on this video. Please share it with your friends and family. Let me know if you have any further questions. I’ll greatly help you.
If you’d like to learn more, sign up for my free email tips and video class today.
Learn How to Paint Acrylic Portraits With My Free Mini-Video Course!
Thank you so much for taking the time to read this tutorial and watch the video. That means a lot to me. I hope you find it very helpful in your portrait painting.
Yours for Better Portraits,

P.S. Did you find this post helpful or encouraging? If so, send it on ahead! Let others know with the share buttons below. I’d love to hear your comments. Thank you so much! Also, do you have a question on acrylic portrait painting you’d like answered? Let me know, and I’d be happy to help!
First Steps of Painting Trees and Grass in Your Acrylic Portrait
It’s important to know how to paint greenery in your acrylic portrait.
You’ll probably be asked to do it at some point or just desire to, because it’s in your reference photo and looks beautiful! Let me show you how to it, using the acrylic glazing technique, in this video. I also have a step-by-step process you can follow, below. 🙂
How to Paint Foliage (Trees, Grass, Shrubs, etc) in the Background of Your Acrylic Portrait
1. Sketch in the major dark value (shadow) shapes first.
2. Go over those shapes with a glaze of raw umber dark, ultramarine blue and a bit of raw sienna (less chromatically intense mixture)
3. Apply a glaze of phthalo blue, raw sienna, and Indian yellow over the entire area of foliage (this will be your mid tone)
4. Bridge the shadows into the mid tone by using a color that is a mix of steps 2 and 3, and overlapping out of the boundaries of the shadows.
5. Continue adding more layers like this, and finally add highlights using phthalo blue, titanium white and indian yellow Keep in mind the actual color mixture might vary based on the specific kind of foliage you are painting, the lighting scenario (is it sunlit or cloudy) and how far away the foliage is. Remember, cool colors recede, warmer colors come forward. Foliage that is far away will usually be lighter in value and more bluish in color.
Watch my tutorial to learn more about what would be the first steps of painting trees and grass in your acrylic portrait.
- Adding highlights to your acrylic painting
- 5 Excellent Reasons to Use Aluminum Foil
- Paint Realistic Wrinkles in Acrylic
- Painting Clothing in an Acrylic Portrait
- Paint a Cloudy Sky Acrylic
- How to add Semi-Opaque Highlights
- How to Enhance the Contrast in Your Acrylic
- How to Add Glaze to Your Acrylic Painting
- Paint Realistic Reflections on Eyeglasses in an Acrylic Portrait
- Build Up Depth on Your Acrylic Portrait Backgrounds
- How Do You Do Layers With the Glazing Technique?
- Learn How to Paint Wrinkles in Acrylic
Read more about how to paint a portrait that you can surely be proud of!
I’d love to hear your thoughts on this video. Please share it with your friends and family. Let me know if you have any further questions. I’ll greatly help you.
If you’d like to learn more, sign up for my free email tips and video class today.
Learn How to Paint Acrylic Portraits With My Free Mini-Video Course!
Thank you so much for taking the time to read this tutorial and watch the video. That means a lot to me. I hope you find it very helpful in your portrait painting.
Yours for Better Portraits,

P.S. Did you find this post helpful or encouraging? If so, send it on ahead! Let others know with the share buttons below. I’d love to hear your comments. Thank you so much! Also, do you have a question on acrylic portrait painting you’d like answered? Let me know, and I’d be happy to help!
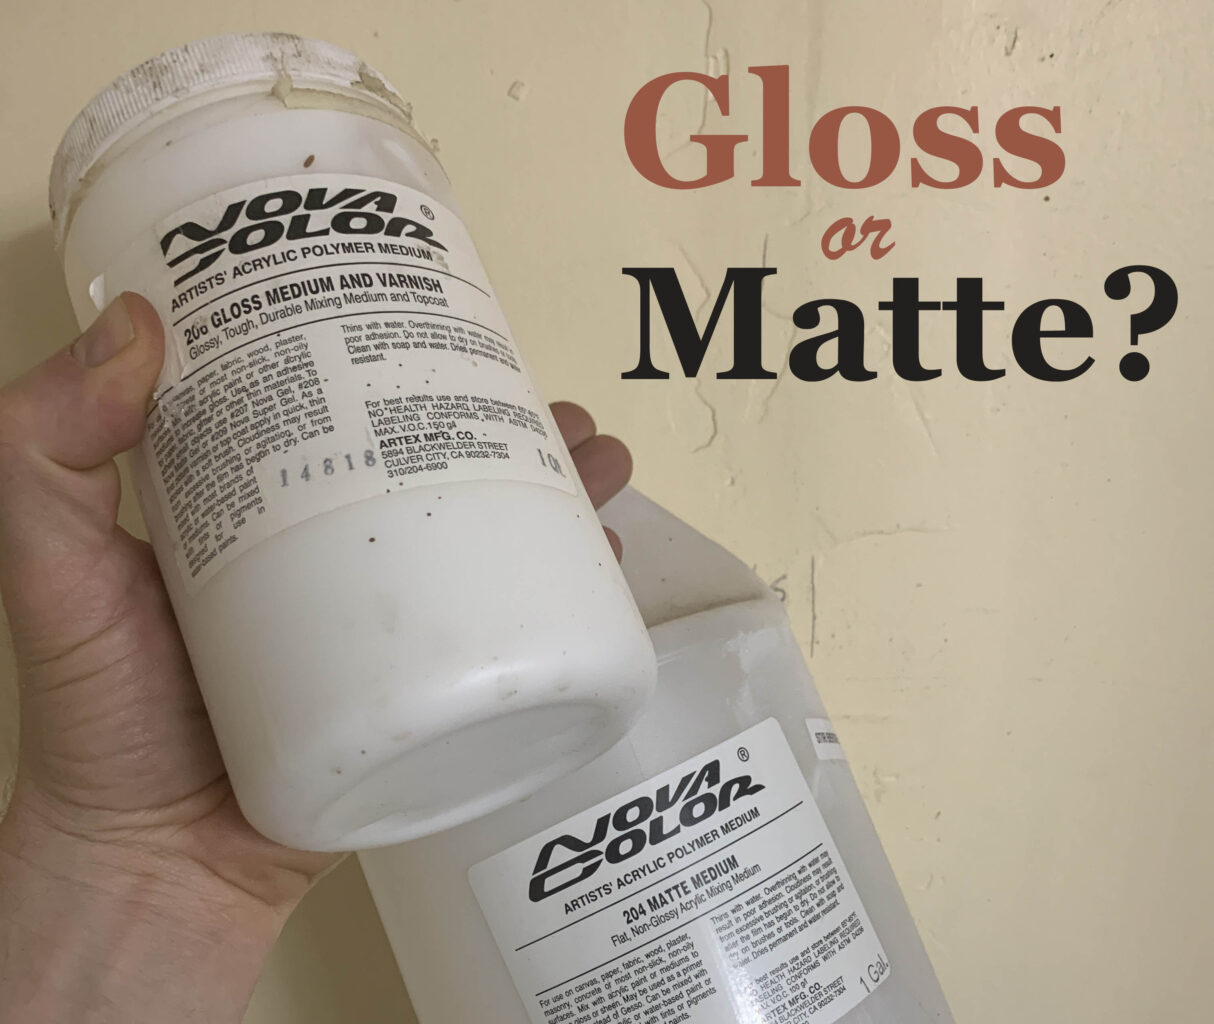
Matte Medium vs. Gloss Medium for Acrylic Glazing
Students who are new to my glazing technique have a lot of questions. So many mediums to choose from. Which ones are best to use…and why?
That’s what I want to discuss today.
Here’s a portion of an email I got from one of my students:
As you know, I am currently working on your portrait course at the moment, however, I have a question that I hope you can clarify. All previous information I have looked up indicates that when applying glazes, acrylic matte medium dries cloudy and gloss medium dries clear and obviously glossy. Can you just explain it for me why we only use matte medium for glazing in your tutorial, as my initial thoughts would be that the cloudiness would just build up? Or am I just missing the l point in that this is how we build up the underpainting of the portrait? Many Thanks, R—
This is a good question.
So, what’s better for glazing? Matte medium or gloss medium?
Let me answer that with the reply I sent back to my student.
I use matte medium for three reasons:
1. It dries to a flat finish and so it doesn’t react with the lights in my studio, producing distracting glare.
2. Because it dries to a flat finish, it is closer to the sheen of paint, and so when you have areas that are more opaque and less opaque, they match up better. In other words, you can perceive the values more accurately. A glossy finish will make colors look more saturated and deepen values. When you put a varnish over the painting, it would present a problem, causing certain subtle nuances that seemed to look correct, suddenly become inaccurate. (Yes, this happened to me!)
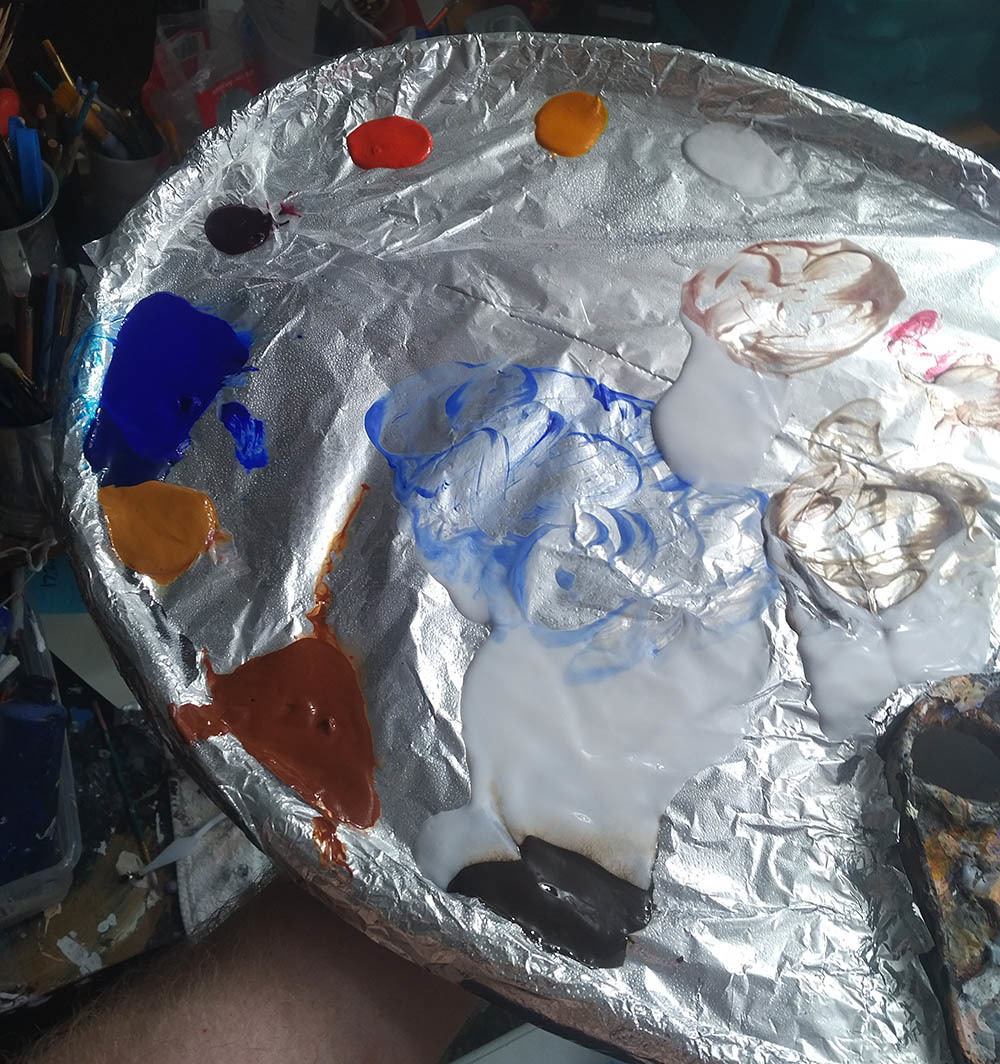
3. Matte medium is usually less expensive than gloss medium. With the copious amounts of medium that I use, this adds up!
Now, I don’t find that matte medium builds up cloudiness, in the way that I teach. It will get cloudy, if you have areas of your painting that are quite dark or saturated, and you overlap those areas with a very transparent (high ratio of matte medium to paint) glaze.
But I don’t do it that way in my paintings. Rather, I start off very transparent, (95-5) then shift to more translucent (80-20), and finally end up with semi-opaque layers (50-50) over portions of the work.
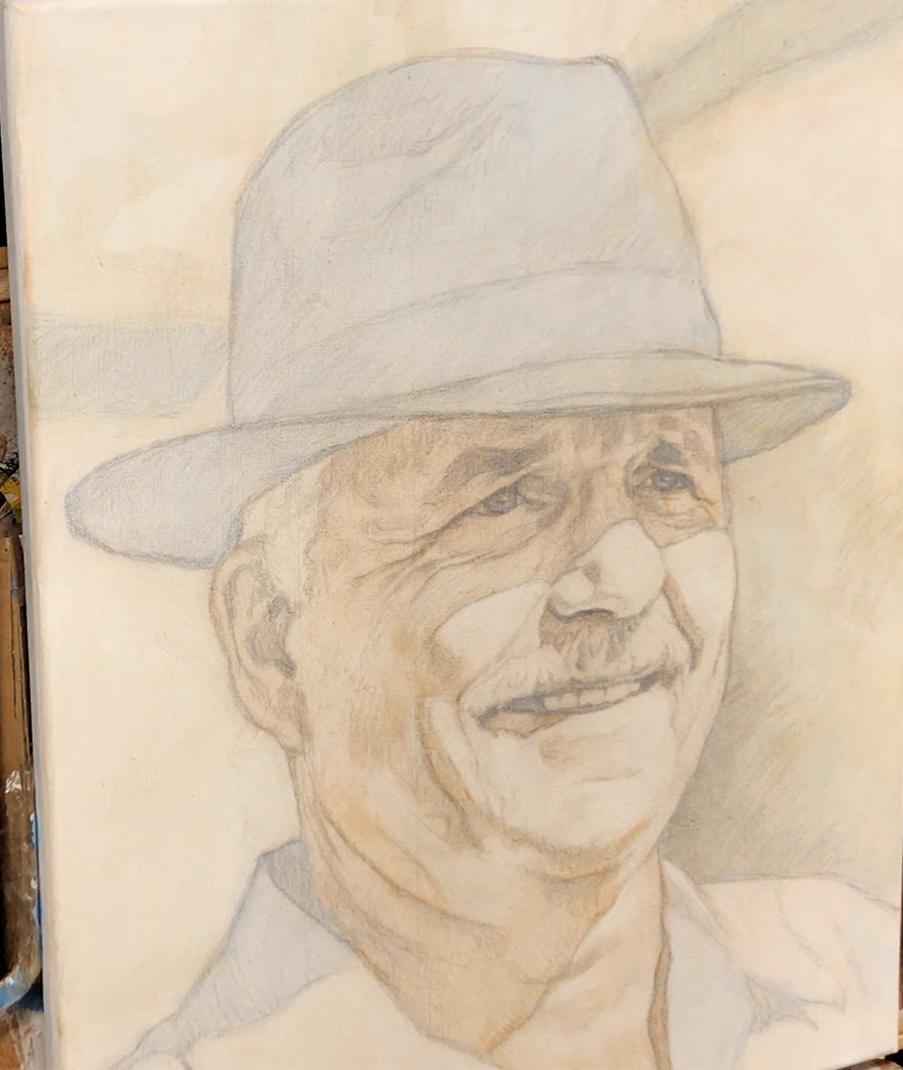
Acrylic portrait painting challenge example in progressm using the acrylic glazing technique, 16 x 20, acrylic on canvas by artist and instructor Matt Philleo
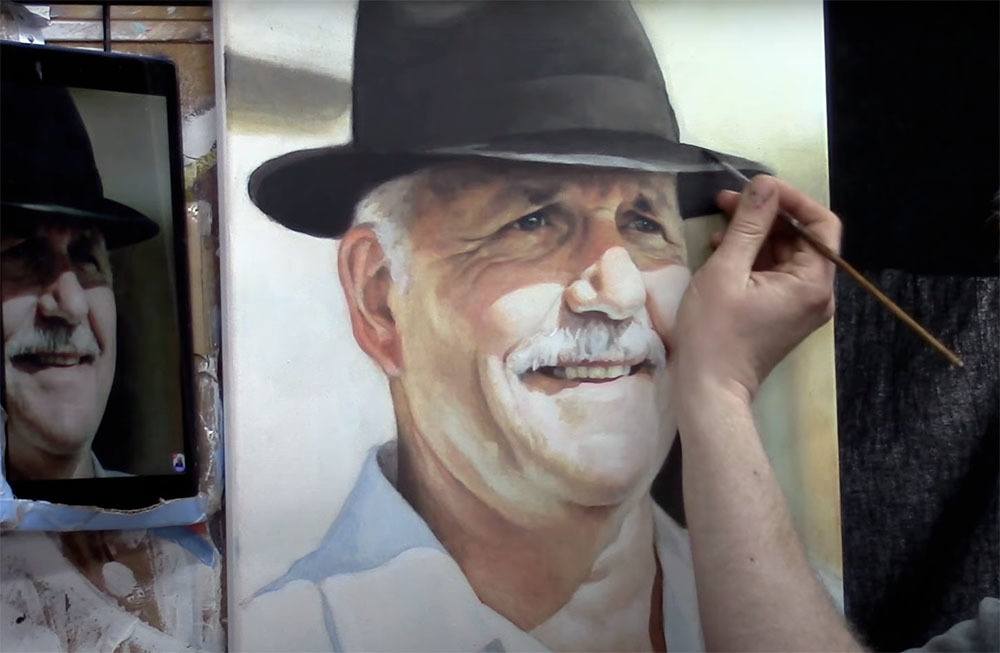
Matt Philleo painting an acrylic portrait from a photo for the Spring Portrait Painting Challenge ©2020 by Matt Philleo
This prevents that cloudiness from occurring and gives a rich saturation of color too. But we still retain the benefits of the smooth shading, vibrancy, and depth that glazing produces.
I finish my painting with a satin or semi-gloss varnish and that’s where we can add some extra saturation of value and vibrancy.
What is YOUR experience with acrylic mediums? Which do you prefer…and why? Let me know in the comments below.
Look forward to sharing more tips and tutorials with you.
Yours for Better Portraits,
![]()
If you found this post helpful or encouraging, would you send it on ahead? Let others know with the share buttons below. I’d love to hear your comments. Thank you so much!
Blocking in Shadows for a LARGE Acrylic Painting
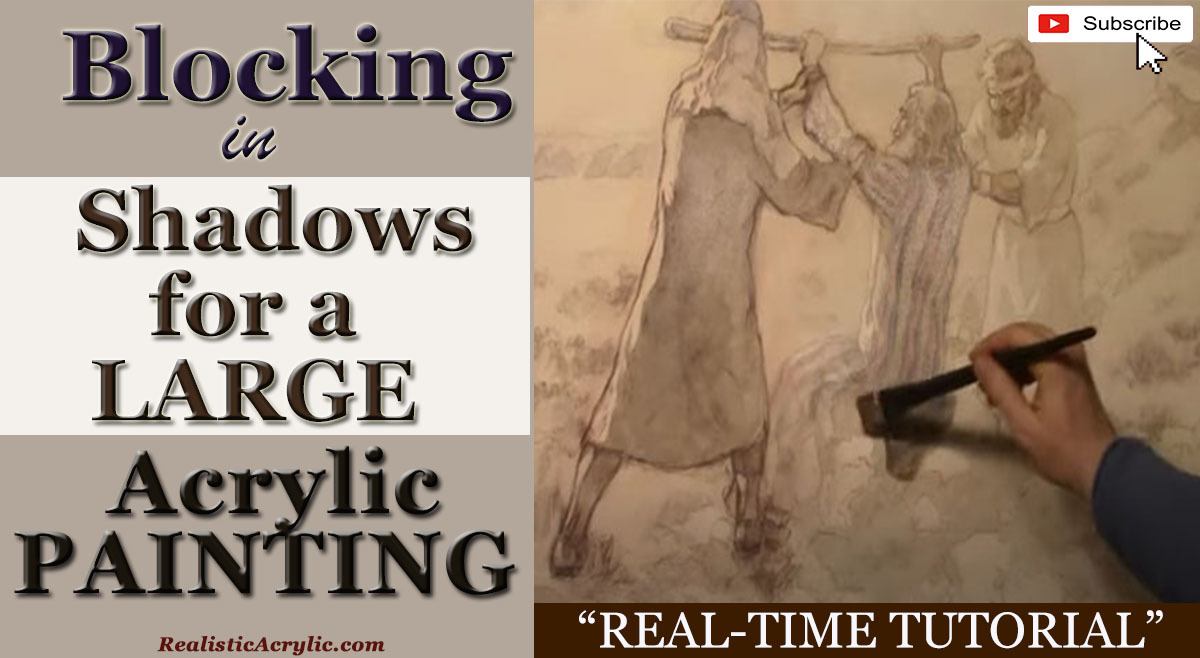
I show you how to block in the value structure using the acrylic glazing technique.
Back to this large 30″ x 40″ acrylic portrait painting of Moses, Aaron and Hur in the Amalekite battle. What’s great about this technique, is that you can easily adjust on the fly, avoid time-consuming corrections to mistakes, and make sure your painting turns out just the way you want it.
Watch my tutorial to learn more how I block in shadows for a large acrylic painting.
- Adding highlights to your acrylic painting
- 5 Excellent Reasons to Use Aluminum Foil
- Paint Realistic Wrinkles in Acrylic
- Painting Clothing in an Acrylic Portrait
- Paint a Cloudy Sky Acrylic
- How to add Semi-Opaque Highlights
- How to Enhance the Contrast in Your Acrylic
- How to Add Glaze to Your Acrylic Painting
- Paint Realistic Reflections on Eyeglasses in an Acrylic Portrait
- Build Up Depth on Your Acrylic Portrait Backgrounds
- How Do You Do Layers With the Glazing Technique?
- Learn How to Paint Wrinkles in Acrylic
Read more about how to paint a portrait that you can surely be proud of!
I’d love to hear your thoughts on this video. Please share it with your friends and family. Let me know if you have any further questions. I’ll greatly help you.
If you’d like to learn more, sign up for my free email tips and video class today.
Learn How to Paint Acrylic Portraits With My Free Mini-Video Course!
Thank you so much for taking the time to read this tutorial and watch the video. That means a lot to me. I hope you find it very helpful in your portrait painting.
Yours for Better Portraits,

P.S. Did you find this post helpful or encouraging? If so, send it on ahead! Let others know with the share buttons below. I’d love to hear your comments. Thank you so much! Also, do you have a question on acrylic portrait painting you’d like answered? Let me know, and I’d be happy to help!
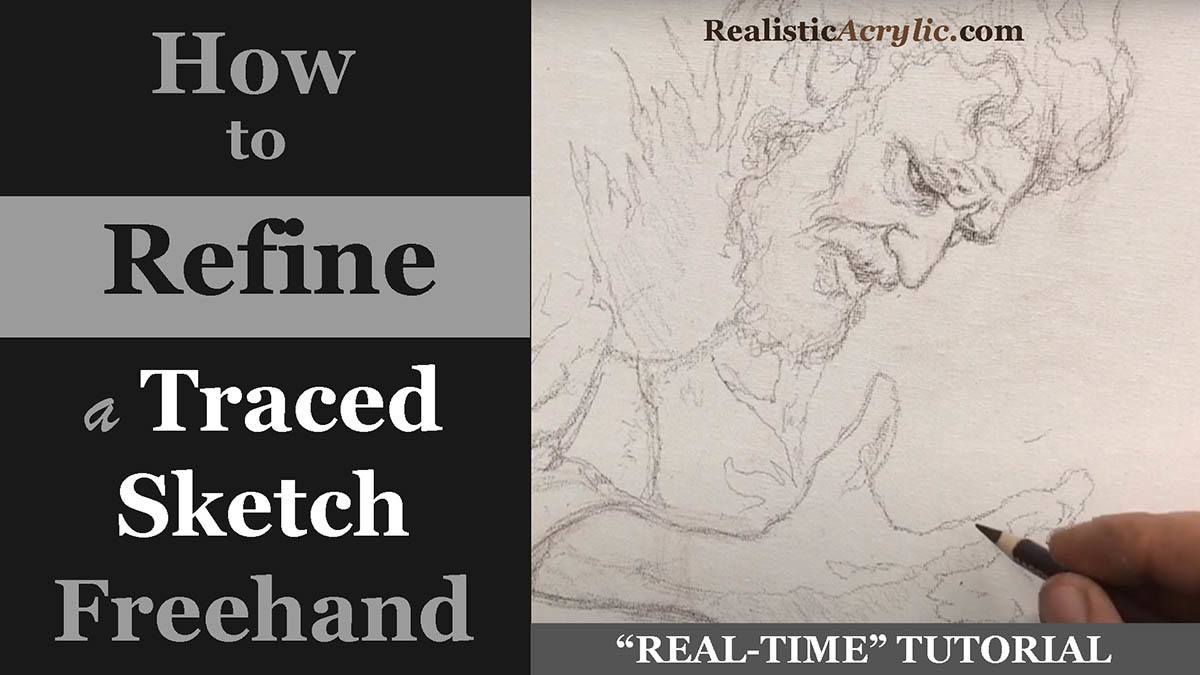
How to Refine a Traced Sketch Freehand
Ok. You just got done tracing an image for your portrait painting.
Now what? Begin painting? Not so fast! 🙂 In this video, I’ll show you how I’m refining the traced image, freehand, to make it ready to paint upon.
In this video, I’m going to work on this sketch of Isaiah or Hezekiah.
This is for the book of Isaiah by Russell Stendal and it’s an illustration based off this image here of a man in intercessory prayer. And originally, I did a video showing the tracing process, asking whether it’s ok to trace. And I think I answered that question, that it is—as long as you do freehand sketching and work with grids. But especially as you work with freehand sketching, which will help you to improve as an artist.
Now, I’m going to work in this sketch to show you the process of tightening up a sketch done by tracing initally and the tracing process does leave you with a lot of work left to be done. So, I’m going to show you how I’m going to add additional shading in detail and then have a sketch that I can paint on top of.
If you’d like to learn more, sign up for my free email tips and video class today.
Learn How to Paint Acrylic Portraits With My Free Mini-Video Course!Thank you so much for reading this tutorial and watching the video. That means a lot to me. I hope you find it very helpful in your portrait painting!

P.S. Did you find this post helpful or encouraging? If so, send it on ahead! Let others know with the share buttons below. I’d love to hear your comments. Thank you so much! Also, do you have a question on acrylic portrait painting you’d like answered? Let me know, and I’d be happy to help!
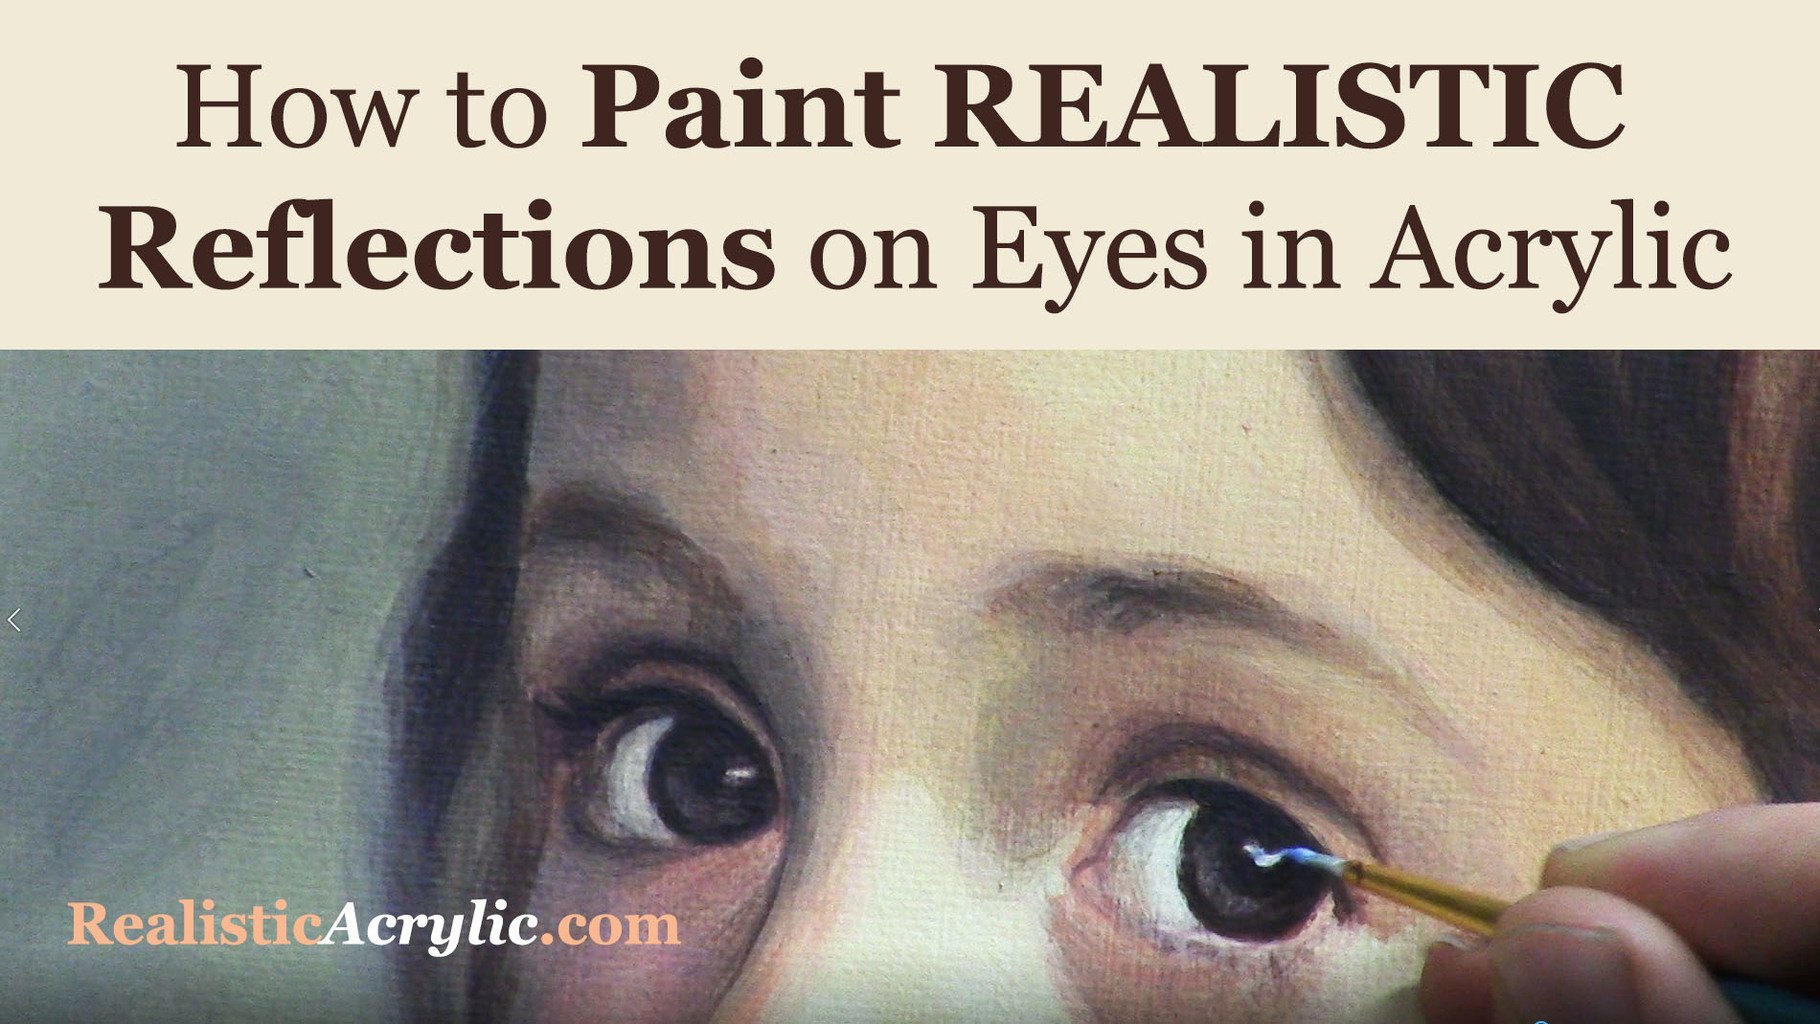
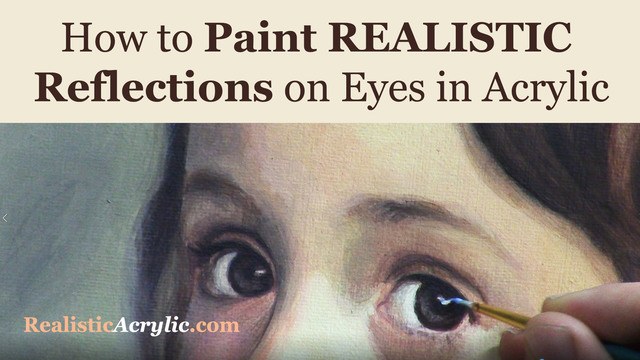
How to Paint Realistic Reflections on Eyes in Your Acrylic Portrait
Eyes are the most important feature of an acrylic portrait. When you paint the eyes correctly, everything else seems to fall into place so much easier.
In this video, I’ll show you how to paint realistic reflections, using two complementary colors in addition to white, and getting the shape of the reflection just right. This originally was a BONUS video in the Acrylic Portrait Painting Challenge Master Class, now available in the All-Access Membership at Realistic Acrylic Portrait School.
Even though it is technically over, you can take the Acrylic Portrait Painting Challenge (it’s FREE!) and paint along with us! 8 master class lessons are posted to help you paint a portrait you can be proud of!
REGISTER TODAY. The challenge is ongoing, something you can do at your own pace. It’s not too late to enter! After you join, I’ll send you the supplies list and reference photos to paint from.
Register for the Challenge!WATCH NOW…
Lesson #8: How to Paint Realistic Reflections on Eyes in Acrylic
Let me know if you have any questions and I look forward to teaching you more!
—Matt
Questions? Suggestions? Thoughts? Let me know, below in the comments. Please share your sketches in our Facebook group and share this post with your friends!
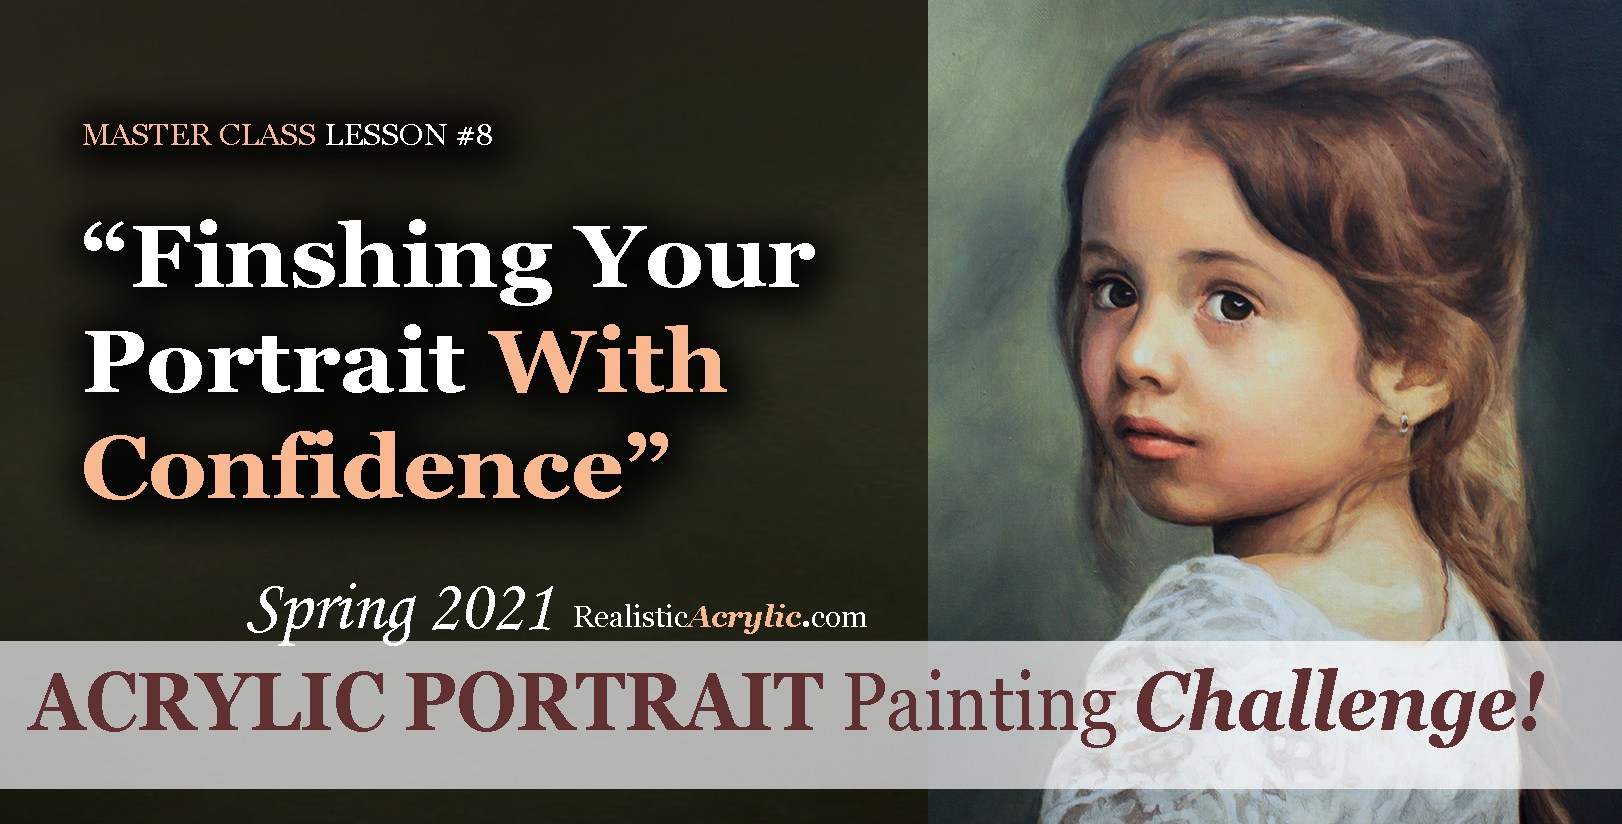
Spring 2021 Acrylic Portrait Painting Challenge: Finishing Your Portrait With Confidence
Let’s help you finish your painting!
In this lesson, we will be wrapping up the Masterclass series for the challenge! I’ll show you how to add some more nuances and details to the portrait of “Cora.” First, we’ll add a glaze to her hair to enrich the overall color. Next, we will enhance some nuances on her eyebrows, dial in the color of the eyes, and paint in the reflections. Finally, we’ll add in the skin tone for her arm in the lower corner and follow up with some work on her lace.
But even though we are nearly done with this portrait painting, it’s not too late to join in the fun!
YOU, too, can paint a portrait!
Take the Acrylic Portrait Painting Challenge (it’s FREE!) and paint along with us!
REGISTER TODAY. The challenge is ongoing, something you can do at your own pace. It’s not too late to enter! After you join, I’ll send you the supplies list and reference photos to paint from.
Register for the Challenge!WATCH NOW…
Lesson #8: Finishing Your Portrait Confidently
Professional artist and instructor Matt Philleo will teach you how to paint an acrylic portrait you can be proud of with this Portrait Painting Challenge!
Would like to paint this portrait with me and hundreds of other artists?
Take the 2021 Spring Portrait Painting Challenge!
You can register below and get started. It is completely FREE to join the challenge and participate. When you join, I’ll send you the “Welcome Kit” which includes:
- The Supplies List (so you know what you need to paint with us, your shopping list. 🙂 )
- The Reference Photo with and without the grid, high resolution, that you can download ready to print out or display on your tablet. You’ll be able to create an accurate portrait this way.
- The Palette Layout Guide showing you how to arrange your colors so they don’t get muddy on your palette
- The Master Class Lesson Schedule
- the Lessons emailed to you
- A private Facebook group to cheer you and help answer your questions
- And a few “bonuses” like opportunities to win my paid online classes
REGISTER TODAY. The challenge is ongoing, something you can do at your own pace. It’s not too late to enter!
Register for the Challenge!Let me know if you have any questions and I look forward to teaching you more!
—Matt
Questions? Suggestions? Thoughts? Let me know, below in the comments. Please share your sketches in our Facebook group and share this post with your friends!
Spring 2021 Acrylic Portrait Painting Challenge: Painting Delicate Details and Nuances
After building the foundation with several layers of value, form, and color, we can then start to “dial in” the detail and nuances.
In this master class lesson (7 of 8), I’ll demonstrate how to add specific detail shapes to “Cora’s” hair. I’ll also add some additional shading to her forehead with a very translucent glaze. Next, I darken the left side of her face while smoothing out some of the rough application of previous glazes with a semi-opaque layer that’s cooler in tone. Finally, I add nuances to her eyes, lips and chin.
But even though we are well along in this portrait painting, it’s not too late to join in the fun!
YOU, too, can paint a portrait!
Take the Acrylic Portrait Painting Challenge (it’s FREE!) and paint along with us!
REGISTER TODAY. The challenge is ongoing, something you can do at your own pace. It’s not too late to enter! After you join, I’ll send you the supplies list and reference photos to paint from.
Register for the Challenge!WATCH NOW…
Lesson #7: Painting Delicate Details and Nuances
Learn how to do smooth shading, skin tones, details, and nuances in this FREE online portrait painting class by Matt Philleo at Realistic Acrylic Portrait School
Would like to paint this portrait with me and hundreds of other artists?
Take the 2021 Spring Portrait Painting Challenge!
You can register below and get started. It is completely FREE to join the challenge and participate. When you join, I’ll send you the “Welcome Kit” which includes:
- The Supplies List (so you know what you need to paint with us, your shopping list. 🙂 )
- The Reference Photo with and without the grid, high resolution, that you can download ready to print out or display on your tablet. You’ll be able to create an accurate portrait this way.
- The Palette Layout Guide showing you how to arrange your colors so they don’t get muddy on your palette
- The Master Class Lesson Schedule
- the Lessons emailed to you
- A private Facebook group to cheer you and help answer your questions
- And a few “bonuses” like opportunities to win my paid online classes
REGISTER TODAY. The challenge is ongoing, something you can do at your own pace. It’s not too late to enter!
Register for the Challenge!Let me know if you have any questions and I look forward to teaching you more!
—Matt
Questions? Suggestions? Thoughts? Let me know, below in the comments. Please share your sketches in our Facebook group and share this post with your friends!

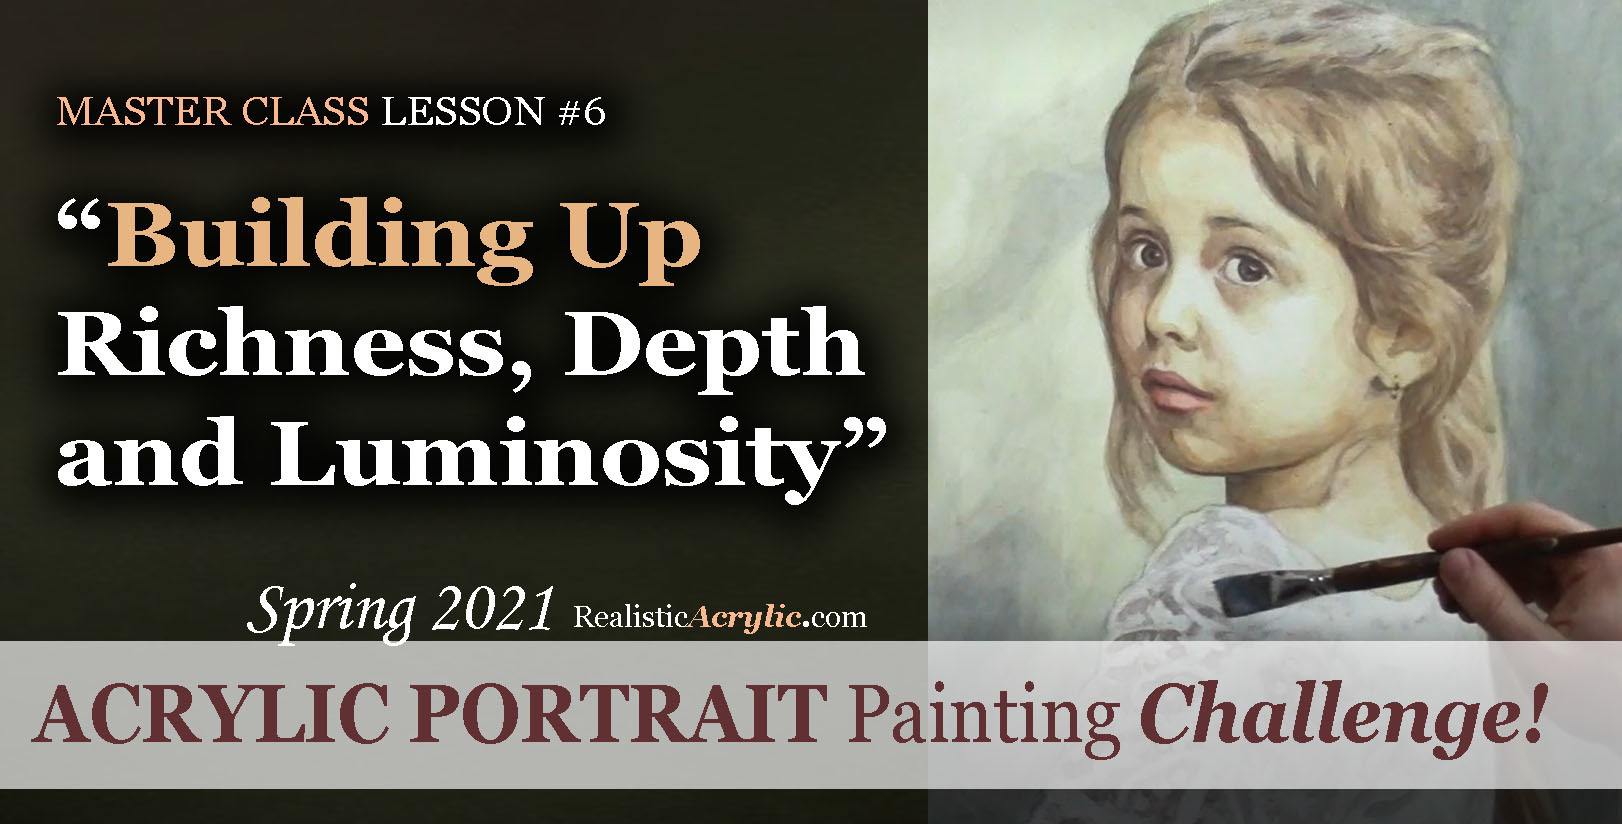
Spring 2021 Acrylic Portrait Painting Challenge: Building Up Richness, Depth and Luminosity
Acrylic is a fantastic medium for portrait painting, but it can be so challenging to use! That is why I am teaching you the glazing technique to open a lot of possibilities and ease your frustration.
Historically, the Old Masters used small amounts of pigment dispersed in larger amounts of linseed oil or mineral spirits to create a sense of volume and depth in their paintings. Light shines through and you can see a bit of each layer beneath the ones on top.
We can use that technique to our advantage with acrylic. By applying several translucent layers, there is an increased sense of depth, shading, contrast and color saturation and luminosity.
In this particular lesson, I’ll demonstrate how to add richness to the mid-tones of the girl’s face and hair. We will also add more contrast to the image with a couple of layers to the background, and turn the form of her figure with a precisely placed glaze on her clothing.
But even though we are well along in this portrait painting, it’s not too late to join in the fun!
Take the Acrylic Portrait Painting Challenge (it’s FREE!) and paint along with us!
REGISTER TODAY. The challenge is ongoing, something you can do at your own pace. It’s not too late to enter! After you join, I’ll send you the supplies list and reference photos to paint from.
Register for the Challenge!WATCH NOW…
Lesson #6: Building Up Richness, Depth, and Luminosity
Learn how to create a vibrant acrylic portrait where the colors are not flat or muddy. In this FREE step by step master class, I’ll show you how!
Would like to paint this portrait with me and hundreds of other artists?
Take the 2021 Spring Portrait Painting Challenge!
You can register below and get started. It is completely FREE to join the challenge and participate. When you join, I’ll send you the “Welcome Kit” which includes:
- The Supplies List (so you know what you need to paint with us, your shopping list. 🙂 )
- The Reference Photo with and without the grid, high resolution, that you can download ready to print out or display on your tablet. You’ll be able to create an accurate portrait this way.
- The Palette Layout Guide showing you how to arrange your colors so they don’t get muddy on your palette
- The Master Class Lesson Schedule
- the Lessons emailed to you
- A private Facebook group to cheer you and help answer your questions
- And a few “bonuses” like opportunities to win my paid online classes
REGISTER TODAY. The challenge is ongoing, something you can do at your own pace. It’s not too late to enter!
Register for the Challenge!Let me know if you have any questions and I look forward to teaching you more!
—Matt
Questions? Suggestions? Thoughts? Let me know, below in the comments. Please share your sketches in our Facebook group and share this post with your friends!
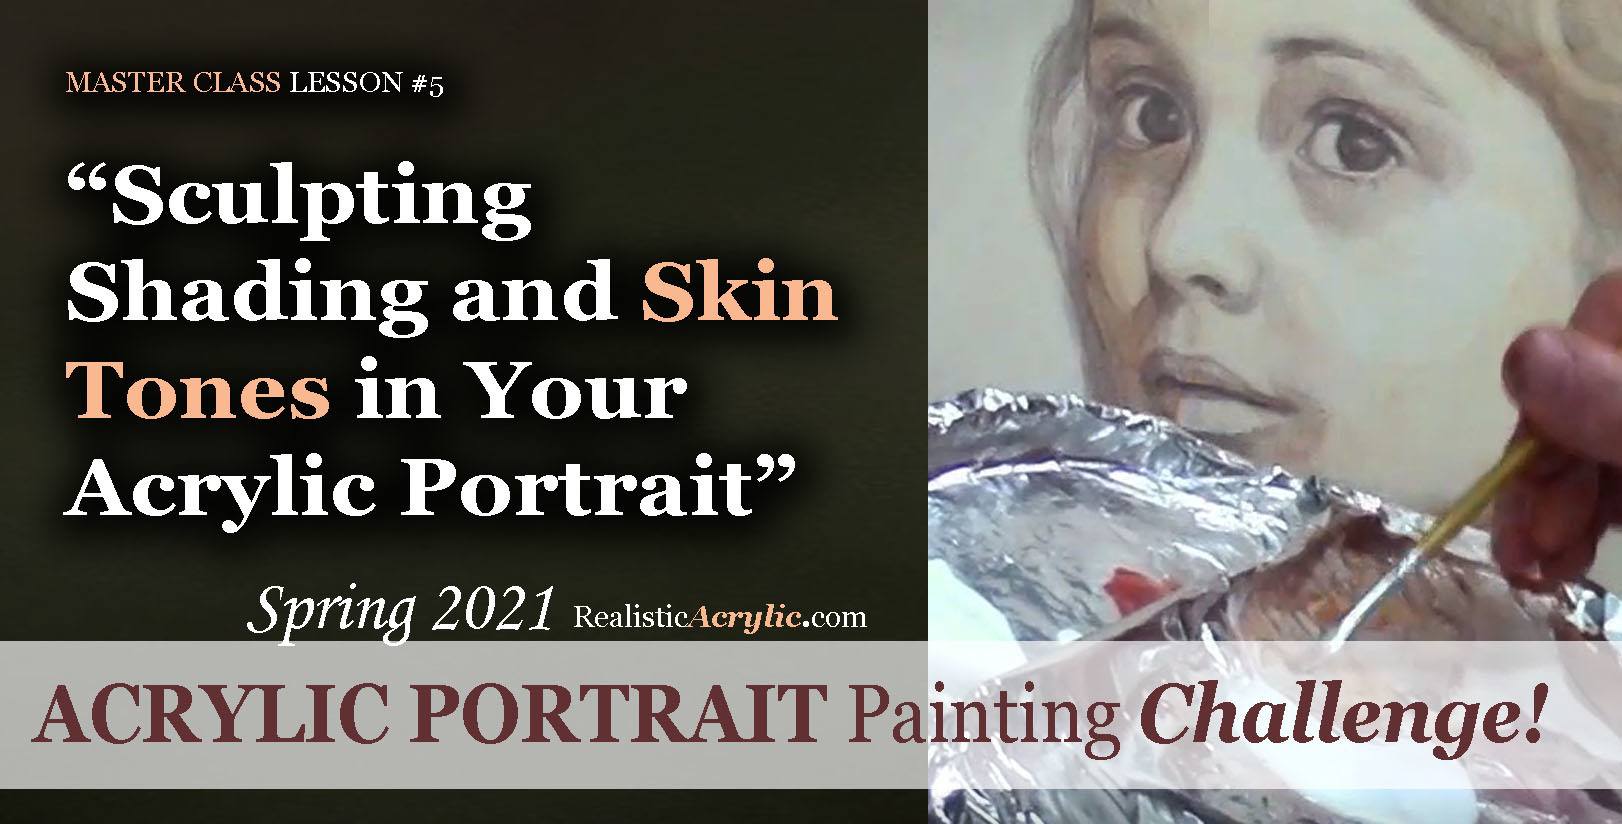
Spring 2021 Acrylic Portrait Painting Challenge: Sculpting Shading and Skin Tones in Your Acrylic Portrait
Acrylic portrait painting, in many ways, is like creating a sculpture. We want to truly make our faces look realistic and three-dimensional. In this master class video lesson, I show you how to do exactly that.
We’re breaking a fine art portrait painting down into bite-size steps that YOU can do.
Specifically, in this video lesson, I demonstrate how darkening your background can really make the face stand out in a lifelike way.
What colors should we use for the shadows? I’ll show you how to mix them, what brushes to use to apply them, and HOW to do it. Get the shadows right, and 80% of the battle is won, so to speak in your portrait.
What colors for the skin tones?
In this video, you’ll learn the correct color to mix, how to create glazes with matte medium and apply it to the face smoothly.
This is still very much the beginning. More lessons to come.
Take the Acrylic Portrait Painting Challenge (it’s FREE!) and paint along with us!
REGISTER TODAY. The challenge is ongoing, something you can do at your own pace. It’s not too late to enter! After you join, I’ll send you the supplies list and reference photos to paint from.
Register for the Challenge!
WATCH NOW…
Lesson #5: Sculpting Shading and Skin Tones in Your Acrylic Portrait
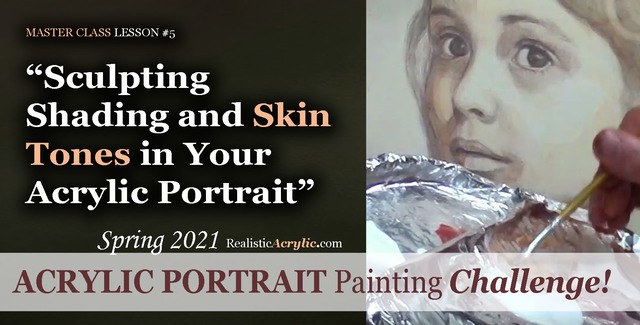
Acrylic Portrait Painting Challenge Lesson #5: Sculpting Shading and Skin Tones in Your Acrylic Portrait
Would like to paint this portrait with me and hundreds of other artists?
Take the 2021 Spring Portrait Painting Challenge!
You can register below and get started. It is completely FREE to join the challenge and participate. When you join, I’ll send you the “Welcome Kit” which includes:
- The Supplies List (so you know what you need to paint with us, your shopping list. 🙂 )
- The Reference Photo with and without the grid, high resolution, that you can download ready to print out or display on your tablet. You’ll be able to create an accurate portrait this way.
- The Palette Layout Guide showing you how to arrange your colors so they don’t get muddy on your palette
- The Master Class Lesson Schedule
- the Lessons emailed to you
- A private Facebook group to cheer you and help answer your questions
- And a few “bonuses” like opportunities to win my paid online classes
REGISTER TODAY. The challenge is ongoing, something you can do at your own pace. It’s not too late to enter!
Register for the Challenge!What’s coming up in the next lesson? More shading, more skin tones, and the start of some detail work. Follow the lessons and you will be able to create a portrait you can be proud of…even if you’re a complete beginner!
Let me know if you have any questions and I look forward to teaching you more!
—Matt
Questions? Suggestions? Thoughts? Let me know, below in the comments. Please share your sketches in our Facebook group and share this post with your friends!

