Category Archives for Step-by-Step Tutorial
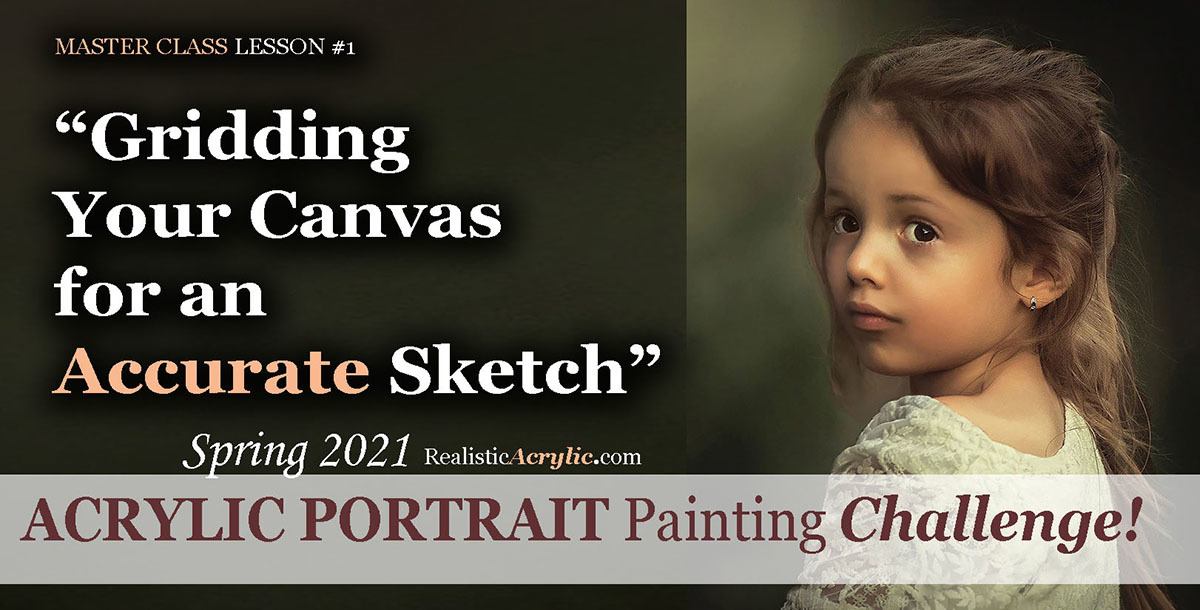
Spring 2021 Acrylic Portrait Painting Challenge: Gridding Your Canvas for an Accurate Sketch
One of the biggest struggles portrait artists have is getting an accurate likeness. In this lesson, I will show you how to grid your canvas, so that you will be able to not only make a sketch with good proportions but also get a good likeness too.
I’ll show you exactly how to do it in this video…
Gridding Your Portrait for an Accurate Sketch
Would like to paint this portrait with me and hundreds of other artists?
Take the 2021 Spring Portrait Painting Challenge!
You can register below and get started. It is completely FREE to join the challenge and participate. When you join, I’ll send you the “Welcome Kit” which includes:
- The Supplies List (so you know what you need to paint with us, your shopping list. 🙂 )
- The Reference Photo with and without the grid, high resolution, that you can download ready to print out or display on your tablet. You’ll be able to create an accurate portrait this way.
- The Palette Layout Guide showing you how to arrange your colors so they don’t get muddy on your palette
- The Master Class Lesson Schedule
- the Lessons emailed to you
- A private Facebook group to cheer you and help answer your questions
- And a few “bonuses” like opportunities to win my paid online classes
REGISTER TODAY. The challenge is ongoing, something you can do at your own pace. It’s not too late to enter!
Register for the Challenge!Let me know if you have any questions and I look forward to teaching you more!
—Matt
You CAN Paint a Realistic Acrylic Portrait
“Can I paint a portrait?”
This is the question so many of my students asked themselves prior to taking my master class for the Acrylic Portrait Painting Challenge.
The fact is: yes, you can.
“But,” you may ask right now as you read this, “Will it look terrible? Will it even look human? Will the skin tones be muddy? Will I be able to get a good likeness? Will the paint layers get blotchy? How exactly do I paint a portrait?”
Again, these questions have been asked before. You’re not alone.
And I’m happy to say, that many of my students, an aspiring artist just like you, have taken these questions to the canvas, started painting following my step-by-step video instruction, and created a beautiful portrait. Even as beginners.
Now, I can’t promise you’ll be able to paint a Rembrandt your very first try.
But I will promise this: if you come with a mindset of being willing to try, and being willing to hang in there when the painting process gets challenging, you will create a portrait that is way better than you ever thought possible!
Some of my students create portraits that look professional on their very first attempt. Others create portraits that are much improved from what they previously did, but they will need to keep practicing to get better. (We all need to keep working to get better, myself included! 🙂 )
You can do this! I’ll show you how and you won’t be alone.
Last year, I launched our inaugural spring portrait painting challenge, just as the lockdowns of the coronavirus hit. Over 700 artists took the challenge, and I have personally seen many, many portraits that look amazing considering it was the very first portrait they ever did. You would think they had been painting for years! When they posted their portraits to social media, they started getting commissions! Others started painting portraits of family members to give as unique gifts.
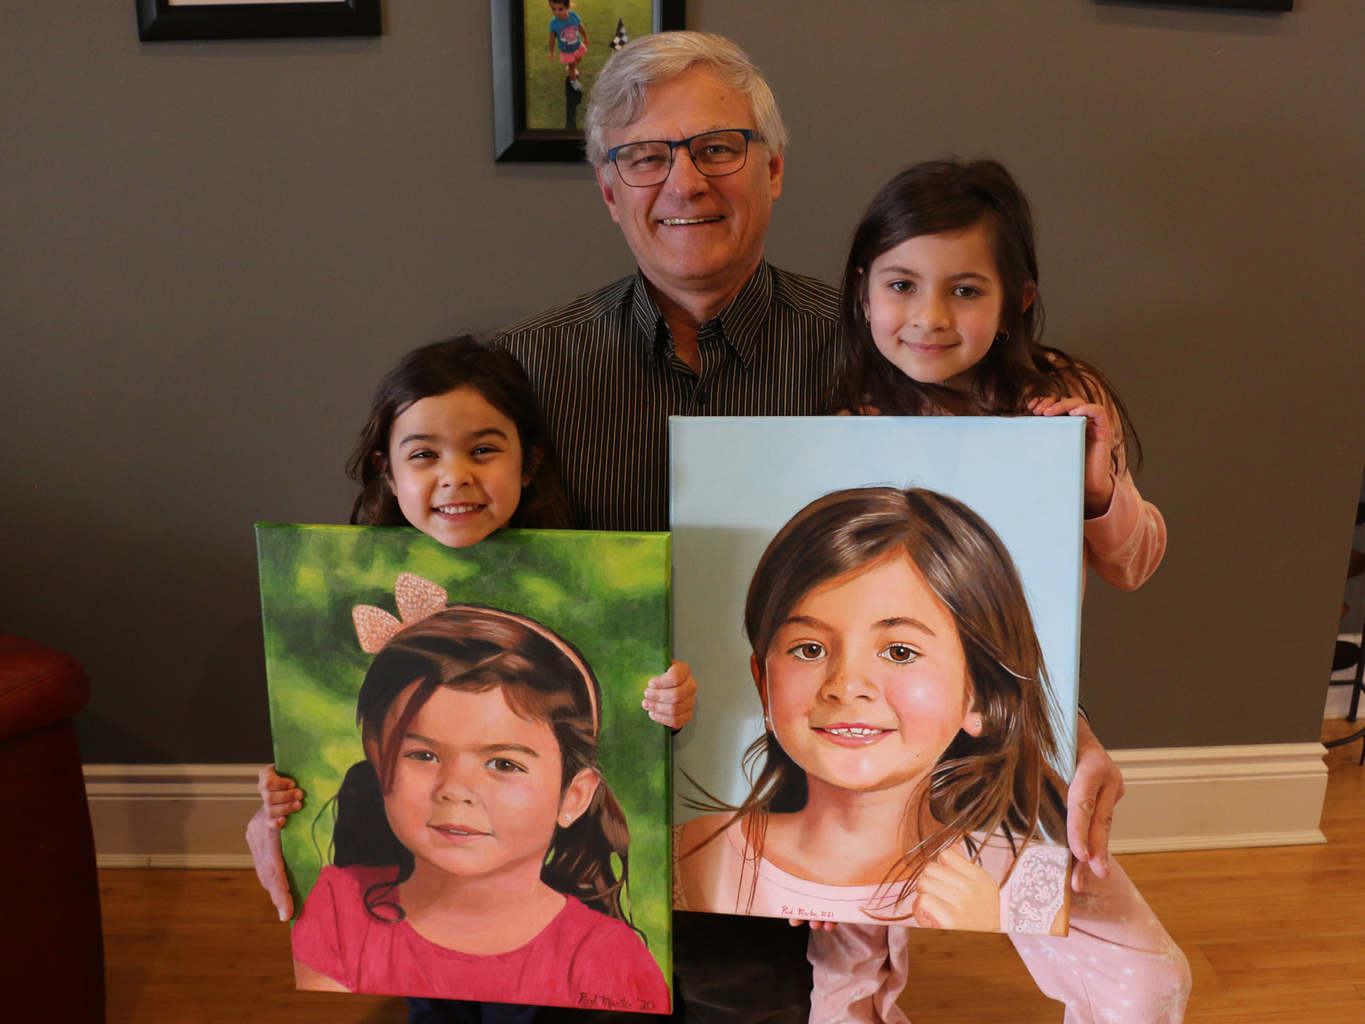
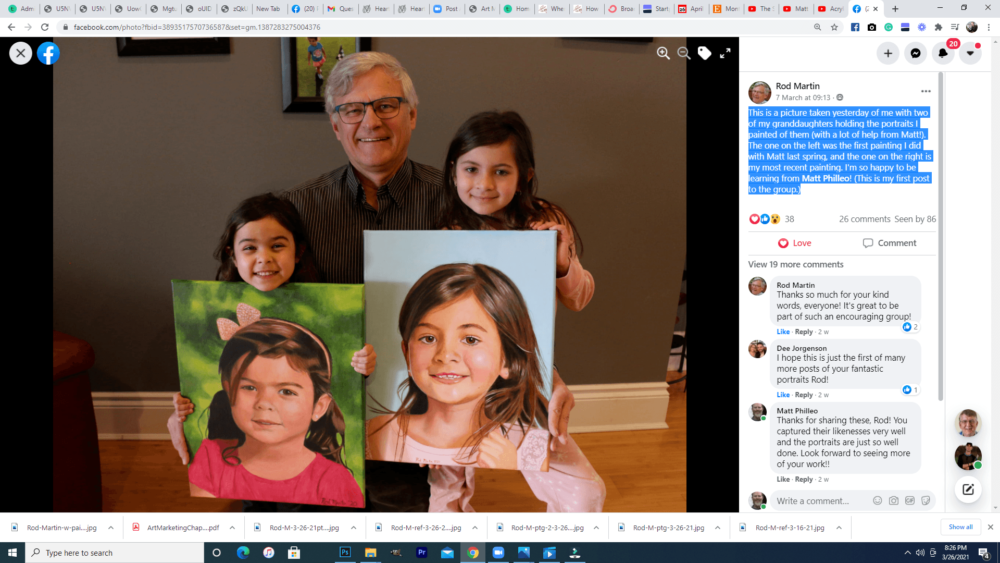
Here’s what my student Rod Martin (part of the Realistic Acrylic All-Access Membership) created. Below is his very first acrylic portrait (on the left) and a more recent one on the right. I write this, he’s only been with me for a year!
Realistic Acrylic Portrait School student Rod Martin with his very first acrylic portrait
I am not going to boast in myself or my teaching. I do really care for my students, and I put everything I have into helping them paint portraits they can be proud of. But the real secret is I pray and God helps me not only to teach, but my students to apply the teaching and create something amazing. They take the knowledge I give them, put into practice with tenacity, and they produce a fantastic portrait.
So, take the 2021 Spring Portrait Painting Challenge!
You can register below and get started. It is completely FREE to join the challenge and participate. When you join, I’ll send you the “Welcome Kit” which includes:
- The Supplies List (so you know what you need to paint with us, your shopping list. 🙂 )
- The Reference Photo with and without the grid, high resolution, that you can download ready to print out or display on your tablet. You’ll be able to create an accurate portrait this way.
- The Palette Layout Guide showing you how to arrange your colors so they don’t get muddy on your palette
- The Master Class Lesson Schedule
- the Lessons emailed to you
- A private Facebook group to cheer you and help answer your questions
- And a few “bonuses” like opportunities to win my paid online classes
REGISTER TODAY. The challenge is ongoing, something you can do at your own pace. It’s not too late to enter!
Register for the Challenge!
Look forward to teaching you!
—Matt
Questions? Comments? Share your thoughts below. Please share this post with your friends!
2021 Spring Acrylic Portrait Painting Challenge is Coming!
It was last year around this time that I got news of my state doing a lockdown because of the new coronavirus that was spreading like wildfire.
I thought, What would happen to my art business? I won’t be able to do art shows or teach classes anymore. If the economy tumbles, will I be able to pay the mortgage?
You probably had similar thoughts brewing in your mind too. You still remember what it felt like after the initial news of this unknown pandemic.
Many businesses were hunkering down, trying to stay afloat while the sea of uncertainty and fear poured in around them.
I didn’t know what to do either.
But one of my business mentors, Graham Cochrane, said “this is not a time to hold back. This is a time to be generous.”
I thought, “I could do a portrait challenge. Many artists are stuck at home, sheltering in place. It would not only give us all something productive to do, but would help conquer the fear that can come from just letting our thoughts run wild.”
Additionally, I could teach a whole class on how to paint this portrait, for free, showing all the steps from start to finish.
But then the other side of my mind protested, “If you do that, if you give it all away for free, who will ever buy your courses again?”
“No!” the right side of my brain said.“I’m going to trust God. I’ll be generous like Jesus is to me and just trust God will take care of me and my family!”
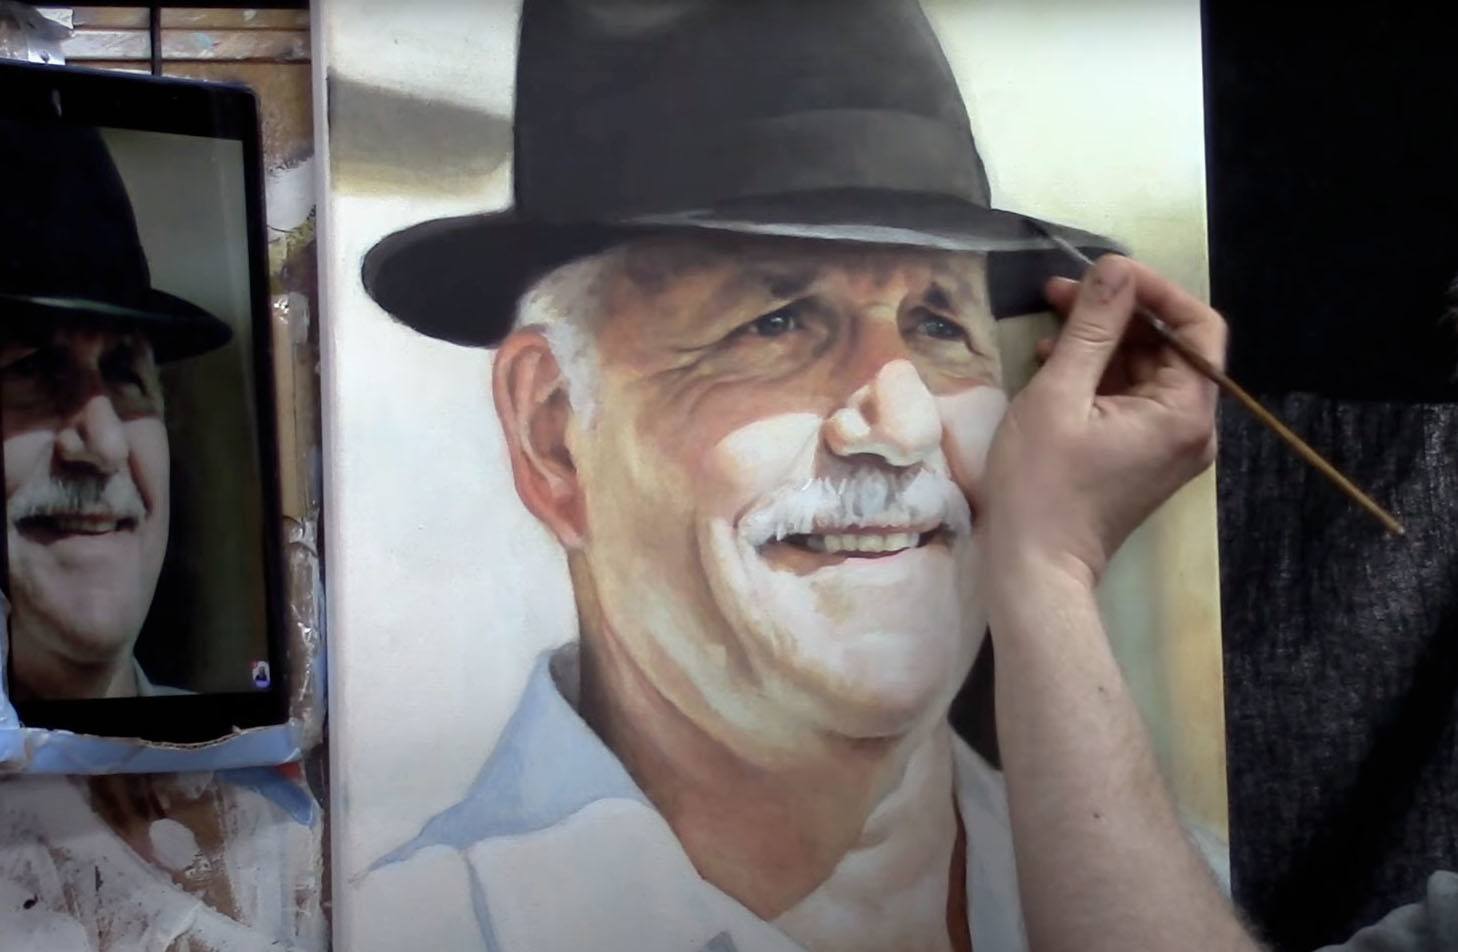
So I listened to that part of my brain (and God) and launched the Spring Portrait Acrylic Painting Challenge. We painted this portrait of “Lockdown Larry” the man with the hat, supplied by
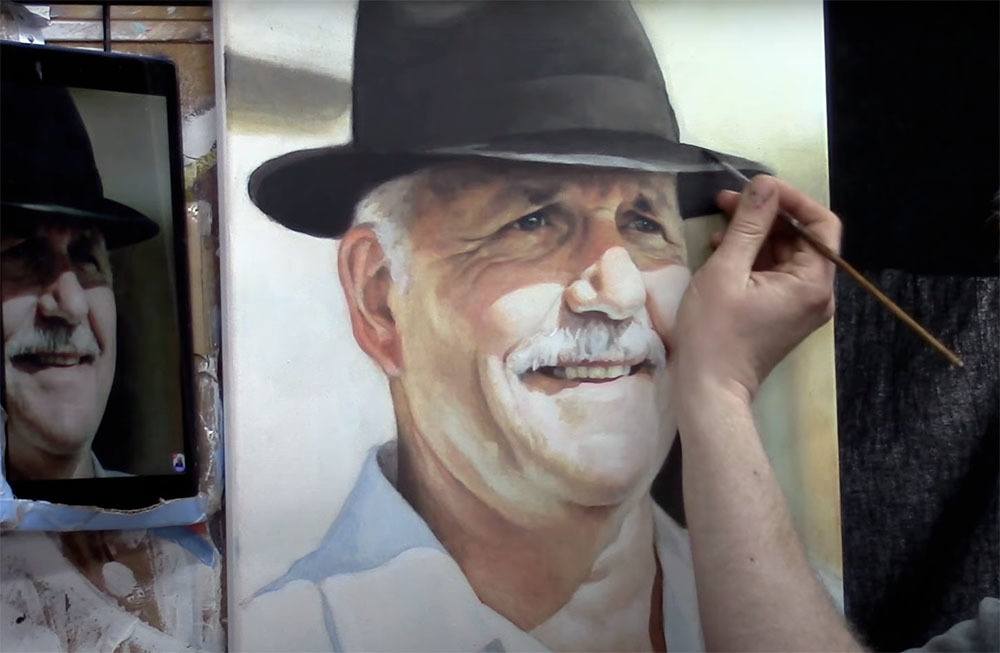
Matt Philleo painting an acrylic portrait from a photo for the Spring Portrait Painting Challenge, ©2020 by Matt Philleo
Over 700 artists took the challenge. Many never painted a portrait before, but through their hard work and perseverance, at the end of the challenge produced a portrait they could be proud of!
Some even said they were struggling with severe depression, and the challenge helped lift them out of it!
When the challenge was over, some of these artists went on to do commissioned portraits and are now thriving! Others are painting portraits of their grandchildren, loving every moment of creating a special gift they can give and capture memories.
What a joy to hear these stories and be a part of it!
And the teaching side of my art business has increased incredibly since the challenge last year. God has blessed me and my family. The best part is, I am part of a wonderful community of artists in the All-Access Membership. We have such a great time learning and encouraging each other to do our very best portrait work.![]()
Well, it’s almost spring here in Wisconsin and we are doing the challenge again. I will soon be putting out a call for images that we can vote on as a group to paint from.
I am excited and look forward to teaching you and helping you paint a portrait you can be proud of!
—Matt
YOUR NEXT STEP: Please share this Challenge posting with your friends, by using the social media links below. The more that see it, the more artists we can help all over the world. Thank you!
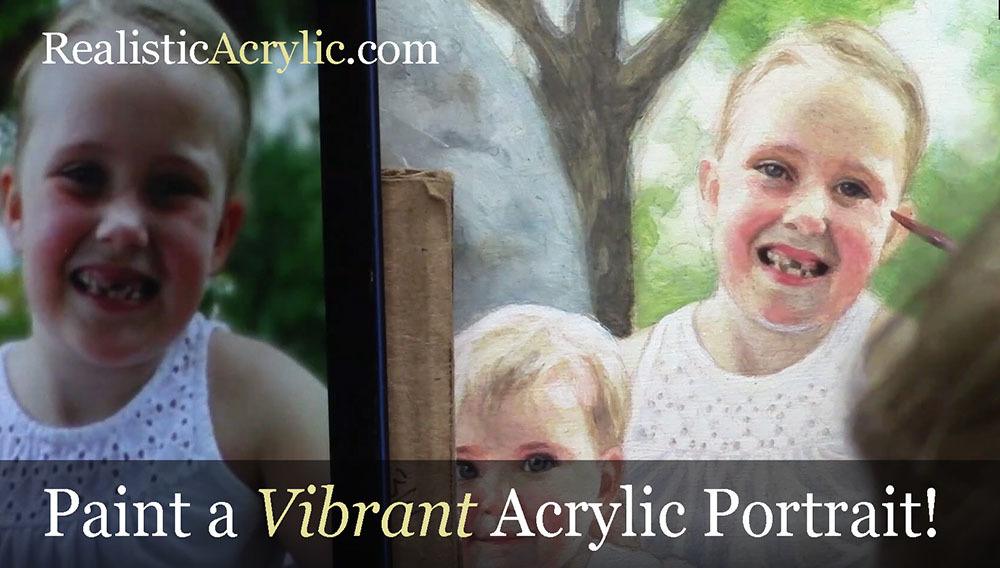
Step-by-Step Journey of Painting a Vibrant Acrylic Portrait
How do you paint an acrylic portrait that looks alive?
In this video, I share how I painted an 11″ x 14″ portrait of three beautiful children, using the classical glazing technique.
This is not a time-lapse video, but rather real-time snippets of my studio process, step-by-step, with explanations of what I’m doing. I share all the tips I can within about 20 minutes so that you can learn to paint an amazing acrylic portrait that you can give as a gift or even do for a living!
This tutorial shows the entire process of painting a portrait. Here are the steps I show in this tutorial:
- Sketch the portrait.
- Seal in the sketch.
- Block in the initial values
- Develop contrast, depth, and skin tones
- Add final nuances, details and finish.
Watch the video below and happy painting! 🙂
Of course, I always love to hear from you. Please let me know how this video helps.
Also, do you have a question about your portrait that I could answer for you? Let me know in the comments below!
Yours for Better Portraits,
![]()
If you found this post helpful or encouraging, would you send it on ahead? Let others know with the share buttons below. I’d love to hear your comments. Thank you so much!
The 30-Minute Acrylic Portrait: “Smiling Girl in Yellow”
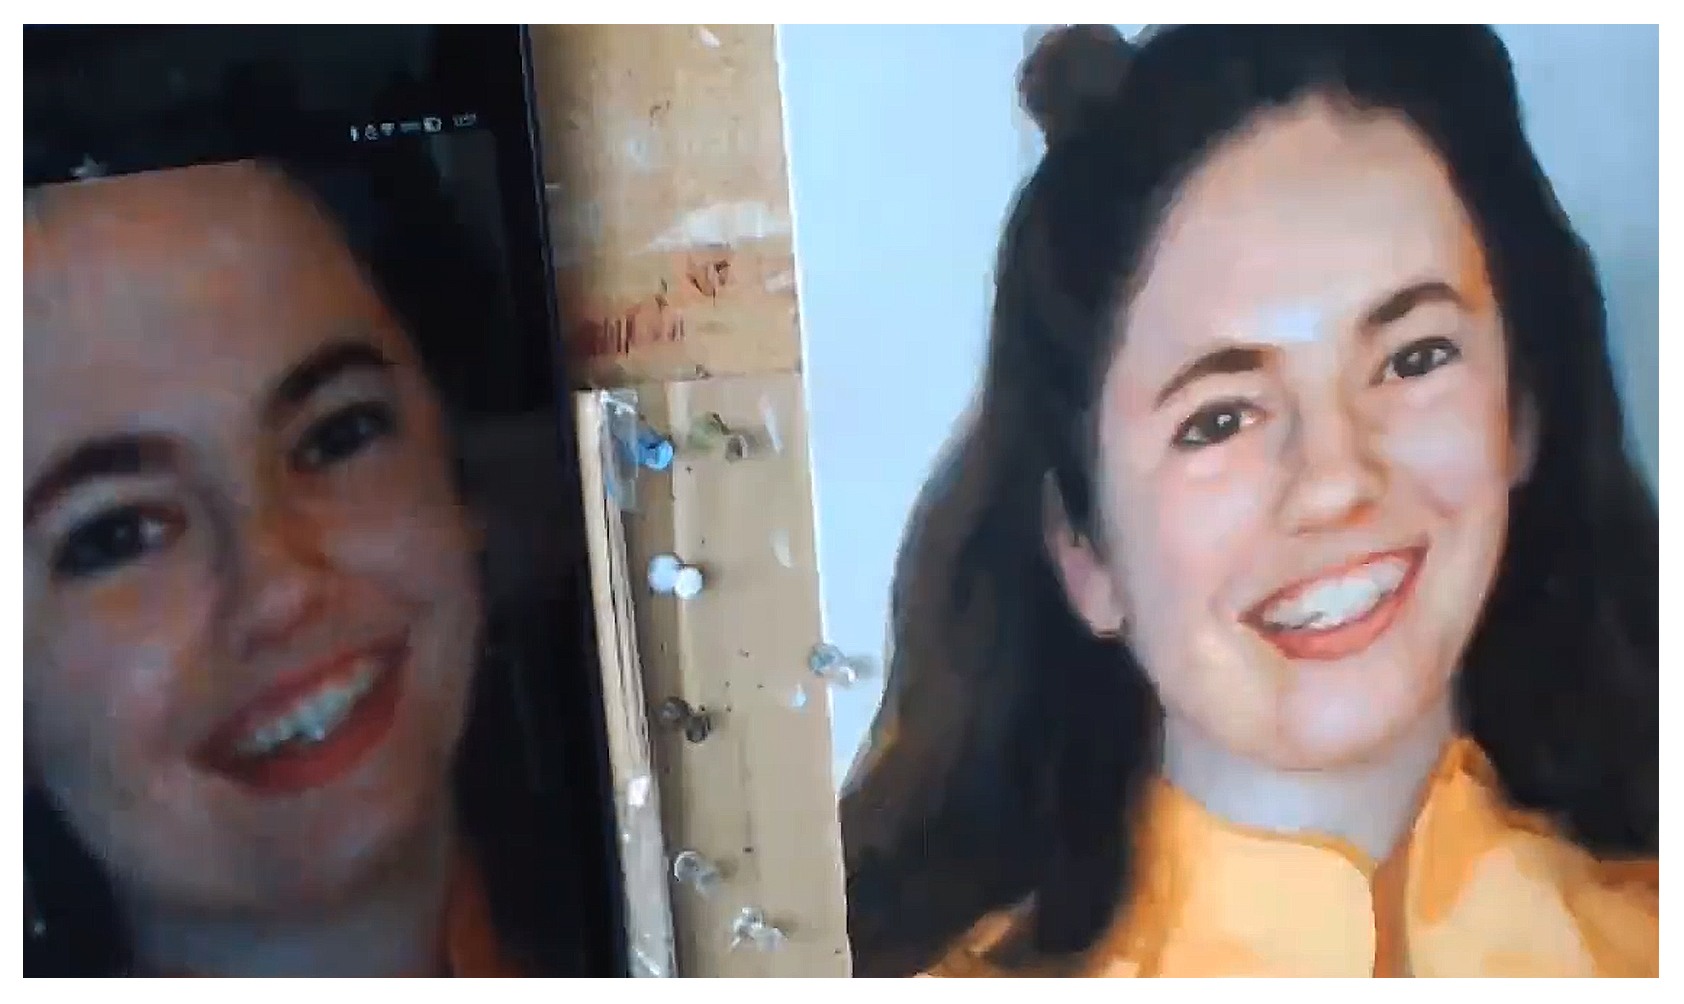
Thanks for joining me on another adventure of painting a quick, loosely-realistic alla prima acrylic portrait, real-time, in a half an hour.
For today’s portrait, I’ll be painting a picture of a young woman ( a still shot image from Ray Comfort’s video interviews ) with a beautiful dark complexion and attractive smile. I like the dark shadows and forms within her face and hair, and I thought it would make for a fantastic little portrait.
This will be an 8 x 10, acrylic on canvas board.
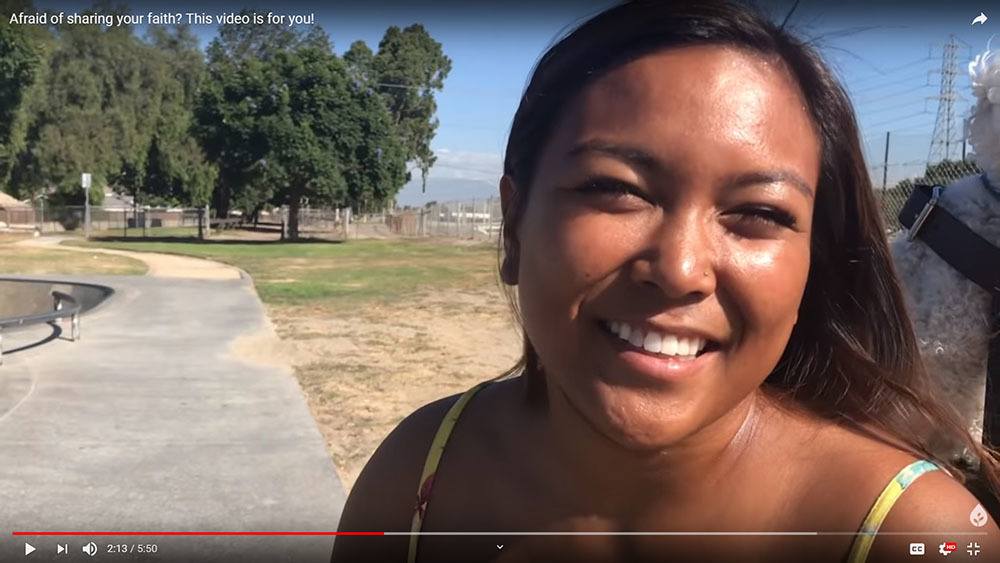
McKaela, still shot image from Ray Comfort/ Living Waters footage used for alla prima acrylic portrait by artist Matt Philleo, 2019, used with permission.
I’ll demonstrate how you can paint a quick portrait study with an aggressive opaque, alla prima technique. The idea is to see what you can accomplish within 30 minutes. It will force you to think quickly, and find out what the most important aspects are that will convey the subject’s likeness and just paint them without fuss.
At the same time, I encourage you to enjoy the process and don’t fret over whether the painting looks good or not. Of course it won’t look as good as a painting you’ve spent hours on! But it’s OK. Just enjoy the process.
Later on, you can always add more layers to the painting and give it a finished look.
Ready to dive in?
Season 1, Episode 3 of the 30-Minute Acrylic Portrait…
After watching it, leave me a comment here below. I really look forward to reading and answering your thoughts and questions. Let me know how I can help and have a blessed and productive day!
Yours for better portraits,

P.S. Did you find this post helpful or encouraging? If so, send it on ahead! Let others know with the share buttons below. I’d love to hear your comments. Thank you so much! Also, do you have a question on acrylic portrait painting you’d like answered? Let me know, and I’d be happy to help!
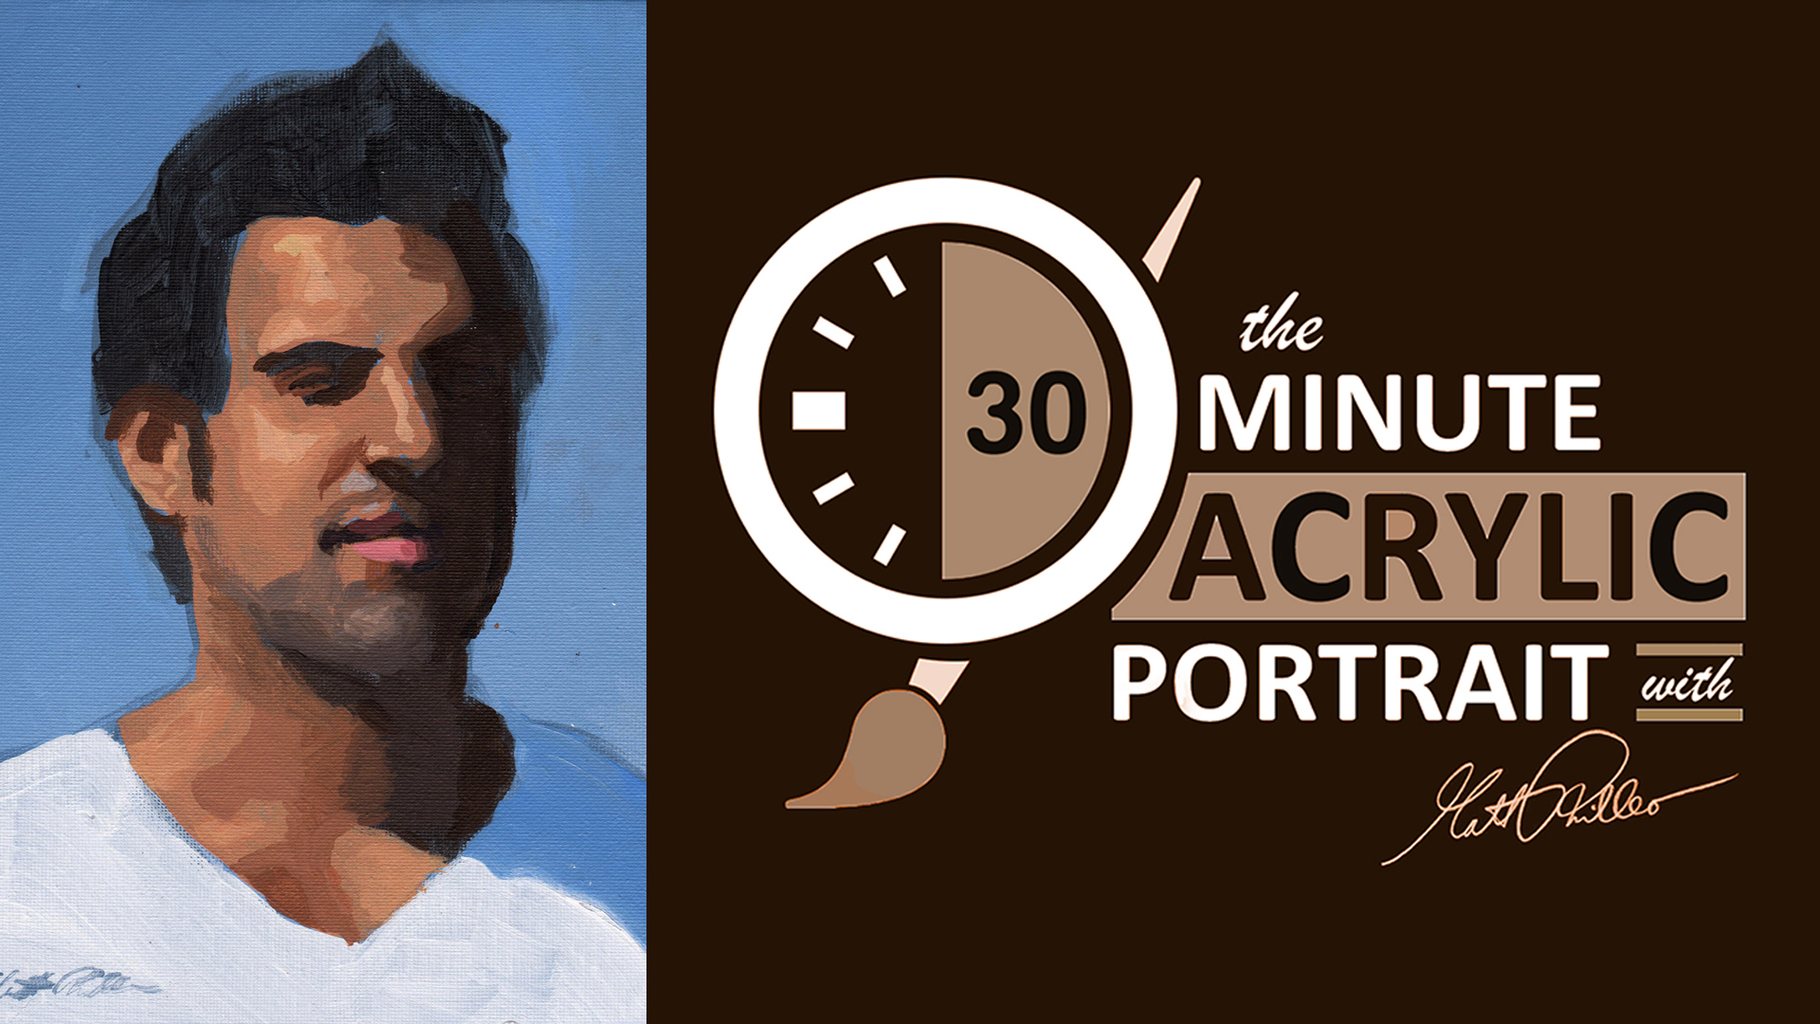
The 30-Minute Acrylic Portrait: “Young Man in White”
Thank you to everyone who left encouraging comments and kind words on my first episode of the “30-Minute Acrylic Portrait.” Now, it’s on to Episode #2.
For today’s portrait, I’ll be painting a picture of a young man dressed in white, named Mohammed.
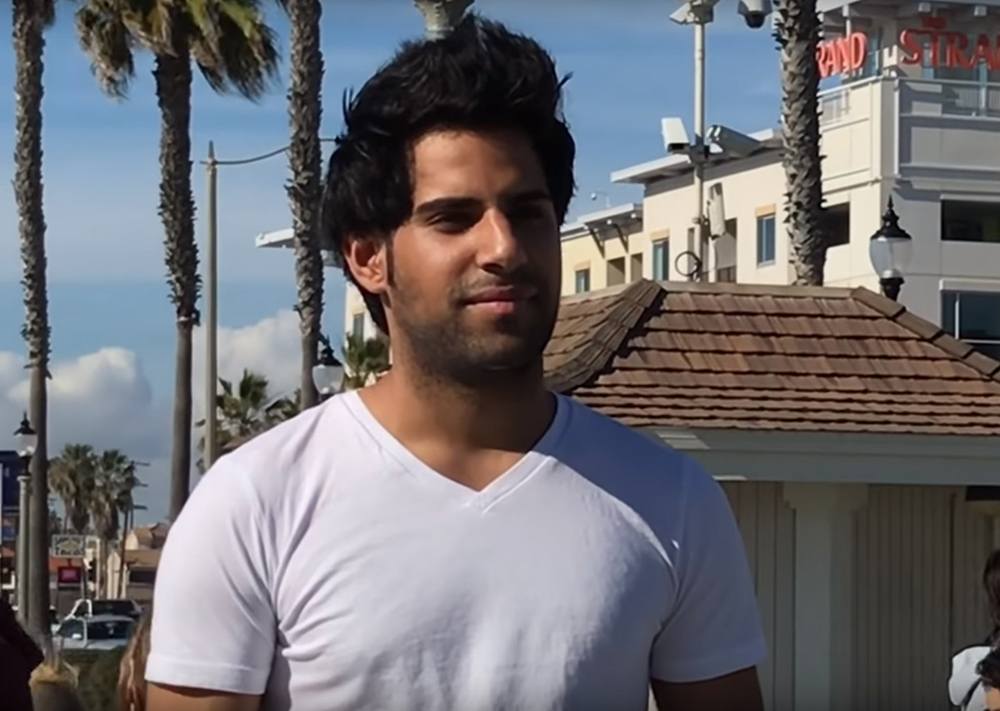
Reference photo for 30-Minute Acrylic Portrait, used with permission from Ray Comfort at Living Waters Publications
How did I come across this photo?
Well, I was looking for interesting reference images to paint from, scouring the internet and couldn’t find much. Even stock photo sites like Pexels and Pixabay came up short.
Then I recalled a YouTube channel that I frequently watch (or have playing in the background as I paint): Living Waters.
On this channel, there are literally hundreds of videos of people being interviewed by Ray Comfort, a Christian author, evangelist and short movie producer. Every person is different and unique. I noticed the lighting on several of these interesting characters was fantastic, and the video quality high enough that I could grab some screenshots of the footage and then paint from them.

Living Waters YouTube Channel–reference photos for paintings, used with permission
Of course, I needed to get permission first.
So I contacted the ministry’s general email address, and got an expected automated response.
The next day, however, I got an unexpected call from Ray Comfort, granting me permission to paint portraits based on his videos. I was blown away by his generosity and thought this was also another confirmation from God to continue doing the series. I should have enough images to keep me busy for months, maybe even years. 🙂
So here we go.
Season 1, Episode 2 of the 30-Minute Acrylic Portrait…
As always, let me know what you think of this video. I encourage you to try this exercise for yourself. You don’t have to feel pressured to come up with a masterpiece. Just enjoy the process and see what you can do within half an hour.
Or you might just want to keep watching these videos for fun, sipping some coffee or tea. 🙂 Either way, thank you for watching, and I look forward to sharing more with you.
Yours for better portraits,

P.S. Did you find this post helpful or encouraging? If so, send it on ahead! Let others know with the share buttons below. I’d love to hear your comments. Thank you so much! Also, do you have a question on acrylic portrait painting you’d like answered? Let me know, and I’d be happy to help!
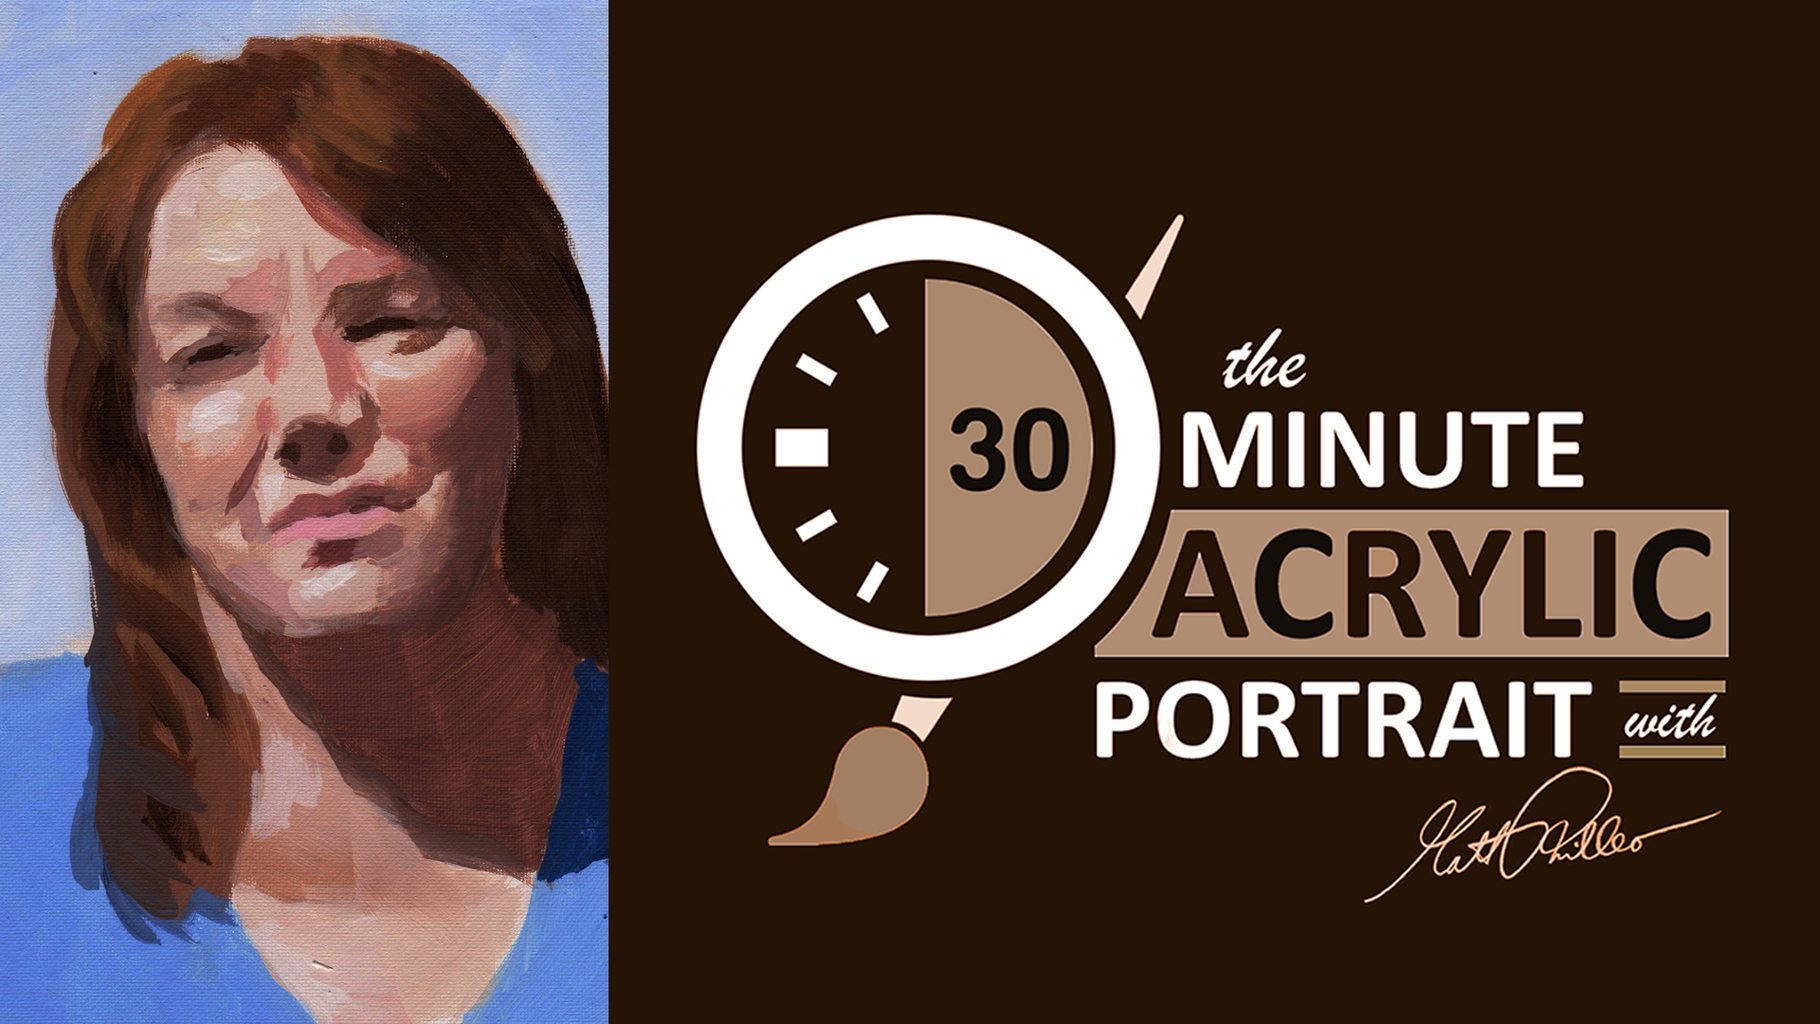
Paint an Acrylic Portrait in 30 Minutes
As a child, I was amazed as I watched “The Joy of Painting” host Bob Ross paint a beautiful landscape in less than 30 minutes. I was captivated by his gentle touch, his fast wet-on-wet technique, and the way he could totally put you at ease.
I can’t say I wanted to be just like Bob when I grew up, but he did help inspire me to paint.
Later on, I learned the more methodical glazing technique from Norbert Kox, where you apply layer after layer of translucent paint. It’s very time consuming, but it creates fantastic realistic effects. This is the style I have become known for.
But sometimes I just want to knock out a quick painting, have fun with it, and yet push myself.
Can I paint a somewhat respectable looking painting in half an hour?
If I do it often, will I get faster?
Could it help me paint faster, and more confidently in my “typical” more detailed portraits?
Could an exercise like this help YOU to do the same?
There’s only one way to find out.
So, with that, I’m launching a new series of videos, or something like a show called, “The 30-Minute Acrylic Portrait” Season One, Episode 1…
Let me know what you think of this video. Is it helpful? Interesting? Would you like to see more?
I’d love to hear back from you with your honest thoughts.
Yours for better portraits,

P.S. Did you find this post helpful or encouraging? If so, send it on ahead! Let others know with the share buttons below. I’d love to hear your comments. Thank you so much! Also, do you have a question on acrylic portrait painting you’d like answered? Let me know, and I’d be happy to help!
How I Painted Two Bubble Frame Oval Acrylic Portraits, Step-by-Step
“How is my portrait project coming along?”
“Um, I haven’t even started it yet.”
“Oh. Could you do another one and get it done for me by Christmas?”
“Let me check. Sure.”
This is kind of how the conversation went when a client called me on a portrait project that I had scheduled out for a few months. I was backed up with commissions, and it was already well into December.
Do another portrait when I was already behind? Why not? I thrive on a little deadline pressure. I’ve got an extra reserve of midnight oil 🙂
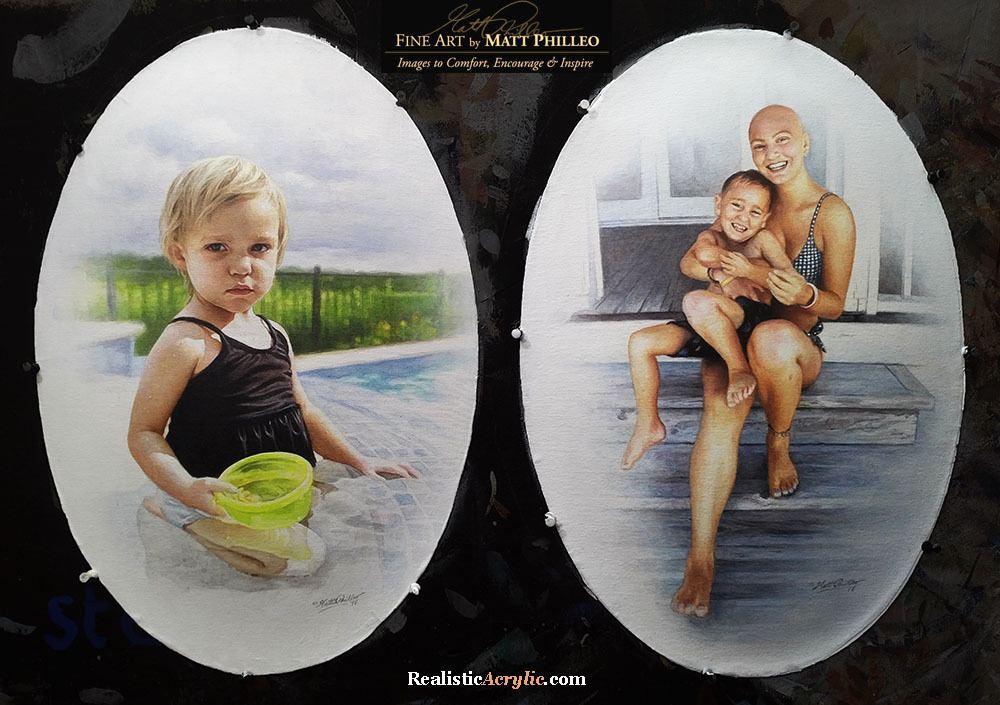
So here are the portraits I created, two convex-oval 14″ x 20″ acrylic on canvas paintings. I decided to work on both at once. And I got them both done in time, too, by God’s grace!

Two oval acrylic portraits painted on vintage convex bubble frame prints, original custom portrait painted from photos for Steve Kristo, by Matt Philleo, Eau Claire artist, ©2018 Fine Art by Matt Philleo
And now I want to show you how I painted them. I’ll take you through the process from the colors I select for the palette, the first few layers, all the way to the completed painting.
How I Painted These Oval Vintage Acrylic Portraits
This tutorial is a work in progress, so I’ll be adding more videos in the future!
Keep in touch and I’ll let you know when I post the next one!
Let me know how this tutorial helps!
Have you ever painted on an oval canvas or unusual surface before? If so, leave a comment and tell me about it. Have a blessed day!
Yours for better portraits,

P.S. Did you find this post helpful or encouraging? If so, send it on ahead! Let others know with the share buttons below. I’d love to hear your comments. Thank you so much! Also, do you have a question on acrylic portrait painting you’d like answered? Let me know, and I’d be happy to help!
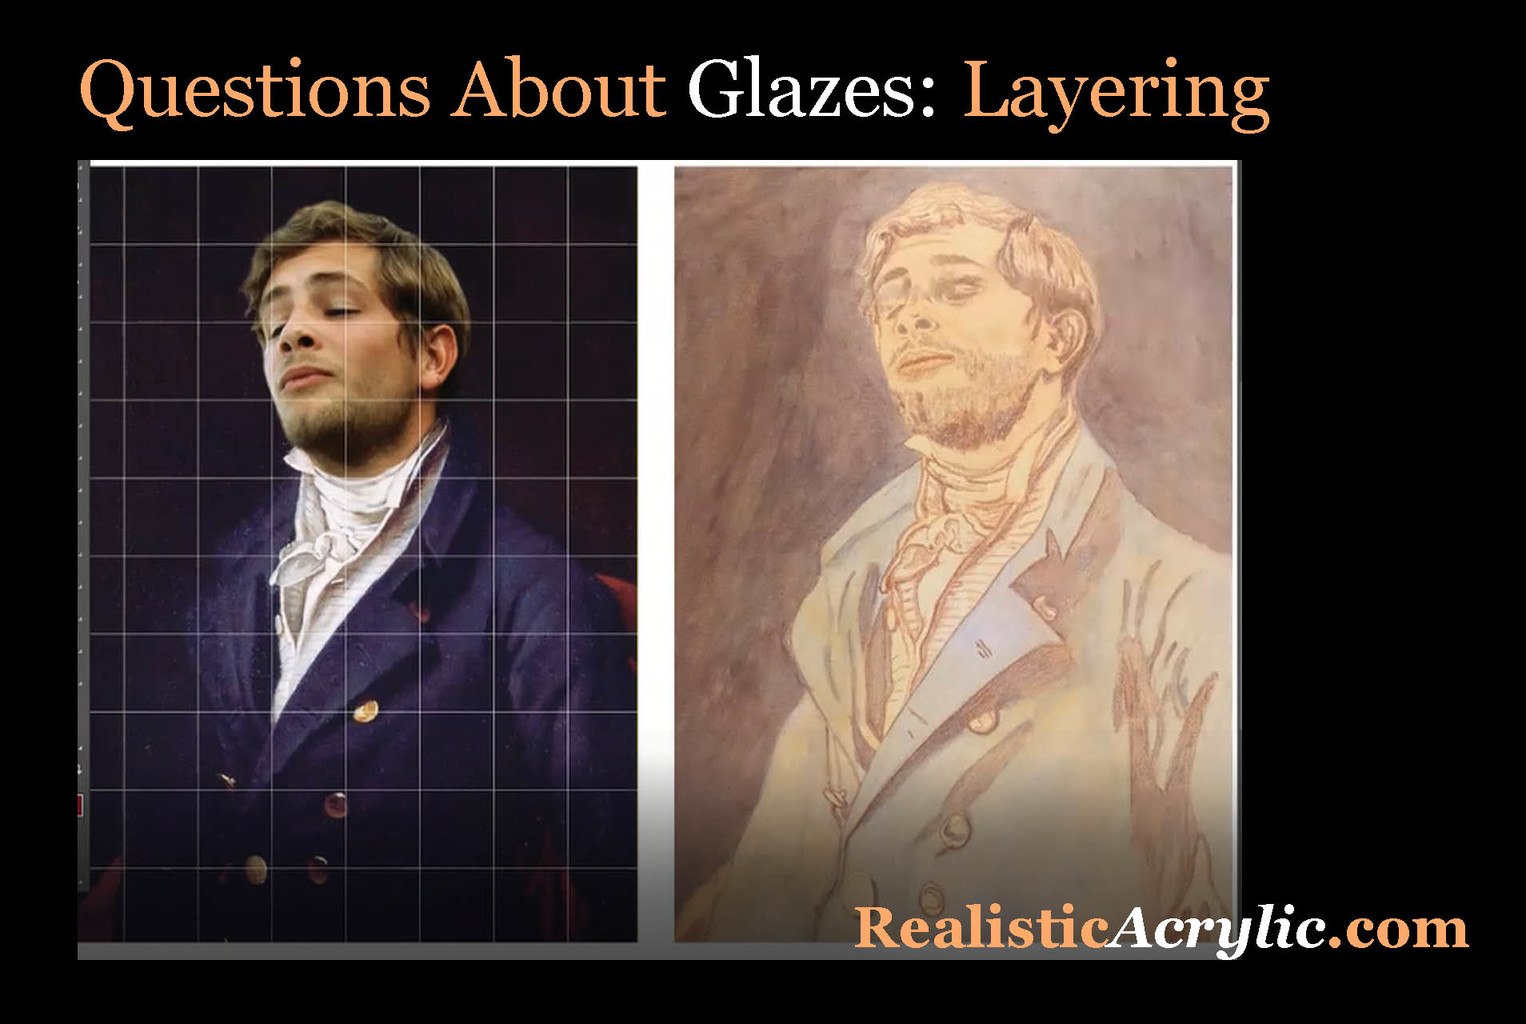
How Do You Do Layers With the Glazing Technique?
The glazing technique can do some amazing things for you, but it can be a challenge to learn how to do it at first.
I have a student named Holly, who has just started painting portraits in acrylic. She is currently working on one of her brother, and she was unsure of how to continue after beginning the glazing process. With her permission, I’m going to share her portrait with you. We all know what it feels like to get stuck during painting, especially when starting out…
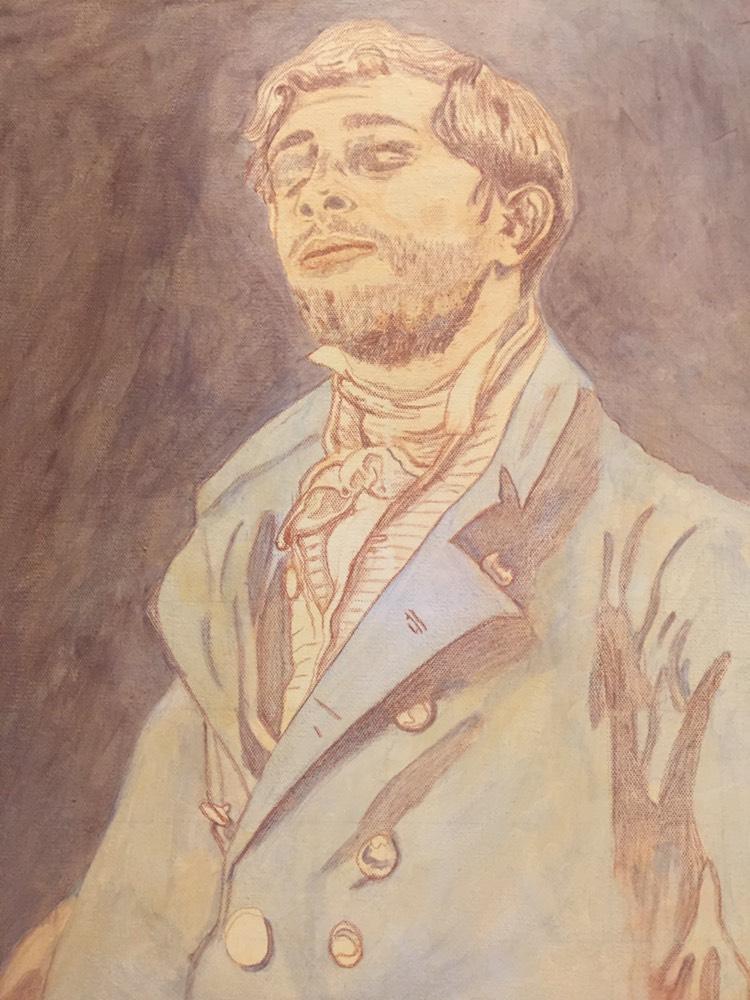
Hi Matt,Thank you for your advice and the progress photos you sent of your artwork. That really helped. I’ve watched a lot of the student videos and I’m trying to apply everything to my painting. I feel like it looks kind of terrible so far so maybe I’m not doing it right. I’m worried about painting any more shadow in on his face because it looks bad – especially his eyes. I definitely feel like I don’t know what I’m doing. Haha. I don’t know what to do about his hair or face. And the white shirt with the dark creases. And the brass jacket buttons. I’m following your list of paint colors to use for the skin tones off of your skin tone video and that is very helpful. But I just feel kind of lost as to the layering process. For instance, for the face, I don’t know how many layers of shadows I’m supposed to do before I move onto layers of midtones. And how many layers of midtones do I do before I move onto highlights? And when I’m painting the midtones, do I paint over the shadow areas as well? Or only paint on the midtone areas?Thank you so much for your help!Holly

P.S. Did you find this post helpful or encouraging? If so, send it on ahead! Let others know with the share buttons below. I’d love to hear your comments. Thank you so much! Also, do you have a question on acrylic portrait painting you’d like answered? Let me know, and I’d be happy to help!
12 Steps to Painting Realistic Skin Tones in Your Acrylic Portrait
“What do you MOST want to learn?”
This is a question I asked the artists in my Facebook group. The #1 answer was skin tones.
So I decided to put together a 5-week live video class, showing the whole process of painting an acrylic portrait, step-by-step, concentrating on flesh tones.
Most people know me as the guy that does slow, methodical glazes. But in this series, I wanted to meet artists where they’re at and do the portrait in more of an opaque technique. We had a great response to the class, with about eighty students on board right away during the first lesson!
I decided to create a printable guide that shows what we covered during the classes, although obviously not in as much depth as you’d get out of watching 5 hours of video! I think you’ll find this guide helpful. This online tutorial is an adaptation of the guide, showing a portrait from a photo I painted of my wife. If you take the video course (now open for enrollment) it will complement it well, and give you something to keep next to your easel as you paint. It can stand on its own, too. If you put the techniques to practice, you’ll see improvement in your portrait painting, for sure.
Either way, enjoy this tutorial, and I look forward to teaching you more!
Step 1: Create a Basic Sketch
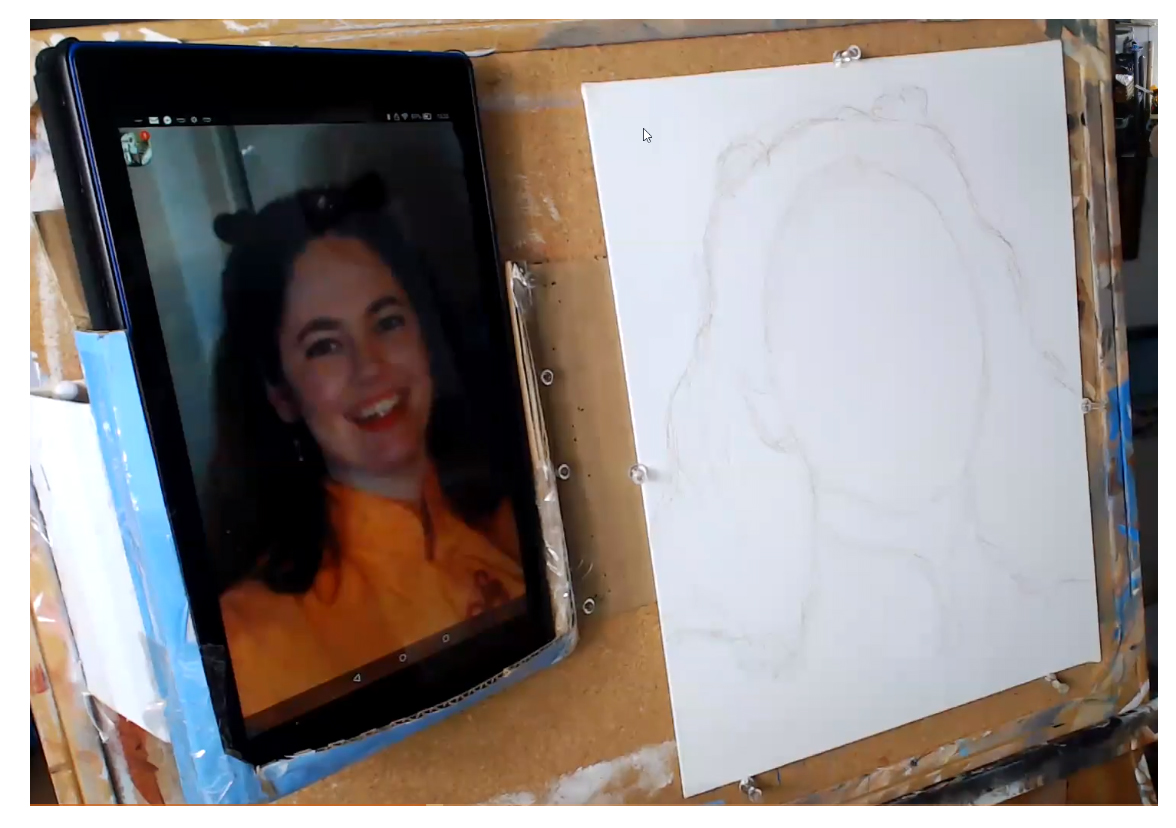
To begin your portrait, just fill in the outlines of the face. Don’t draw in the features. All you need is enough information to know where to block in the color. You can sketch it freehand if you’re comfortable with the process, or grid if necessary.
Step 2: Block in the Hair Color and Value
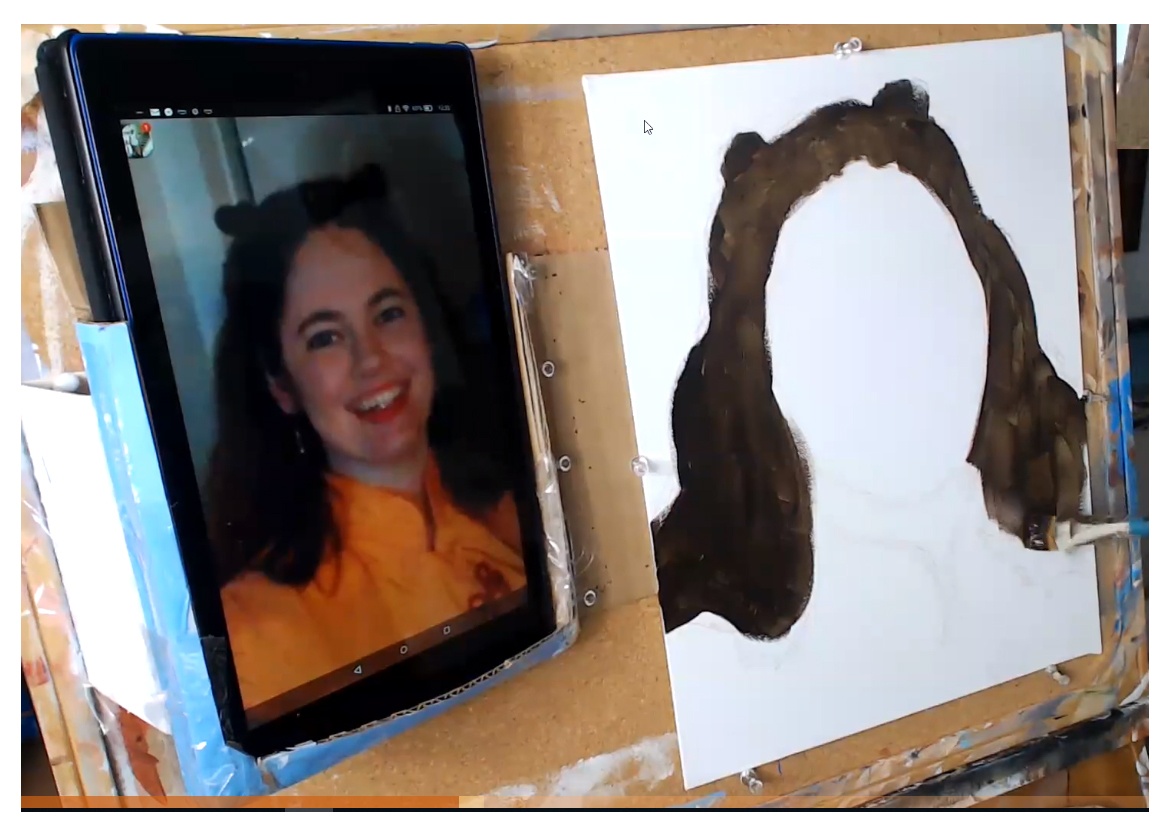
Although we are concentrating on skin tones, quickly blocking in the hair color and value frames the face. It will help us determine what colors to use for the skin tone, and make sure it is accurate. When you paint on top of plain white, you will think your skin tone is too dark, when in reality it’s not. We look for the predominant color in the hair. In this example, I’m using raw umber dark, and applying with a 3/4” -1” flat brush.
Step 3: Fill in the Skin Tone Base
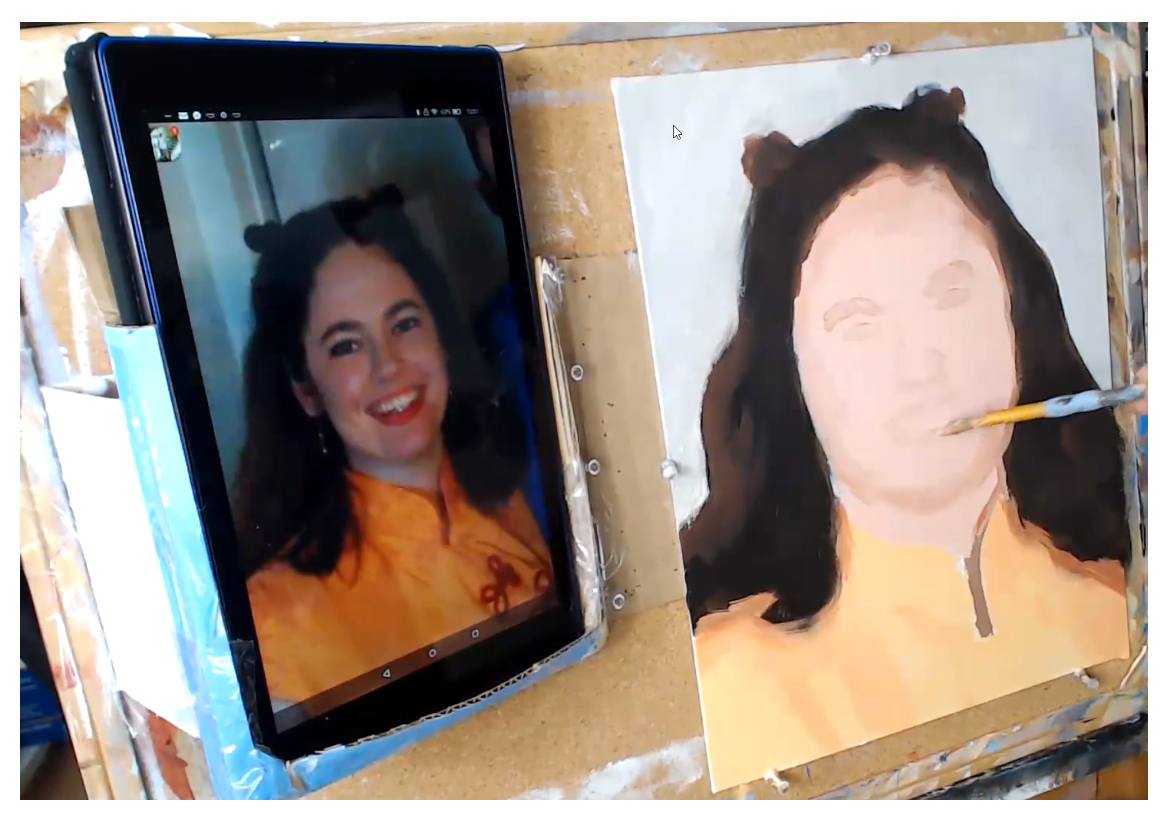
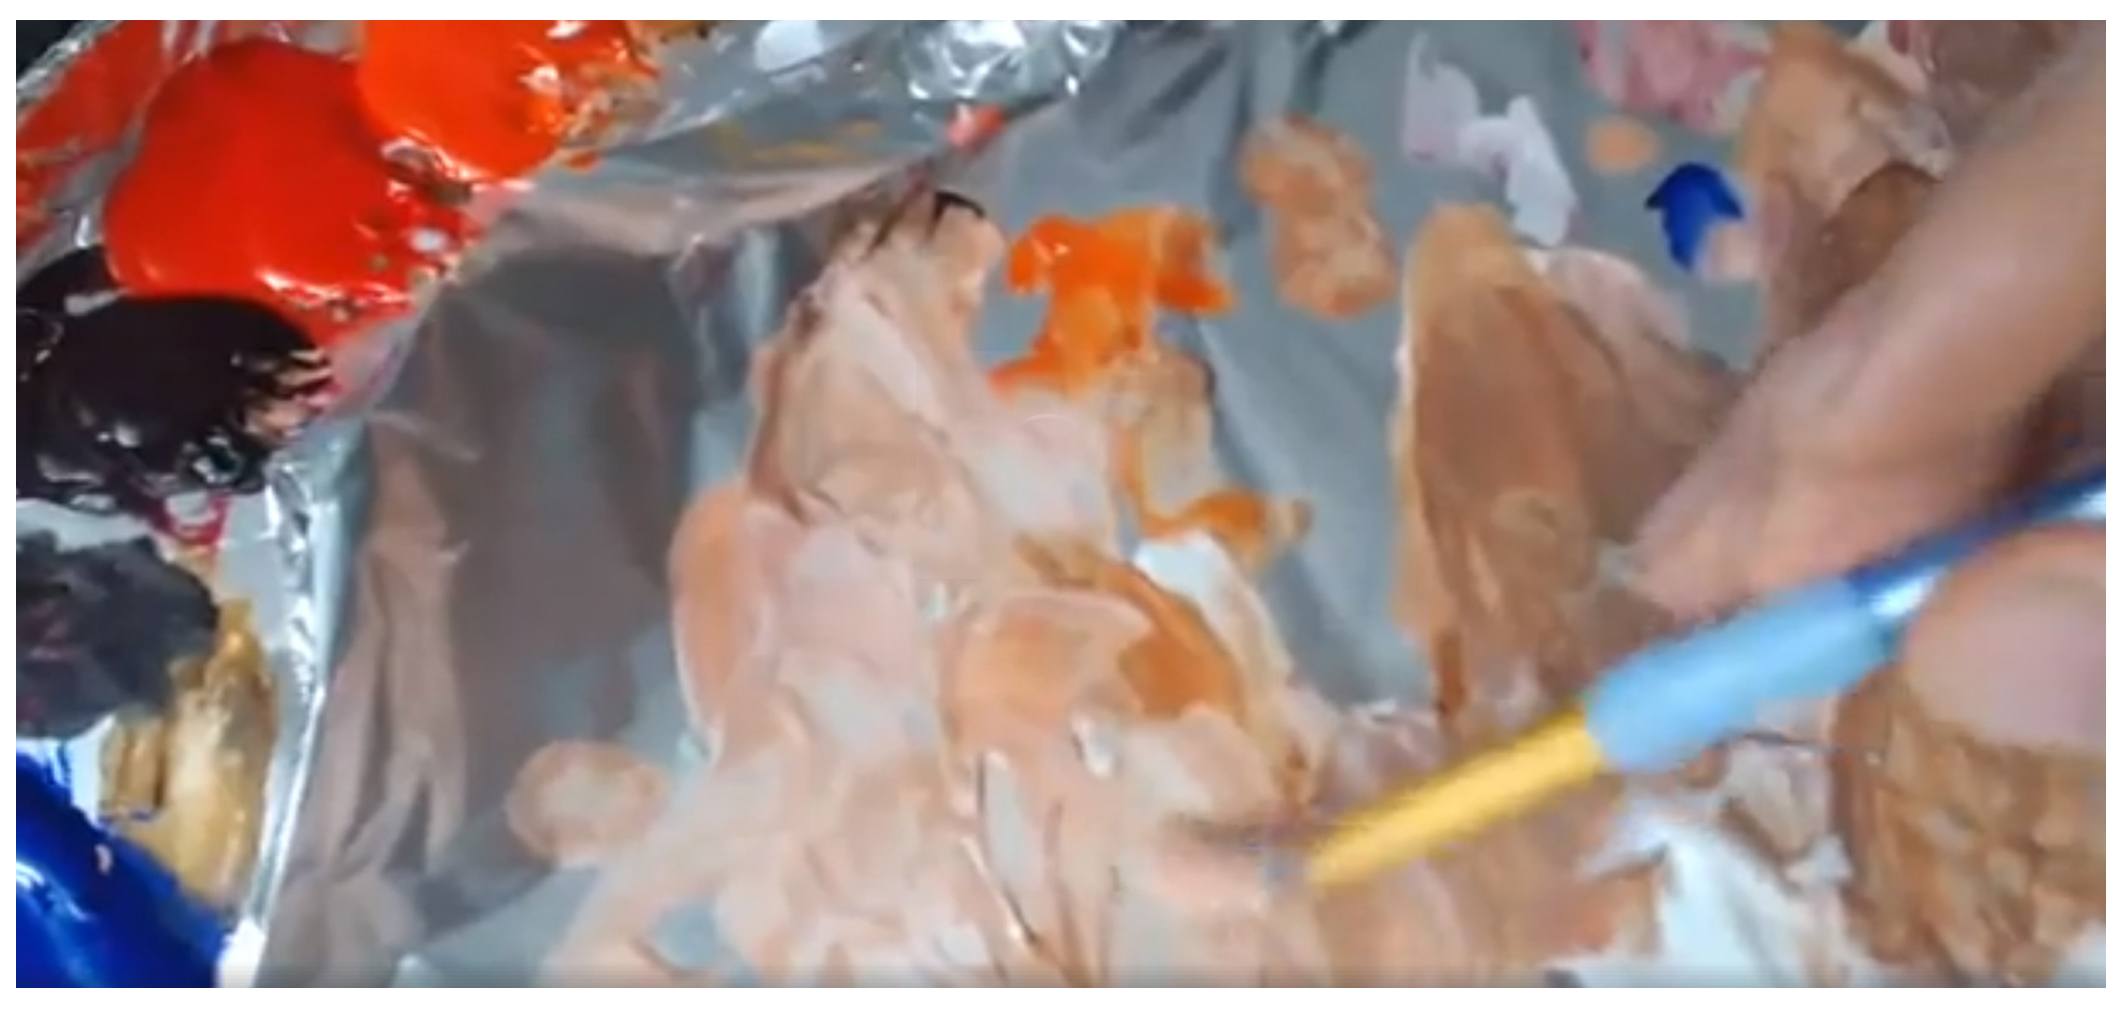
In this step, I’m using a mixture of titanium white, burnt sienna, and organic red orange for the first, foundational skin tone layer. Make the paint as fluid as you can, by adding a little matte medium (10%) and brush quickly, just filling the whole area in.
Print off Your Own Guide to Paint Realistic Skin Tones in Acrylic
I created a handy reference guide that covers all the steps in this article in a 7 page PDF. You can download it right now, print it, and set it next to your easel, so you know exactly what colors, what techniques and what steps to take when you paint skin tones on your portrait. Download it below…
Download and Print the Skin Tones Guide
Step 4: Suggest the Features
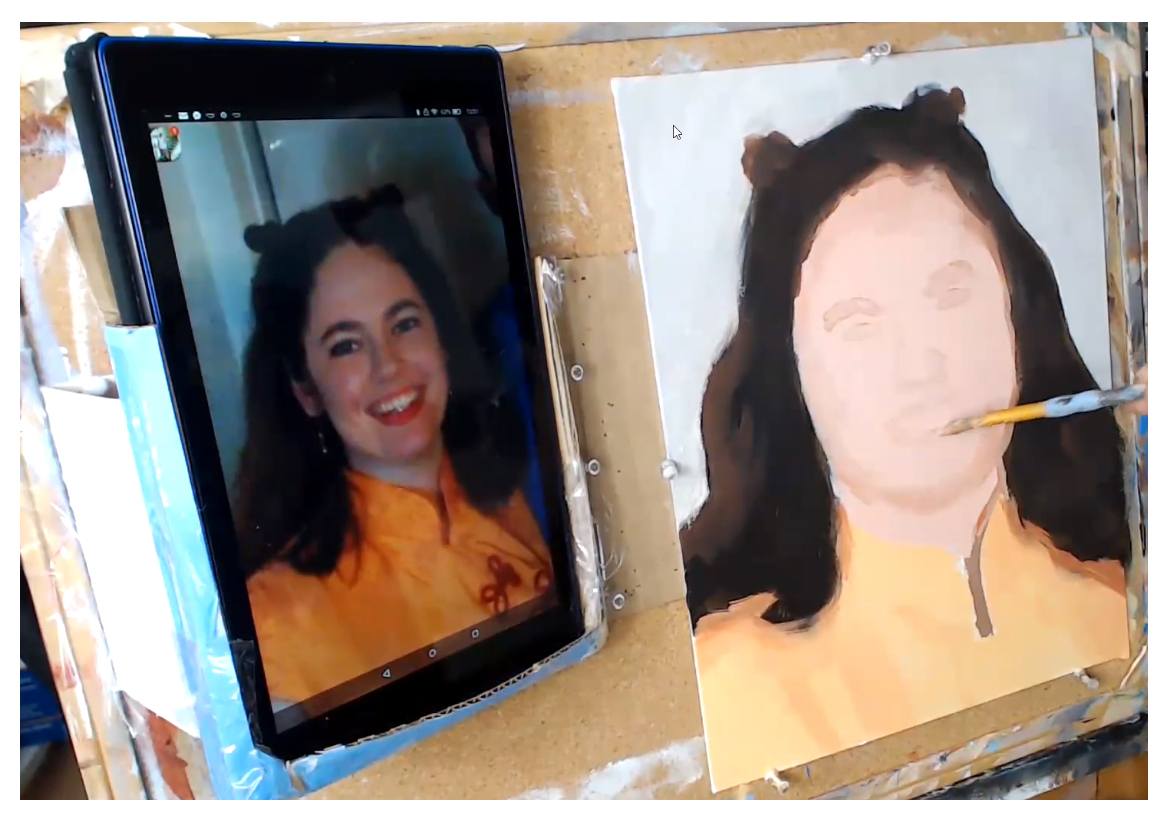
Now it’s time to get the fun part: actually painting in the facial features–the eyes, nose and mouth. But we don’t want to paint them too dark right away. Lightly “suggest” them in using a mixture of the skin tone base from the previous layer and burnt sienna. Painting the features this way at first will allow you to adjust them if necessary.
Step 5: Darken and Refine the Features
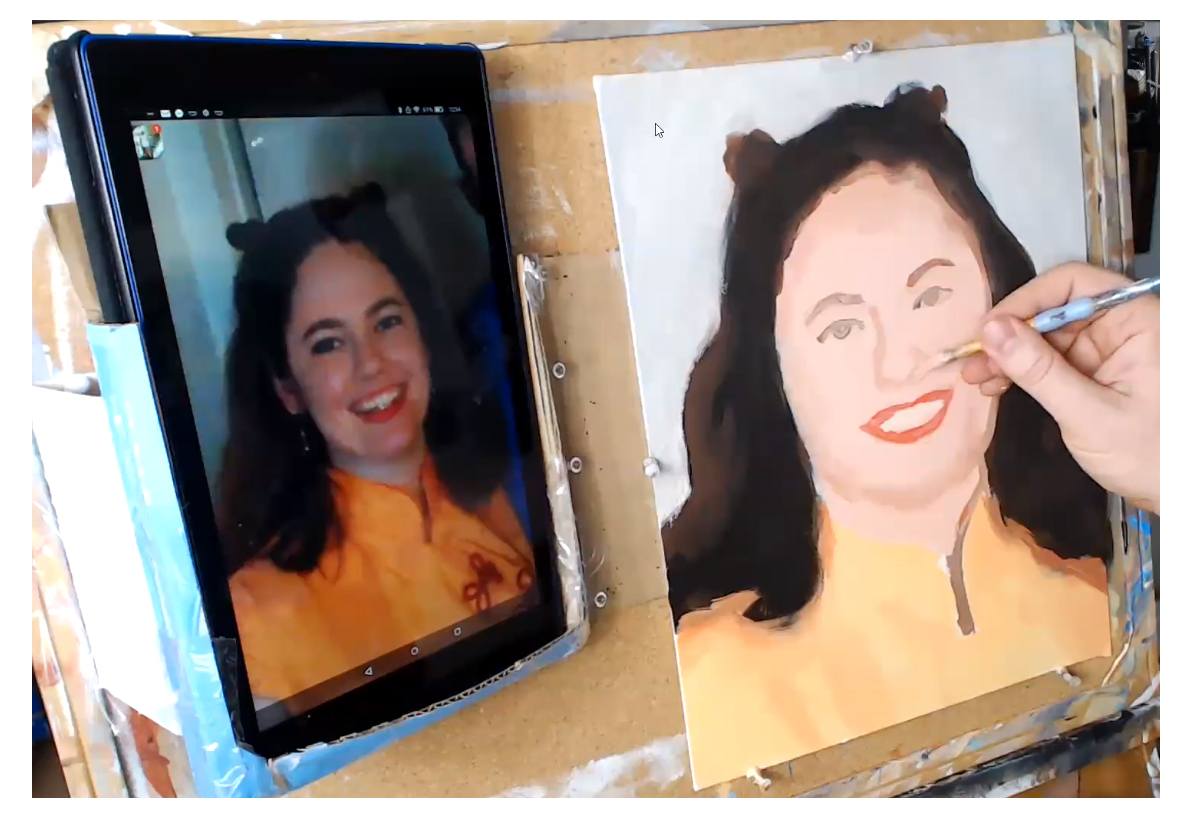
After the facial features dry, you can go over them with a darker color. Just add a little more burnt sienna for the eyebrows and nose. For the eyes, a bit of raw umber will cool down the color enough so that if the eyes are a different color than brown, you can easily adjust it. We’re not trying to dial in the exact eye color; rather, we’re just trying to ger the main shape and value established. For the lips, in this case, I’m using napthol red and burnt sienna, diluted a bit by the main flesh tone color.
Step 6: Block in the Mid-tone Shadows
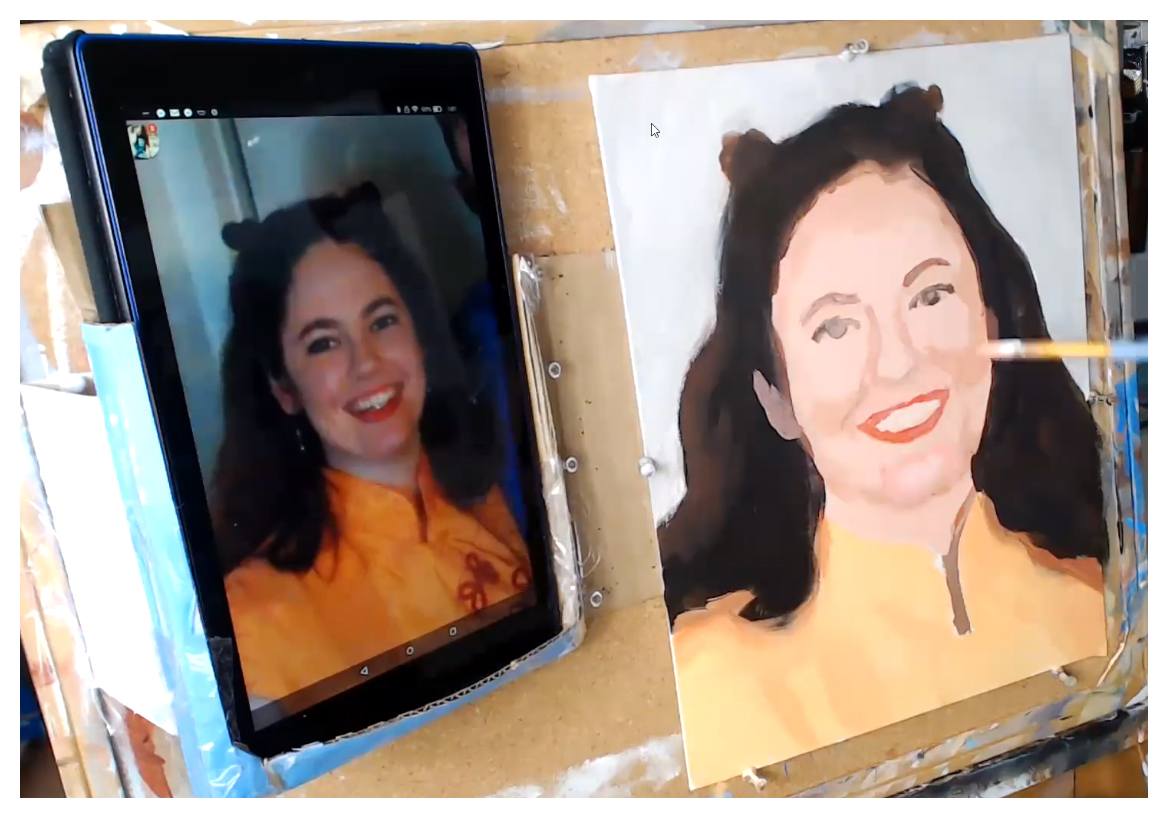
Unless we add in shadows on the face, it will look flat. That is obvious. The trick is to use the right color and value. And then to place that tone in the right places to give the illusion of three dimensionality, In my example, I use a similar color to what I used for the previous step, and lightened it up just a bit with the main skin tone color, so it’s easy to control and doesn’t get too dark.
Step 7: Refine the Eyebrows
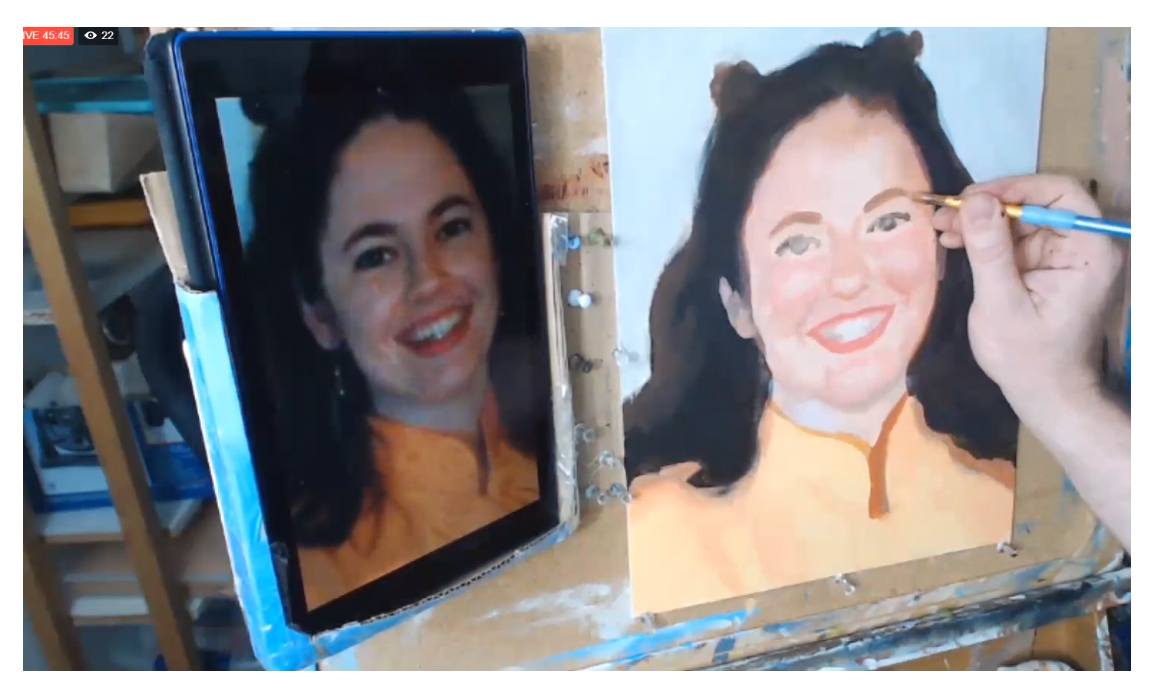
The eyebows up to this point look too thin. So what I’m doing here is creating a mixture of raw umber dark, alizarine crimson, raw sienna, and a touch of burnt sienna. Then, I carefully go over the eyebrow areas, and also thicken them up a bit too. You have to think of the eyebrows not just as hairs but also the shadow under the eye socket. What we’re doing is actually painting the base tone for the eyebrows. Then we go over with a darker color to suggest the hairs.
Tired of Muddy Colors?
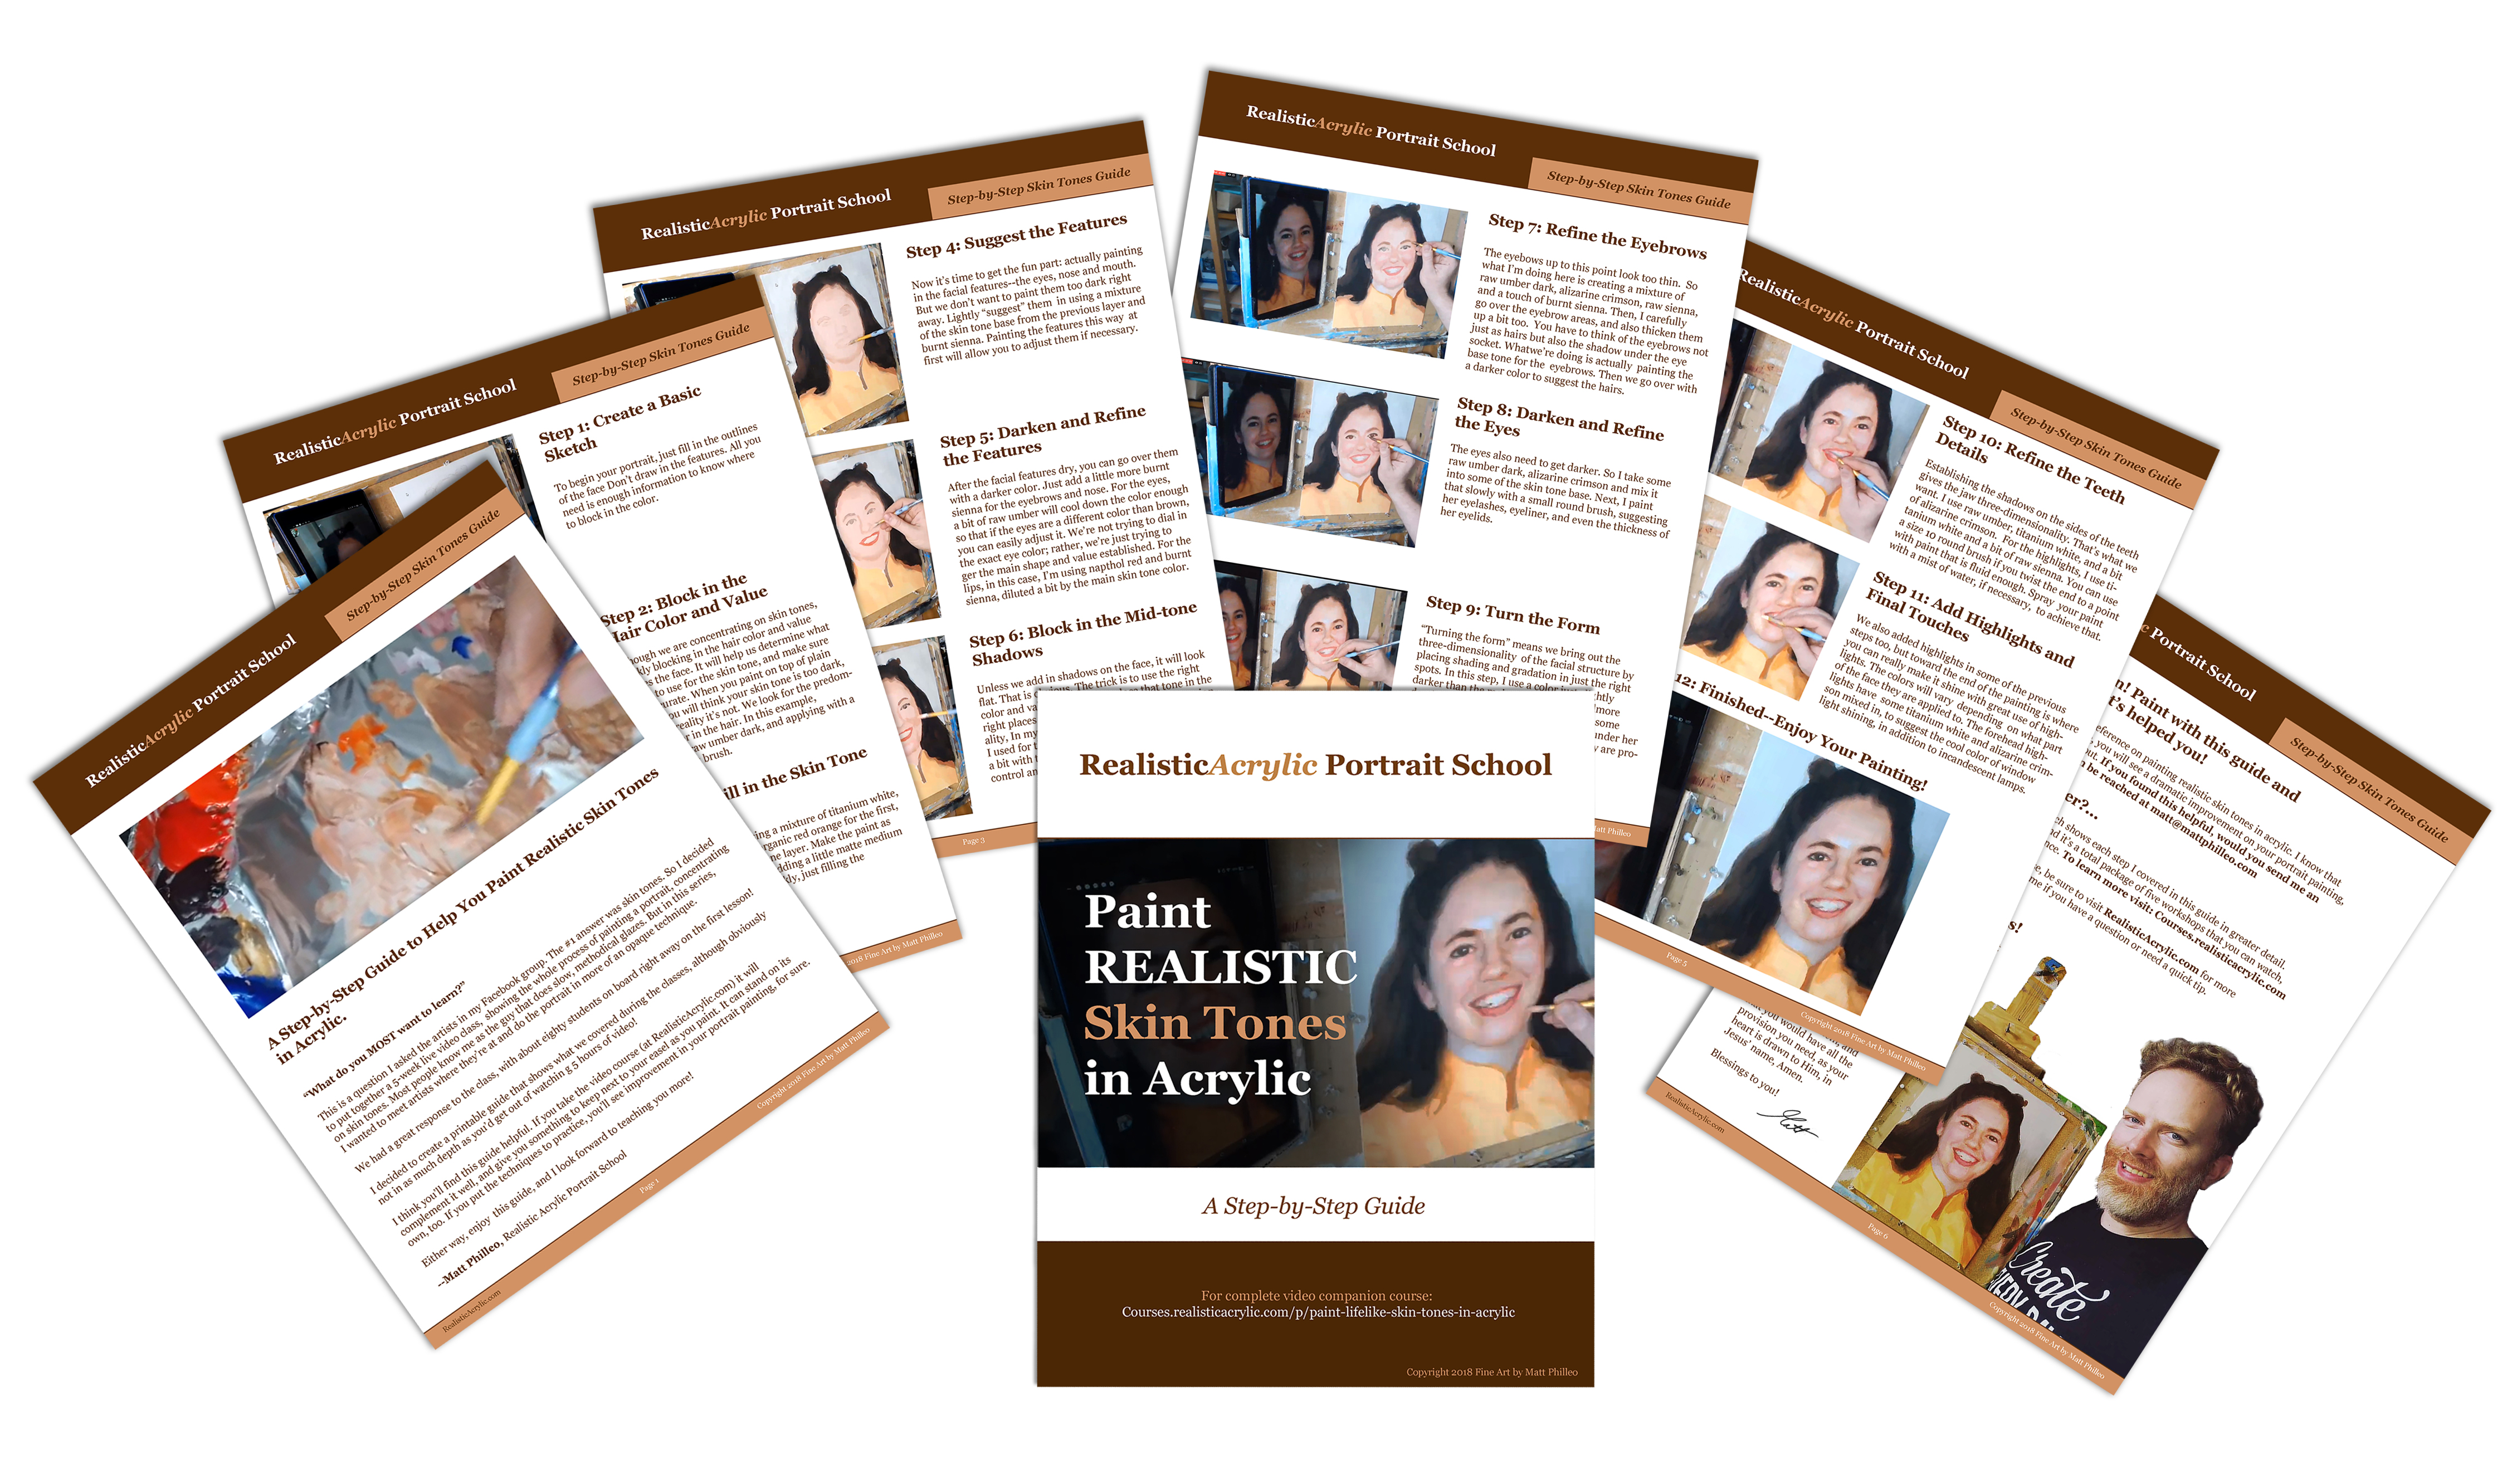
Get my complete guide on painting skin tones, for free, and start mixing and blending realistic skin tones right away…
Download and Print the Skin Tones Guide
Step 8: Darken and Refine the Eyes
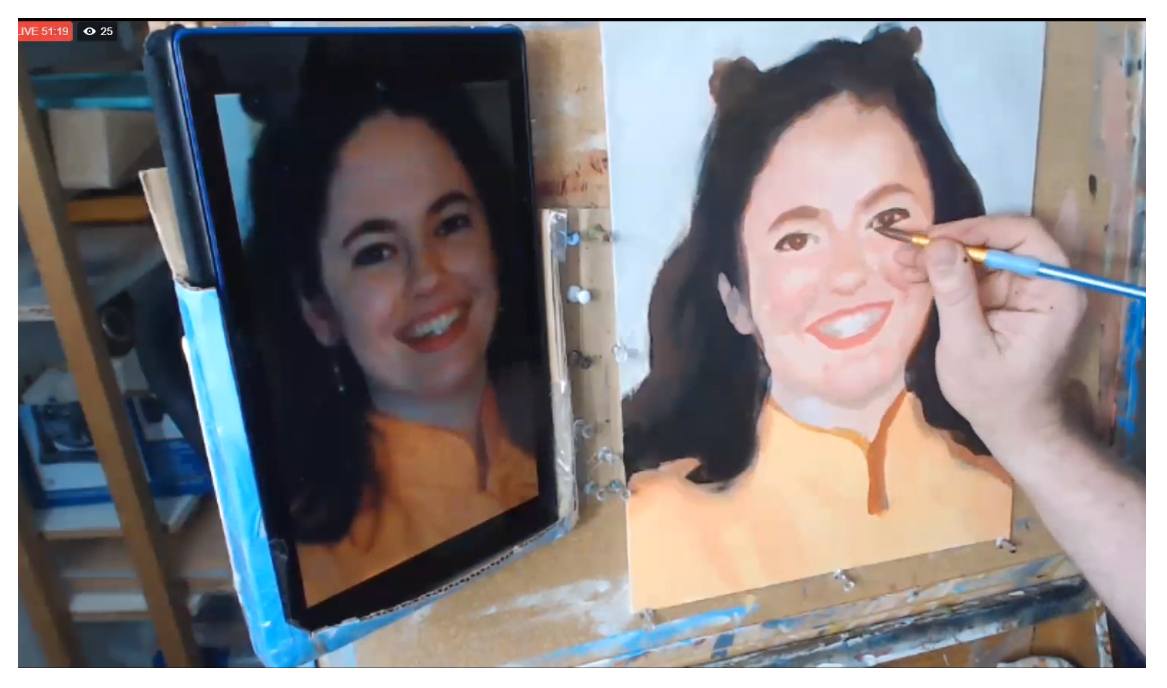
The eyes also need to get darker. So I take some raw umber dark, alizarine crimson and mix it into some of the skin tone base. Next, I paint that slowly with a small round brush, suggesting her eyelashes, eyeliner, and even the thickness of her eyelids.
Step 9: Turn the Form
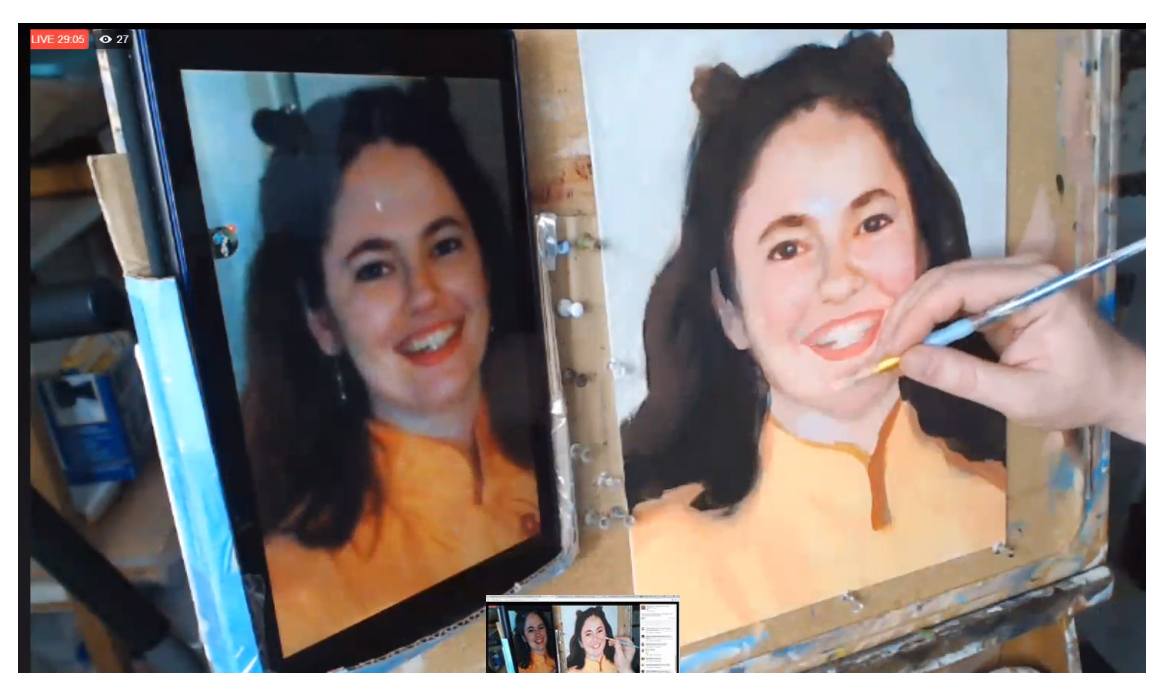
“Turning the form” means we bring out the three-dimensionality of the facial structure by placing shading and gradation in just the right spots. In this step, I use a color just slightly darker than the main skin tone and add more depth to her chin. In addition, I deepen some of the shadows alongside her nose, and under her eyes, to make the cheeks appear as if they are projecting forward in space a little bit.
Step 10: Refine the Teeth Details
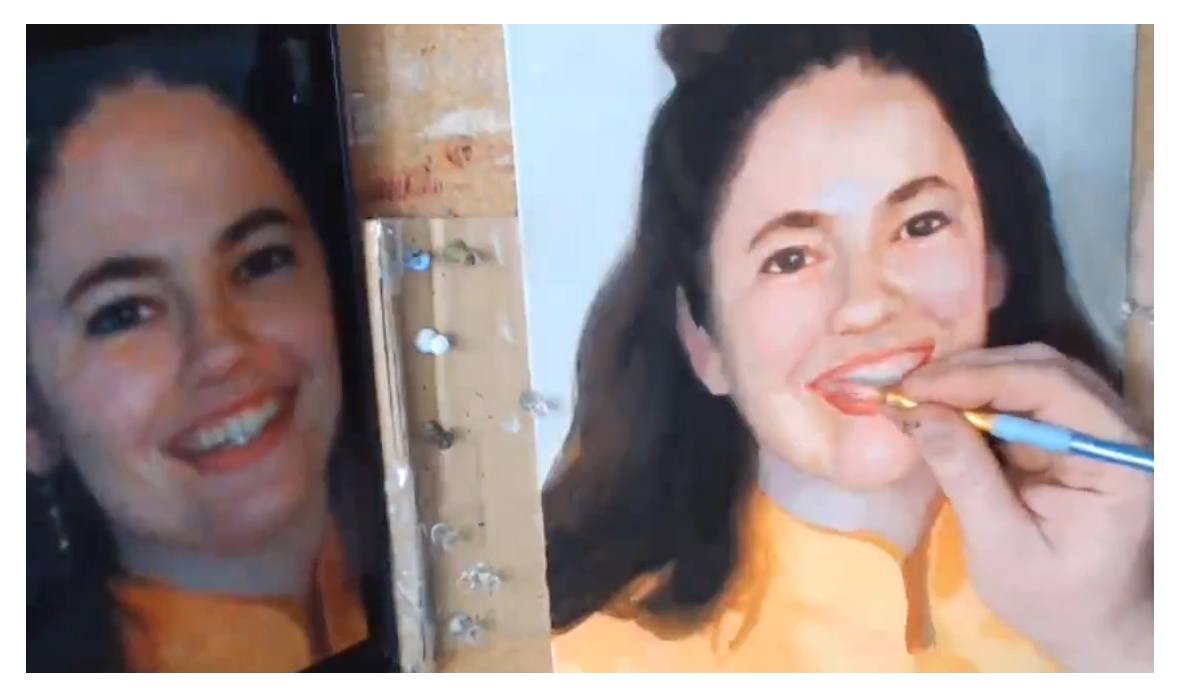
Establishing the shadows on the sides of the teeth gives the jaw three-dimensionality. That’s what we want. I use raw umber, titanium white, and a bit of alizarine crimson. For the highlights, I use titanium white and a bit of raw sienna. You can use a size 10 round brush if you twist the end to a point with paint that is fluid enough. Spray your paint with a mist of water, if necessary, to achieve that.
Step 11: Add Highlights and Final Touches
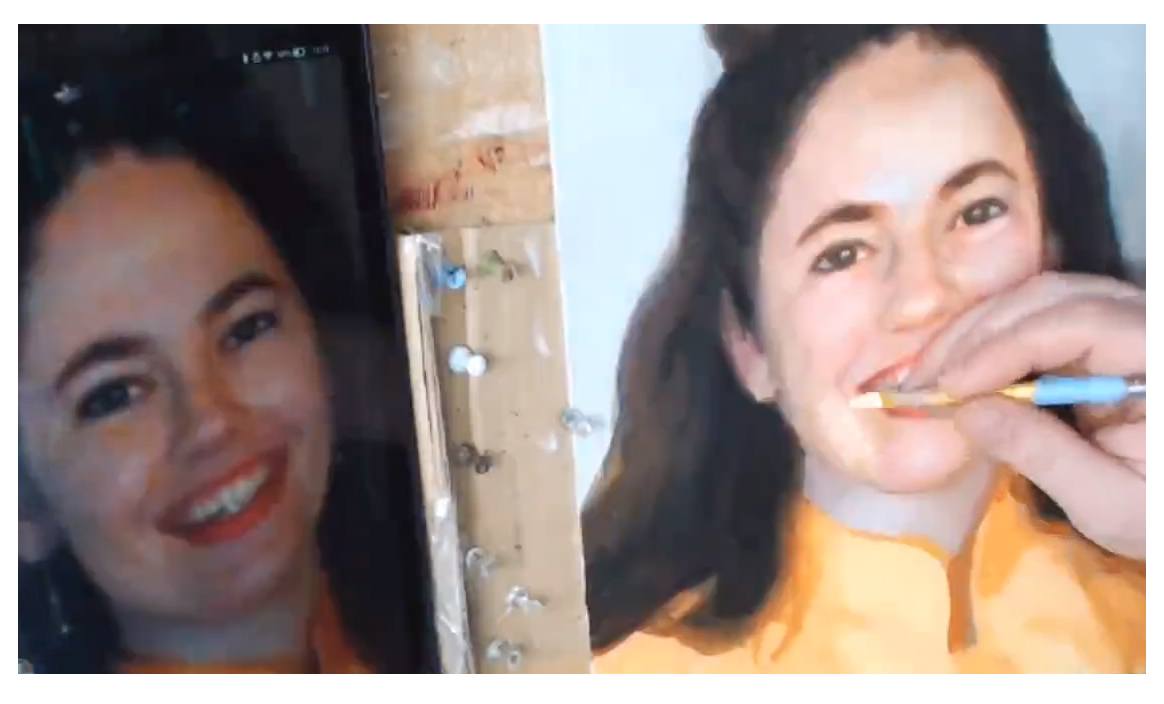
We also added highlights in some of the previous steps too, but toward the end of the painting is where you can really make it shine with great use of high- lights. The colors will vary depending on what part of the face they are applied to. The forehead high- lights have some titanium white and alizarine crimson mixed in, to suggest the cool color of window light shining, in addition to incandescent lamps.
Step 12: Finished–Enjoy Your Painting!
Now, it’s your turn! Paint with this guide and let me know how it’s helped you!
I enjoyed creating this helpful reference on painting realistic skin tones in acrylic. I know that if you put the steps into practice, you will see a dramatic improvement on your portrait painting, especially if you’re just starting out. If you found this helpful, would you send me an email and let me know? I can be reached at [email protected].
Make you print off the skin tones guide so you can paint a lifelike portrait you can be proud to show. Click the button below to download it.
Download and Print the Skin Tones Guide
Can I help you further?…
I have a video course available which shows each step I covered in this guide in greater detail. The course is about 5 hours long, and it’s a total package of five workshops that you can watch, step-by-step, at your own convenience. To learn more visit: Courses.realisticacrylic.com Even if you aren’t able take the course, be sure to get the free printable reference guide on painting skin tones in acrylic. Email me if you have a question or need a quick tip. I’ll be happy to help.

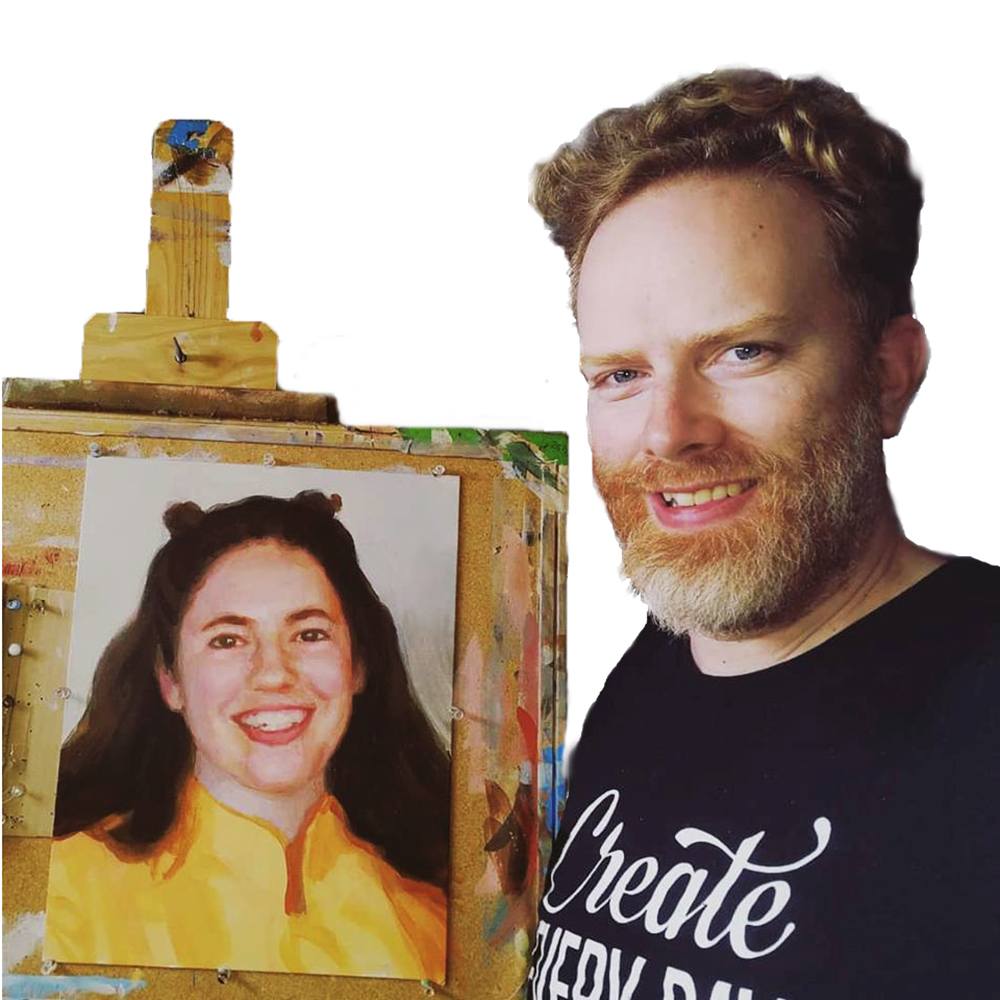
Acrylic portrait artist Matt Philleo posing next to a painting of his wife, painted for the Paint Realistic Skin Tones in Acrylic online class, teaching you how to paint with step-by-step lessons.
Share with your friends!
Let your fellow artists know about Realistic Acrylic Portrait School. My desire is to help artists learn how to paint an acrylic portrait they can be proud of. As I do for all my students, I pray that God would bless you with His peace in your painting process, direct your brush-strokes, that your paintings would encourage those who seem them, and that you would have all the provision you need, as your heart is drawn to Him, in Jesus’ name, Amen.
Blessings to you!

P.S. Did you find this post helpful or encouraging? If so, send it on ahead! Let others know with the share buttons below. I’d love to hear your comments. Thank you so much! Also, do you have a question on acrylic portrait painting you’d like answered? Let me know, and I’d be happy to help!
