- You are here:
- Home »
- Blog »
- Facial Features »
- Spring 2021 Acrylic Portrait Painting Challenge: Applying Your First Glazes

Spring 2021 Acrylic Portrait Painting Challenge: Applying Your First Glazes
Think of the acrylic glazing technique as a Polaroid camera print.
Remember those? You would load up the small film sheets, snap a picture and out popped the print. Back in those days (yes, I’m old enough to remember them) this was amazing. You wouldn’t have to drop off your film and wait 3 days (or even an hour!) for it to process.
But even then, it wasn’t immediate. The image would slowly fade in, and you’d watch a vague outline of your scene start to materialize. Finally, after a minute, you’d have a beautiful print!
In the same way, instead of painting our portrait one section at a time, with thick, opaque applications of paint, we slowly fade it in, covering the entire canvas at once, in stages. We use the classical acrylic glazing technique, just like Da Vinci, Titian and Vermeer used during the Renaissance to achieve smooth, subtle nuances of color and value, vibrant colors, and incredible depth.
I’ll show you how to do it!
But first, make sure you’re registered for the challenge!
REGISTER TODAY. The challenge is ongoing, something you can do at your own pace. It’s not too late to enter! After you join, I’ll send you the supplies list and reference photos to paint from.
Register for the Challenge!
WATCH NOW…
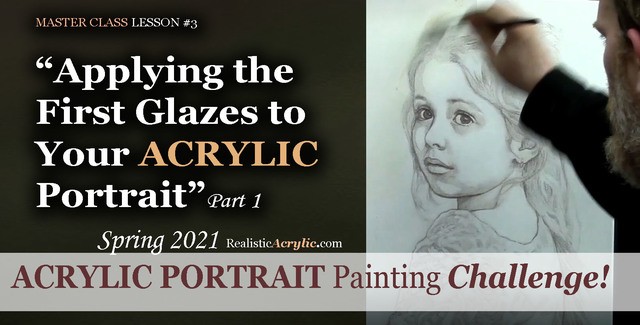
Applying the First Glazes to Your Acrylic Portrait, Part 1
Before we can begin the painting, first we must seal in the sketch, so it doesn’t smear or muddy up our paint. Next, we need to white-out the grid lines so they don’t distract from our final painting presentation. Lastly, we mute the sketch and tone the canvas in one step, so that we don’t have a white canvas staring us in the face, and so that the sketch is softened—easier to convert to a painting.
Watch how to do it here…
Learn to paint a realistic acrylic portrait using the classical glazing technique in this free online class. Lesson 3: Beginning the painting process–sealing in the sketch, whiting
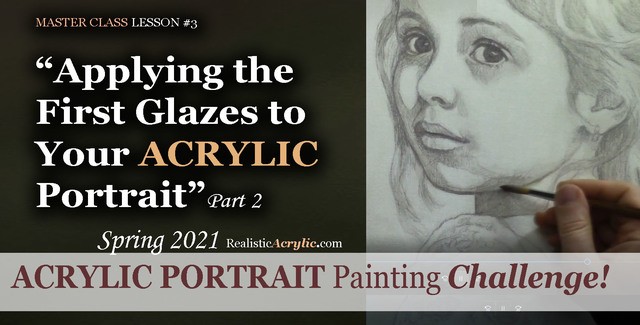
Applying the First Glazes to Your Acrylic Portrait, Part 2
Let’s begin the actual painting process! I’ll show you what colors we are using, how to block in the value structure simply with just two colors and matte medium. We’re going to go light and leave room to correct any mistakes. This will be the foundation we’ll build off of from here on out…
Learn to paint a realistic acrylic portrait using the classical glazing technique in this free online class. Lesson 3: Beginning the painting process
Would like to paint this portrait with me and hundreds of other artists?
Take the 2021 Spring Portrait Painting Challenge!
You can register below and get started. It is completely FREE to join the challenge and participate. When you join, I’ll send you the “Welcome Kit” which includes:
- The Supplies List (so you know what you need to paint with us, your shopping list. 🙂 )
- The Reference Photo with and without the grid, high resolution, that you can download ready to print out or display on your tablet. You’ll be able to create an accurate portrait this way.
- The Palette Layout Guide showing you how to arrange your colors so they don’t get muddy on your palette
- The Master Class Lesson Schedule
- the Lessons emailed to you
- A private Facebook group to cheer you and help answer your questions
- And a few “bonuses” like opportunities to win my paid online classes
REGISTER TODAY. The challenge is ongoing, something you can do at your own pace. It’s not too late to enter!
Register for the Challenge!Let me know if you have any questions and I look forward to teaching you more!
—Matt
Questions? Suggestions? Thoughts? Let me know, below in the comments. Please share your sketches in our Facebook group and share this post with your friends!