- You are here:
- Home »
- Blog »
- Facial Features »
- How to Paint Beard Hair Easily in Your Acrylic

How to Paint Beard Hair Easily in Your Acrylic
Learn the art of painting beard hair with this simple and effective technique
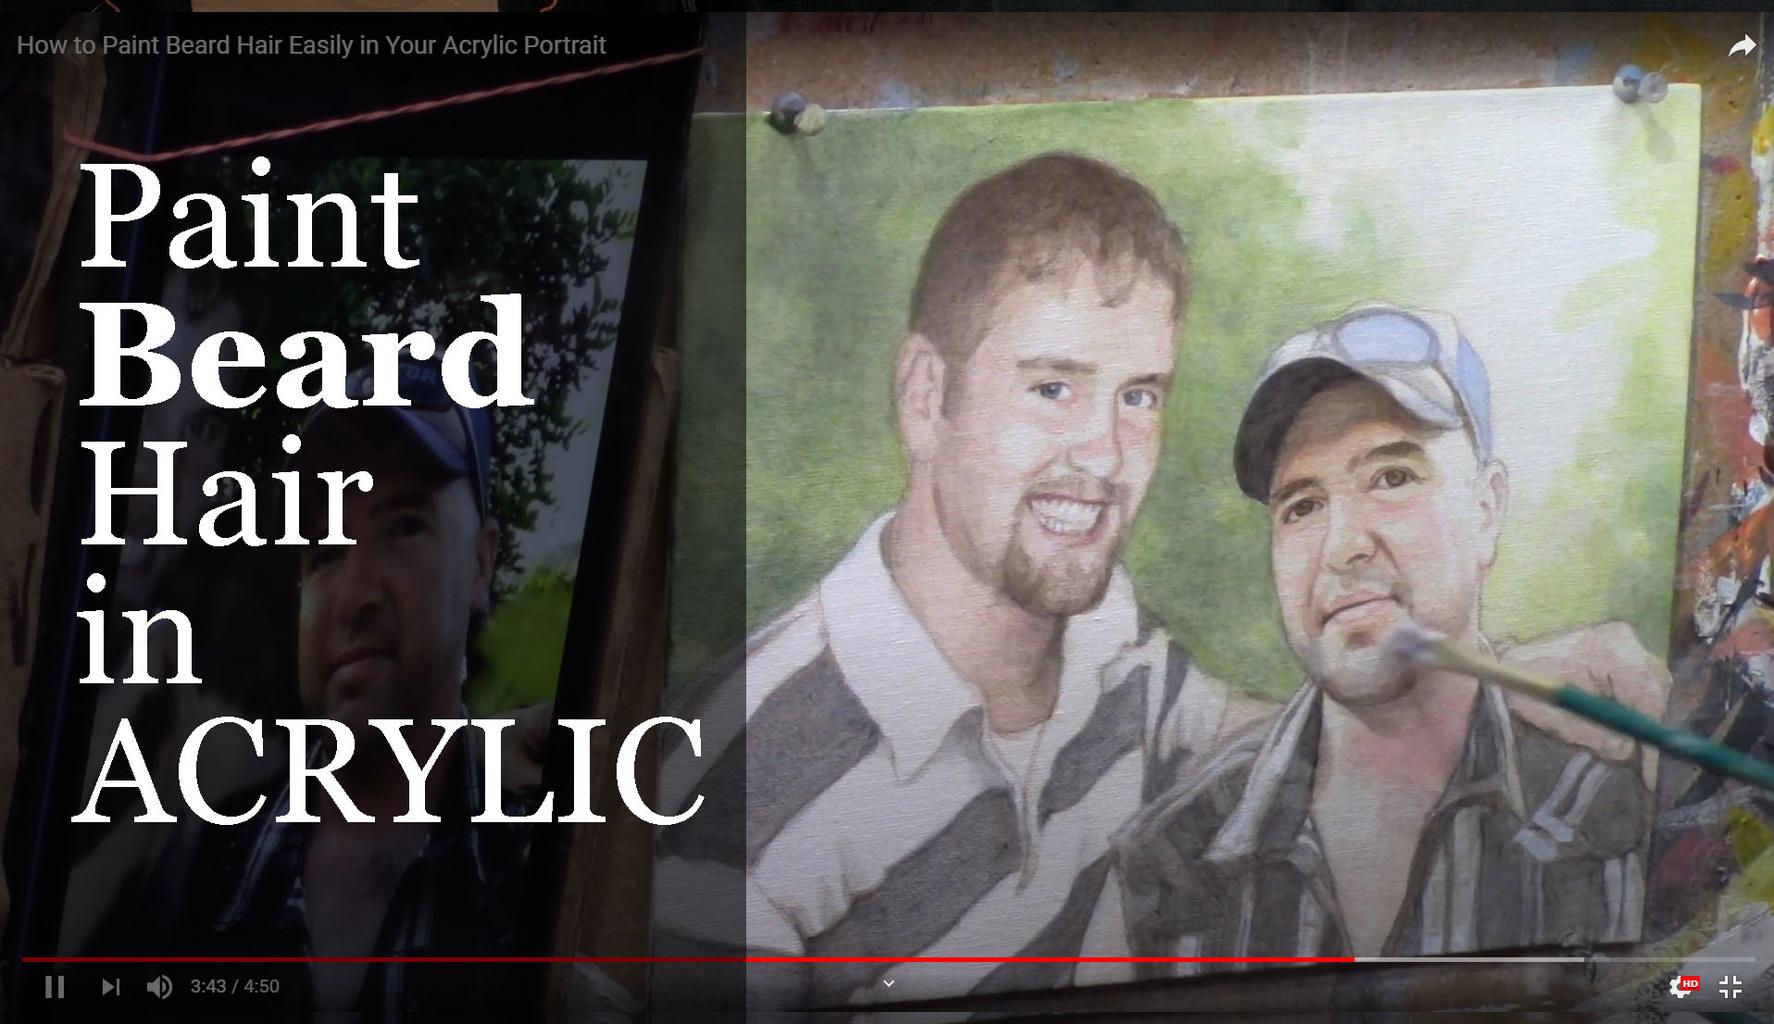
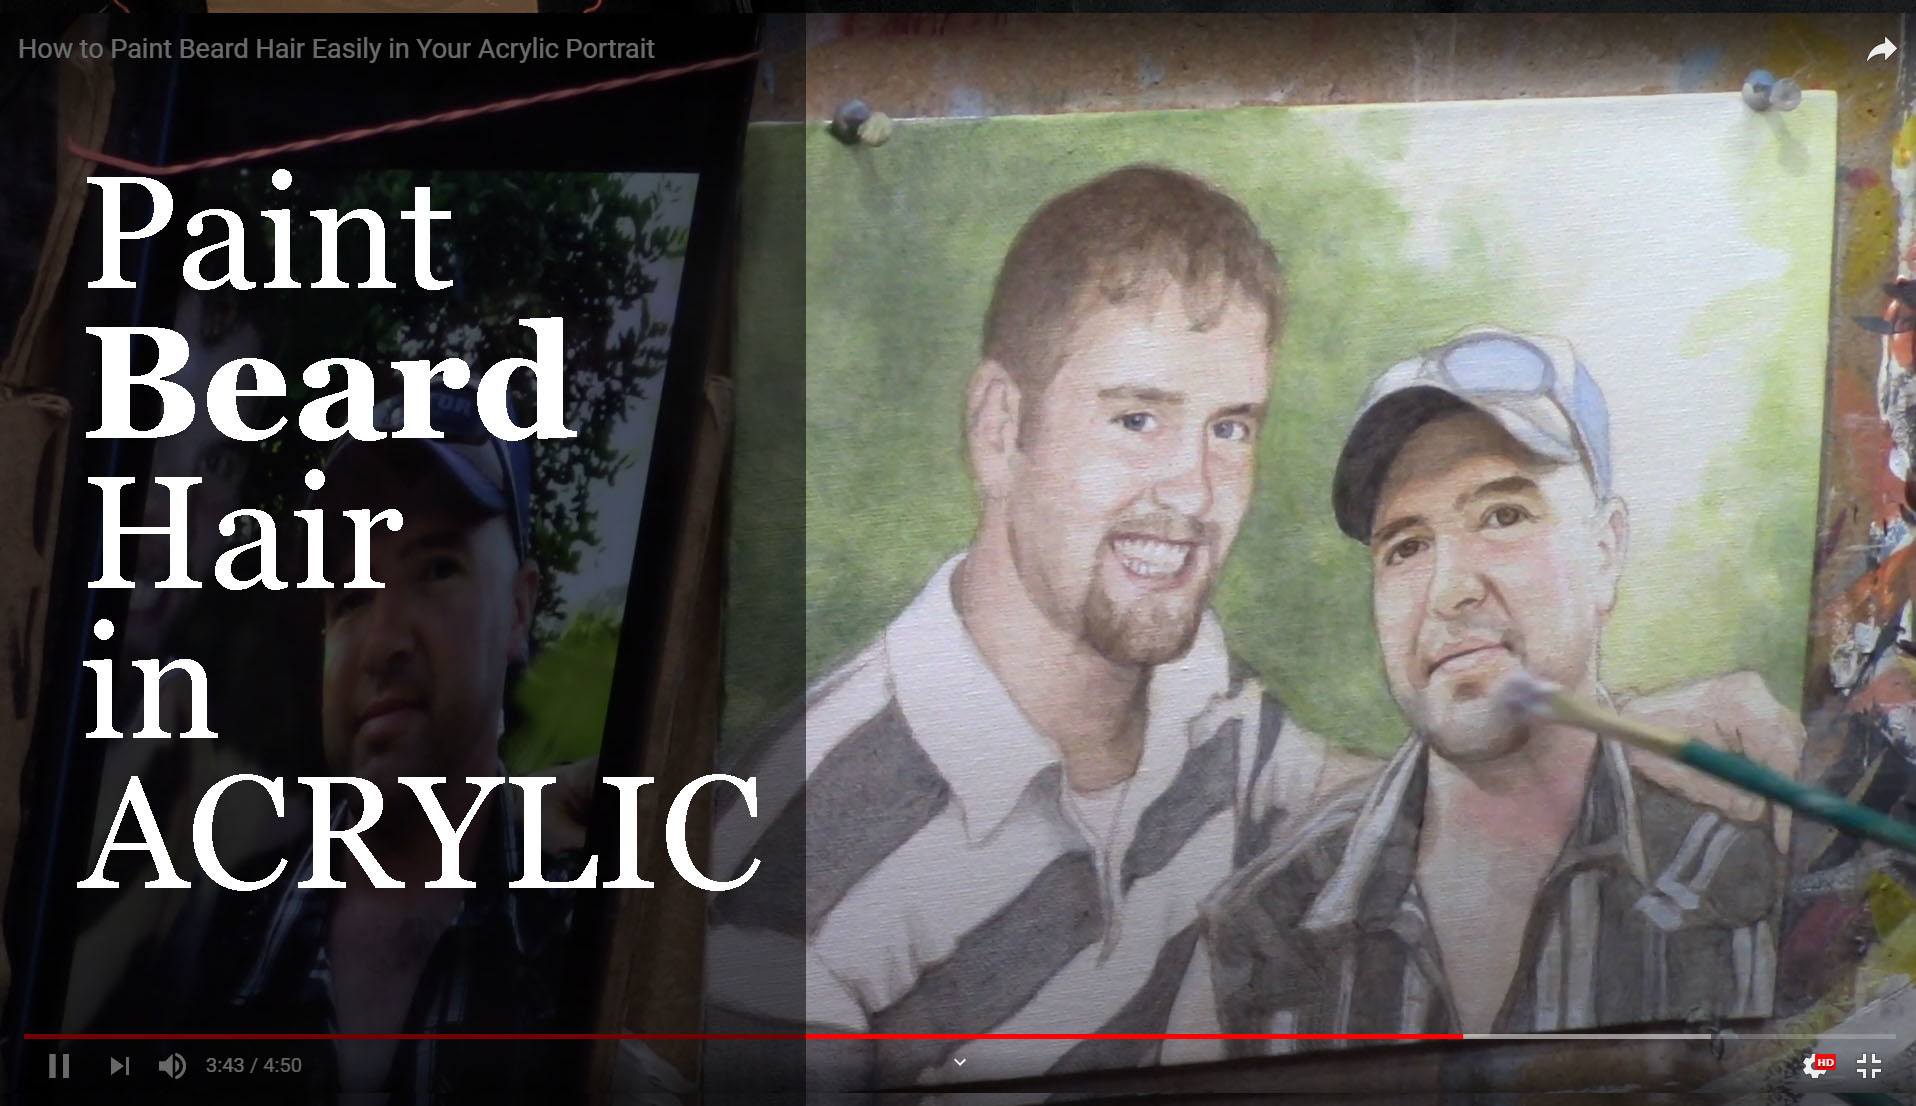
Painting facial hair, such as beards, can be one of the more challenging details in portrait art. It may seem daunting to capture every individual hair in a realistic way, but it doesn’t have to be. In this guide, we’ll break down an easy method for painting beard hair using acrylics that doesn’t involve painstakingly painting each hair strand. Instead, we’ll focus on blocking in colors and values, giving the appearance of detail while keeping the process simple and effective.
Whether you’re a beginner or an experienced artist, this approach will help you add convincing realism to your acrylic portraits without frustration.
Step-by-Step Guide to Painting Beard Hair
1. Start with a Base Color
The key to painting facial hair, like a beard, is to begin with a base color that matches the underlying skin tones and beard shade. Then don’t worry about painting individual strands right away. Instead, follow this process:
- Mix raw umber as a base for the beard.
- Add a touch of alizarine crimson to introduce a slight warmth, and include titanium white to ensure the paint covers the surface effectively.
- For cooler tones in the beard, mix a bit of ultramarine blue into your base to add depth and shadow to your mix.
When you have your base color ready, load it onto a flat edge brush and block in the general area of the beard. This block of color will act as the foundation for the beard hair. Focus on the overall value instead of trying to capture individual strands. This method prevents the painting from looking too busy or artificial.
2. Block in the Values
Instead of painting each beard’s hair, think in terms of values. Then block in the light and shadow areas of the beard, which will provide the necessary contrast and depth.
- Use your cool-toned mixture to paint the stubble or full beard, applying the color in sections.
- Blend as you go to create a soft transition between the skin and the beard.
The key here is to focus on where the light hits the face and then how it interacts with the beard hair. The shadows and highlights will imply the presence of hair, of course, without needing to meticulously paint each one.
3. Create Realism with Minimal Detail
Once your base layers and value blocks are in place, you can add a few finishing touches to suggest individual hairs. Use a detail brush sparingly, picking out just a few strands of hair in key places. Because this technique gives the illusion of individual hairs without overwhelming the painting with too much detail.
In smaller portraits, like 8×10 canvases, it’s unnecessary to paint each hair meticulously. Because simplicity often works best in creating a realistic appearance. Focus on the main areas of light and shadow to convey the overall texture of the beard.

Techniques to Improve Beard Hair Painting
1. Use Color Blocks to Imply Detail
The most efficient way to paint beard hair in acrylic portraits is to rely on blocks of color rather than individual strokes. Because this method implies detail, which can trick the viewer’s eye into perceiving realism without overwhelming the painting with unnecessary detail.
2. Choose the Right Brush
For the base layer, use a flat edge brush to cover larger areas and then create smooth transitions between skin and hair. When adding a few fine hairs for detail, switch to a small, pointed detail brush for better control.
3. Blend Your Colors
Blending is crucial when painting facial hair. You don’t want the beard to look too stark or separated from the face. Softly blend the edges of the beard into the skin tone, paying attention to areas of transition where light hits the skin through the hair.
4. Focus on Contrast
Realism in facial hair is often achieved by strong contrasts between light and shadow. Beard hair, especially in portraits, reflects light differently than other parts of the face. Make sure to adjust your highlights and shadows accordingly.
- Use more titanium white to brighten up areas where the light hits the beard.
- Deepen the shadows with your ultramarine blue mix, especially near the edges of the jawline.
Tips for a Realistic Beard in Acrylics
- Work in Layers: Build the beard gradually, adding more color and depth in layers as you progress.
- Don’t Overwork It: Less is more when painting beard hair. Don’t feel the need to paint every strand. A few details go a long way.
- Play with Texture: Facial hair, especially beards, has texture. Try lightly dry brushing to simulate this texture without going into too much fine detail.
- Observe the Reference: Always refer back to your source image. Look at how the beard flows, where the shadows fall, and how the hair interacts with the face.
Common Mistakes to Avoid
- Overdetailing: Beginners often make the mistake of trying to paint every individual hair, which can result in a cluttered and unnatural look. Instead, focus on the big picture: light, shadow, and overall shape.
- Incorrect Brush Choice: Using a brush that’s too large or too small can cause issues. A flat edge brush is best for blocking in large areas, while a fine detail brush works for final touches.
- Too Many Highlights: Over-highlighting the beard can make it appear unrealistic. Use highlights sparingly to ensure they mimic how light naturally interacts with facial hair.
Conclusion
Learning how to paint beard hair in an acrylic portrait can elevate the realism in your work without requiring an excessive amount of time or detail. By focusing on values, layering colors, and adding minimal detail, you can create the illusion of beard hair that looks natural and lifelike.
Remember, painting doesn’t have to be complicated. Sometimes, simplicity achieves the best results. Experiment with this technique in your next portrait, and you’ll be amazed at how easily you can paint realistic beard hair.
If you’d like to learn more tips and techniques for improving your acrylic portrait skills, check out our full-length tutorials at realisticacrylic.com and download my free mini course, & guide here. Happy painting!
- How to Paint Foliage Using the Acrylic Glazing Technique
- How to Trace for an Accurate Portrait Sketch
- How to Paint Realistic Eyes in Your Acrylic Portrait
- How to Add Raw Umber Dark & Ultramarine Blue to Your Portrait
- How to Make Your Own Raw Umber Dark
- How to Paint Realistic Trees & Grass in Your Acrylic
- How to Block In Skin Tone Values Using Glazing Technique
- How to Paint Vibrant Reds in Your Acrylic Portrait
- How to Glaze Background Colors & More Acrylic Portrait
- How to Paint White Clothing in Your Acrylic Portrait
- How to Easily Transition from a Sketch to a Painting
- How to Block In Shading & Skin Tones in Your Acrylic
- How to Build Up Color on Acrylic Pet Portrait
- How to Build Up Form on Clothing with Acrylic
- How to Paint Dark Clothing Using Acrylic Glazing Technique
- How to Paint a 24 x 30 Acrylic With 30 People
- How to Do Smooth Shading with Acrylic
- How to Sketch an Acrylic Portrait with a Grid
Read more about how to paint a portrait that you can surely be proud of!
I’d love to hear your thoughts about this video. Please share it with your friends and family. Let me know if you have any further questions. I’ll greatly help you.
If you’d like to learn more, sign up for my free email tips and video class today.
Learn How to Paint Acrylic Portraits With My Free Mini-Video Course!
Thank you so much for taking the time to read this tutorial and watch the video. That means a lot to me. I hope you find it very helpful in your portrait painting.
Yours for Better Portraits,

P.S. Did you find this post helpful or encouraging? If so, send it on ahead! Let others know with the share buttons below. I’d love to hear your comments. Thank you so much! Also, do you have a question on acrylic portrait painting you’d like answered? Let me know, and I’d be happy to help!
elpful or encouraging, would you send it on ahead? Let others know with the share buttons below. I’d love to hear your comments. Thank you so much!
