- You are here:
- Home »
- Blog »
- Video Tutorial »
- How to Paint 8 x 10 Realistic Acrylic Portrait Timelapse

How to Paint 8 x 10 Realistic Acrylic Portrait Timelapse
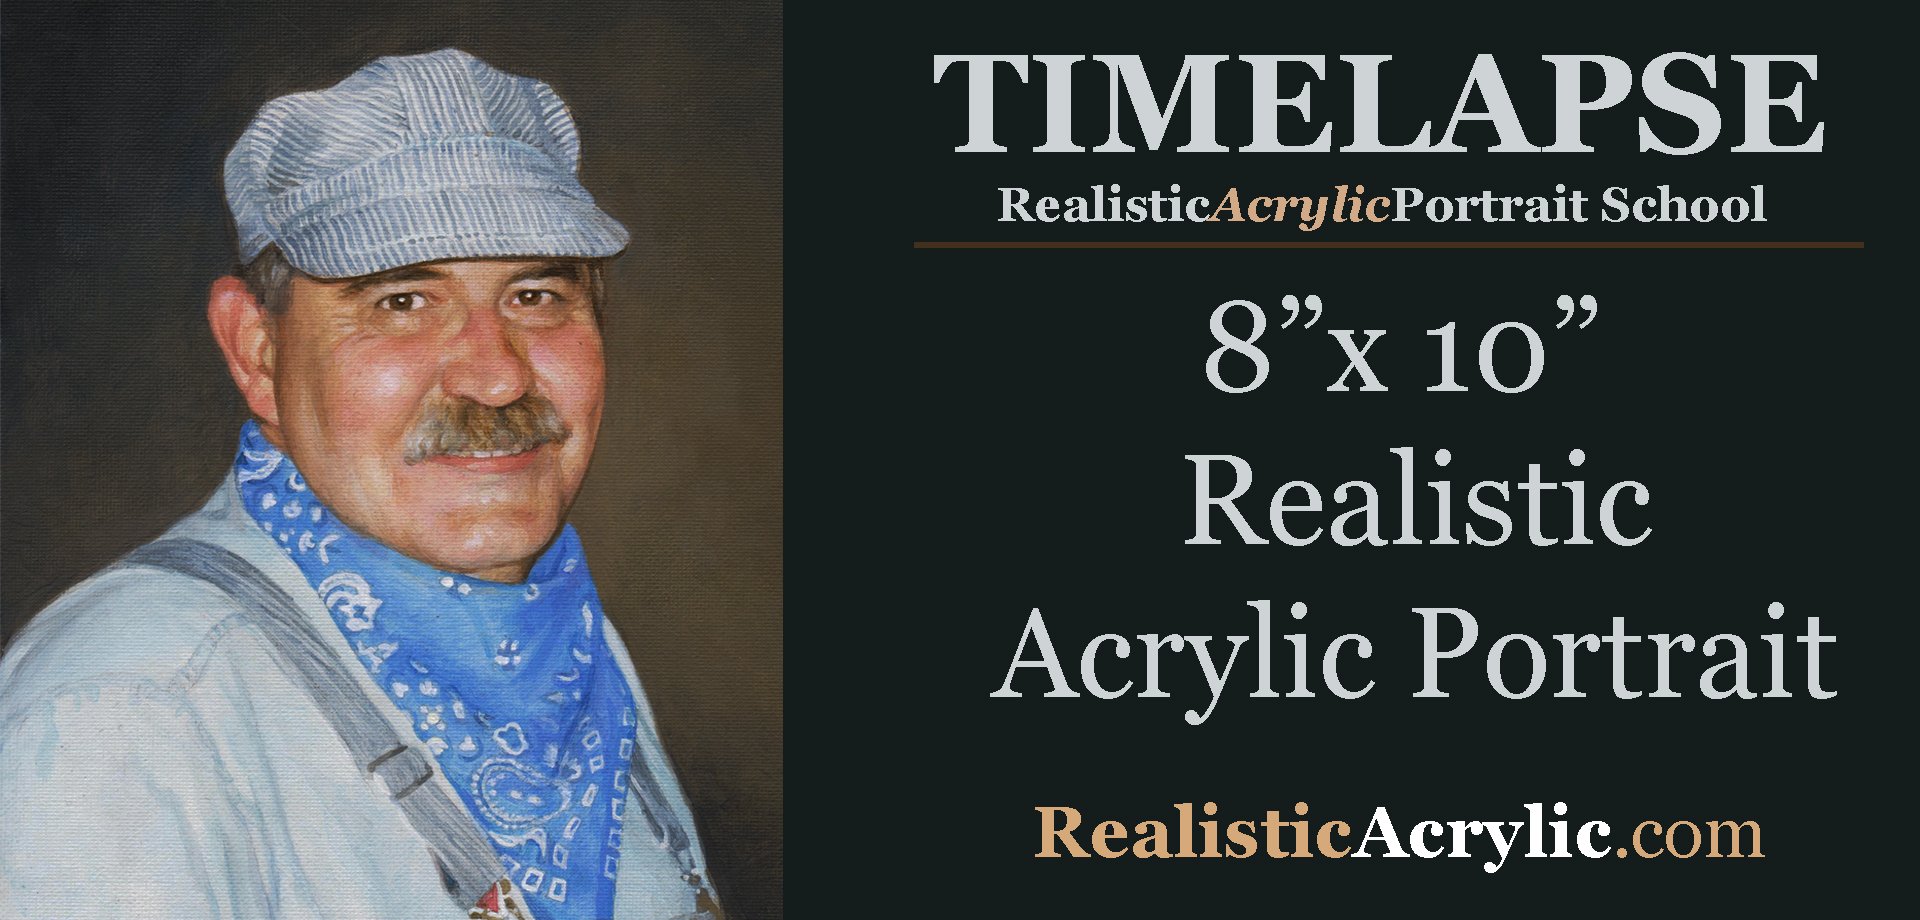
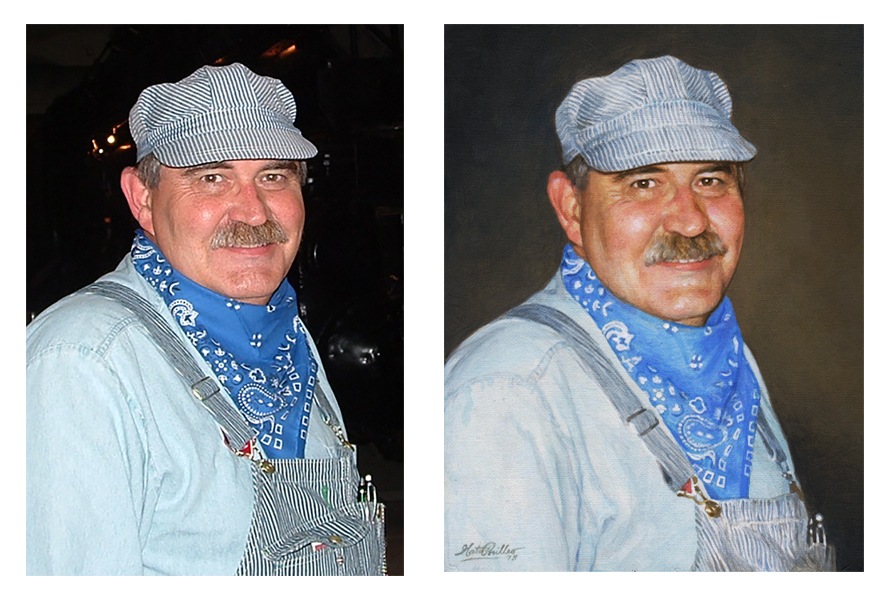
Just prior to Christmas, I finished this portrait of a local engineer.
Creating a realistic acrylic portrait can be a rewarding experience, especially when utilizing the glazing technique. This method involves layering transparent paints to build depth and luminosity in your artwork. In this tutorial, a step-by-step guide is provided to help artists of all levels achieve impressive results in an 8 x 10 portrait.

Understanding the Glazing Technique
The glazing technique is foundational in creating depth and realism in acrylic painting. It is characterized by the application of thin, transparent layers of color, allowing the underlying layers to shine through. This method is often compared to photography, where an image starts light and gradually gains depth.
Materials Required
Before beginning, ensure that the following materials are prepared:
- Acrylic paints: Ultramarine blue, brownish tone (raw umber or dark), and skin tones
- Clear acrylic matte medium
- Brushes: Small round brushes, flat brushes, and a small detail brush
- Palette for mixing colors
- Canvas (8 x 10 inches recommended)
- Water for rinsing brushes
Step-by-Step Process
Step 1: Preparing the Background
To commence, a light glaze is applied to the background using clear acrylic matte medium. This initial layer serves as a foundation for subsequent colors and adds a soft, ethereal quality to the painting.
Step 2: Adding Foreground Details
Once the background is set, the first layer of details can be added. Ultramarine blue is used to paint the hat, while the brownish tone is applied to create depth in the background. Care is taken to let these layers dry before continuing with additional details.
Step 3: Building Up Layers
The glazing technique thrives on layering. After the initial foreground details have dried, the focus shifts to the face and scarf. By layering thin glazes, the desired colors are built up gradually, allowing the light to penetrate through the layers.
- Tip: Work from foreground to background to maintain focus on the subject. This approach helps keep details sharp and defined.
Step 4: Detailing the Features
Attention is drawn to the finer details in the face, such as the eyes and lips. Using various skin tones, nuances are added to create dimension. This is achieved by carefully layering pinkish tones on the cheeks and around the eyes, emphasizing features like eyebrows and the mustache with darker shades.
- Technique: When applying glazes, it is essential to work thinly. The use of a clear acrylic medium mixed with paint ensures translucency, allowing for subtle color variations.
Step 5: Refining and Smoothing
As the painting progresses, the need to refine details becomes evident. Skip around the canvas, working on different sections to ensure balance and harmony in the overall composition. Smoothing out areas with a gentle hand helps in creating a realistic appearance.
- Tip: Varying brush sizes and techniques can significantly enhance texture. Larger brushes are suitable for broader areas, while smaller brushes are ideal for intricate details.
Step 6: Enhancing Realism
To achieve a realistic finish, darker tones are added under the chin and in shadowed areas, enhancing the sense of depth. Highlights are strategically placed to simulate the effect of light on the face and clothing.
- Technique: As the final layers are applied, incorporating more opaque white paint helps achieve smoother transitions between colors.
Step 7: Final Touches
At the later stages of the painting, I continue to add details and shading. Varying line thickness and texture are key components to realism. Then moves back and forth between different areas of the portrait, ensuring that the final touches are cohesive and enhance the overall image.
Step 8: Signing the Artwork
After all the details have been finalized, the painting is signed. This not only signifies the completion of the work but also adds a personal touch to the artwork.
Conclusion
This step-by-step guide on painting a realistic acrylic portrait using the glazing technique showcases how layered approaches can bring an image to life. By utilizing transparency and careful detailing, you can create stunning, lifelike portraits that capture the essence of their subjects.
Whether you are an experienced artist or just starting, mastering the glazing technique will enhance your acrylic painting skills.
Additional Tips and Techniques
- Experiment with Colors: Don’t hesitate to mix different colors to achieve unique skin tones and shades.
- Practice Patience: Building up layers takes time, but the results are worth the effort.
- Use Reference Images: Having a clear reference will guide your color choices and proportions, making the process smoother.
By following these steps, you can enhance your painting techniques and create stunning, realistic portraits. Embrace the glazing method and enjoy the process of bringing your artistic visions to life!
For further resources and guides, visit realisticacrylic.com and check out my free courses to enhance your acrylic painting journey
Would you like to learn how to paint like this, with individual lessons broken down and explained?
Learn How to Paint Acrylic Portraits With My Free Mini-Video Course!(The lessons show me painting a different picture, but the technique is the same. Enjoy! 🙂
LEARN MORE
- How to Paint Foliage Using the Acrylic Glazing Technique
- How to Trace for an Accurate Portrait Sketch
- How to Paint Realistic Eyes in Your Acrylic Portrait
- How to Add Raw Umber Dark & Ultramarine Blue to Your Portrait
- How to Make Your Own Raw Umber Dark
- How to Paint Realistic Trees & Grass in Your Acrylic
- How to Block In Skin Tone Values Using Glazing Technique
- How to Paint Vibrant Reds in Your Acrylic Portrait
- How to Glaze Background Colors & More Acrylic Portrait
- How to Paint White Clothing in Your Acrylic Portrait
- How to Easily Transition from a Sketch to a Painting
- How to Block In Shading & Skin Tones in Your Acrylic
- How to Build Up Color on Acrylic Pet Portrait
- How to Build Up Form on Clothing with Acrylic
- How to Paint Dark Clothing Using Acrylic Glazing Technique
- How to Paint a 24 x 30 Acrylic With 30 People
- How to Do Smooth Shading with Acrylic
- How to Sketch an Acrylic Portrait with a Grid
Read more about how to paint a portrait that you can surely be proud of!
Let me know how this helps.
Yours for better portraits,

P.S. Did you find this post helpful or encouraging? If so, send it on ahead! Let others know with the share buttons below. I’d love to hear your comments. Thank you so much! Also, do you have a question on acrylic portrait painting you’d like answered? Let me know, and I’d be happy to help!
