- You are here:
- Home »
- Blog »
- Video Tutorial »
- How to Blocking-in a 30″ x 40″ Acrylic Battle Scene Painting

How to Blocking-in a 30″ x 40″ Acrylic Battle Scene Painting
Learn the technique of blocking-in a large 30″ x 40″ acrylic battle scene to establish strong foundations for your painting with depth and detail.
When tackling a large-scale project like blocking-in a 30″ x 40″ acrylic battle scene painting, the initial steps are crucial to setting the stage for a dynamic and cohesive composition. Because by using these combination of broad strokes and carefully placed color, this foundational layer helps you define the major forms, balance your composition, and create a sense of depth right from the start. Whether you’re an experienced artist or just starting out with larger works, mastering the blocking-in process will ensure your painting flows smoothly.
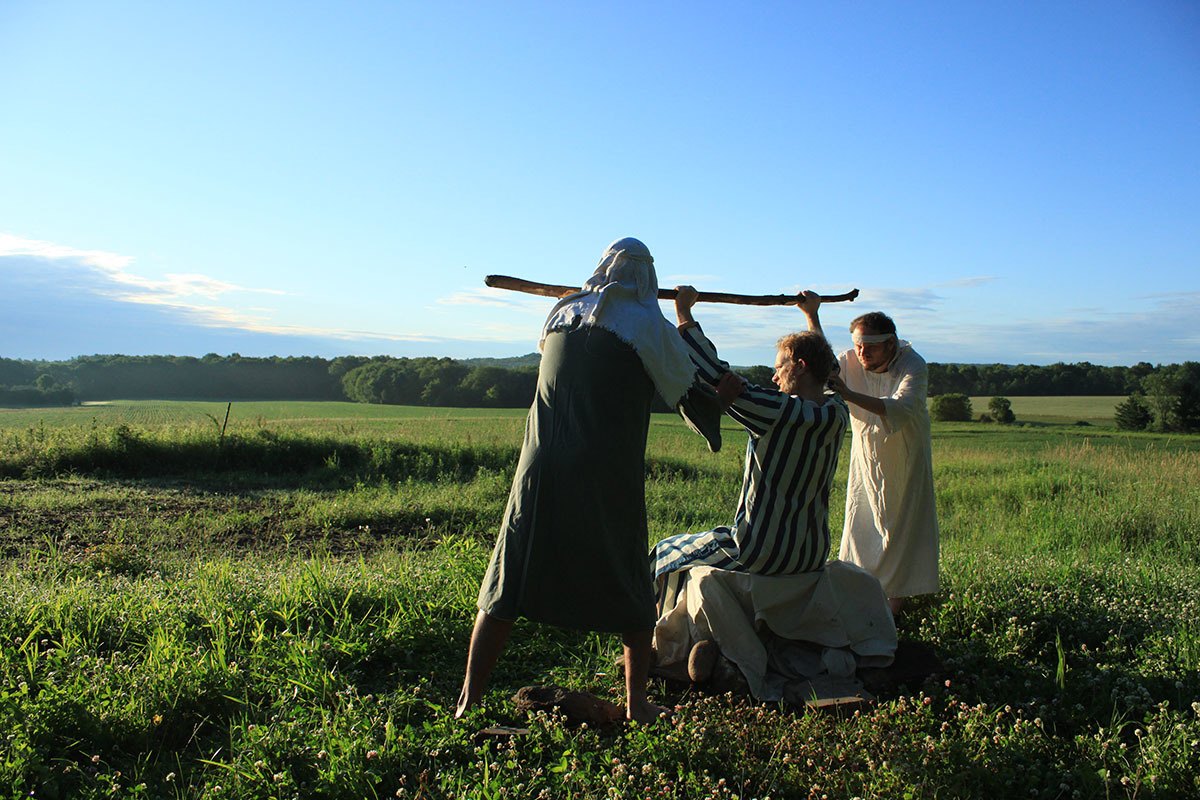
So in this demonstration, I am using a 30″ x 40″ acrylic painting I was commissioned to create, a battle scene between ancient Israel and the Amalekites. Then I asked my friends to come over to my home early in the morning, at sunrise, and model for the painting.

Yes, that’s me in the middle!
In this battle, when the Israelite leader Moses held up his staff, the power of God would flow. Then it caused the Israelite army to defeat their battlefield enemies. But, as the battle lasted for hours, Moses grew tired and couldn’t hold up his staff. Then the Amalekites got the advantage over the Israelites!
His assistants, Aaron and Hur came up with an idea. They had Moses sit on a rock. Then they held up his arms on either side, so once again, the Israelites could prevail.
This painting is meant to depict the struggle in praying, and how when others come alongside of us, they can ease the burden. And then their faith strengthens ours, and we can get the victory!
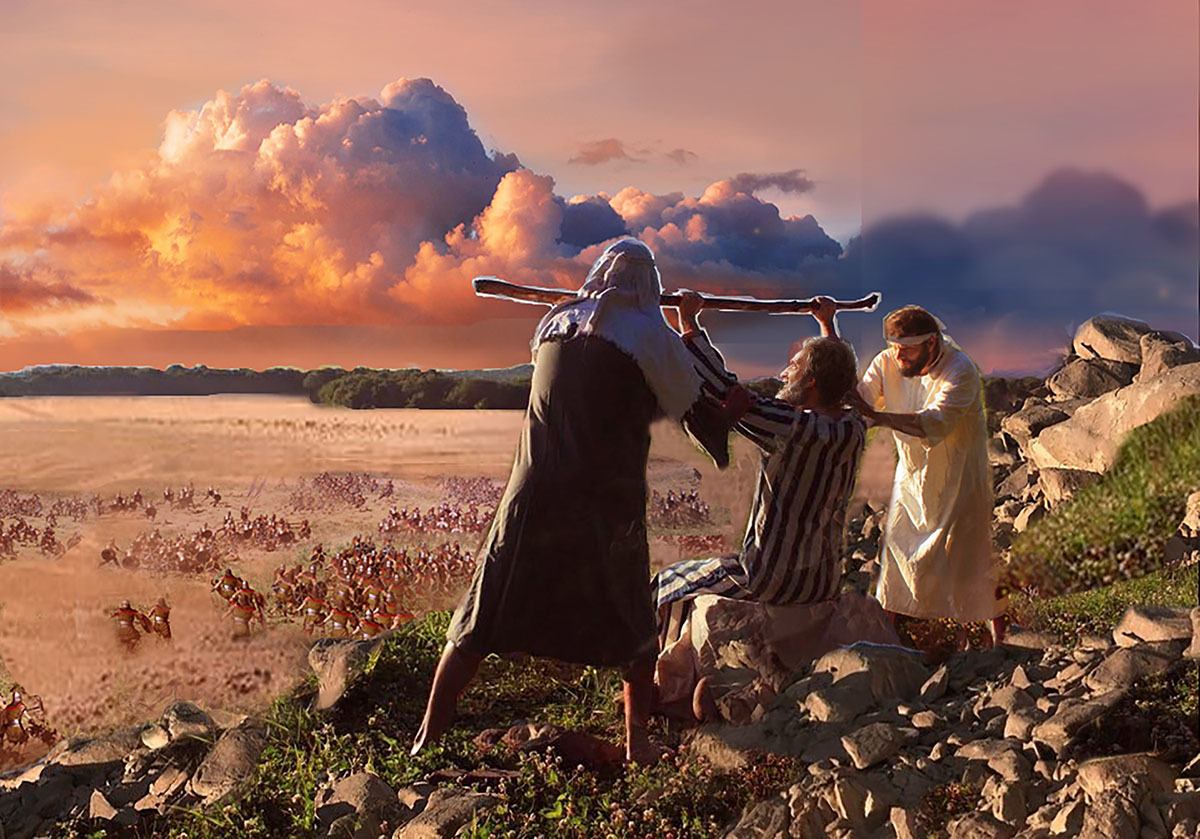
Here is my layout for the painting that I edited on Photoshop…

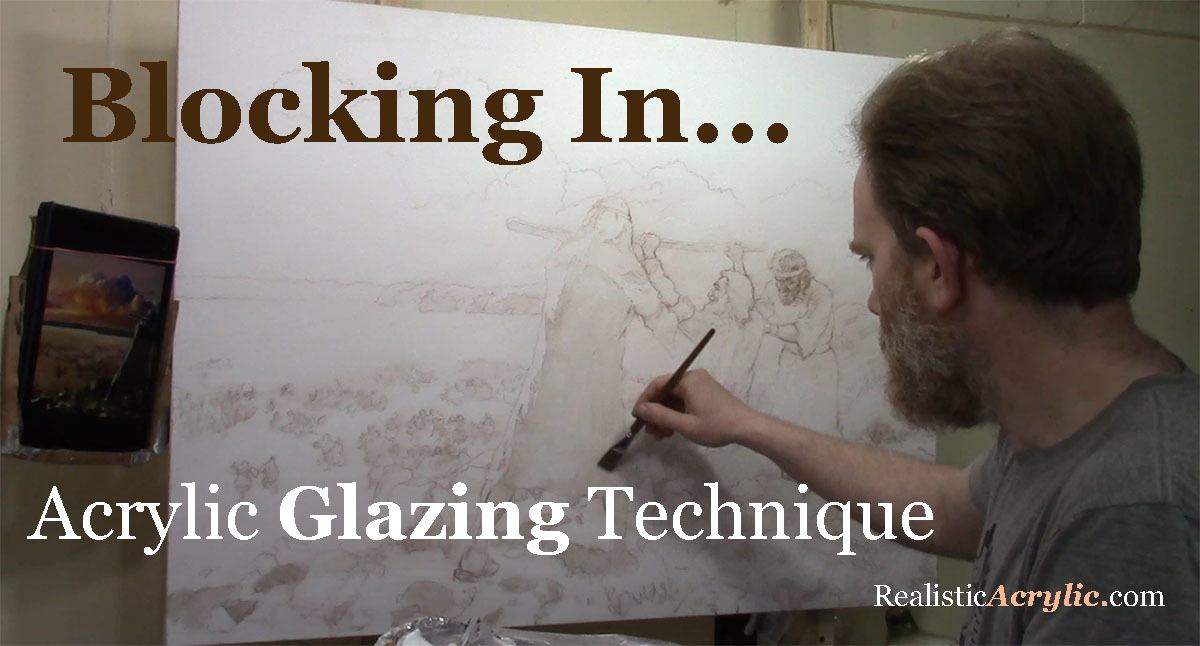
Now for the blocking-in video…
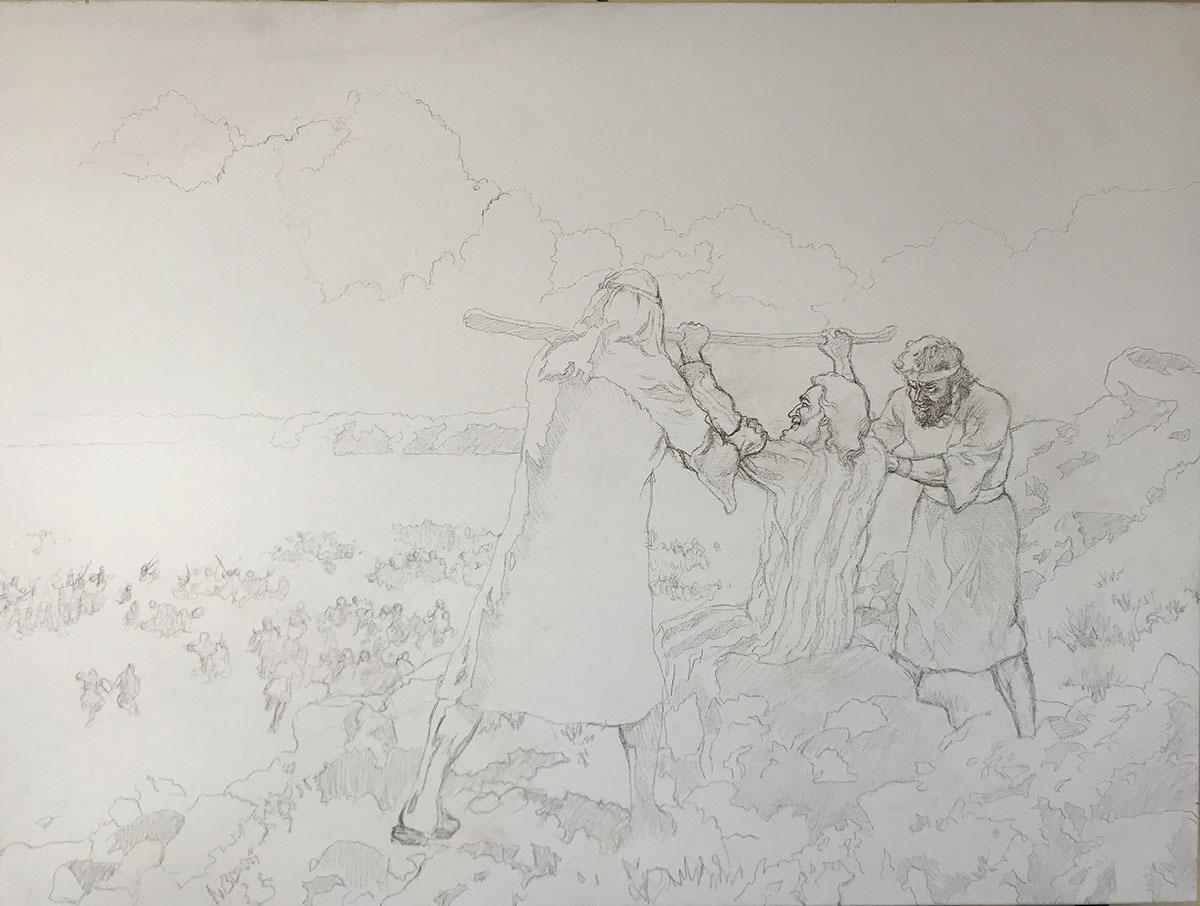
We start with an accurate sketch. Then, my goal is to quickly identify the major areas of contrast within the reference photo.

Then we apply a layer of raw umber dark, ultramarine blue and matte medium to the shadow areas designated on the sketch…
Tips and Techniques
- Start with Prayer & Purpose: Before beginning your painting, consider focusing on the purpose behind it. In this case, the painting represents a moment of intercessory prayer, symbolizing perseverance and spiritual victory. This mindfulness sets the tone for intentionality in your artwork.
- Use Matte Medium for Glazing: Apply matte medium to your palette before mixing in your colors. For blocking-in, ensure that your paint is heavily diluted with matte medium, aiming for a mixture that’s about 90-95% medium to 5-10% paint. This creates translucent layers, allowing for smooth blending and luminosity in the final work.
- Choose Your Colors: Use a traditional palette with earthy tones like raw umber, burnt sienna, and ultramarine blue, mixed with other colors such as titanium white for highlights. These colors create a natural, muted foundation for blocking-in shadows and light.
- Block-in Major Values: Start by blocking-in large value structures, such as the shadows on the figures and the surrounding landscape. Keep the application light to allow for adjustments later. Work across the whole canvas, focusing on dominant shapes and transitions between light and dark areas.
- Work with Large Brushes: Use larger, flat brushes, such as a three-quarter inch, to block-in broad areas quickly and efficiently. This prevents getting stuck in details too early, allowing you to build up the entire scene cohesively.
- Blend with Confidence: As you block-in, keep your brushstrokes fluid and in multiple directions to ensure smooth blending. Make sure to maintain a wet edge to avoid streaks and allow for easy adjustments.
- Don’t Fear Corrections: Because the paint is thin, any mistakes in the blocking-in phase can be easily corrected. You can always layer additional glazes or shift values as the painting progresses.
By focusing on blocking-in the large value structures early in the process, you create a solid foundation for your 30″ x 40″ acrylic battle scene, allowing the details to emerge naturally as you build layers.
If you’re interested in learning more about acrylic glazing or portrait painting techniques, be sure to explore the resources available at realisticacrylic.com. and download my free gift for you here.
Questions? Suggestions? Thoughts? Let me know, below in the comments. Please share this post with your friends!
- How to Paint Foliage Using the Acrylic Glazing Technique
- How to Trace for an Accurate Portrait Sketch
- How to Paint Realistic Eyes in Your Acrylic Portrait
- How to Add Raw Umber Dark & Ultramarine Blue to Your Portrait
- How to Make Your Own Raw Umber Dark
- How to Paint Realistic Trees & Grass in Your Acrylic
- How to Block In Skin Tone Values Using Glazing Technique
- How to Paint Vibrant Reds in Your Acrylic Portrait
- How to Glaze Background Colors & More Acrylic Portrait
- How to Paint White Clothing in Your Acrylic Portrait
- How to Easily Transition from a Sketch to a Painting
- How to Block In Shading & Skin Tones in Your Acrylic
- How to Build Up Color on Acrylic Pet Portrait
- How to Build Up Form on Clothing with Acrylic
- How to Paint Dark Clothing Using Acrylic Glazing Technique
- How to Paint a 24 x 30 Acrylic With 30 People
- How to Do Smooth Shading with Acrylic
- How to Sketch an Acrylic Portrait with a Grid
Read more about how to paint a portrait that you can surely be proud of!
I’d love to hear your thoughts about this video. Please share it with your friends and family. Let me know if you have any further questions. I’ll greatly help you.
If you’d like to learn more, sign up for my free email tips and video class today.
Learn How to Paint Acrylic Portraits With My Free Mini-Video Course!
Thank you so much for taking the time to read this tutorial and watch the video. That means a lot to me. I hope you find it very helpful in your portrait painting.
Yours for Better Portraits,

P.S. Did you find this post helpful or encouraging? If so, send it on ahead! Let others know with the share buttons below. I’d love to hear your comments. Thank you so much! Also, do you have a question on acrylic portrait painting you’d like answered? Let me know, and I’d be happy to help!
