- You are here:
- Home »
- Blog »
- Written Tutorial »
- [PORTRAIT CHALLENGE] Masterclass Lesson #5: Building up Depth With Glazes

[PORTRAIT CHALLENGE] Masterclass Lesson #5: Building up Depth With Glazes
The Acrylic Portrait Painting Challenge Masterclass Lesson #5 is out!
In our last two lessons, I showed you how to cover your entire canvas with a series of three glazes covering the entire surface of the canvas as one layer.
Now, with this lesson, I’ll show you how to continue the process of adding layers on top of layers. We want to “rotate,” going back to the first glaze we did, and go on top of it with another glaze. And then to the next, and so on. Remember volleyball? It’s kind of like that. Every person gets a turn.
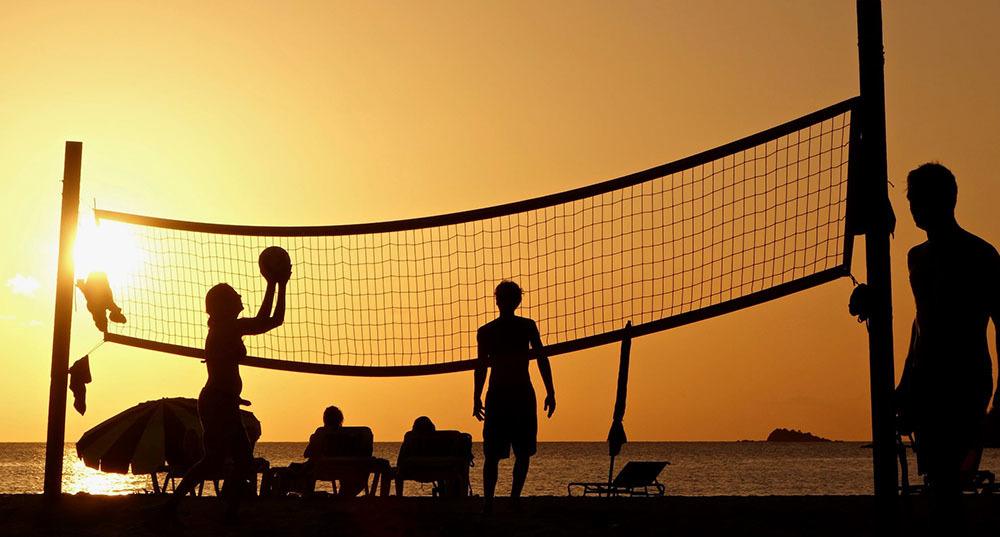
Volleyball rotation like rotating glaze layers in your acrylic portrait
Here in the portrait using the acrylic glazing technique, every part of the picture gets a turn, having another glaze added to it. (There are some times when we break this rule, and I’ll show you that in the video lesson)
Here is where I’m at in the portrait, prior to this video lesson, after the work I did on Lesson #4.
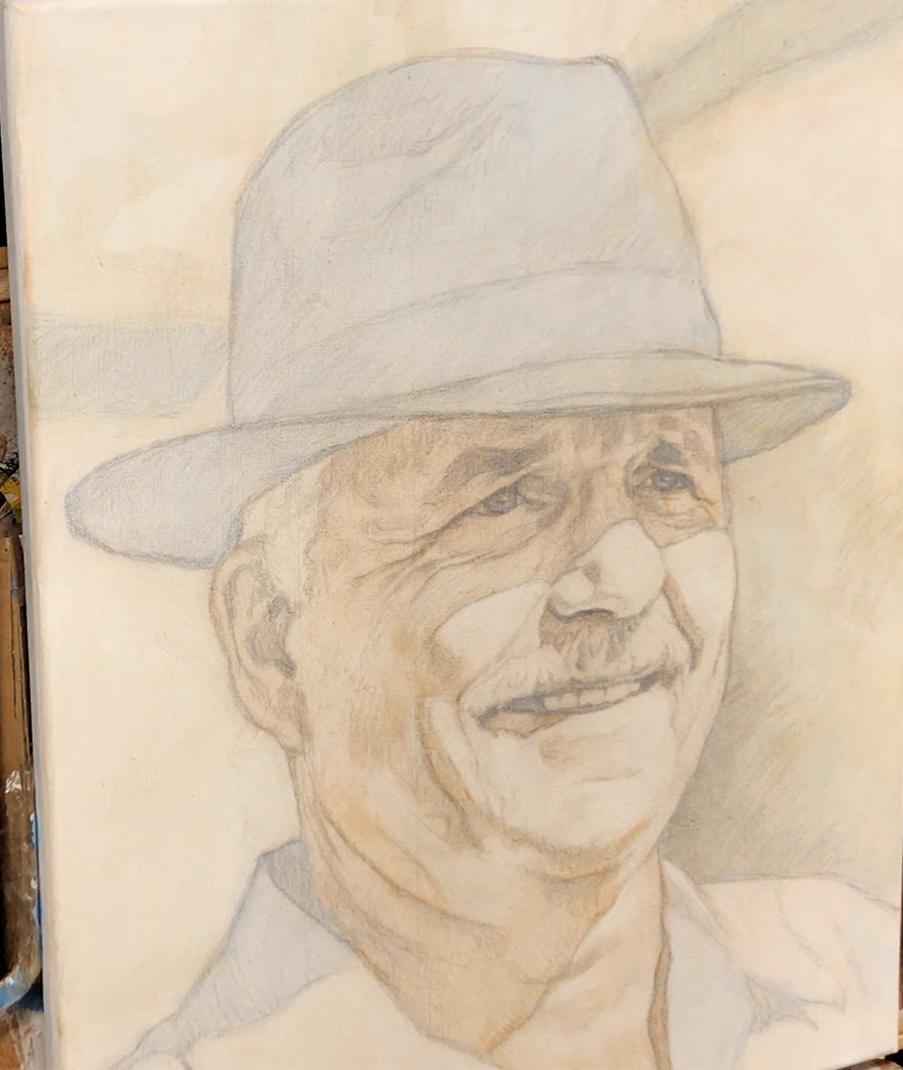
Acrylic portrait painting challenge example in progress using the acrylic glazing technique, 16 x 20, acrylic on canvas by artist and instructor Matt Philleo
What we want to do at this stage:
Since we already have locked in the major differences in the color scheme and tonal value very simply, now we want to add more complexity to the painting.
We will be adding:
- depth to the dark value of the hat
- shadowed areas of the face
- and some of the darker areas within the background.
We will do this using the acrylic glazing technique, where we mix a TINY amount of acrylic paint into a LARGE amount of clear acrylic matte medium. It’s best to go very, very light when you start your painting. You should just barely see a difference.
Also, make sure you rinse your brush off thoroughly between glazes. Any extra water in the heel of the brush may cause your glazes to drip or get streaky.
Here’s how to do it:
- Mix your Glaze for Hat: Use small, fairly equal amounts of ultramarine blue and raw umber dark, and mix with a large amount of matte medium (5% paint to 95% medium) as shown in the video lesson. “Scoop” a large amount of glaze onto your 3/4″or 1″ flat brush. A few of the glazes will get a little darker, with ratios of as much as 30% paint to 70% medium. Make sure you watch the video to know where and when to change the ratio.
- Apply the Glaze: Start on the left-hand side of hat and apply the glaze with firm pressure to cut along the edges. Spread the paint out toward the right, keeping a wet edge. Flip the brush over to make use of the paint that is on both sides.
- Smooth Out the Glaze: Use diagonal criss-cross strokes to blend the glaze out rapidly. Use very light pressure at the end, just barely grazing your brush across the top. Don’t overwork the glaze. TIP: It dries quickly. If it starts to get blotchy or tacky, just leave it alone, or you’ll make it worse. You will be able to smooth it out later with more layers on top.
- See Where Else You Can Employ the Glaze: Because you don’t want to waste the paint and medium, and to save time, use this same glaze on the background, adding as shown in the video lesson.
- Add a Shadow Glaze to the Face. What we want to do is add a shadow on top of the shadow. Start at the left side of his face, underneath the hat, and cut up along the edge, working your way right, and bring the glaze down into the forehead wrinkles as I show in the video. Follow the distinct shapes and patterns that you see on your reference photo.
You will repeat this process another time, with some variations.
Ready to paint?
Now, before you begin (yes, I have to ask you again, just in case 🙂 )…
Are you registered for the challenge?
If not, register below for FREE and I’ll send you:
- a downloadable/ printable”Welcome Kit” with a Supplies List and a Palette Color Layout Guide.
- high-resolution images of the photo we’ll be painting from for this challenge.
- each new lesson that comes out in this Masterclass series.
- a link to my private Facebook group, where you can do this challenge with other artists, get feedback and help on your portrait, and not feel alone.
REGISTER TODAY. The challenge is ongoing, something you can do at your own pace. It’s not too late to enter!
Register for the Challenge!
Watch my in-depth Masterclass acrylic online tutorial below to see these steps in action.
After learning from this video, you’ll know exactly how to do it.
Make sure to watch the ENTIRE video first before diving into the painting. It will be worth it to do that. Then, I’d like you to go back and refer to whatever steps you need to as you paint. That way, you won’t miss any of the instruction and tips that will help you make this portrait your very best.
Here’s the video…
[PORTRAIT CHALLENGE] Masterclass Lesson #5: Building up Depth With Glazes
Moving Forward…
Excellent job staying with me and the other artists for this challenging portrait! The acrylic glazing technique takes some getting used to, but once you really “get it” you will be able to paint with a freedom, confidence, and sense of realism that will keep you encouraged to keep on painting more and more.
In our next class, I’ll show you how to add more glazes and build up the skin tones. It’s something so many artists aspire to: create those lifelike skin tones that just look real. And now with a good foundation in place, we can do it!
I’ll see you in our next class! Until then be blessed in your painting and you and your family stay safe and healthy.
Yours for Better Portraits,
![]()
If you found this post helpful or encouraging, would you send it on ahead? Let others know with the share buttons below. I’d love to hear your comments. Thank you so much!
Let me know if you have any questions about the challenge that I didn’t answer. Leave your question in the comments below and I’ll get back to you!