- You are here:
- Home »
- Blog »
- Written Tutorial »
- 5 Steps How to Sketch an Acrylic Portrait Freehand
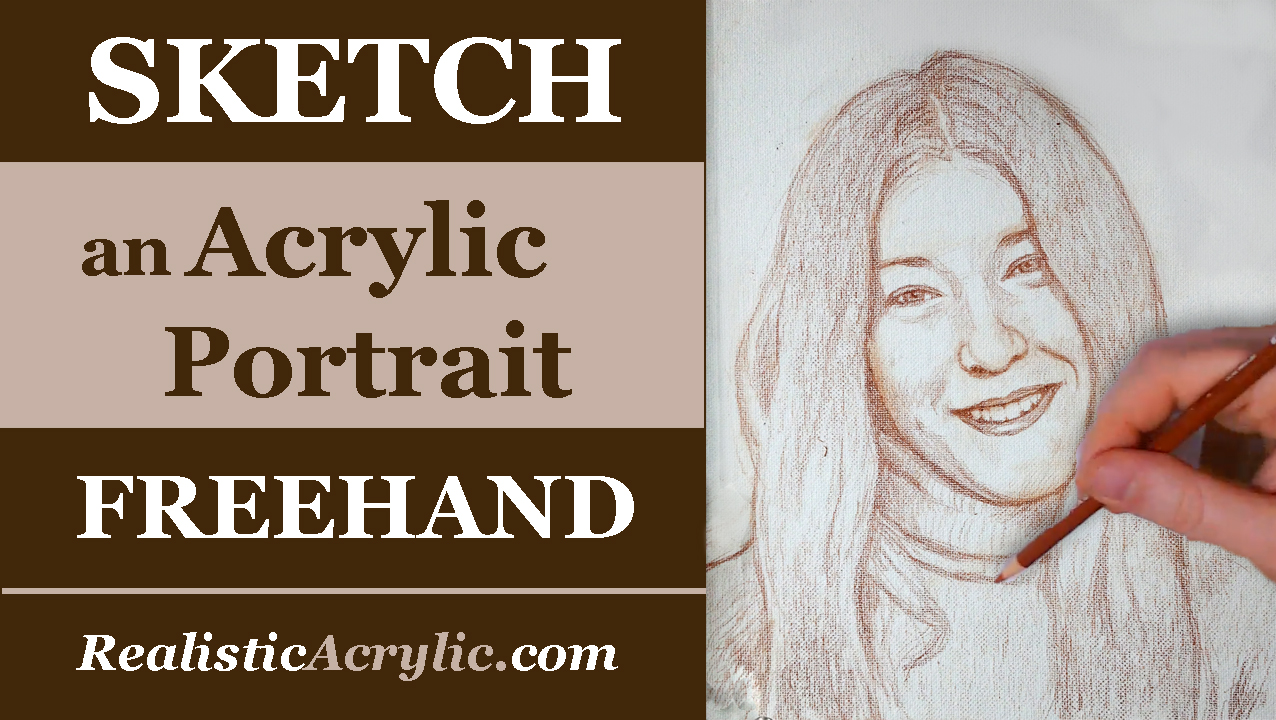
5 Steps How to Sketch an Acrylic Portrait Freehand
Using a grid or tracing can be a great way for artists just starting out in portrait painting to create a lifelike, accurate sketch. It also can help experienced painters either save time or get their proportions a bit more accurate so they can concentrate more on their painting process.
But sometimes, it’s fun to just “throw off the training wheels” and do your sketch freehand. In fact, drawing freehand will enhance your ability to see intricate spacial relationships, shapes and contours that are vital at any stage in your painting.
You’ll learn to capture those small nuances that will make a person look like them.
What is the best way to draw freehand?
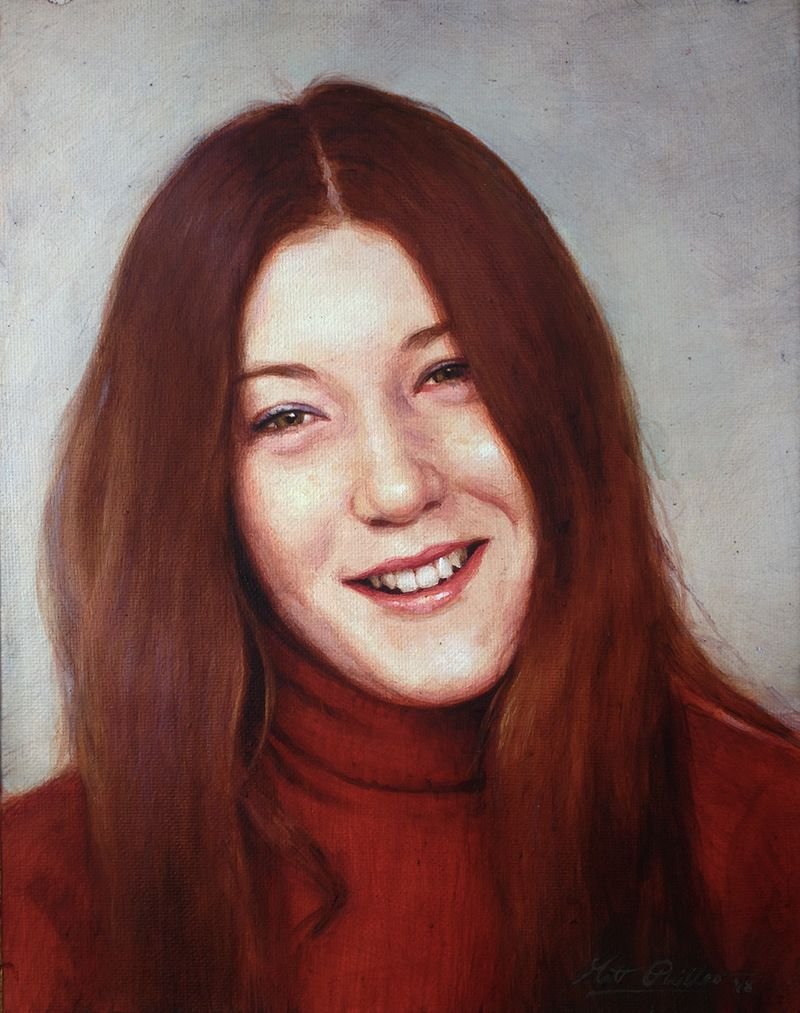
I’m not going to say I have the best method, but it has served me well in over 20 years of doing portrait art. I’d like to share that with you today, using this 8″ x 10″ commissioned portrait as an example…
Tools needed:
Canvas
Burnt Ochre Prismacolor colored pencil
Electric pencil sharpener
White smooth eraser
Here is the 15-minute video tutorial. The drawing took almost an hour.
The rest of this tutorial–showing the entire process, from sketch to finished acrylic portrait painting (about 7 hours of video instruction)–will soon be available as an online class. You can get access to it, and several other pre-recorded painting courses by becoming a member of Realistic Acrylic Portrait School.
Step 1: Locking in the Composition
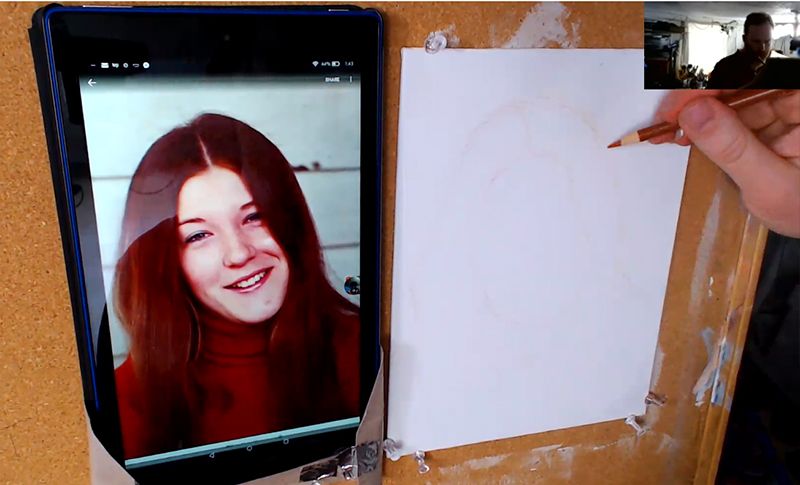
In this step, you want to plot out where your drawing is going. Here’s a few rules of thumb for a good composition and accurate initial proportions…
-Fill the image area as much as possible
-If you were to draw an imaginary line 1/3 of the way down from the top of the canvas edge, that line should go right through the middle of the face.
-Don’t let any major lines touch the edge of the “picture plane” (edges of the canvas)
-Look for the overall shape of the head: Is it oval? Long? Short and wide?
-Use light, short, choppy strokes to capture everything at first. It will be much easier to adjust and erase.
Step 2: Suggesting the Facial Features

After plotting out your composition, you want to start filling in the facial features. It’s good to draw lightly at first. We just want to get the basic location on the face and the overall impression of what they look like.
Start with the eyes. The eyes (and eyebrows) are THE most important feature to capture correctly on a face.
Ask yourself…
-Where are they located in relationship to the top and bottom of the head? Usually eyes are right in the middle, but that can vary from person to person.
-Are they large or small?
-Are they close together or far apart? Usually eyes are about one-eye-width apart from each other.
-Are the eyebrows straight or curved? Angled up or down? Thin or thick?
-How much of a distance is there between the eyebrows and eyes?
-What’s the shape of the eyes? Narrow? Rounded? Angled?
-How much of the top eyelid is showing? Some people have prominent upper eyelids. With others you can hardly see it.
-Are the eyelashes thick or thin?
Now, these questions will come more into play later on as you refine the sketch, but for now at this stage, just get the general idea captured.
Next, you’ll move down to the nose. It’s important to see the distance between the eyes and the nose and draw that. The shape between the nose and eyes forms a triangle. If you can get a sense for that shape, it will really help you out. Is the triangle wide or long?
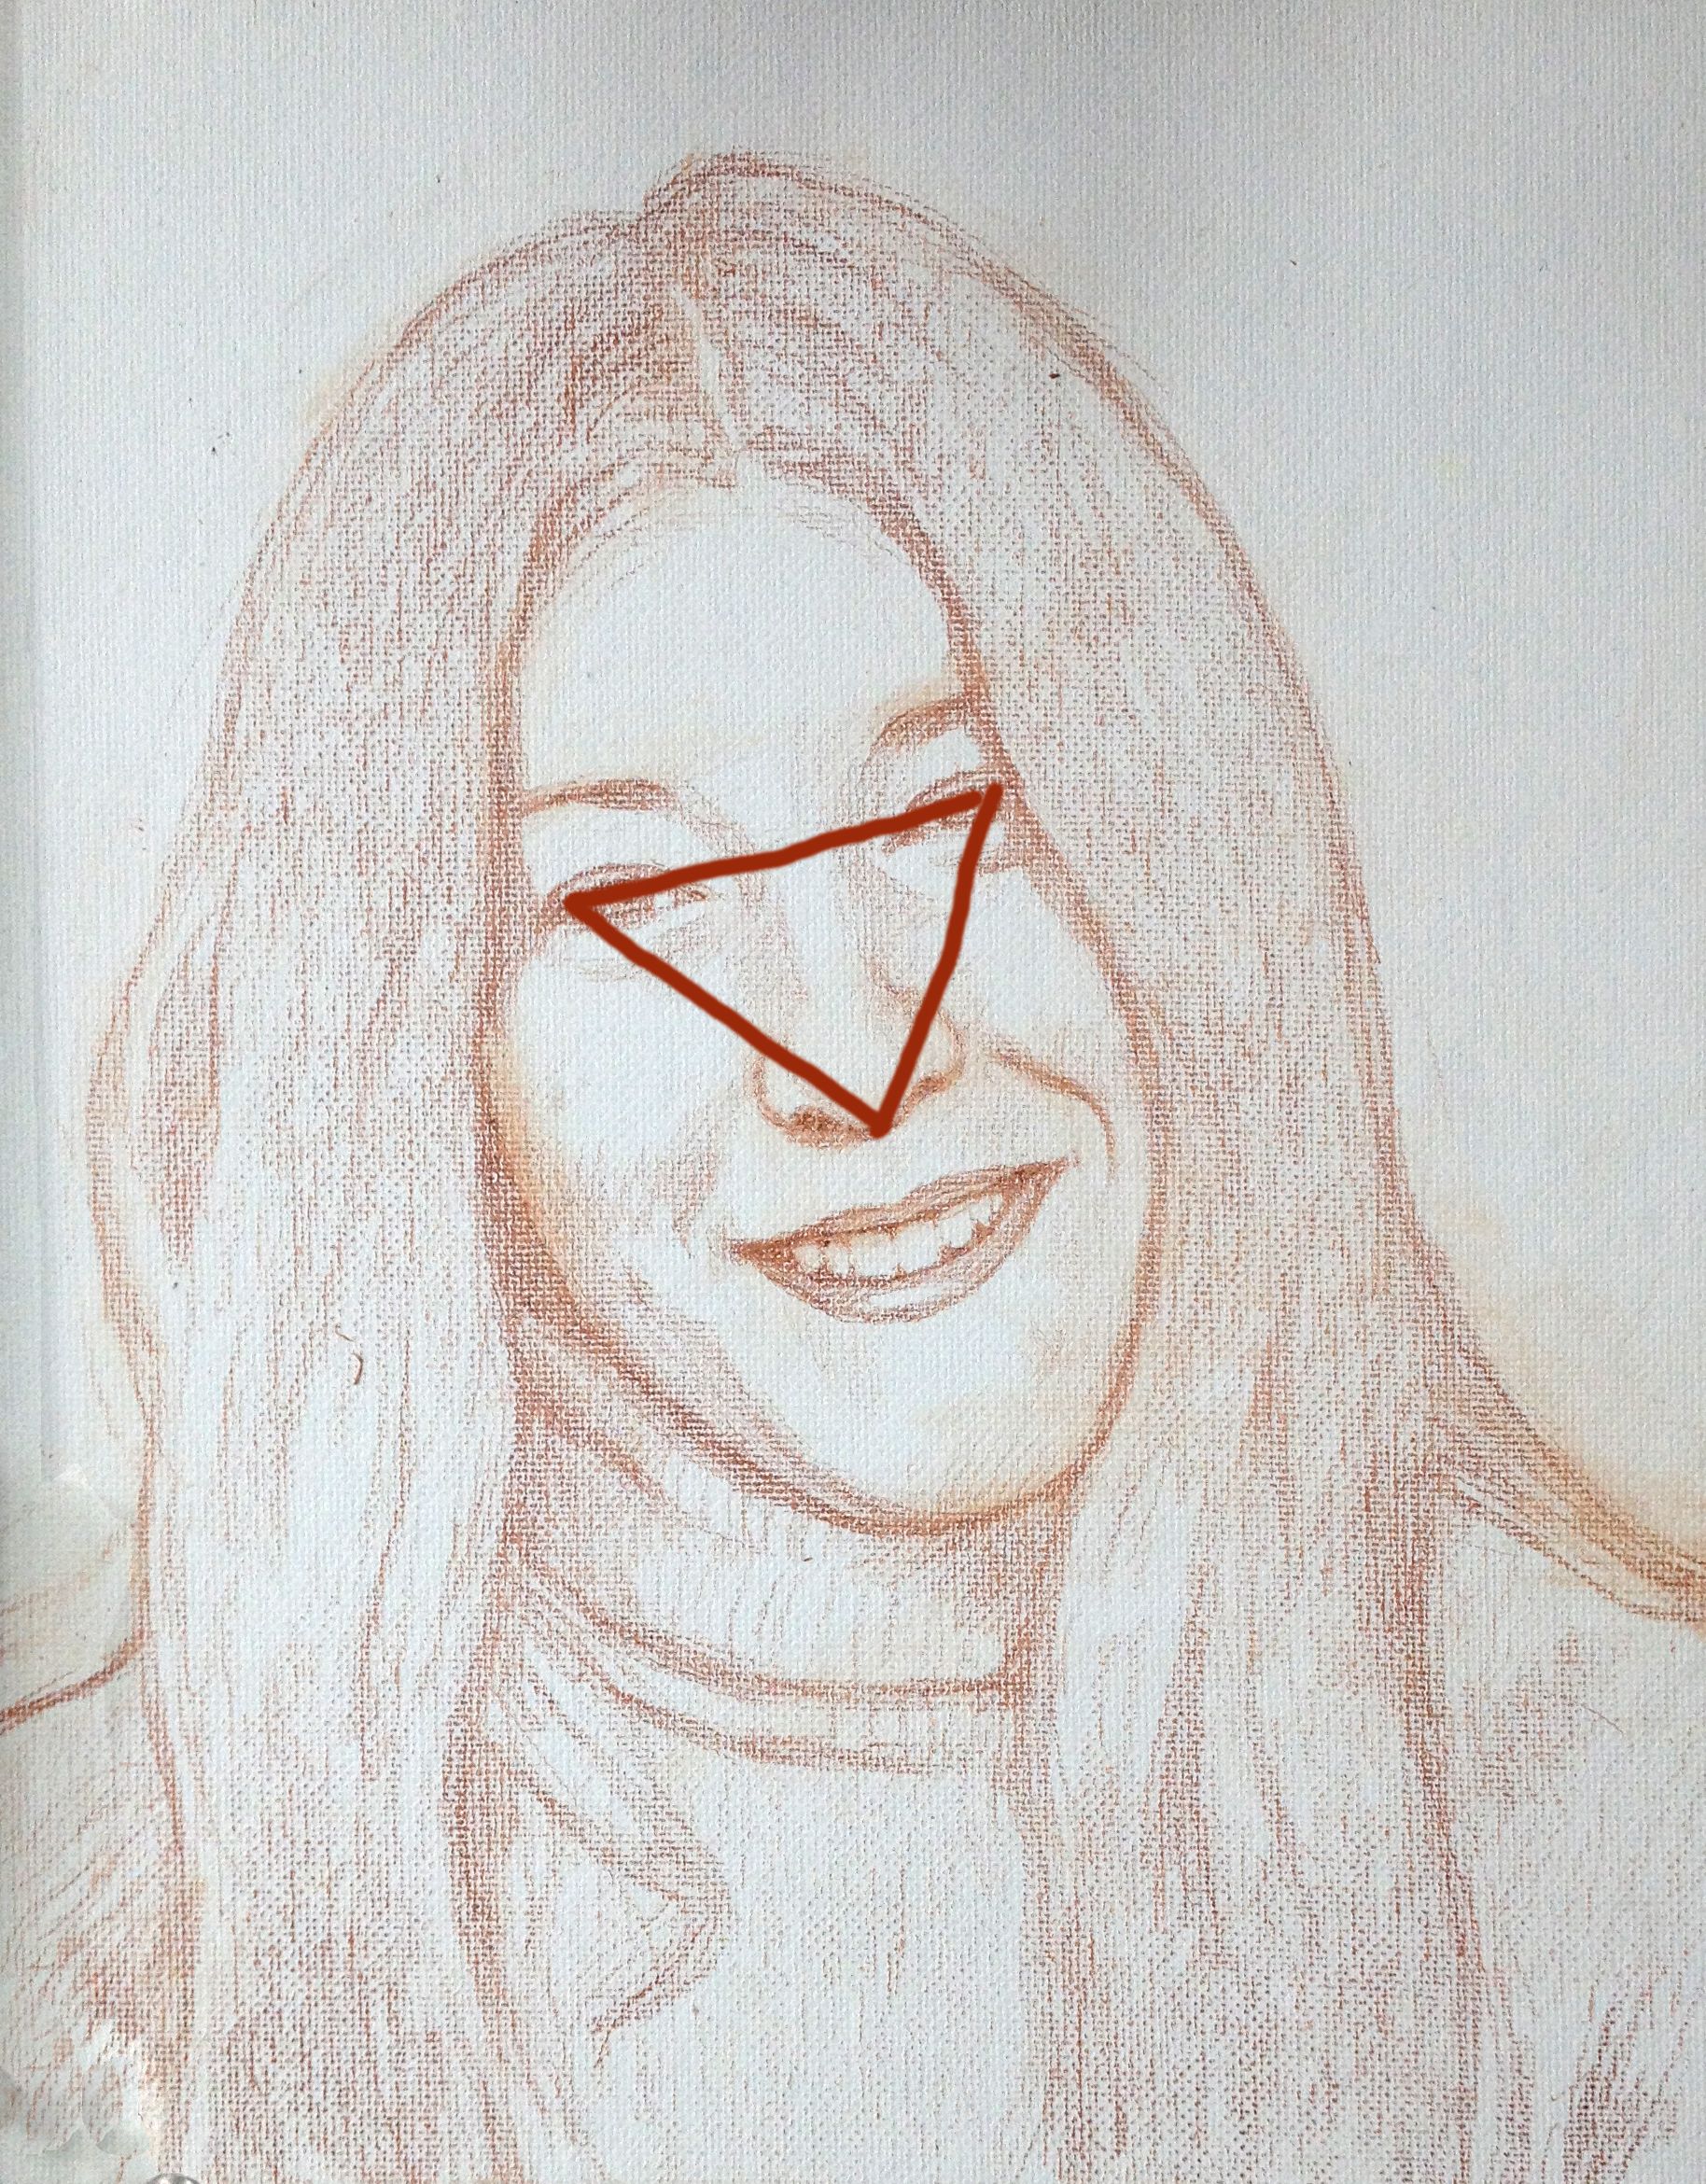
I am not saying to draw a triangle on your sketch. Just use the concept to see that spacial relationship between the eyes and the nose and draw it accurately.
Notice the particular shape of the nose and nostrils and draw it in. Are the nostrils prominent or obscured? Is the nose wide or skinny?
Then, move down to the mouth. You’ll want to just get the overall shape. Here’s some rules of thumb for drawing the mouth…
-The top lip is usually thinner than the bottom lip
-When smiling, the edges of the mouth usually line up with the middle of the eyes
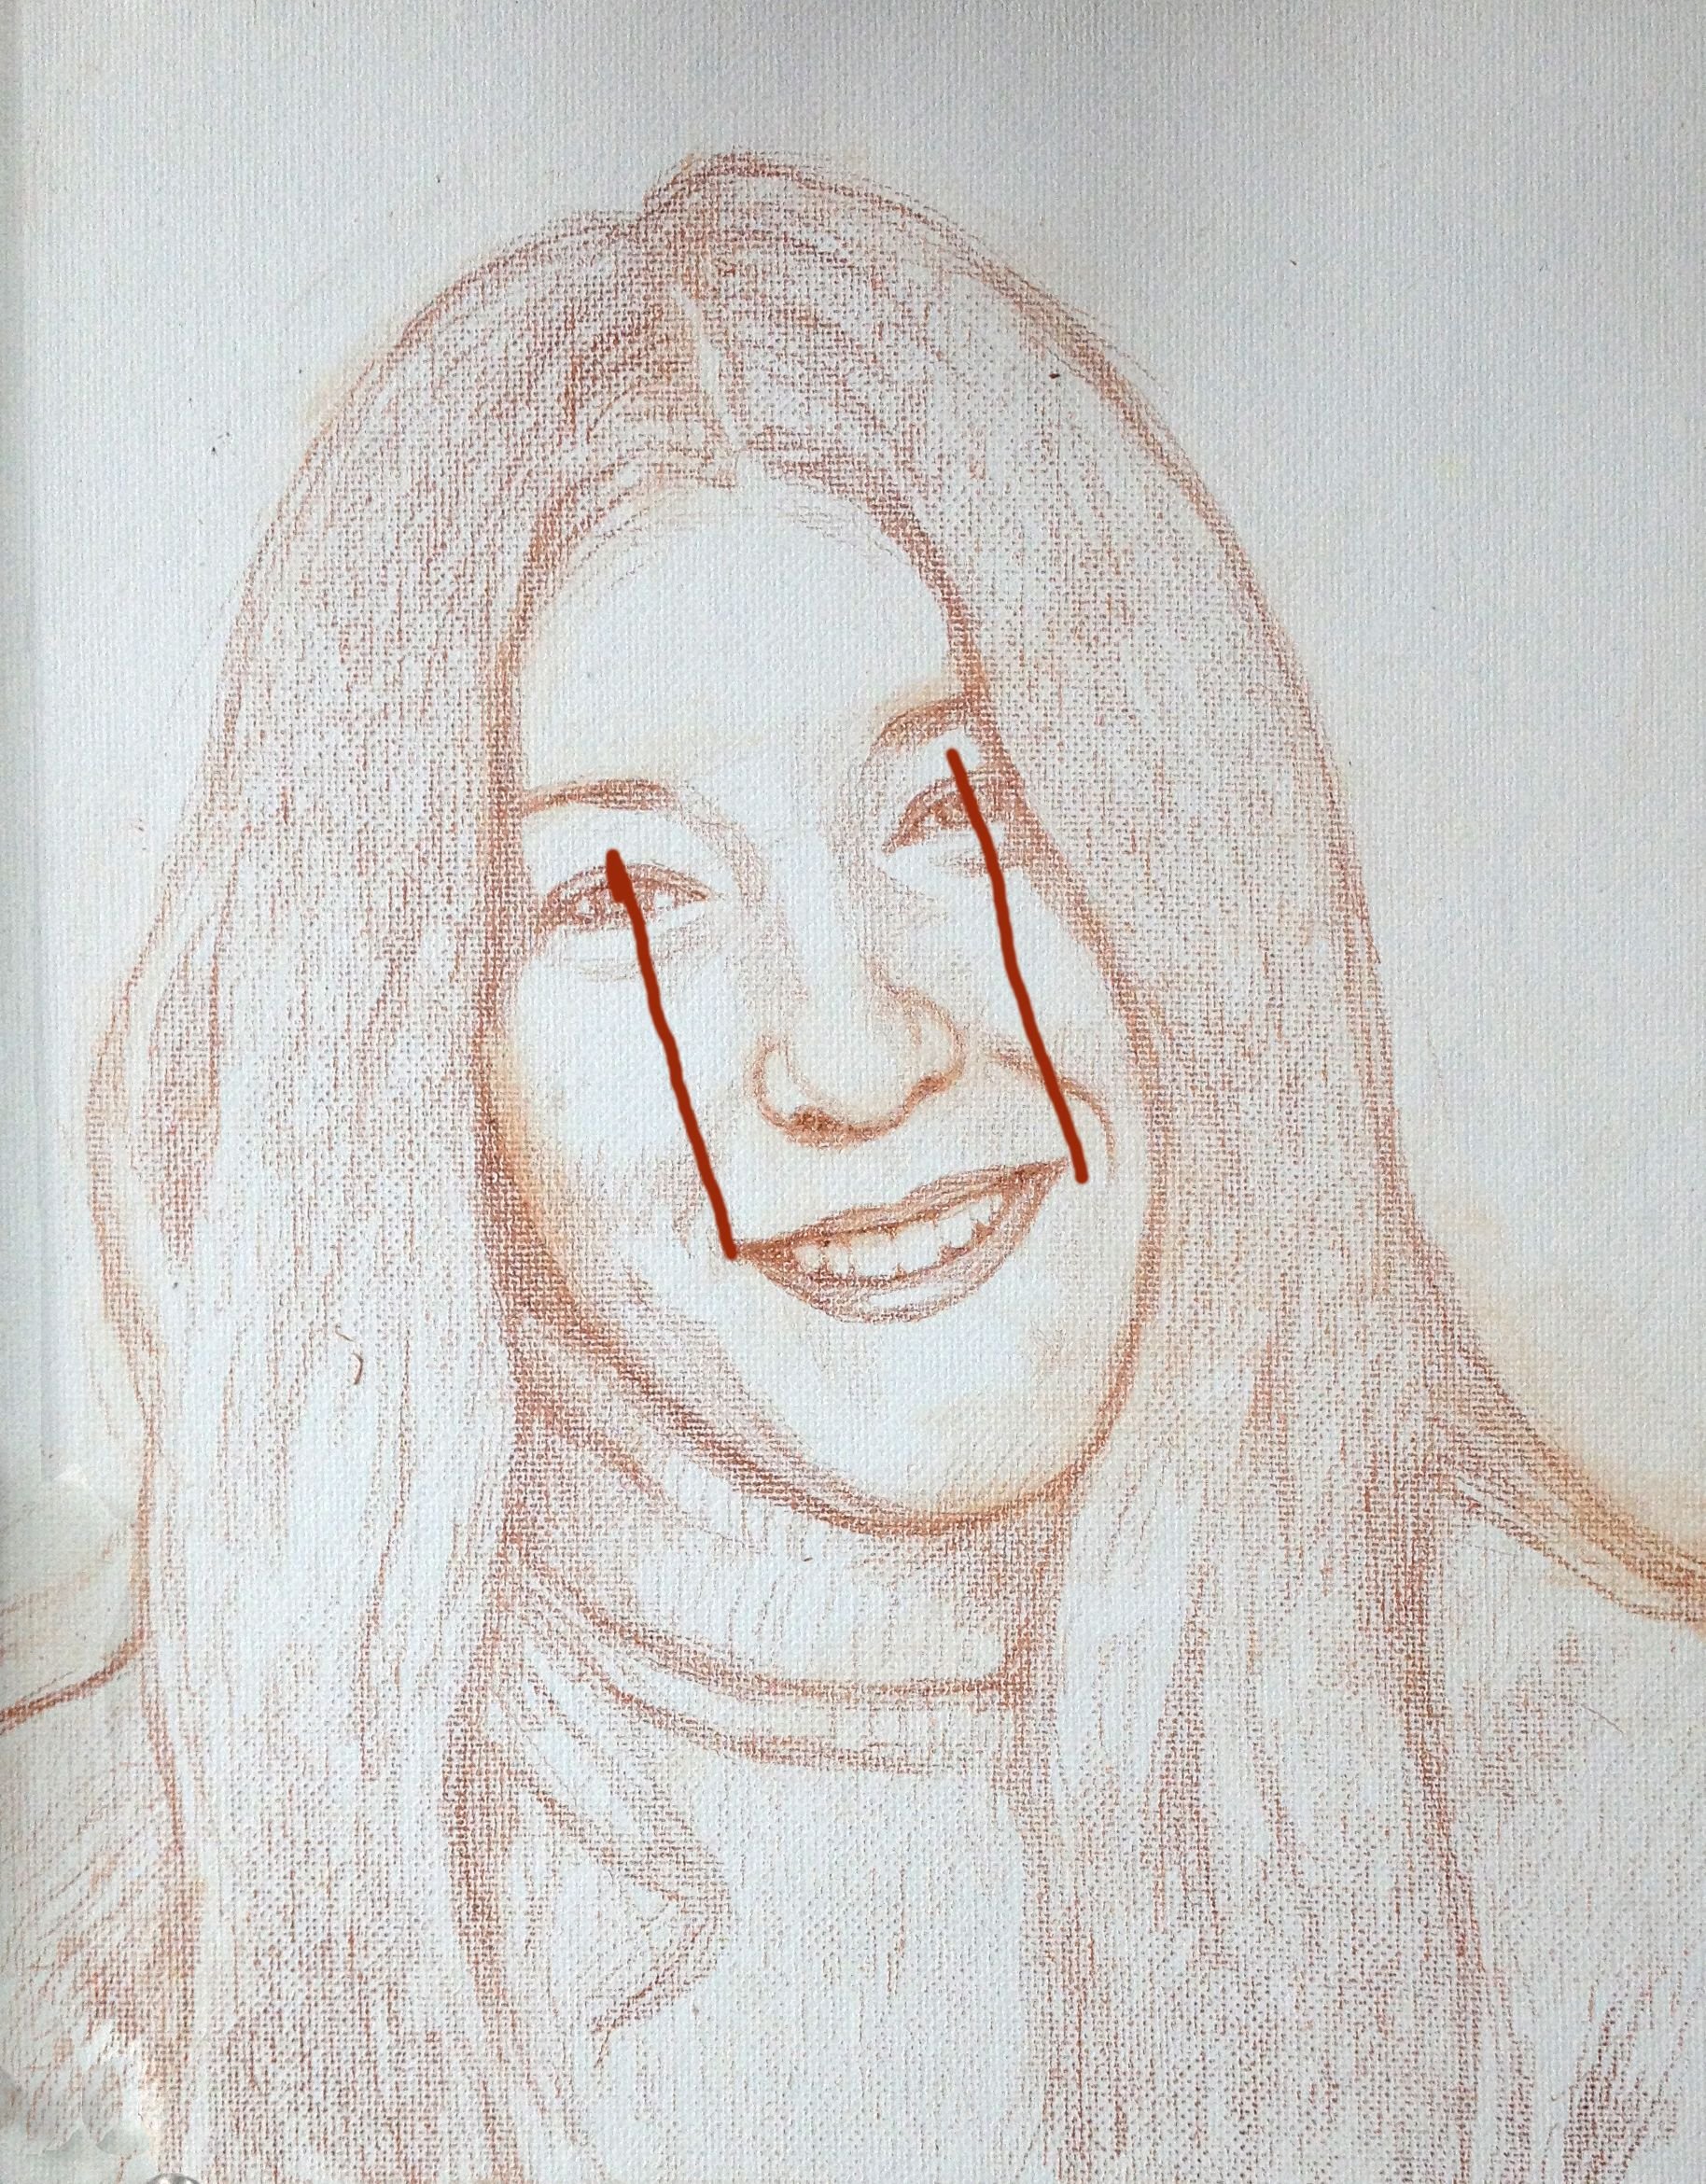
-Don’t draw the teeth in too prominently. Just suggest them. Remember that the two front teeth are larger than the rest. -The bottom teeth, if showing, are slightly more than 1/2 the width of the top.

Step 3: Redefining the Facial Features
In this step, you will want to go over everything–the eyes, nose, and mouth: making sure your shapes are accurate. The overall size and proportions should be mostly locked in by this point. So what you’ll want to do is make sure the shapes on all the features match what you see in your reference photo.
Continue to ask yourself some of the questions in the previous step as you refine. And look at your reference photo 50% of the time to make sure you’re drawing what you see, instead of what you think you see!

Step 4: Shading in
Maybe it seems redundant to shade in during a sketch, but I find it very helpful. We don’t see any resting objects in this three dimensional world as separated by line.
No.
It’s the contrast between value and color that tells us where an object begins or ends.
So, line is great for plotting composition and initial shape of features, but it is not useful for actually conveying a three-dimensional form on a two dimensional surface.
Which is why I like to shade in my sketches.
Shading will tell you how puffy a cheek is for example. Or how much a nose protrudes outward. Or how small a chin may be. And if you can capture that in the sketch stage (without too much fuss) it will really help you in the painting stage.
The heavy lifting will be done for you. All you’ll have to do in the painting stage is darken those shadows and add more nuances to tie them together. And of course, add color information!
I use the side of my pencil to block in the shadows in large areas. For smaller areas, I’ll use the tip of the pencil.

Step 5: Final Touches
The portrait sketch should be looking almost done at this point. Basically, you just want to go over everything, and make sure all minute proportions and shapes are accurate. The BIG proportions should be dialed in by now.
This step should take just a few minutes.
Keep in mind, you won’t get the sketch perfect. There may be a few areas that are getting hard to erase because you’ve drawn over the area so many times.
That’s OK.
Many small mistakes can be corrected in the painting stage. As long as you have everything close, you’ll be fine.

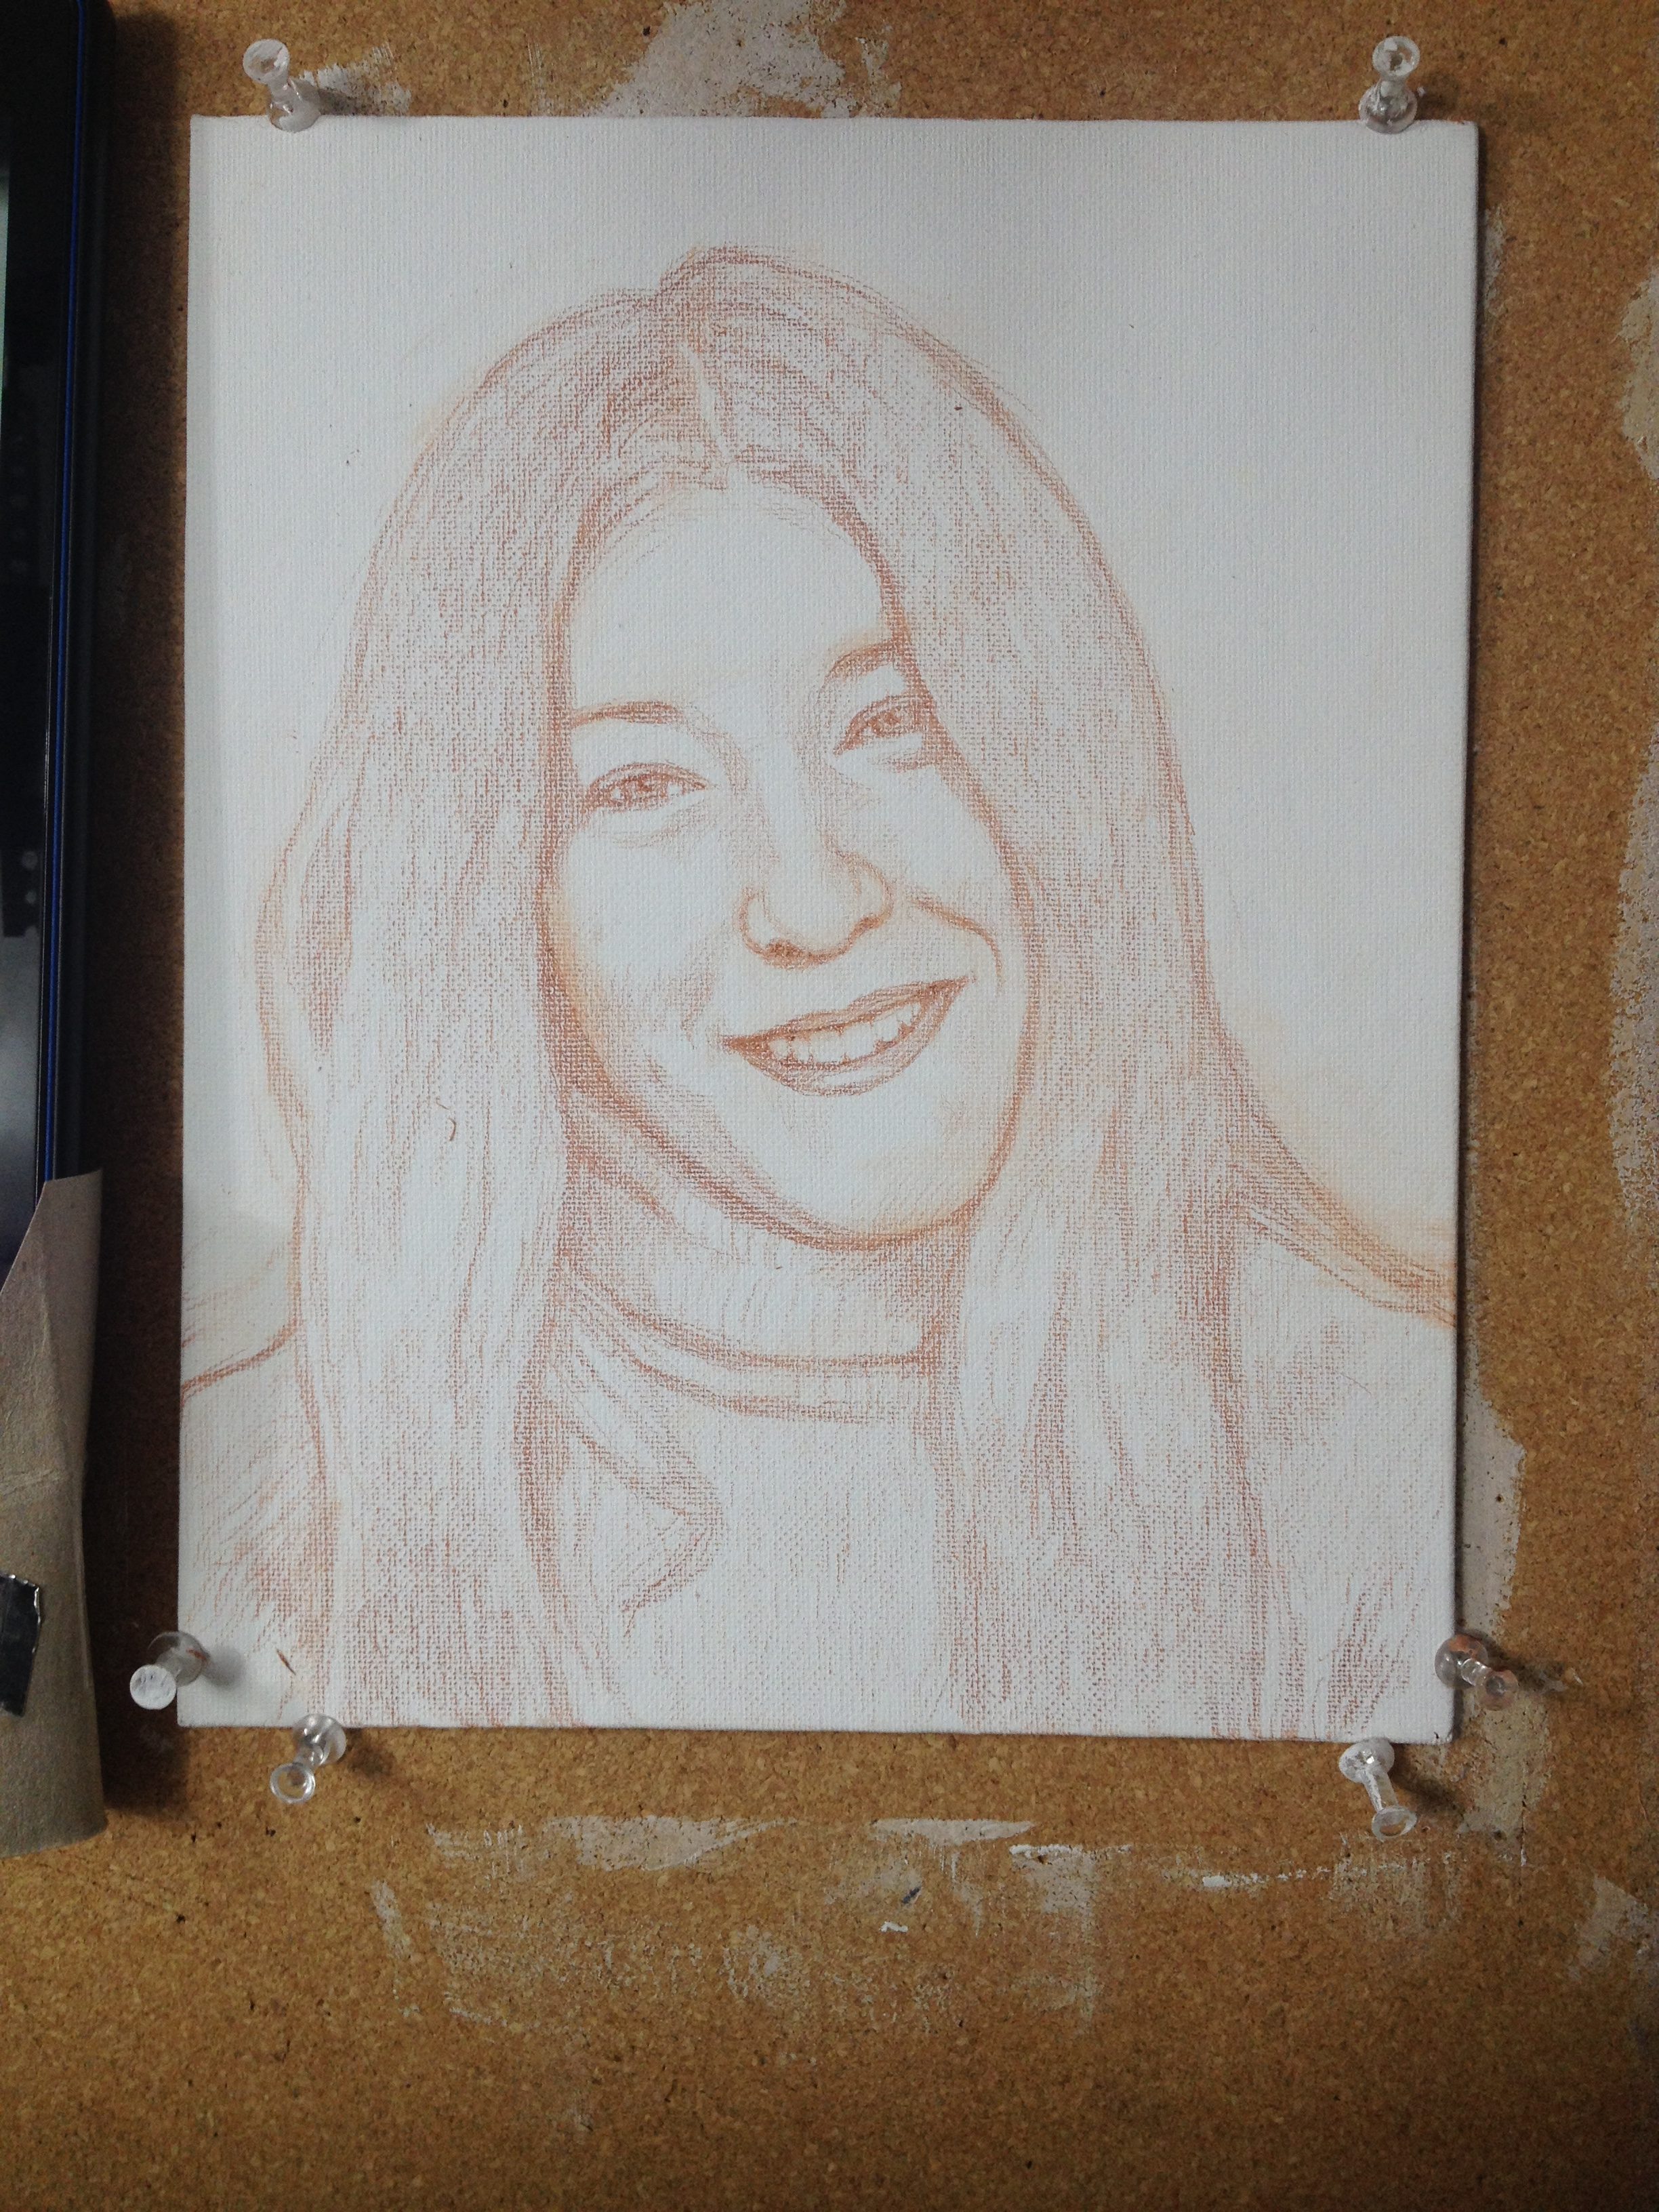
Once the drawing is done, you can step back and look at it from a distance just to make sure you have the likeness captured close enough. If so, you will have a good foundation to begin your portrait.
LEARN MORE
- How to Paint Foliage Using the Acrylic Glazing Technique
- How to Trace for an Accurate Portrait Sketch
- How to Paint Realistic Eyes in Your Acrylic Portrait
- How to Add Raw Umber Dark & Ultramarine Blue to Your Portrait
- How to Make Your Own Raw Umber Dark
- How to Paint Realistic Trees & Grass in Your Acrylic
- How to Block In Skin Tone Values Using Glazing Technique
- How to Paint Vibrant Reds in Your Acrylic Portrait
- How to Glaze Background Colors & More Acrylic Portrait
- How to Paint White Clothing in Your Acrylic Portrait
- How to Easily Transition from a Sketch to a Painting
- How to Block In Shading & Skin Tones in Your Acrylic
- How to Build Up Color on Acrylic Pet Portrait
- How to Build Up Form on Clothing with Acrylic
- How to Paint Dark Clothing Using Acrylic Glazing Technique
- How to Paint a 24 x 30 Acrylic With 30 People
- How to Do Smooth Shading with Acrylic
- How to Sketch an Acrylic Portrait with a Grid
Read more about how to paint a portrait that you can surely be proud of!
Have a blessed day,

P.S. Did you find this post helpful or encouraging? If so, send it on ahead! Let others know with the share buttons below. I’d love to hear your comments. Thank you so much! Also, do you have a question on acrylic portrait painting you’d like answered? Let me know, and I’d be happy to help!
