- You are here:
- Home »
- Blog »
- Video Tutorial »
- How to Paint Realistic Hair in Acrylic Portrait

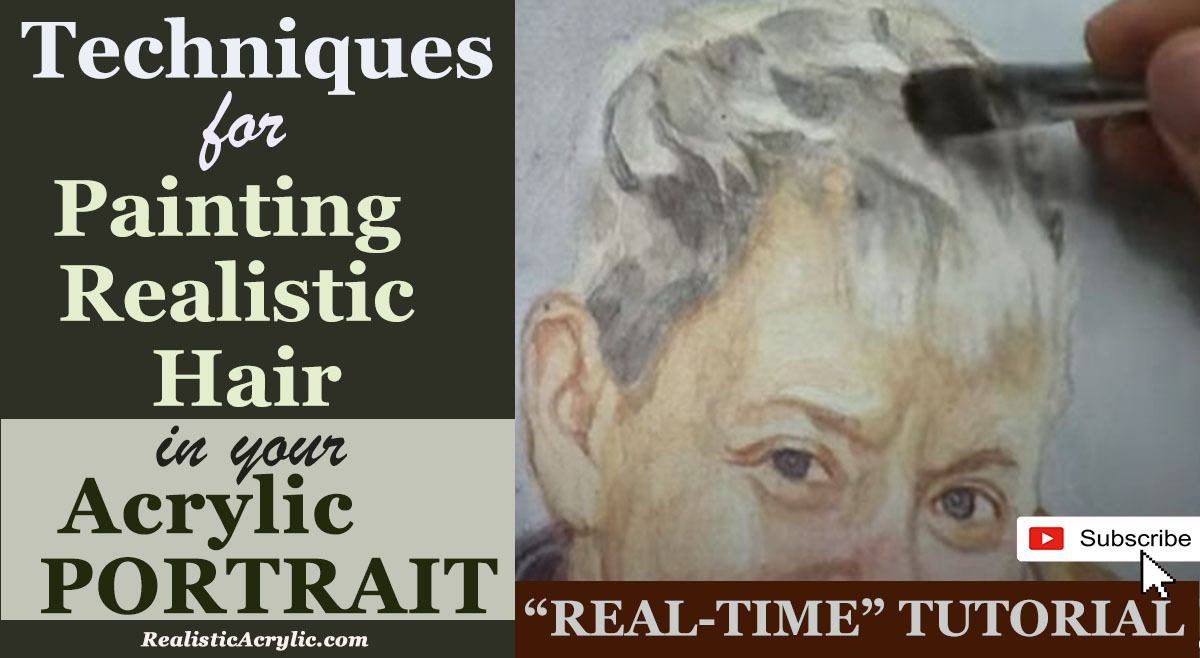
How to Paint Realistic Hair in Acrylic Portrait
Creating lifelike hair in acrylic portraits by using simple layering and glazing techniques.
Creating realistic hair in acrylic portraits can be challenging for many artists. However, with a few foundational techniques like glazing, layering, and understanding value shapes, the task becomes much more manageable. In this guide, I’ll walk you through the step-by-step process on how to paint realistic hair in an acrylic portrait, focusing on how to build depth, enhance vibrance, and add nuances through layering.

1. Understanding Glazing for Realism
The glazing technique is an excellent way to create depth, vibrance, and smooth transitions in acrylic paintings. It allows the artist to build color slowly, using thin layers of semi-transparent paint to adjust tones and values. When light shines through these layers, the colors appear richer, resembling the look of oil paintings.
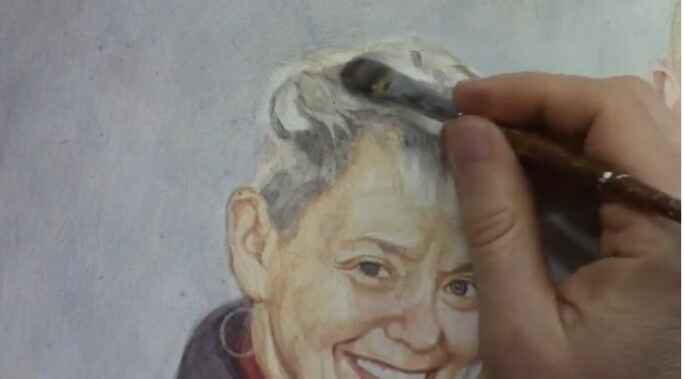
For this portrait of a couple and their cat, I used this method extensively to paint their hair. The first step is to establish a light sketch on the canvas. Then, using multiple thin layers of paint, I gradually build up the color and value of the hair, which creates the illusion of volume and movement.
Tip:
Use a matte medium with your acrylic paint to make it more fluid without diluting the color too much, unlike water.
2. Layering and Building Gradually
Think of painting hair as similar to developing a photograph each layer adds more clarity. When painting hair, you don’t have to finish one section entirely before moving on. Instead, build the entire hair section up gradually with layers. This approach allows you to create smoother transitions between light and shadow, which is key to making the hair look realistic.
In the example of this painting, I began by blocking in mid-tone values, using a combination of burnt sienna, ultramarine blue, and raw umber. The dark tones in the hair were added in stages, with lighter highlights being reserved for later layers.
Tip:
Don’t be afraid to layer over your previous work. Acrylics dry quickly, making them ideal for building layers that add depth and realism.
3. Breaking Hair Down Into Shapes
One of the biggest challenges artists face when painting hair is getting overwhelmed by the fine details. Instead of trying to capture every single strand, think of the hair as a collection of abstract shapes. These shapes represent the shadows, mid-tones, and highlights within the hair.
As a result of focusing on these larger forms, you can create a more structured and realistic base. Because in this video, I demonstrate how to break down the hair into different value shapes, comparing them to geographical features like states and continents. This method helps simplify the process, making the task of painting hair less daunting.
Tip:
Don’t paint hair as individual strands. Instead, focus on grouping them into sections that follow the flow of the hairstyle.
4. Darkening and Adding Richness
Once the base shapes of the hair are laid out, the next step is to start adding depth by darkening certain areas. In this case, I used a mix of raw umber and ultramarine blue to darken the upper sections of the hair, creating contrast against the lighter highlights. Then the darker areas serve to define the shape of the hair, giving it a three-dimensional appearance.
The richness and depth of the hair are enhanced by applying glazes of semi-transparent paint. Then the glazing technique ensures that the darker tones blend seamlessly with the lighter ones, avoiding harsh transitions.
Tip:
Use a filbert brush to help blend the paint smoothly, especially when working on transitions between light and shadow.
5. Adding Highlights and Nuances
Lastly, the final step is to add the highlights and small nuances that bring the hair to life. Because highlights should be placed strategically to mimic the way light interacts with the hair. In this portrait, I used a small round brush to carefully apply titanium white mixed with a bit of yellow to the lighter sections of the hair. These highlights are what give the hair its shine and texture.
Tip:
Apply highlights sparingly and blend them gently into the surrounding areas to avoid a stark, unnatural look.
6. Creating Depth Through Value Shapes
An important concept to remember when painting hair is that it’s all about value shapes. Because value refers to the lightness or darkness of a color, and by using a range of values, you can create depth and form. In the painting, the hair was broken down into sections of dark, mid-tone, and light values, much like a map with different regions. Each value shape contributes to the overall structure of the hair, making it appear more realistic.
Tip:
Think of value shapes as the backbone of your painting. They give structure and guide the placement of details like highlights and shadows.
Conclusion
Painting realistic hair in acrylic portraits may seem challenging, but by following these techniques glazing, layering, and focusing on value shapes you can achieve beautiful, lifelike results. Remember to approach the task patiently, building up the hair gradually through multiple layers, and breaking the complexity of the hair into manageable shapes.
Because by practicing these methods, you’ll be able to create hair that looks natural and three dimensional in your portraits. Then, with time and dedication, the process will become second nature, and you’ll find joy in bringing your acrylic portraits to life.
If you found this guide helpful and would like to learn more about sketching or painting techniques, visit realisticacrylic.com for more tutorials and check out my free gift for you here.
- Adding highlights to your acrylic painting
- 5 Excellent Reasons to Use Aluminum Foil
- Paint Realistic Wrinkles in Acrylic
- Painting Clothing in an Acrylic Portrait
- Paint a Cloudy Sky Acrylic
- How to add Semi-Opaque Highlights
- How to Enhance the Contrast in Your Acrylic
- How to Add Glaze to Your Acrylic Painting
- Paint Realistic Reflections on Eyeglasses in an Acrylic Portrait
- Build Up Depth on Your Acrylic Portrait Backgrounds
- How Do You Do Layers With the Glazing Technique?
- Learn How to Paint Wrinkles in Acrylic
Read more about how to paint a portrait that you can surely be proud of!
I’d love to hear your thoughts on this video. Please share it with your friends and family. Let me know if you have any further questions. I’ll greatly help you.
If you’d like to learn more, sign up for my free email tips and video class today.
Learn How to Paint Acrylic Portraits With My Free Mini-Video Course!
Thank you so much for taking the time to read this tutorial and watch the video. That means a lot to me. I hope you find it very helpful in your portrait painting.
Yours for Better Portraits,

P.S. Did you find this post helpful or encouraging? If so, send it on ahead! Let others know with the share buttons below. I’d love to hear your comments. Thank you so much! Also, do you have a question on acrylic portrait painting you’d like answered? Let me know, and I’d be happy to help!
