- You are here:
- Home »
- Blog »
- Video Tutorial »
- How to Sketch Book Cover Illustration

How to Sketch Book Cover Illustration
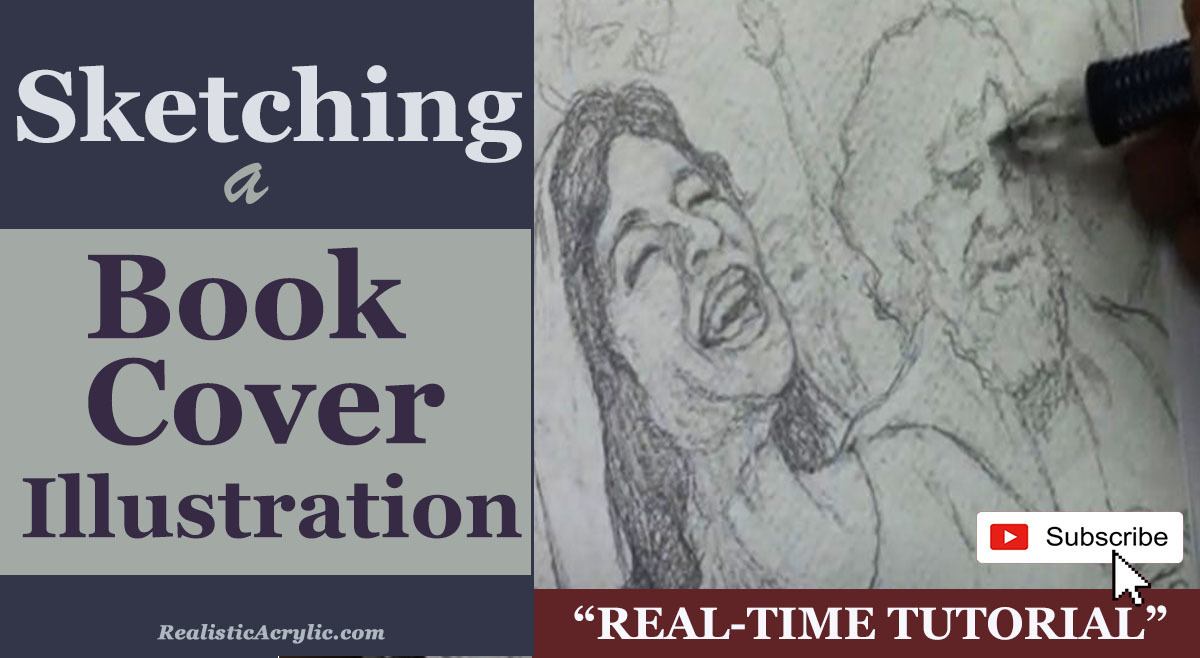
I’ll show you a sketching book cover illustration.
When creating a sketch for a book cover illustration it is a rewarding and meticulous process that blends creativity with technical skill. In this tutorial, I’ll walk through the steps of sketching a book cover illustration for a Bible commentary, focusing on capturing emotion and detail in every stroke. By the end of this guide, you’ll have actionable techniques to apply to your own projects, whether you’re a beginner or an experienced artist.
In this example, we explore the sketching process for a cover that illustrates the Pentecostal movement from the Book of Acts. This moment depicts the disciples receiving the Holy Spirit, with dramatic expressions of joy and intensity. Let’s dive into the step-by-step process of creating this compelling piece of art.

Step 1: Conceptualizing the Scene
Before starting any sketch, it’s important to have a clear understanding of the subject matter. In this case, the illustration revolves around a significant biblical event, the arrival of the Holy Spirit during Pentecost, described in the Book of Acts. To capture this effectively:
- Research the event: Familiarize yourself with the story by reading the relevant biblical passages. Because this will help you grasp the mood and energy needed for your sketch.
- Determine the key emotions: The illustration should evoke excitement, awe, and spiritual reverence. These emotions will be conveyed through the expressions of the characters and their body language.
- Find reference images: Utilize online reference photos to help with anatomy, facial expressions, and positioning.
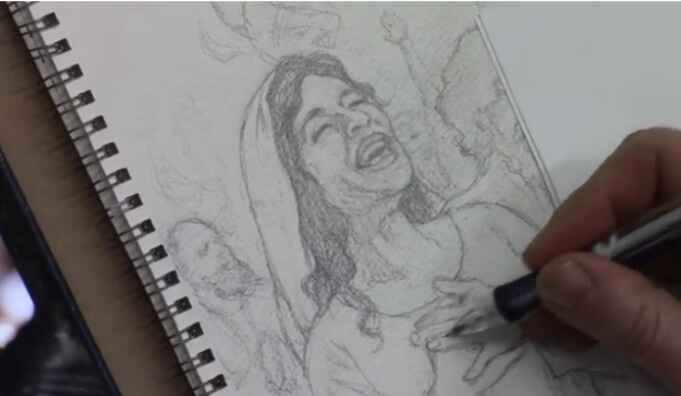
In this sketch, the focal point is a woman’s expression of joy, symbolizing the elation felt by the disciples as they received the Holy Spirit.
Step 2: Start with a Rough Sketch
The first stage of creating any illustration is a rough sketch to establish the composition. For this book cover, the sketch began by blocking in the figures and their general positions.
- Freehand drawing: Start by sketching freehand, focusing on the placement and proportion of the characters. This allows for flexibility as you adjust the positioning of different elements.
- Keep it loose: At this stage, don’t worry too much about details. Use light lines to outline the figures and the background. This will give you a basic framework to build on.
Tips for Freehand Sketching:
- Use loose, flowing strokes to keep the composition dynamic.
- Focus on proportions but don’t stress about perfect accuracy early on.
- Keep erasing and refining the composition as needed.
Step 3: Refining the Details
Once the rough sketch is laid out, it’s time to refine the characters and bring out the key details that will make your illustration pop. Because in this project, we will focuses on capturing facial expressions and hand positioning, which are critical for conveying emotion.
Facial Expressions and Hands:
- Faces: Pay special attention to the expressions on your characters’ faces. For this sketch, one figure’s face is drawn with joy, while another figure shows intensity through a furrowed brow and a praying posture.
- Hands: Hands are often one of the hardest parts to draw accurately, but they are essential in conveying emotion. Here, the woman has her hands on her chest, adding to the sense of awe, while another figure has clasped fingers, indicating deep prayer.
Refining these elements involves carefully erasing and reworking lines to get the right anatomy and expression. For example, the wrinkles around the eyes or the positioning of the fingers can greatly impact the emotional depth of the characters.
Technique for Adding Expression:
- Use reference images: Don’t hesitate to consult images to ensure your anatomy and expressions are realistic.
- Focus on the eyes: Eyes are windows to the soul, so ensure they capture the right emotion.
- Subtle shading: Add light shading to emphasize features such as wrinkles, folds, or muscle tension in the hands.
Step 4: Working with Watercolor Paper
In this illustration, watercolor paper was used as the base for the sketch. This surface provides a bit more texture and grip than traditional drawing paper, making it ideal for illustrations that will later be painted.
Benefits of Watercolor Paper for Sketching:
- The texture holds pencil marks well, allowing for smoother shading and erasing.
- It’s sturdy enough to withstand multiple layers of detail, which is beneficial when transitioning from sketching to painting.
Step 5: Final Adjustments and Preparing for Paint
At this point in the sketch, the major elements of the illustration are in place. The characters are well-formed, and their emotions are clearly conveyed through their body language and expressions. However, there are always small adjustments that can be made to improve the sketch before painting.
Making Final Adjustments:
- Shadows and depth: Add subtle shading to the clothing and faces to create depth. For instance, a shadow under the man’s beard gives his face more structure.
- Refine small details: Pay attention to small details like the lines of the fingers or the folds in clothing. Then these small adjustments can make a big difference in the realism of the sketch.
Tips for Transitioning to Paint:
- Ensure that the sketch is as clean and detailed as possible. This will serve as the foundation for the painting stage.
- Consider how your paint medium (whether watercolor, acrylic, or oil) will interact with the pencil lines. Light sketching can easily be painted over, while heavier pencil marks might need to be minimized.
Conclusion
Sketching a book cover illustration requires both creativity and attention to detail. Because by focusing on freehand drawing, refining expressions, and making adjustments based on reference photos, you can create a compelling and emotionally charged sketch. In this project, the sketch captures the pivotal moment of Pentecost, filled with joy and intensity, and lays a solid foundation for a beautiful painted illustration.
If you found this guide helpful and would like to learn more about sketching or painting techniques, visit realisticacrylic.com for more tutorials and check out my free gift for you here
- Adding highlights to your acrylic painting
- 5 Excellent Reasons to Use Aluminum Foil
- Paint Realistic Wrinkles in Acrylic
- Painting Clothing in an Acrylic Portrait
- Paint a Cloudy Sky Acrylic
- How to add Semi-Opaque Highlights
- How to Enhance the Contrast in Your Acrylic
- How to Add Glaze to Your Acrylic Painting
- Paint Realistic Reflections on Eyeglasses in an Acrylic Portrait
- Build Up Depth on Your Acrylic Portrait Backgrounds
- How Do You Do Layers With the Glazing Technique?
- Learn How to Paint Wrinkles in Acrylic
Read more about how to paint a portrait that you can surely be proud of!
I’d love to hear your thoughts on this video. Please share it with your friends and family. Let me know if you have any further questions. I’ll greatly help you.
If you’d like to learn more, sign up for my free email tips and video class today.
Learn How to Paint Acrylic Portraits With My Free Mini-Video Course!
Thank you so much for taking the time to read this tutorial and watch the video. That means a lot to me. I hope you find it very helpful in your portrait painting.
Yours for Better Portraits,

P.S. Did you find this post helpful or encouraging? If so, send it on ahead! Let others know with the share buttons below. I’d love to hear your comments. Thank you so much! Also, do you have a question on acrylic portrait painting you’d like answered? Let me know, and I’d be happy to help!
