- You are here:
- Home »
- Blog »
- Video Tutorial »
- How to Paint a Portrait Outside: Glazing Technique

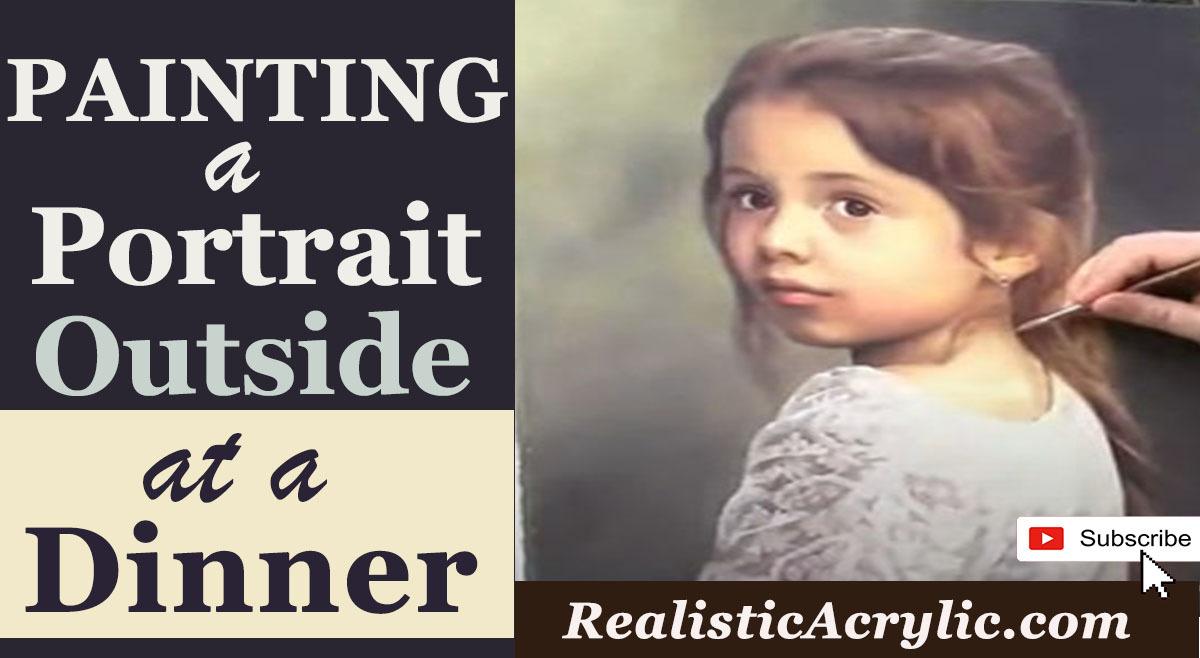
How to Paint a Portrait Outside: Glazing Technique
Master the art of outdoor portrait painting using glazing techniques for depth and realism
Outdoor portrait painting can be a rewarding experience that connects artists with nature. The beauty of the natural light offers a unique perspective that can enhance the realism of your artwork. One effective technique to achieve depth and vibrancy in your portraits is glazing. This method involves applying thin layers of transparent color over dried paint, allowing the underlying layers to shine through.
Understanding Glazing Techniques
Definition of Glazing
Glazing is a painting technique where transparent layers of paint are applied over a dried base layer. So this process creates a luminous effect, enhancing colors and adding depth to your artwork.
How Glazing Enhances Color and Depth
By using glazing, so artists can build up complex colors and tones gradually. The layering effect allows for subtle changes in color, making the portrait appear more lifelike. As each layer dries, the artist can assess the depth and adjust accordingly.
Essential Materials
Before starting your outdoor portrait, gather the following materials:
Recommended Colors for Glazing
- Raw Umber Dark: Ideal for adding depth and shadow.
- Titanium White: Provides opacity and brightness.
- Burnt Sienna: Useful for warm skin tones and shading.
- Alizarine Crimson: Adds richness to the color palette.
Tools Required for Outdoor Painting
- Canvas or panel
- Palette for mixing colors
- Brushes (various sizes for different applications)
- Rags for cleaning brushes
- Easel for stability
- Water container for cleaning brushes
Step-by-Step Process
Preparing Your Canvas
Then start with a prepared canvas. Make sure it is dry before applying any paint. Because this preparation allows for better adhesion and a smoother finish.
Layering Colors Using Glazes
- Apply the Base Layer: Begin with an initial layer of paint to establish your color base. This layer can be more opaque.
- Mix Colors: Create a glaze by mixing raw umber dark with titanium white to form a more opaque mixture. Then this will be used to darken specific areas.
- Test the Colors: Before applying, test the mixed colors on a rag to ensure the desired tone and opacity.
Adding Depth with Shadows and Highlights
- Identify Areas for Glazing: Look for areas that need more depth, such as shadows under the chin or around the neck where the hair casts a shadow.
- Apply Glaze: Using a soft brush, apply the glaze over the selected areas. Allow the paint to dry for a few minutes before assessing the color.
- Layering: After the initial glaze dries, apply another layer of color, gradually building depth.
Tips for Success
- Working with Natural Light: Pay attention to how natural light changes throughout the day. Because this can affect the appearance of colors and shadows in your painting.
- Adjusting Colors for Outdoor Conditions: Outdoor lighting can vary, so adjust your palette accordingly. Warmer colors may be needed to balance the coolness of shade or overcast skies.
- Patience in Layering: Take your time with each layer. Allow glazes to dry fully before applying the next layer to prevent mudding of colors.
Conclusion
In conclusion, glazing is a powerful technique for outdoor portrait painting that can add depth and luminosity to your work. Because by understanding how to layer colors effectively and adjust to natural light, artists can create stunning and realistic portraits. Whether painting from life or a reference photo, the practice of glazing will enhance your skills and results. So grab your materials, head outdoors, and enjoy the process of capturing the beauty around you.
If you’re looking for more instructional videos on how to improve your acrylic painting, visit www.realisticacrylic.com for more tutorials and check out my free courses here. .
- Adding highlights to your acrylic painting
- 5 Excellent Reasons to Use Aluminum Foil
- Paint Realistic Wrinkles in Acrylic
- Painting Clothing in an Acrylic Portrait
- Paint a Cloudy Sky Acrylic
- How to add Semi-Opaque Highlights
- How to Enhance the Contrast in Your Acrylic
- How to Add Glaze to Your Acrylic Painting
- Paint Realistic Reflections on Eyeglasses in an Acrylic Portrait
- Build Up Depth on Your Acrylic Portrait Backgrounds
- How Do You Do Layers With the Glazing Technique?
- Learn How to Paint Wrinkles in Acrylic
Read more about how to paint a portrait that you can surely be proud of!
I’d love to hear your thoughts on this video. Please share it with your friends and family. Let me know if you have any further questions. I’ll greatly help you.
If you’d like to learn more, sign up for my free email tips and video class today.
Learn How to Paint Acrylic Portraits With My Free Mini-Video Course!
Thank you so much for taking the time to read this tutorial and watch the video. That means a lot to me. I hope you find it very helpful in your portrait painting.
Yours for Better Portraits,

P.S. Did you find this post helpful or encouraging? If so, send it on ahead! Let others know with the share buttons below. I’d love to hear your comments. Thank you so much! Also, do you have a question on acrylic portrait painting you’d like answered? Let me know, and I’d be happy to help!
