- You are here:
- Home »
- Blog »
- Video Tutorial »
- How to Use Cooler Colors for Clothing Shadow

How to Use Cooler Colors for Clothing Shadow
Learning clothing shadows: Cool Color techniques for realism in acrylic portraits
Introduction: Enhancing Realism with Cooler Colors
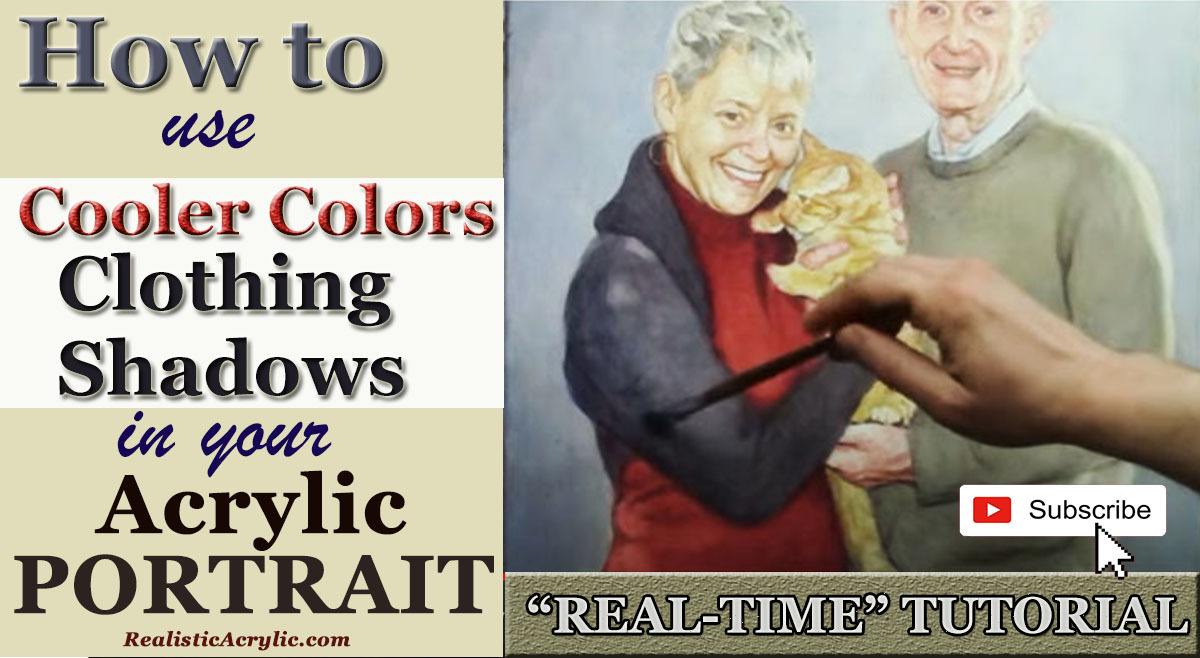
In acrylic portrait painting, shadows play a pivotal role in creating depth and realism. One technique to elevate your work is using cooler colors for clothing shadow, an approach that may not be immediately obvious. By strategically incorporating cooler tones like blue and gray instead of relying solely on darker shades of the clothing color, you can achieve a subtle and realistic effect. In this tutorial, I’ll walk you through the process of applying cooler colors in clothing shadows using glazing and dry brush techniques to bring your painting to life.
Why Cooler Colors Work for Shadows
The instinct for many artists might be to darken the shadows on clothing with black or a deeper shade of the same color. However, this often leads to overly vibrant or unnatural results. By using cooler tones, such as blue or blue-gray, the shadowed areas can maintain their depth without overpowering the fabric’s natural color.
Key Tip:
When transitioning from light to shadow in your painting, cooler colors help tone down the vibrancy of the clothing while maintaining subtle value shifts.

Materials and Colors Used
For this technique, you’ll need a few specific tools and colors:
- Ultramarine Blue: A rich blue tone that works well for creating cooler shadows.
- Raw Umber Dark: A dark brown that adds depth to the blue without overpowering it.
- Matte Medium: A transparent acrylic medium to thin the paint for glazing.
- Flat Brush: Ideal for applying layers of glazes.
- Dry Brush: Perfect for gently feathering in the colors.
By combining these materials, you’ll have the perfect mix to start creating cooler-toned shadows.
Step 1: Mixing the Right Colors
Firstly, is create the right blend of colors for your shadows. Because in the video, I demonstrate how to mix ultramarine blue with raw umber dark. This combination creates a bluish-gray tone that is subtle and cool enough for shadows but still harmonious with the warmer base colors of the clothing.
Process:
- Begin by adding a small amount of ultramarine blue to your palette.
- Mix in a touch of raw umber dark to reduce the brightness of the blue.
- Incorporate matte medium to make the mixture more translucent, ensuring that the shadow layers don’t become too opaque.
This bluish-gray tone will not only darken the shadowed areas but also cool down the intensity, giving the clothing a realistic sense of depth.
Technique Tip:
Always mix small amounts of color first and test it on a separate surface, such as a white card, to see how it interacts with the base layer before applying it to your painting.
Step 2: Applying the Glaze
The glazing is a technique in which the thin layers of translucent paint are applied over dry areas of the painting, then allowing the underlying colors to show through. As a result, it creates a smooth transition from light to shadow without harsh lines.
Process:
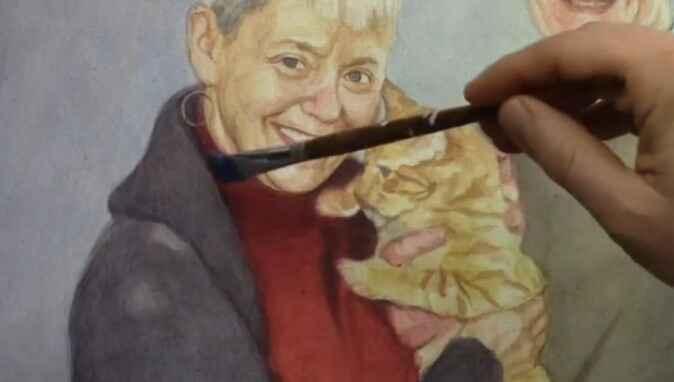
- With a flat brush, apply your blue-gray mixture onto the darker areas of the clothing.
- Start by gently glazing the shadowed sections beneath folds, arms, or under the chin.
- Gradually build up the layers, allowing each one to dry before applying the next.
- The glazing process allows you to control the level of darkness and coolness in the shadow while ensuring that the red or other base color remains visible underneath.
Why It Works: The matte medium makes the glaze translucent, so the original clothing color can still be seen through the shadow, adding depth and subtlety to your portrait.
Step 3: Dry Brush Technique for Soft Blending
After applying your glaze, your next step is to use a dry brush technique to softly blend the cooler shadow into the surrounding areas of the clothing. The dry brush technique is particularly effective for adding texture and blending transitions in fabrics.
Process:
- Lightly load your brush with the blue-gray mixture.
- Dab off excess paint on a paper towel to create a dry brush effect.
- Gently stroke the brush over the edges of the shadows, using quick, soft motions to blend the glaze seamlessly into the lighter areas.
- Continue to feather the paint, allowing the cooler shadow to naturally merge with the highlights of the clothing.
Key Tip: The dry brush method allows for smooth transitions without harsh lines, then mimicking the way light softly falls on fabric in real life.
Step 4: Adjusting for Depth and Nuance
As you build the layers and blend your cooler shadows, you may notice that some areas need more depth or subtle variation. Don’t hesitate to adjust your mixture by adding more raw umber dark if the blue becomes too overpowering.
Important Consideration:
Then shadows should appear less vibrant and cooler as they get darker. And then by adjusting the mixture to include more raw umber dark, you can deepen the shadow without making it too cool or overwhelming.
Creating Realistic Clothing Shadows on Multiple Colors
The beauty of this technique is its versatility. You can apply the same blue-gray glaze to multiple fabric colors. For example, in the video, I use it both on the woman’s red clothing and on a man’s shirt. It works just as effectively on lighter-colored fabric, adjusting the tones slightly with each application.
Because by using the same cooler glaze across different fabrics, you create consistency in the shadows, making the portrait appear cohesive and well-integrated.
Conclusion: Mastering Shadows with Cool Tones
When incorporating cooler colors for shadows on clothing in your acrylic portraits allows for greater realism and depth. Because by utilizing a blue-gray glaze and dry brush blending, you can create nuanced shadows that seamlessly integrate with the base color of the fabric. Whether you’re working on bright red clothing or more muted tones, cooler shadows offer the perfect solution for achieving lifelike contrast and depth.
If you’re looking for more instructional videos on how to improve your acrylic painting, visit www.realisticacrylic.com for more tutorials and check out my free courses here. .
- How to Paint Foliage Using the Acrylic Glazing Technique
- How to Trace for an Accurate Portrait Sketch
- How to Paint Realistic Eyes in Your Acrylic Portrait
- How to Add Raw Umber Dark & Ultramarine Blue to Your Portrait
- How to Make Your Own Raw Umber Dark
- How to Paint Realistic Trees & Grass in Your Acrylic
- How to Block In Skin Tone Values Using Glazing Technique
- How to Paint Vibrant Reds in Your Acrylic Portrait
- How to Glaze Background Colors & More Acrylic Portrait
- How to Paint White Clothing in Your Acrylic Portrait
- How to Easily Transition from a Sketch to a Painting
- How to Block In Shading & Skin Tones in Your Acrylic
- How to Build Up Color on Acrylic Pet Portrait
- How to Build Up Form on Clothing with Acrylic
- How to Paint Dark Clothing Using Acrylic Glazing Technique
- How to Paint a 24 x 30 Acrylic With 30 People
- How to Do Smooth Shading with Acrylic
- How to Sketch an Acrylic Portrait with a Grid
Read more about how to paint a portrait that you can surely be proud of!
I’d love to hear your thoughts on this video. Please share it with your friends and family. Let me know if you have any further questions. I’ll greatly help you.
If you’d like to learn more, sign up for my free email tips and video class today.
Learn How to Paint Acrylic Portraits With My Free Mini-Video Course!
Thank you so much for taking the time to read this tutorial and watch the video. That means a lot to me. I hope you find it very helpful in your portrait painting.
Yours for Better Portraits,

P.S. Did you find this post helpful or encouraging? If so, send it on ahead! Let others know with the share buttons below. I’d love to hear your comments. Thank you so much! Also, do you have a question on acrylic portrait painting you’d like answered? Let me know, and I’d be happy to help!
