- You are here:
- Home »
- Blog »
- Video Tutorial »
- How to Refine the Shape of Teeth in Your Acrylic Portrait

How to Refine the Shape of Teeth in Your Acrylic Portrait
Master the subtle art of refining teeth in your acrylic portraits for greater accuracy and lifelike results.
Introduction: Why Refining Teeth Matters in Portraiture
When capturing the likeness of a subject in portraiture can hinge on seemingly minor details. One such detail is the refinement of teeth. It may seem small, but accurately painting teeth, especially the bottom ridges, plays a critical role in rendering a realistic, lifelike portrait. Subtle nuances in the shape of the teeth can dramatically alter the facial expression and overall appearance of the subject.
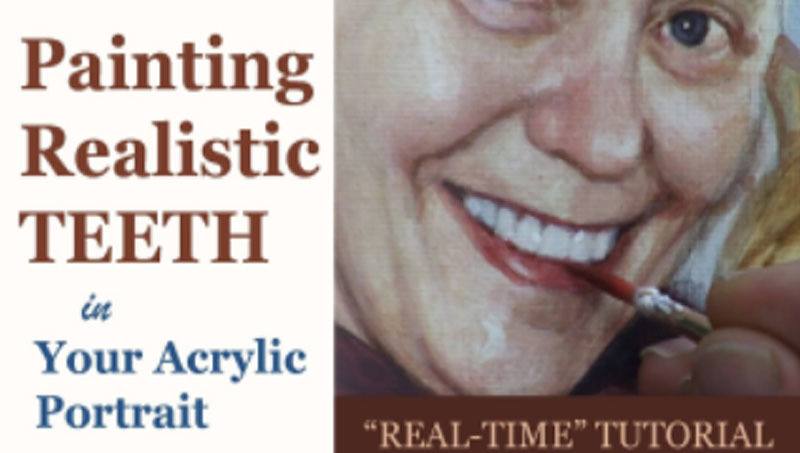
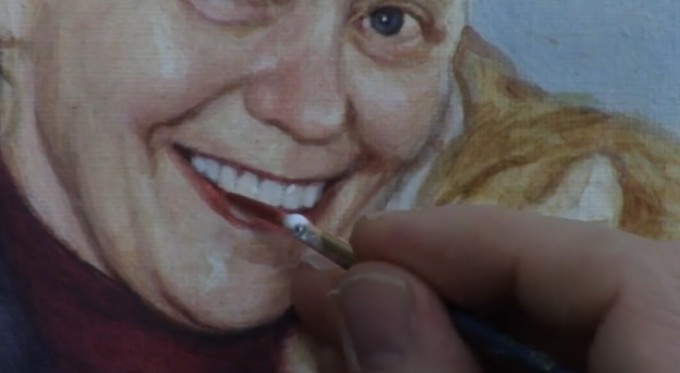
In this tutorial, you will learn how to refine the shape of teeth using acrylics. We’ll focus on the process of painting the subtle bumps on the bottom of the teeth, ensuring that your portraits achieve a more polished and authentic result.

Step 1: Analyzing the Reference Photo
Before picking up your brush, it’s important to thoroughly examine your reference photo. The shape and position of the teeth vary significantly from person to person, and replicating these unique traits is key to capturing the subject’s likeness.
Tip: Zoom in on your reference photo to observe the details of the teeth, especially the bottom edge where subtle bumps and curves may appear. This is where the separation between the teeth and the gums becomes more pronounced.
Technique: Keep the focus on how the light hits the edges of the teeth and gums, as this will guide you in applying shadows and highlights.
Step 2: Mixing the Right Colors
In this next phase, you’ll begin by mixing a base color that is slightly darker than the lip color to define the bottom edge of the teeth. To create this mix, combine the following colors:
- Pyrolle Orange (also known as Organic Orange)
- Alizarine Crimson
- A small amount of Raw Umber Dark
These colors produce a rich, reddish hue that closely matches the natural coloration around the teeth and lips. If needed, adjust the mix by adding a touch of titanium white to lighten the color without losing its vibrancy.
Tip: Use a white card to test your color before applying it to the painting. This will allow you to see how it contrasts with your existing skin tones and lips.
Technique: Apply the color in thin layers, pulling up toward the gums to create the natural transitions between the teeth, gums, and lip area. It’s important to paint with precision to avoid making the teeth appear too long.
Step 3: Adding Subtle Details
To refine the teeth further, you’ll need to add delicate shadows and highlights. Start by mixing a darker color for the shadows:
- Ultramarine Blue
- Alizarine Crimson
- A bit of Raw Umber Dark
This creates a deeper, more muted tone that will help add definition to the bottom of each tooth. You can use this color to subtly separate the teeth from one another.
Tip: Avoid making the lines between the teeth too dark or harsh. The goal is to create a natural look, not to outline each tooth dramatically. A soft, gradual transition between light and dark will ensure that the teeth appear realistic.
Technique: Apply this darker shade right below the teeth, particularly where the bottom row meets the gums. Remember, each tooth has slight variations in shading, so pay attention to your reference photo to determine where the shadows fall.
Step 4: Softening Edges for Realism
Once the main colors and shadows have been applied, it’s time to refine the edges of the teeth. You can soften the hard edges by blending the colors gently where the teeth meet the gums and where the light hits the teeth.
Mix a small amount of titanium white with raw umber dark to create a subtle highlight color. Apply this along the top of the teeth where light would naturally reflect off the enamel.
Tip: Don’t overdo the highlights. The key is to add just enough light to define the shape of the teeth without making them look too bright or artificial.
Technique: Lightly brush over the teeth with small, upward strokes. This will give the teeth a more rounded, natural appearance and help avoid a “flat” look.
Step 5: Fine-Tuning the Details
Now that the main shapes and shadows are in place, it’s time to fine-tune the details. Look at the spaces between the teeth and make any necessary adjustments to ensure they aren’t too close together or too far apart. Add any final touches of shadow or highlight that might be missing.
Tip: Step back from your painting occasionally to check how the teeth fit into the overall portrait. Sometimes, it’s easier to notice small errors or imbalances when viewing the piece from a distance.
Technique: Use a small, fine-tipped brush to add the final strokes of detail. These small refinements make a significant difference in the realism of the portrait.
Why This Process Matters
Refining the shape of teeth is one of those small but crucial steps in portrait painting. When done right, it adds to the likeness of the subject and creates a more lifelike portrait. If the teeth are too bright, too long, or inaccurately shaped, it can detract from the overall piece.
By using the techniques outlined above carefully mixing colors, softening edges, and adding subtle highlights and shadows you will ensure that your acrylic portrait looks polished and professional.
Conclusion: Elevate Your Portrait with Refined Details
As you can see, refining the shape of teeth in an acrylic portrait isn’t about painting them with strict lines and bright colors. Instead, it’s about creating soft transitions between light and shadow, observing your reference closely, and painting with patience.
With these techniques, your portraits will capture the likeness and subtle beauty of your subjects, ensuring that every detail, no matter how small, contributes to the overall realism.
If you found this guide helpful, be sure to explore more tutorials on realisticacrylic.com. Whether you’re just starting or looking to refine your skills further, you’ll find valuable resources to help you paint portraits you can be proud of.
Final Tips for Refining Teeth in Acrylic Portraits
- Use small, precise brushes for the detailed work around the teeth and gums.
- Layer your colors rather than applying too much paint at once. Thin layers create depth.
- Test your colors on a white card to ensure they blend naturally with surrounding skin tones.
- Soften hard edges to avoid a flat, unrealistic look.
- Check your reference photo frequently to ensure you’re capturing the unique shape and characteristics of your subject’s teeth.
For further resources and guides, visit realisticacrylic.com and check out my free courses to enhance your acrylic painting journey.
- How to Paint Foliage Using the Acrylic Glazing Technique
- How to Trace for an Accurate Portrait Sketch
- How to Paint Realistic Eyes in Your Acrylic Portrait
- How to Add Raw Umber Dark & Ultramarine Blue to Your Portrait
- How to Make Your Own Raw Umber Dark
- How to Paint Realistic Trees & Grass in Your Acrylic
- How to Block In Skin Tone Values Using Glazing Technique
- How to Paint Vibrant Reds in Your Acrylic Portrait
- How to Glaze Background Colors & More Acrylic Portrait
- How to Paint White Clothing in Your Acrylic Portrait
- How to Easily Transition from a Sketch to a Painting
- How to Block In Shading & Skin Tones in Your Acrylic
- How to Build Up Color on Acrylic Pet Portrait
- How to Build Up Form on Clothing with Acrylic
- How to Paint Dark Clothing Using Acrylic Glazing Technique
- How to Paint a 24 x 30 Acrylic With 30 People
- How to Do Smooth Shading with Acrylic
- How to Sketch an Acrylic Portrait with a Grid
Read more about how to paint a portrait that you can surely be proud of!
I’d love to hear your thoughts on this video. Please share it with your friends and family. Let me know if you have any further questions. I’ll greatly help you.
If you’d like to learn more, sign up for my free email tips and video class today.
Learn How to Paint Acrylic Portraits With My Free Mini-Video Course!
Thank you so much for taking the time to read this tutorial and watch the video. That means a lot to me. I hope you find it very helpful in your portrait painting.
Yours for Better Portraits,

P.S. Did you find this post helpful or encouraging? If so, send it on ahead! Let others know with the share buttons below. I’d love to hear your comments. Thank you so much! Also, do you have a question on acrylic portrait painting you’d like answered? Let me know, and I’d be happy to help!
