- You are here:
- Home »
- Blog »
- Video Tutorial »
- How to Paint Realistic Hair in Your Acrylic Portrait

How to Paint Realistic Hair in Your Acrylic Portrait
How do you paint hair using the glazing technique?
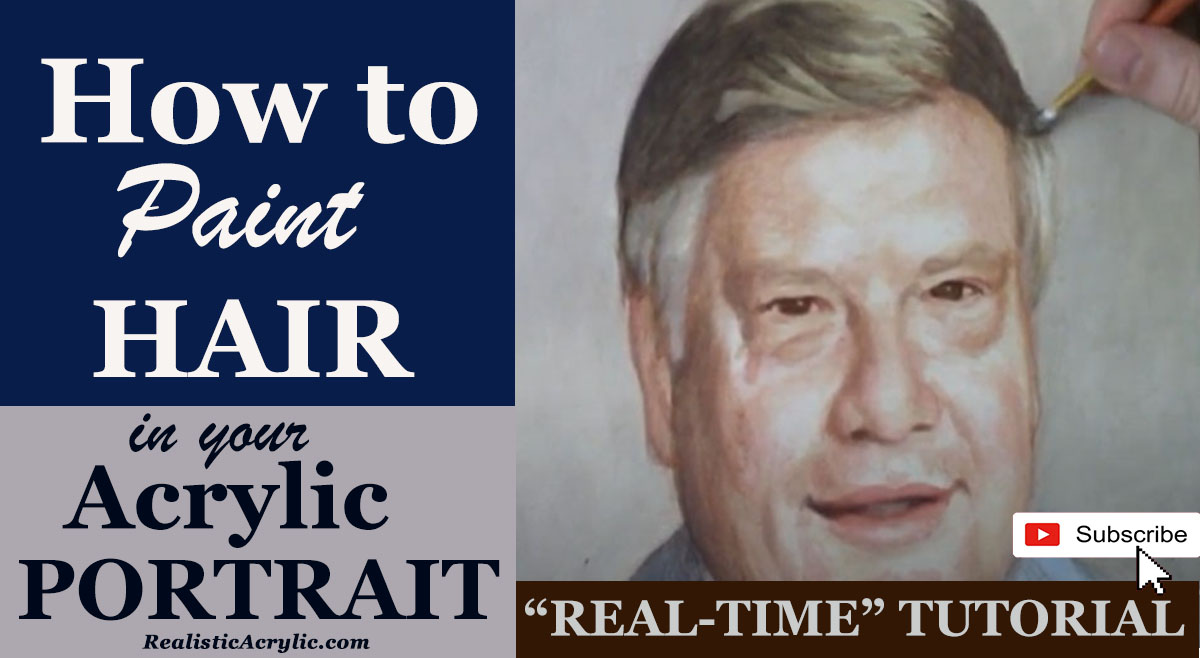
Creating realistic hair in acrylic portraits may seem like a daunting task, but with the right techniques, it becomes manageable. In this guide, you’ll learn how to achieve a lifelike effect using a combination of layering, value adjustments, and color nuances. You’ll discover how to paint realistic hair in your acrylic portrait that looks soft and shiny while blending seamlessly into the portrait’s overall appearance.
Step 1: Set the Foundation for the Hair
Before diving into the details of painting hair, it’s important to set a solid foundation by establishing the values of your painting. So, as I have explain, everything in a painting is relative—if one area is too light, it can throw off the entire balance of the painting. However, in the hair, this means darkening it as needed to match the values of the face.
Of course I highly recommend starting by mixing raw umber dark and ultramarine blue to create a blackish tone. Then with a round brush, apply this mixture to darken the hair, ensuring it complements the shadows of the face. Because the goal at this stage is not perfection but rather establishing a base layer that allows for refinement later.
Step 2: Blend for Realism
After applying the base layer, it’s time to add depth and detail by blending the hair. The key here is building a gradation so, start by applying pressure on one side and gradually ease up as you move to the other side. But make sure this creates a natural transition, which is essential for making hair look soft and voluminous.
When blending, focus on the shapes and striations within the hair. My point out that these shapes often resemble skinny triangles, similar to those you might remember particularly from geometry class. By then creating these subtle shapes, the hair will start to take on a more realistic appearance.
Step 3: Get the Values Right
One of the most critical aspects of painting realistic hair is getting the values right. I “Create hair correctly is all about getting the right values in the right place.” This means focusing on the darker areas, ensuring they are deep enough to create contrast, and leaving lighter spaces for highlights.
Hair does not need to be painted strand by strand. Instead, concentrate on capturing the overall shapes and values. When the dark and light areas are placed correctly, the hair will automatically start to look more realistic.
Step 4: Add Nuances with Glazing
As you progress, it’s essential to add nuances to the hair using glazing techniques. I use the combination of phthalo blue and greenish tones to bring out subtle variations in the hair’s color. These layers of translucent color will give the hair depth, adding complexity that mimics the way light interacts with real hair.
Glazing is particularly effective because it allows you to build striations—the
How to Paint Realistic Hair in Your Acrylic Portrait
Painting realistic hair in an acrylic portrait can be one of the most challenging but rewarding aspects of portrait painting. In this guide, we’ll walk through the essential steps and techniques to master this skill, ensuring that your portraits come to life with depth, texture, and realism. Whether you’re a beginner or an experienced artist, these tips will help you elevate your acrylic painting.
Read more about my additional resources, tutorials, to learn more and check out my free courses here. . Whether you’re a beginner or an experienced artist, there’s always something new to learn and apply to your paintings. Happy painting!
- How to Paint Foliage Using the Acrylic Glazing Technique
- How to Trace for an Accurate Portrait Sketch
- How to Paint Realistic Eyes in Your Acrylic Portrait
- How to Add Raw Umber Dark & Ultramarine Blue to Your Portrait
- How to Make Your Own Raw Umber Dark
- How to Paint Realistic Trees & Grass in Your Acrylic
- How to Block In Skin Tone Values Using Glazing Technique
- How to Paint Vibrant Reds in Your Acrylic Portrait
- How to Glaze Background Colors & More Acrylic Portrait
- How to Paint White Clothing in Your Acrylic Portrait
- How to Easily Transition from a Sketch to a Painting
- How to Block In Shading & Skin Tones in Your Acrylic
- How to Build Up Color on Acrylic Pet Portrait
- How to Build Up Form on Clothing with Acrylic
- How to Paint Dark Clothing Using Acrylic Glazing Technique
- How to Paint a 24 x 30 Acrylic With 30 People
- How to Do Smooth Shading with Acrylic
- How to Sketch an Acrylic Portrait with a Grid
Read more about how to paint a portrait that you can surely be proud of!
I’d love to hear your thoughts on this video. Please share it with your friends and family. Let me know if you have any further questions. I’ll greatly help you.
If you’d like to learn more, sign up for my free email tips and video class today.
Learn How to Paint Acrylic Portraits With My Free Mini-Video Course!
Thank you so much for taking the time to read this tutorial and watch the video. That means a lot to me. I hope you find it very helpful in your portrait painting.
Yours for Better Portraits,

P.S. Did you find this post helpful or encouraging? If so, send it on ahead! Let others know with the share buttons below. I’d love to hear your comments. Thank you so much! Also, do you have a question on acrylic portrait painting you’d like answered? Let me know, and I’d be happy to help!
