- You are here:
- Home »
- Blog »
- Video Tutorial »
- How to Paint Over a Detailed in First Few Layers of Acrylic

How to Paint Over a Detailed in First Few Layers of Acrylic
Learn the first few layers of acrylic glazing for depth and realism
Laying the Foundation with Acrylic Glazing
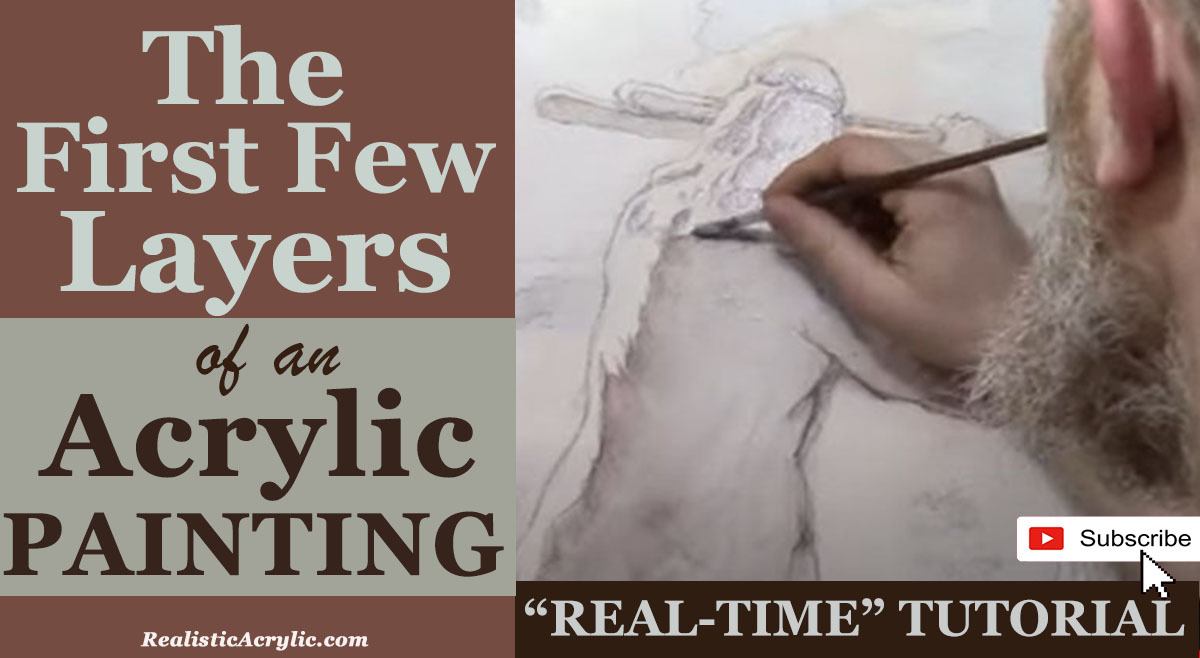
When it comes to portrait painting, the initial layers play a critical role in defining the composition, tone, and depth of the artwork. In this tutorial, we will explore how to paint over a detailed in first few layers of an acrylic portrait using the glazing technique. This method, often used by the old masters like Leonardo da Vinci and Titian, allows for the creation of subtle depth, rich shading, and enhanced realism.
In this lesson, we will delve into a commissioned piece depicting the biblical story of Moses, Aaron, and Hur during the ancient Israeli-Amalekite battle. The symbolism of this painting reflects intercessory prayer, where Moses’ raised staff determined the outcome of the battle, supported by Aaron and Hur. Let’s walk through the process of painting the first layers while maintaining the intricate details of the sketch.

Step 1: Blocking in the Shading
The first step in building up the painting is to block in the shading. Starting with a small flat brush, begin by mixing raw umber dark with a little ultramarine blue and blending it into matte medium. This mixture allows for transparent layering, known as glazing, which will help maintain the underlying sketch without disturbing its details.
- Tip: Use small amounts of acrylic paint mixed with large amounts of matte medium for best results. This creates translucent layers that gradually build depth.
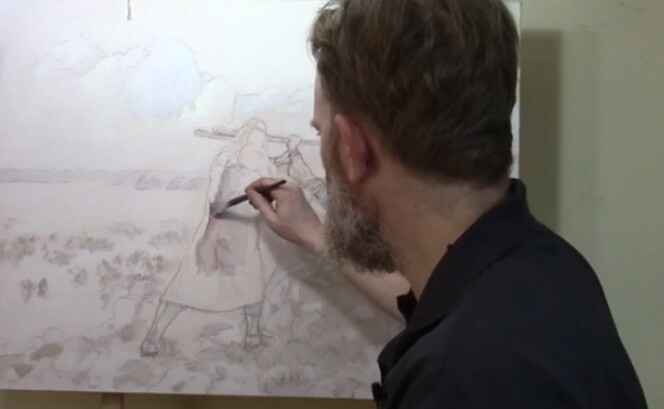
As you apply this mixture, focus on blocking in the shadows and edges of the figure. In this case, we’re focusing on the figure of Moses. The goal here is not to add too much detail but to establish the overall value structure—the lights and darks that will give the portrait its dimensionality. Keep the paint wet and blend softly to avoid harsh lines.
Step 2: Maintaining the Integrity of the Sketch
One of the advantages of the glazing technique is that it allows you to retain the integrity of your detailed sketch. Unlike opaque painting methods, where the initial sketch can get lost under thick layers of paint, glazing preserves every line. This is especially helpful when working on complex portraits that require precision and subtlety.
- Technique: Build the layers slowly. The acrylic glazing method requires patience as each layer dries before the next is applied. This results in richer shading and more nuanced transitions between light and shadow.
Step 3: Applying the Glaze to the Headdress
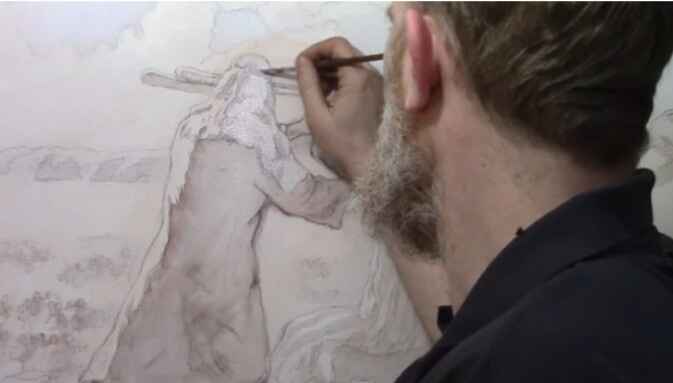
After blocking in the shadows, it’s time to move on to more specific areas, such as Moses’ headdress. Here, switch to ultramarine blue for a cooler tone. Apply this thin glaze using a round brush, gently working it into the edges and interior details. The goal is to subtly enhance the color while maintaining the transparency of the paint.
- Tip: Always zoom in to focus on intricate details. This ensures that the smaller elements of your painting, such as folds in fabric or facial features, receive the attention they need.
By layering the blue glaze, you start to see the headdress take on more depth, creating a subtle contrast between the cool blues and the warmer tones of Moses’ skin.

Step 4: Blocking Out Old Elements
As with many paintings, revisions are often necessary. In this instance, the figure of Aaron needed to be moved to improve the overall composition. To block out the remnants of the previous version, use titanium white mixed with raw sienna. This combination will effectively cover up old lines and prepare the canvas for new elements.
- Technique: Blocking out sections with lighter colors helps create a clean slate for adjustments. Don’t be afraid to revisit areas that need correcting, as painting is a fluid process of refinement.
Step 5: Letting the Layers Dry
After applying the first few layers, it’s essential to let the painting dry. This is one of the key aspects of acrylic glazing—patience. Each layer needs time to set before the next one is applied to avoid muddying the colors or losing the delicate balance of transparency.
- Tip: Allow ample drying time between layers. This prevents the colors from blending unintentionally and helps you achieve the sharpness needed for realistic portraits.
Once the initial layers are dry, you can return to the painting to add further nuances and build upon the foundation you’ve created.
The Benefits of Acrylic Glazing
The glazing technique offers several advantages, especially for detailed portrait painting:
- Preservation of Details: Because you are working with thin layers of transparent paint, you can retain all the intricate details of your original sketch.
- Depth and Realism: Glazing allows for gradual transitions between light and shadow, creating a more lifelike and three-dimensional appearance.
- Low Pressure: Unlike opaque techniques, where you need to get the colors and values right on the first try, glazing offers more flexibility. Each layer builds upon the previous one, so mistakes can be easily corrected with additional glazes.
- Historical Significance: This technique has been used by master painters for centuries to achieve the luminous quality seen in classical portraits.
Conclusion: Building a Strong Foundation
Mastering the first few layers of an acrylic portrait is crucial to achieving depth and realism in your painting. When using the glazing technique, you can preserve the details of your sketch while gradually building up the shading and values. Because this method requires patience but ultimately results in a more nuanced and lifelike portrait.
If you’re interested in learning more about acrylic glazing or portrait painting techniques, be sure to explore the resources available at RealisticAcrylic.com. and download my free gift for you here. With practice, you’ll be able to master this technique and bring your portraits to life with rich depth and realism.
- Adding highlights to your acrylic painting
- 5 Excellent Reasons to Use Aluminum Foil
- Paint Realistic Wrinkles in Acrylic
- Painting Clothing in an Acrylic Portrait
- Paint a Cloudy Sky Acrylic
- How to add Semi-Opaque Highlights
- How to Enhance the Contrast in Your Acrylic
- How to Add Glaze to Your Acrylic Painting
- Paint Realistic Reflections on Eyeglasses in an Acrylic Portrait
- Build Up Depth on Your Acrylic Portrait Backgrounds
- How Do You Do Layers With the Glazing Technique?
- Learn How to Paint Wrinkles in Acrylic
Read more about how to paint a portrait that you can surely be proud of!
I’d love to hear your thoughts on this video. Please share it with your friends and family. Let me know if you have any further questions. I’ll greatly help you.
If you’d like to learn more, sign up for my free email tips and video class today.
Learn How to Paint Acrylic Portraits With My Free Mini-Video Course!
Thank you so much for taking the time to read this tutorial and watch the video. That means a lot to me. I hope you find it very helpful in your portrait painting.
Yours for Better Portraits,

P.S. Did you find this post helpful or encouraging? If so, send it on ahead! Let others know with the share buttons below. I’d love to hear your comments. Thank you so much! Also, do you have a question on acrylic portrait painting you’d like answered? Let me know, and I’d be happy to help!
