- You are here:
- Home »
- Blog »
- Video Tutorial »
- How to Adjust the Eyes in an Acrylic Portrait

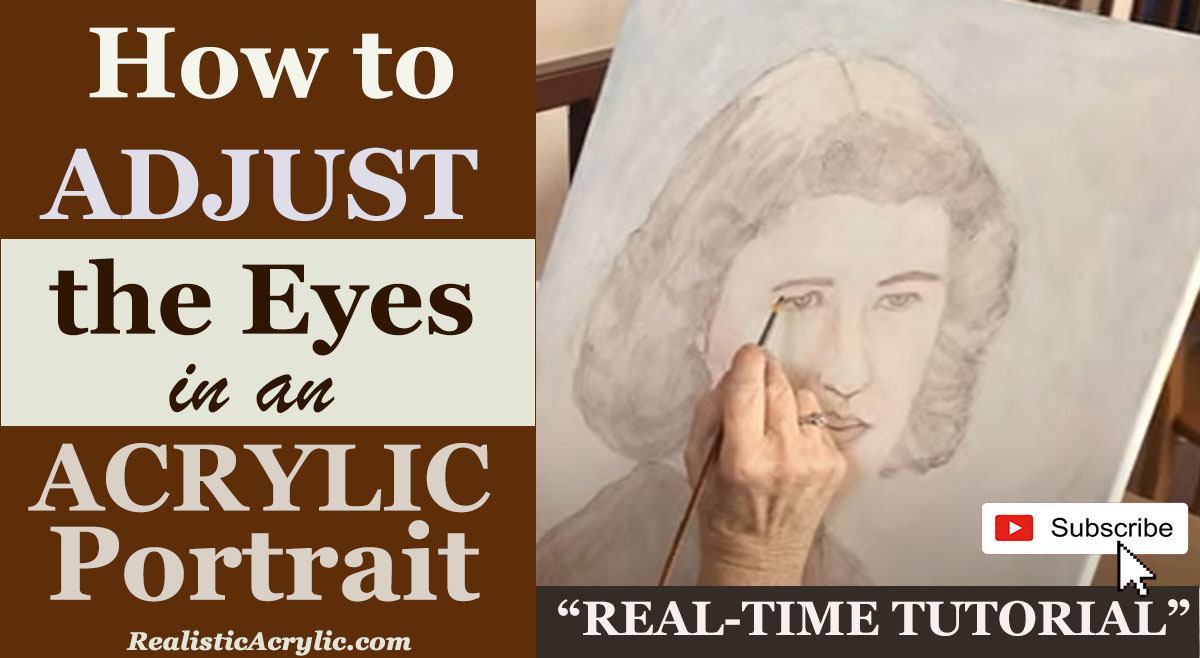
How to Adjust the Eyes in an Acrylic Portrait
Master the art of eye adjustments to enhance your portraits
When it comes to painting portraits, the eyes are often considered the windows to the soul. Adjust the eyes in acrylic portraits can significantly enhance the overall realism and appeal of your artwork. In this post, the importance of eye adjustments will be discussed, along with effective techniques that artists can utilize to create lifelike portraits.
Understanding Eye Structure
The eye consists of various components, including the iris, pupil, and eyelids. Each of these features plays a critical role in conveying expression and character. Artists often face challenges such as proportions, shape, and placement of the eyes. A solid understanding of eye anatomy can help artists make informed adjustments.
Preparing for Adjustments
Before making any adjustments, artists should gather their materials. Ensure you have your acrylic paints, brushes, a palette, and a reference photo ready. The reference photo serves as a vital tool for accuracy and should be positioned near your painting for easy comparison.
Techniques for Adjusting Eyes
Thickening Lines
To achieve a more balanced and dynamic look, artists should consider thickening the lines above the iris. This technique adds visual weight and reduces the scalloping effect often seen in portraits. Begin by slightly rounding off the existing lines. Instead of following the previous line too closely, raise the line above the iris to create a more natural and appealing shape.
Adjusting the Shape
When adjusting the shape of the eyes, it is crucial to ensure that they are not overly flattened. Slightly round the eye, particularly towards the middle section, to achieve a more lifelike appearance. This adjustment can be made by adding more paint along the upper eyelid and ensuring the iris is adequately framed.
Utilizing Reference Photos
Regularly referencing your photo while painting can make a world of difference. Many artists find it helpful to bring the reference photo onto the canvas or have it displayed nearby. This technique allows for constant comparison and ensures accuracy in adjustments.
Common Mistakes to Avoid
While making adjustments, artists should be cautious of overcorrection. It’s essential to maintain the overall likeness to the subject without altering the unique features that define them. Additionally, symmetry plays a crucial role; both eyes should be balanced in shape and size. Lastly, ensure that enough reference material is used to guide your adjustments effectively.
Final Touches
Once the eyes have been adjusted, take a step back and assess the overall composition. Balancing both eyes is essential for achieving symmetry, while using shadows can add depth and realism. Artists should ensure that the final result closely resembles the reference photo, capturing the subject’s essence.
Conclusion
Adjusting the eyes in an acrylic portrait is a skill that can greatly enhance the overall quality of your artwork. By understanding eye structure and implementing techniques such as thickening lines, adjusting shapes, and utilizing reference photos, artists can create lifelike portraits that resonate with viewers. With practice and patience, these techniques can be mastered, leading to significant improvements in your portrait painting skills.
Tips and Techniques
Don’t Rush: Take your time when making adjustments; a careful approach leads to better results.
Use a Variety of Brushes: Different brush sizes and shapes can help achieve various effects when painting eyes.
Practice Regularly: The more you practice adjusting eyes, the more intuitive the process will become.
Study Real Eyes: Observing real eyes in different lighting conditions can provide insights into how to recreate them in your portraits.
- Adding highlights to your acrylic painting
- 5 Excellent Reasons to Use Aluminum Foil
- Paint Realistic Wrinkles in Acrylic
- Painting Clothing in an Acrylic Portrait
- Paint a Cloudy Sky Acrylic
- How to add Semi-Opaque Highlights
- How to Enhance the Contrast in Your Acrylic
- How to Add Glaze to Your Acrylic Painting
- Paint Realistic Reflections on Eyeglasses in an Acrylic Portrait
- Build Up Depth on Your Acrylic Portrait Backgrounds
- How Do You Do Layers With the Glazing Technique?
- Learn How to Paint Wrinkles in Acrylic
Read more about how to paint a portrait that you can surely be proud of!
I’d love to hear your thoughts on this video. Please share it with your friends and family. Let me know if you have any further questions. I’ll greatly help you.
If you’d like to learn more, sign up for my free email tips and video class today.
Learn How to Paint Acrylic Portraits With My Free Mini-Video Course!
Thank you so much for taking the time to read this tutorial and watch the video. That means a lot to me. I hope you find it very helpful in your portrait painting.
Yours for Better Portraits,

P.S. Did you find this post helpful or encouraging? If so, send it on ahead! Let others know with the share buttons below. I’d love to hear your comments. Thank you so much! Also, do you have a question on acrylic portrait painting you’d like answered? Let me know, and I’d be happy to help!
