- You are here:
- Home »
- Blog »
- Video Tutorial »
- How to add Semi-Opaque Highlights to Acrylic

How to add Semi-Opaque Highlights to Acrylic
Learn the art of semi-opaque highlights for stunning acrylic portraits
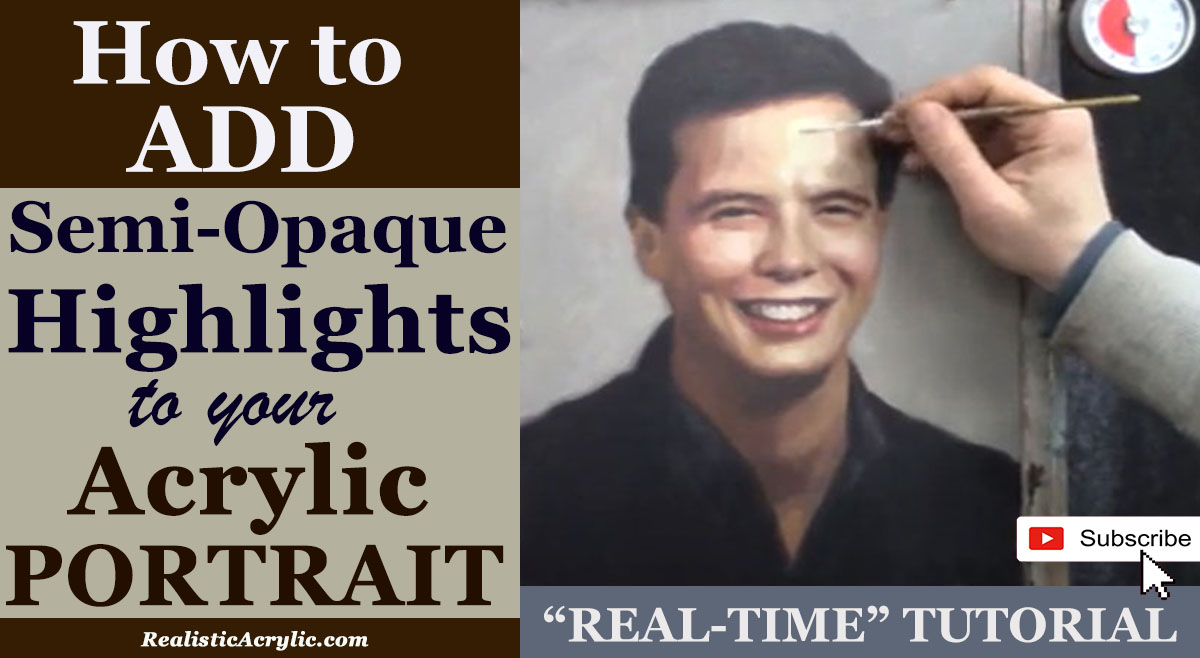
Adding semi-opaque highlights to acrylic portraits can transform a simple painting into a stunning work of art. By mastering this technique, artists can create depth, enhance realism, and draw the viewer’s attention to the focal points of their work. This blog post will provide detailed insights into the process of adding semi-opaque highlights, focusing on tips, techniques, and best practices to improve your acrylic painting skills.

Understanding Semi-Opaque Highlights
Semi-opaque highlights are essential for achieving a lifelike appearance in portraits. So these highlights are applied over a base layer of paint, allowing some of the underlying colors to show through. Then this technique adds dimension and vibrancy to the painting, making it visually appealing.
In this section, we will discuss the importance of using the right materials, including brushes, paint, and mediums, to achieve the desired effect.
Materials Needed
Before beginning the process, it is crucial to gather the necessary materials:
- Acrylic Paints: Choose a range of colors, including titanium white, alizarine crimson, raw sienna, and organic red orange.
- Brushes: A variety of brushes, including round and flat edge brushes, then will allow for different stroke techniques.
- Palette: A smooth surface for mixing paint.
- Matte Medium: This medium helps in achieving a more translucent effect when blending highlights.
- Water Spray Bottle: To keep your paint workable and maintain moisture.
Step-by-Step Process for Adding Semi-Opaque Highlights
1. Prepare Your Canvas and Initial Layers
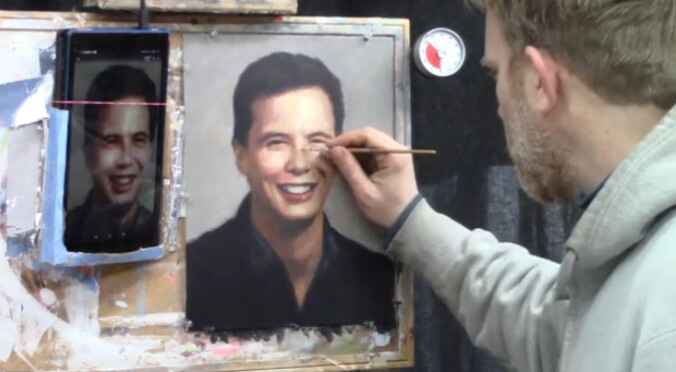
Start by preparing your canvas and laying down the initial layers of paint. Basically in the video, I will begin with a basic portrait of a pastor, ensuring that the initial colors are well-blended and that the proportions are accurate.
Tip: Regularly step back to assess the overall composition and make necessary adjustments before applying highlights.
2. Mix Your Colors
So I emphasize the importance of combining colors to get the appropriate tones. And then for the semi-opaque highlights, I combine titanium white with a dab of your preferred skin tone. Given that this mixture should be light while still retaining some transparency.
Technique: Adding a matte medium to your mixture can enhance the transparency, allowing for better blending with the underlying colors.
3. Apply the Highlights
Using a round brush, you begin applying the semi-opaque highlight mixture to the areas of the portrait that need emphasis, such as the forehead, cheeks, and chin. Then I will demonstrate how to build up the highlights gradually.
Tip: Use lighter strokes and focus on the areas where light naturally hits the face. This technique ensures that the highlights do not overpower the base colors but instead complement them.
4. Blend for a Natural Look
While blending is crucial in achieving a seamless transition between highlights and the base layers. I also advise to use a slightly darker color to define the edges of the highlights. Then this contrast will help the highlights pop.
Technique: Wipe off excess paint from your brush frequently while blending to avoid muddying the colors. But utilize a flat edge brush for smoother transitions between strokes.
5. Adjust and Refine
Once you finish applying the highlights, it is important to step back and assess your work. Because as I have discuss the necessity of making adjustments, such as darkening certain areas or enhancing the cheekbones for added dimension.
Tip: Continuous evaluation of the composition helps maintain balance and ensures that all elements work harmoniously together.
6. Final Touches
Once the highlights have been applied and blended, take the time to add any final touches. Because this might include refining the eyes or adding small details to enhance the overall realism of the portrait.
Technique: Use a very light mixture for the final highlights, ensuring they are applied sparingly for a more realistic effect.
Common Challenges and Solutions
1. Over-application of Highlights
One of the common challenge is when you apply too much highlight, which can lead to a flat appearance. In this case, always remember that semi-opaque highlights should enhance, not dominate.
Solution: So to start with a small amount of paint and build up gradually.
2. Muddy Colors
While mixing too many colors can lead to muddy results. So it is essential to keep the mixtures clean and distinct.
Solution: Clean brushes frequently and then use separate areas on the palette for different colors.
When learning the technique of adding semi-opaque highlights in acrylic portrait painting can greatly enhance your artwork. And also by following the steps outlined in this post and incorporating the tips and techniques discussed, you can create lifelike portraits that captivate viewers.
So don’t forget to practice regularly and explore different color combinations to find what works best for your style. Happy painting!
If you’re looking for more instructional videos on how to improve your acrylic painting, visit www.realisticacrylic.com for more tutorials and check out my free courses here. .
LEARN MORE
- Adding highlights to your acrylic painting
- 5 Excellent Reasons to Use Aluminum Foil
- How Photoshop alter your Photo
- Painting Clothing in an Acrylic Portrait
- Paint a Cloudy Sky Acrylic
- How to add Semi-Opaque Highlights
- How to Enhance the Contrast in Your Acrylic
- How to Add Glaze to Your Acrylic Painting
- Paint Realistic Reflections on Eyeglasses in an Acrylic Portrait
- Build Up Depth on Your Acrylic Portrait Backgrounds
- How Do You Do Layers With the Glazing Technique?
Read more about how to paint a portrait that you can surely be proud of!
I’d love to hear your thoughts on this video. Please share it with your friends and family. Let me know if you have any further questions. It’ll greatly help you.
If you’d like to learn more, sign up for my free email tips and video class today.
Learn How to Paint Acrylic Portraits With My Free Mini-Video Course!
Thank you so much for taking the time to read this tutorial and watch the video. That means a lot to me. I hope you find it very helpful in your portrait painting.
Yours for Better Portraits,

P.S. Did you find this post helpful or encouraging? If so, send it on ahead! Let others know with the share buttons below. I’d love to hear your comments. Thank you so much! Also, do you have a question on acrylic portrait painting you’d like answered? Let me know, and I’d be happy to help!
