- You are here:
- Home »
- Blog »
- Video Tutorial »
- How to Add Darker Values in Acrylic Painting

How to Add Darker Values in Acrylic Painting
Learn the art of glazing to achieve richer, darker tones and depth in your acrylic
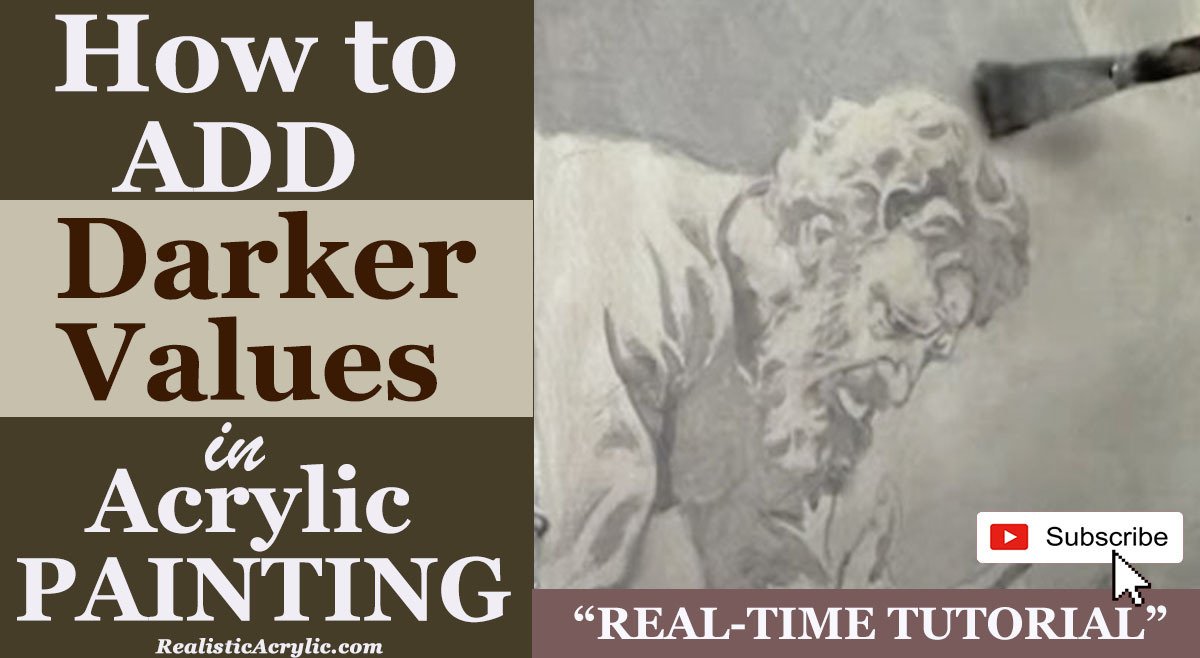
When creating a realistic acrylic portrait, understanding how to introduce darker values is essential. But these values help to add depth, drama, and contrast, bringing your painting to life. In this tutorial, we’ll explore how to effectively add darker values using glazing techniques in an acrylic painting. And then you’ll learn how to layer semi-transparent colors, apply shadows, and blend your tones smoothly.

Introduction to Glazing in Acrylics
Glazing is a technique used in acrylic painting where you apply thin, transparent layers of color to achieve depth and complexity. Unlike traditional opaque painting, glazing allows you to build up dark values gradually while maintaining a luminous, rich quality. In this tutorial, we’ll demonstrate this process step-by-step as we work on a portrait of King Hezekiah.
Choosing the Right Colors for Darker Values
The foundation for adding darker values begins with selecting appropriate colors. Because in this painting, we use raw umber dark, ultramarine blue, and titanium white. These colors are perfect for mixing subtle, darker tones that give the painting a more natural and realistic feel.
- Raw Umber Dark: This earthy brown is excellent for creating deep shadows without overwhelming the painting.
- Ultramarine Blue: Adding a bit of ultramarine blue gives shadows a cooler tone, adding complexity to the darker areas.
- Titanium White: Although titanium white is typically used for highlights, mixing it with darker colors helps to control the transparency of the glaze and soften transitions between light and dark.
Step-by-Step Guide to Adding Darker Values
Step 1: Mix the Darker Tones
Start by mixing raw umber dark with a touch of ultramarine blue. Because this will create a bluish-gray tone that can be adjusted depending on how dark or light you want the shadows to appear. Then add a small amount of titanium white to increase opacity and allow for smoother application. The white will also help cover the canvas faster.
Step 2: Apply the Dark Tones to the Background
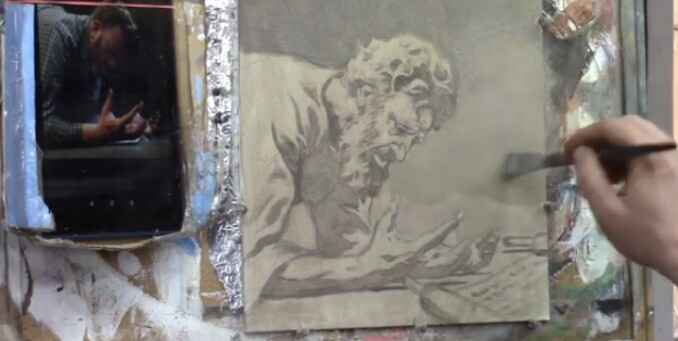
Using a three-quarter-inch flat brush, gently apply the mixed color to the background of the painting. The goal is to establish a gradation of tones, which means the transition from dark to light should be smooth and subtle. Then, as you work, focus on using directional brushstrokes it will vary in your brush strokes can add energy and interest to the painting, ensuring that it doesn’t feel flat.
Make sure to blend the darker values near the edges of the portrait, especially around the hair and clothing. This contrast will help bring the subject into focus while adding depth to the background.
Step 3: Add More Medium for Transparency
As you continue to layer the glaze, mix in matte medium to increase transparency. This is especially important for areas where you want to build darker tones gradually. Too much paint at once can make the area appear muddy, so patience is key. Because adding medium ensures that the previous layers are visible beneath the new ones, giving your shadows a more natural look.
At this point, the color may seem too cool or toned down. If this happens, simply mix more raw umber dark to warm it up and bring back the richness in the shadow.
Step 4: Develop Darker Tones in Clothing and Hair
Move on to the subject’s clothing and hair. Then for this, mix raw umber dark with a bit of burnt sienna to warm up the shadows. In keeping the tones slightly warmer in these areas, then it will create a natural transition between the shadows and mid-tones.
Begin to add shadows under the subject’s beard and in the folds of the clothing, where deeper shadows would naturally form. Use a half-inch flat brush for precision in these areas. The clothing’s wrinkles and folds will stand out more once the darker values are applied, helping the overall form feel more three-dimensional.
Step 5: Refine Dark Values in the Face
Next, use a round brush (size 8 or 12) to work on the finer details of the face. For a portrait like this, it’s crucial to maintain a consistent value range. Begin by darkening the shadows beneath the subject’s hand and the interior of the face, such as under the nose, along the jawline, and in the eye sockets.
When glazing the face, keep the strokes smooth and the application light. Since the face is a focal point, any harsh transitions or muddy colors will draw unwanted attention. As you add darker values, remember that you will be able to come back and paint highlights on top, restoring any lost details.
Balancing Warm and Cool Shadows
It’s important to maintain a balance between warm and cool shadows when adding darker values. Cooler shadows work well in areas where less light reaches, such as the underside of the face or the back of the hair. In contrast, warmer shadows should be applied where there is more ambient light, such as the edges of the clothing or near the face.
A helpful tip is to introduce a bit of raw sienna into your darker mixes for warmer shadows and ultramarine blue for cooler shadows. This slight variation in temperature will give your painting more dimension and make the shadows appear more realistic.
Techniques to Avoid Muddy Shadows
One of the common challenges when adding darker values is the risk of creating muddy shadows. To avoid this:
- Thin out your paint: Always mix your darker tones with a medium to maintain transparency and allow previous layers to shine through.
- Use multiple layers: Don’t try to achieve the darkest value in one go. Build up gradually, layer by layer, allowing each glaze to dry before adding another.
- Blend edges: Smooth transitions between light and dark areas by lightly blending the edges of your shadows. This creates a soft, natural fade, preventing harsh lines.
Final Thoughts on Adding Dark Values
Adding darker values in acrylic painting is a skill that requires patience, but the results are worth it. Then with glazing, you can build depth and create dynamic contrasts that bring your painting to life. Always remember to balance warm and cool tones, use semi-opaque layers, and be mindful of smooth transitions.
In this tutorial, we’ve worked on developing the mid-tones and darker shadows in the portrait of King Hezekiah. As you continue to work on your paintings, keep experimenting with these techniques and gradually introduce highlights to balance the dark values.
Conclusion
Adding darker values to an acrylic painting helps create depth, drama, and dimension. By using glazing techniques and mixing rich dark tones, you can build up layers that bring realism to your artwork. Remember to balance warm and cool shadows, avoid muddy colors, and let each layer dry before proceeding.
If you’re looking for more instructional videos on how to improve your acrylic painting, visit www.realisticacrylic.com for more tutorials and check out my free courses here. Happy painting!
- Adding highlights to your acrylic painting
- 5 Excellent Reasons to Use Aluminum Foil
- Paint Realistic Wrinkles in Acrylic
- Painting Clothing in an Acrylic Portrait
- Paint a Cloudy Sky Acrylic
- How to add Semi-Opaque Highlights
- How to Enhance the Contrast in Your Acrylic
- How to Add Glaze to Your Acrylic Painting
- Paint Realistic Reflections on Eyeglasses in an Acrylic Portrait
- Build Up Depth on Your Acrylic Portrait Backgrounds
- How Do You Do Layers With the Glazing Technique?
- Learn How to Paint Wrinkles in Acrylic
Read more about how to paint a portrait that you can surely be proud of!
I’d love to hear your thoughts on this video. Please share it with your friends and family. Let me know if you have any further questions. I’ll greatly help you.
If you’d like to learn more, sign up for my free email tips and video class today.
Learn How to Paint Acrylic Portraits With My Free Mini-Video Course!
Thank you so much for taking the time to read this tutorial and watch the video. That means a lot to me. I hope you find it very helpful in your portrait painting.
Yours for Better Portraits,

P.S. Did you find this post helpful or encouraging? If so, send it on ahead! Let others know with the share buttons below. I’d love to hear your comments. Thank you so much! Also, do you have a question on acrylic portrait painting you’d like answered? Let me know, and I’d be happy to help!
