- You are here:
- Home »
- Blog »
- Video Tutorial »
- How to Begin an Acrylic Portrait Glazing Technique

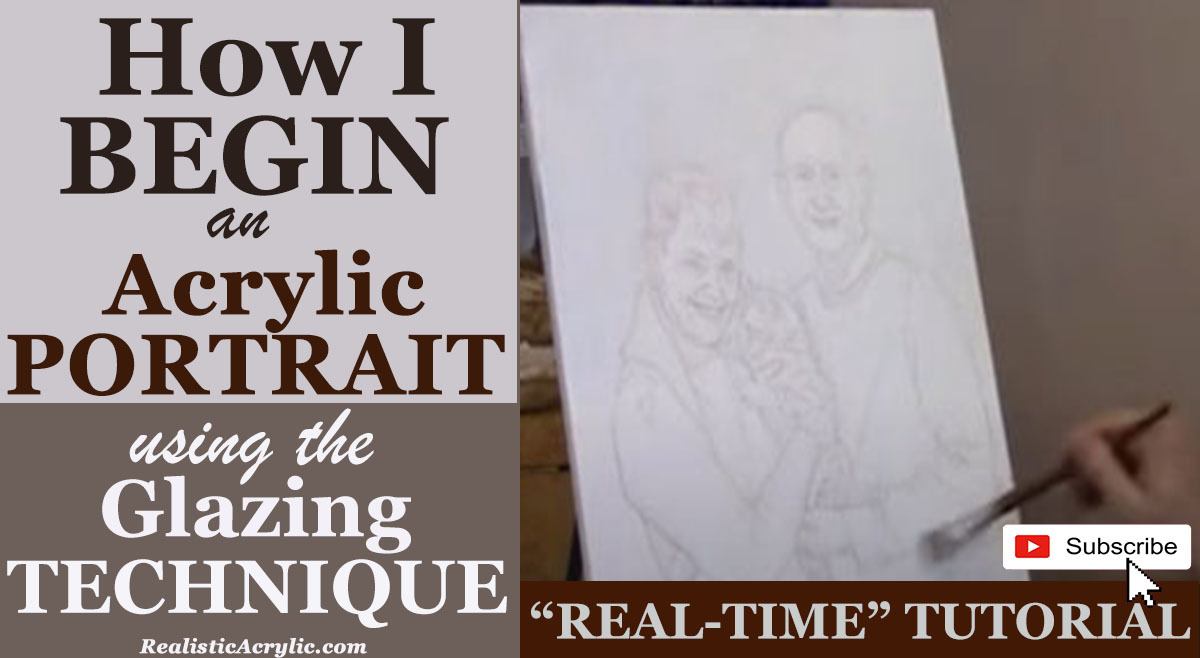
How to Begin an Acrylic Portrait Glazing Technique
Learn the basics of starting an acrylic portrait using the glazing technique, enhancing your art with smooth transitions and vibrant layers.
When starting an acrylic portrait, artists often encounter the challenge of creating depth and realism. Because one of the effective way to achieve this is through the glazing technique—a method that allows you to build up layers of translucent paint, adding nuance to your work. Because this article will guide you through the process of beginning an acrylic portrait using glazing, from planning your strategy to applying your first layers of paint. And then you’ll learn how to assess value structures, mix colors effectively, and develop a portrait that has depth and lifelike vibrancy.

Step 1: Preparing for the Glazing Process
Before you dive into painting, it’s important to prepare your palette and understand the key elements that will guide your portrait. The first step involves assessing your reference photo. As I suggested, that you kind of want to plot out your strategy what you’re going to do and how you’re going to paint it.”
Observe the Value Structure
Value structure refers to the overall light and dark areas of your image. Carefully observe whether your subject’s face is lighter or darker than the background. Then this decision will guide your initial glaze and help build contrast.
For instance, if the background is darker and the face is lighter, your strategy should focus on enhancing this contrast. The glazing technique can help you subtly develop these transitions, bringing clarity and definition to your subject. Planning this early ensures a smooth painting process later on.
Step 2: Mixing Your Glaze
Glazing is all about transparency, and the key to a successful glaze lies in the mixture of matte medium and paint. I recommend the ratio is 90-95% matte medium and 5-10% paint. Then this ensures that your glaze is translucent and allows the layers beneath it to show through.
To begin, choose your colors based on the tones in your reference image. In this case, the artist begins with ultramarine blue and raw umber dark, creating a grayish tone that will serve as the first glaze for the background. He emphasizes using a small amount of paint, stating that you should mix a little bit of color at a time and then work it into the medium.
Tip for Mixing:
“Turn your brush over and swirl it,” the artist explains, “distributing the pigment onto the bristles evenly.” This helps to ensure smooth application when you start painting.
Step 3: Applying the First Glaze
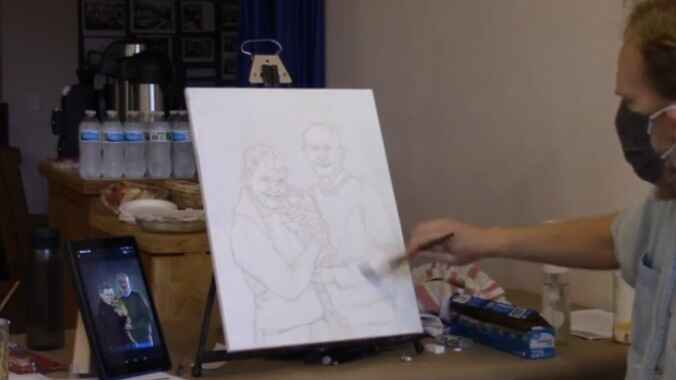
Now that your glaze is mixed, it’s time to apply it to the canvas. Then start in the darkest areas of the painting, working your way towards the lighter sections. In this example, I began at the top left corner, which is the darkest area of the background.
One crucial aspect of glazing is to always keep a wet edge—this prevents harsh lines from forming and ensures smooth transitions between areas. As I demonstrated, when applying the glaze in multiple directions (horizontal and vertical strokes) helps to distribute the paint evenly.
Pro Tip:
Use a generous amount of glaze on your brush. “You need a lot of mixture on your brush to get it smooth,” as I advise. Because this helps minimize visible brushstrokes, which can detract from the overall smoothness of your portrait.
Step 4: Building Up Layers
One of the main advantages of the glazing technique is its ability to build up color gradually. In this initial phase, your focus is not on developing shadows or highlights yet; it’s about laying down a foundation layer that establishes the basic tones.
As you progress, each new glaze will add depth to the painting. The translucent nature of the glaze allows the underpainting to show through, creating a richer, more complex color.
Understanding Opacity and Transparency:
- Opaque: No light passes through the paint; it’s completely solid.
- Transparent: Light passes through fully, revealing the layers beneath.
- Translucent: Light partially passes through, which is the goal with glazing.
In the video, I demonstrate the concept using a white card with a black line drawn on it. The line is still slightly visible through the glaze, indicating that the mixture is translucent enough to let underlying layers peek through.
Step 5: Working with Edges
A common challenge when glazing portraits is managing the edges of your subject. Many beginners hesitate to paint over parts of their subject’s face or clothing, fearing they’ll ruin the work. However, leaving a “halo” or white space around the figure can be problematic; it’s much harder to fix later.
Don’t be afraid to go over on top of the people, the subjects.” You can always paint over areas like hair or clothing again, but it’s harder to match the background color if you’ve left an unpainted edge.
Key Technique:
Focus on smoothing the glaze around complex areas, like hair, by using light strokes and ensuring your brush has enough glaze on it. Because this helps maintain clean edges without hard lines.
Step 6: Creating Contrast and Depth
As you apply more layers of glaze, the contrast between light and dark areas will become more apparent. This is especially important in portrait painting, where creating depth in features like eyes, cheekbones, and jawlines adds realism.
The glazing technique is ideal for this because it allows you to slowly darken shadows and adjust highlights without overwhelming the painting. For instance, if a subject has dark shadows under their chin or behind their ear, you can build these shadows layer by layer, achieving a more realistic look over time.
Step 7: Final Thoughts on Glazing
The glazing technique is a powerful tool for acrylic portrait painters, providing a way to create depth, nuance, and smooth transitions. Because by using a combination of matte medium and a small amount of pigment, you can control the transparency of each layer, ensuring that your painting develops gradually and with precision.
Recap of Key Tips:
- Always observe the value structure of your reference photo before starting.
- Use a high ratio of matte medium to paint (90-95% medium).
- Apply glaze in the darkest areas first, working toward lighter areas.
- Keep a wet edge and apply the glaze in multiple directions for smoothness.
- Don’t be afraid to paint over parts of your subject, as it’s easier to fix later than to match an unpainted area.
- Build contrast slowly by adding layers of glaze to create depth and realism.
By following these steps, you’ll have a solid foundation for starting any acrylic portrait, ensuring that your painting is smooth, balanced, and full of life.
- Adding highlights to your acrylic painting
- 5 Excellent Reasons to Use Aluminum Foil
- Paint Realistic Wrinkles in Acrylic
- Painting Clothing in an Acrylic Portrait
- Paint a Cloudy Sky Acrylic
- How to add Semi-Opaque Highlights
- How to Enhance the Contrast in Your Acrylic
- How to Add Glaze to Your Acrylic Painting
- Paint Realistic Reflections on Eyeglasses in an Acrylic Portrait
- Build Up Depth on Your Acrylic Portrait Backgrounds
- How Do You Do Layers With the Glazing Technique?
- Learn How to Paint Wrinkles in Acrylic
Read more about how to paint a portrait that you can surely be proud of!
I’d love to hear your thoughts on this video. Please share it with your friends and family. Let me know if you have any further questions. I’ll greatly help you.
If you’d like to learn more, sign up for my free email tips and video class today.
Learn How to Paint Acrylic Portraits With My Free Mini-Video Course!
Thank you so much for taking the time to read this tutorial and watch the video. That means a lot to me. I hope you find it very helpful in your portrait painting.
Yours for Better Portraits,

P.S. Did you find this post helpful or encouraging? If so, send it on ahead! Let others know with the share buttons below. I’d love to hear your comments. Thank you so much! Also, do you have a question on acrylic portrait painting you’d like answered? Let me know, and I’d be happy to help!
