- You are here:
- Home »
- Blog »
- Video Tutorial »
- How to Do Freehand Portrait Sketch in 30 Minutes

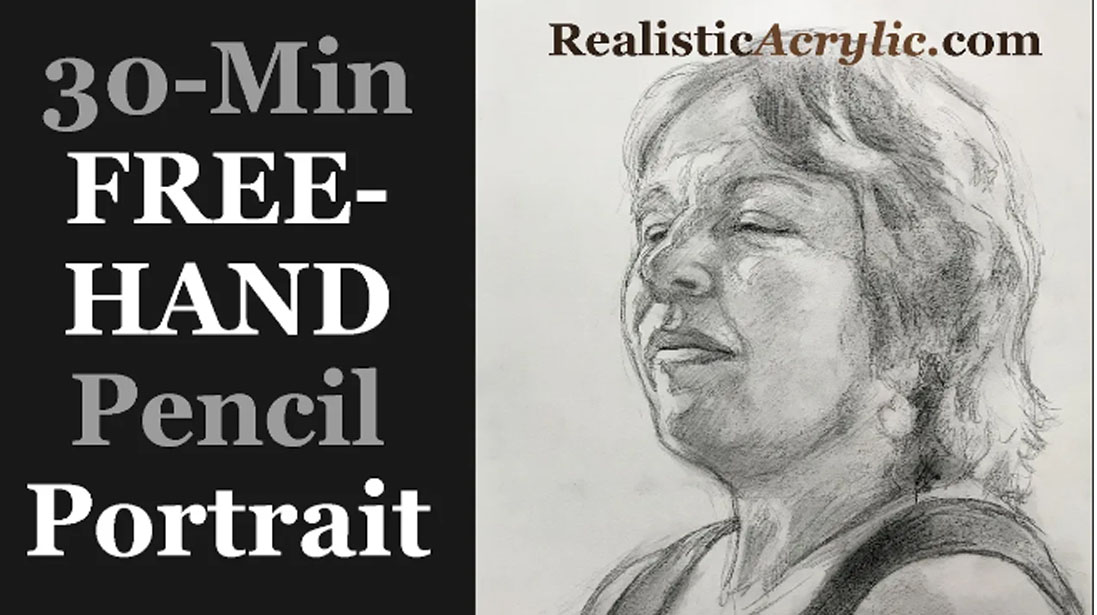
How to Do Freehand Portrait Sketch in 30 Minutes
Learn the essential techniques to sketch a freehand portrait in just 30 minutes and bring your artistic vision to life with accuracy and style.
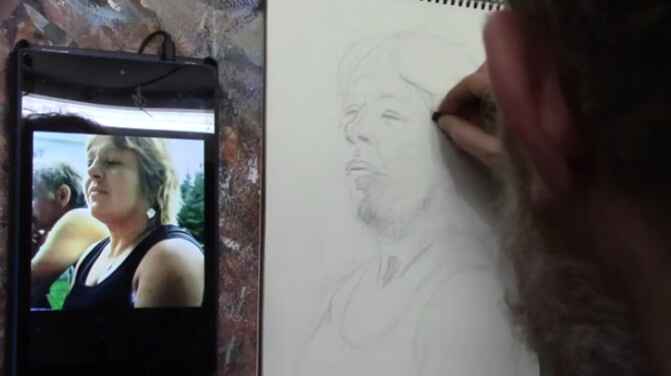
Sketching a portrait freehand can seem daunting, but with the right techniques and approach, it’s entirely possible to create a compelling likeness within just 30 minutes. In this tutorial, I’ll take you through my process of sketching a portrait freehand, then share tips on proportions, shading, and how to bring out essential features. Whether you’re an experienced artist or a beginner, this guide will provide you with the tools and techniques needed to boost your portrait sketching skills.
Getting Started: Blocking In the Proportions
The first step in freehand portrait sketching is to block in the overall proportions of the face. Because you don’t need to focus on details right away. You can first start by lightly sketching the outline of the head, and then the placement of the eyes, nose, mouth, and neck. In this case, you will use a graphite pencil, charcoal, or even a lead stick whichever medium you’re comfortable with.
It’s important to remember that these first lines are just guidelines. Then don’t be afraid to make changes and adjustments as you go along. Here is the following tips to keep in mind:
- Use light strokes at the beginning to avoid deep indents on the paper.
- Start by marking the key landmarks: the top of the head, the chin, and the midpoint where the eyes will sit.
- Work quickly but with purpose, aiming to capture the basic structure within the first few minutes.
Tip: To help with proportion accuracy, visualize where key features (like the nose and mouth) sit in relation to one another.

Focusing on Facial Features
Once you have the basic structure of the head blocked in, it’s time to focus on adding the facial features. This includes the eyes, nose, and mouth then each of which plays a crucial role in making your sketch recognizable. Here’s how to tackle them:
- Eyes: Start with the placement of the eyes. The space between the eyes is usually about the width of one eye. When sketching freehand, make sure to position the eyes symmetrically. If the head is turned, one eye might be closer to the nose than the other.
- Nose: The nose sits roughly halfway between the eyes and the chin. If the face is tilted, adjust the length of the nose to match the perspective.
- Mouth: The distance from the bottom of the nose to the chin usually equals the space between the eyes. Pay close attention to the shape of the lips, as this can convey emotion and expression.
As you sketch, always take note of angles and proportions. For instance, if the subject’s head is slightly tilted upwards, the nose will appear closer to the eyes. Because this adjustment will ensure your portrait looks lifelike.
Tip: Use a kneaded eraser to make small corrections without disturbing the entire sketch.
Shading and Adding Depth
Shading is where the sketch starts to come to life. Then first begin by identifying light and shadow areas on the face. For example, notice where the light hits the subject’s forehead, cheekbones, and chin, and where shadows form under the nose, around the eyes, and along the neck.
Here’s the following how to approach shading:
- Use the side of your pencil or shading tool to create broad, soft shadows.
- Layer your shading gradually. Start light and darken as needed, paying attention to where the light source is coming from.
- Blend your shading with a tissue or blending stump to smooth transitions between light and dark areas.
Areas like the cheekbones, jawline, and neck often require more subtle shading to give the face a three-dimensional look. Keep your strokes consistent and follow the natural contours of the face.
Tip: Take extra care when shading the eyes and mouth, as these features often draw the viewer’s attention and define the likeness of the portrait.
Refining the Details
After blocking in and shading, it’s time to refine the finer details. Then just focus on key features like the eyes, lips, and hair, which can make or break the realism of the portrait.
- Eyes: Add highlights to the pupils, define the eyelids, and make sure the eyes are aligned properly.
- Lips: Define the shape of the lips, taking care to include subtle shading around the mouth to indicate volume and light.
- Hair: Use long strokes to suggest the texture and flow of the hair. Darker strokes can define the hairline and areas where the hair casts shadows on the face or neck.
The eyebrows and eyelashes should also be refined at this stage. It’s easy to overdo them, so keep your strokes light and controlled, focusing on the natural shape and thickness of these features.
Final Touches and Polishing
As you near the end of your 30-minute session, take a step back and review your work. Make any final adjustments to proportions and shading. Sometimes, a small tweak—such as lowering an eye or softening a shadow—can make a big difference in the overall effect.
Use your eraser to lighten highlights or fix any areas that seem too dark. Smooth out any rough areas with a tissue or blending tool, and make sure your portrait has a clean and polished look.
If time permits, add details to the subject’s clothing or background to complete the portrait. However, remember that the goal is to finish within 30 minutes, so focus primarily on the face and key features.
Tips for Successful Freehand Portrait Sketches
- Practice Regularly: The more you sketch freehand, the better you’ll become at understanding proportions and facial structure.
- Observe Carefully: Pay attention to your reference or model, noting the unique angles and proportions of the face.
- Start Light, Build Layers: Begin with light sketching, and gradually add darker lines and shading as your sketch progresses.
- Use a Variety of Tools: Experiment with different types of pencils and shading tools to find what works best for you.
- Stay Relaxed: Sketching quickly doesn’t mean you have to rush. Stay relaxed and enjoy the process.
Conclusion
Sketching a freehand portrait in 30 minutes is a fantastic exercise in speed, accuracy, and observation. Because by focusing on proportions, shading, and detail refinement, you can create a compelling likeness of your subject within a short time frame. Always remember that practice makes perfect then each sketch you complete helps you improve your artistic abilities.
If you’re looking for more instructional videos on how to improve your acrylic painting, visit www.realisticacrylic.com for more tutorials and check out my free courses here. .
- Adding highlights to your acrylic painting
- 5 Excellent Reasons to Use Aluminum Foil
- Paint Realistic Wrinkles in Acrylic
- Painting Clothing in an Acrylic Portrait
- Paint a Cloudy Sky Acrylic
- How to add Semi-Opaque Highlights
- How to Enhance the Contrast in Your Acrylic
- How to Add Glaze to Your Acrylic Painting
- Paint Realistic Reflections on Eyeglasses in an Acrylic Portrait
- Build Up Depth on Your Acrylic Portrait Backgrounds
- How Do You Do Layers With the Glazing Technique?
- Learn How to Paint Wrinkles in Acrylic
Read more about how to paint a portrait that you can surely be proud of!
I’d love to hear your thoughts on this video. Please share it with your friends and family. Let me know if you have any further questions. I’ll greatly help you.
If you’d like to learn more, sign up for my free email tips and video class today.
Learn How to Paint Acrylic Portraits With My Free Mini-Video Course!
Thank you so much for taking the time to read this tutorial and watch the video. That means a lot to me. I hope you find it very helpful in your portrait painting.
Yours for Better Portraits,

P.S. Did you find this post helpful or encouraging? If so, send it on ahead! Let others know with the share buttons below. I’d love to hear your comments. Thank you so much! Also, do you have a question on acrylic portrait painting you’d like answered? Let me know, and I’d be happy to help!
