- You are here:
- Home »
- Blog »
- Video Tutorial »
- How to Paint a Face in Acrylic Portrait: Glazing Technique

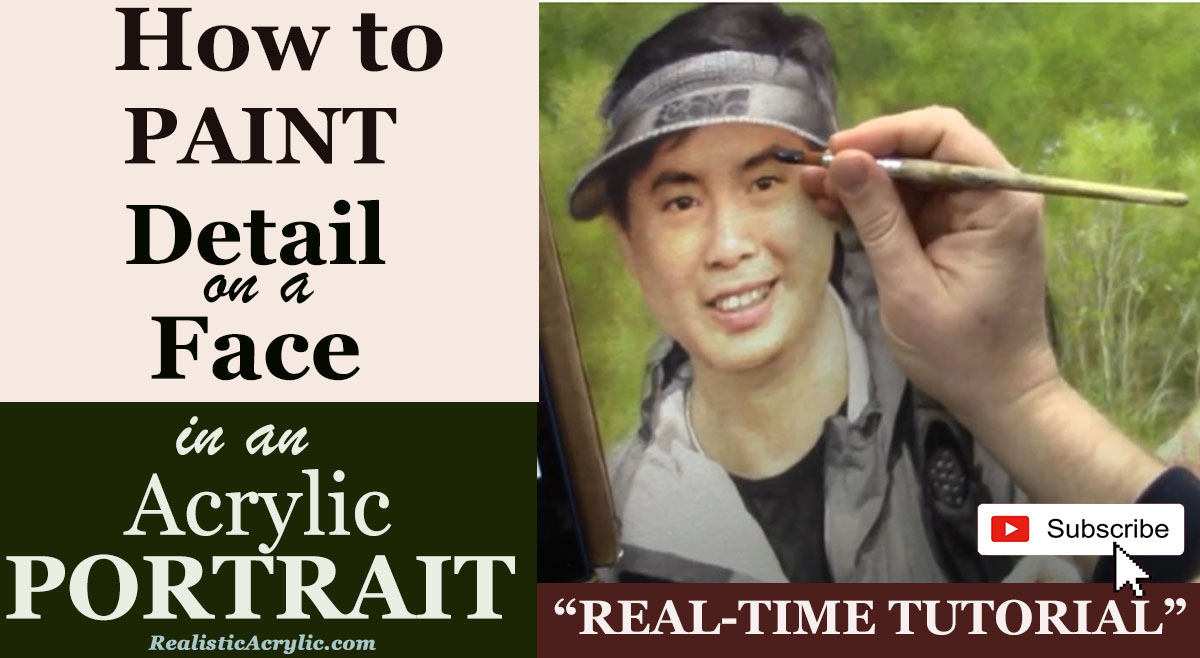
How to Paint a Face in Acrylic Portrait: Glazing Technique
I’ll show you how to paint professional-looking nuances on your acrylic portrait.
Painting a face in acrylic is a rewarding yet challenging endeavor. So this blog post explores the glazing technique, a method that enhances depth and realism in portraits .Then, by utilizing a combination of colors and layering techniques, artists can achieve stunning results. In this guide, essential tips and techniques will be provided, ensuring that your portrait painting is both beautiful and lifelike.
Understanding the Glazing Technique
The glazing technique involves applying thin layers of translucent paint over a dried base layer. This method allows for a rich depth of color and creates realistic effects, especially in portrait painting. When the layers build up, the underlying tones interact with the glazes, resulting in a vibrant, luminous finish.
Step-by-Step Process of Painting a Face
1. Preparation of Materials
Before starting, gather your materials. You will need:
- Acrylic paints: Ivory black, alizarine crimson, burnt sienna, and matte medium.
- Brushes: A round brush (size 12) is recommended for detail work.
- Palette: To mix your colors.
- Canvas: Pre-stretched or a panel suitable for acrylics.
2. Establishing the Base Layer
So, let’s begin by painting the initial base layer of the face using a mid-tone skin color. This layer should be allowed to dry completely before applying any glazes. And then well-dried base layer is crucial, as it will affect the application of subsequent layers.
3. Adding Contrast and Depth
Once the base layer is dry, it’s time to enhance the facial features:
Darkening the Values: Using a mixture of ivory black and alizarine crimson, can create a warm, dark tone. Basically this will prevent the color from appearing lifeless.
Then gently pinpoint the darkest areas in the eyes and eyebrows with your round brush. Besides, black should be thinned with matte medium to ensure smooth application.Detailing the Eyes: Focus on adding depth to the eyes by darkening the eyelashes and the area around the iris. This can be done by lightly touching the brush to the canvas, ensuring that the dark values contrast well with the mid-tones of the face.
4. Enhancing Features with Textural Variations
To create a lifelike representation, it is essential to capture the texture of the features:
Eyebrows: Observe the reference images closely, also with different shades can be used to create a more natural look. Then use your brush to graze across the canvas, mimicking the appearance of individual eyebrow hairs.
Mouth and Nose Shadows: Darken the area under the nostrils and around the mouth for added definition because this step can greatly enhance the three-dimensionality of the face.
5. Blending Techniques
As the layers of paint accumulate, blending becomes crucial:
Using Your Finger: For subtle transitions between shades, your finger can be an effective blending tool. It allows for a seamless merge of colors, particularly where the differences are minimal.
Maintaining Highlights: While darkening certain areas, it is important to retain the highlights.
Then blend the darkest values into mid-tones without overpowering the lighter areas. Because this technique creates a more realistic effect, as the play of light and shadow is essential in portrait painting.
6. Final Touches and Details
As you approach the completion of the portrait, add the final touches:
Hair and Shadows: Darken areas beneath the hat or hairline to enhance the contrast further. This will add depth to the overall composition.
Refinement of Features: Review the entire painting and identify areas that may need additional detailing. Small adjustments in shadow and light can significantly impact the portrait’s realism.
Tips and Techniques for Success
Layer Gradually: Start with light glazes and gradually build up to darker tones. This method helps in achieving the desired intensity without overwhelming the underlying layers.
Use Reference Photos: Keep the reference images handy for accurate details because you can observe different angles and expressions can guide the detailing process effectively.
Be Patient: Allow each layer to dry before applying the next. Rushing this process can muddy your colors and compromise the glazing effect.
As a matter of fact glazing technique offers incredible potential for artists looking to elevate their acrylic portrait painting. Through understanding how to manipulate color and light, so you can create a face that appears lifelike and full of character. Also remember to practice patience, utilize your resources, and don’t hesitate to experiment with different layering techniques.
As you embark on your journey of painting a face in acrylic, these tips and techniques will guide you towards creating portraits you can be proud of. Happy painting!
- How to Paint Foliage Using the Acrylic Glazing Technique
- How to Trace for an Accurate Portrait Sketch
- How to Paint Realistic Eyes in Your Acrylic Portrait
- How to Add Raw Umber Dark & Ultramarine Blue to Your Portrait
- How to Make Your Own Raw Umber Dark
- How to Paint Realistic Trees & Grass in Your Acrylic
- How to Block In Skin Tone Values Using Glazing Technique
- How to Paint Vibrant Reds in Your Acrylic Portrait
- How to Glaze Background Colors & More Acrylic Portrait
- How to Paint White Clothing in Your Acrylic Portrait
- How to Easily Transition from a Sketch to a Painting
- How to Block In Shading & Skin Tones in Your Acrylic
- How to Build Up Color on Acrylic Pet Portrait
- How to Build Up Form on Clothing with Acrylic
- How to Paint Dark Clothing Using Acrylic Glazing Technique
- How to Paint a 24 x 30 Acrylic With 30 People
- How to Do Smooth Shading with Acrylic
- How to Sketch an Acrylic Portrait with a Grid
Read more about how to paint a portrait that you can surely be proud of!

