- You are here:
- Home »
- Blog »
- Video Tutorial »
- How to Paint 2 Paintings using Acrylic Glazing Technique

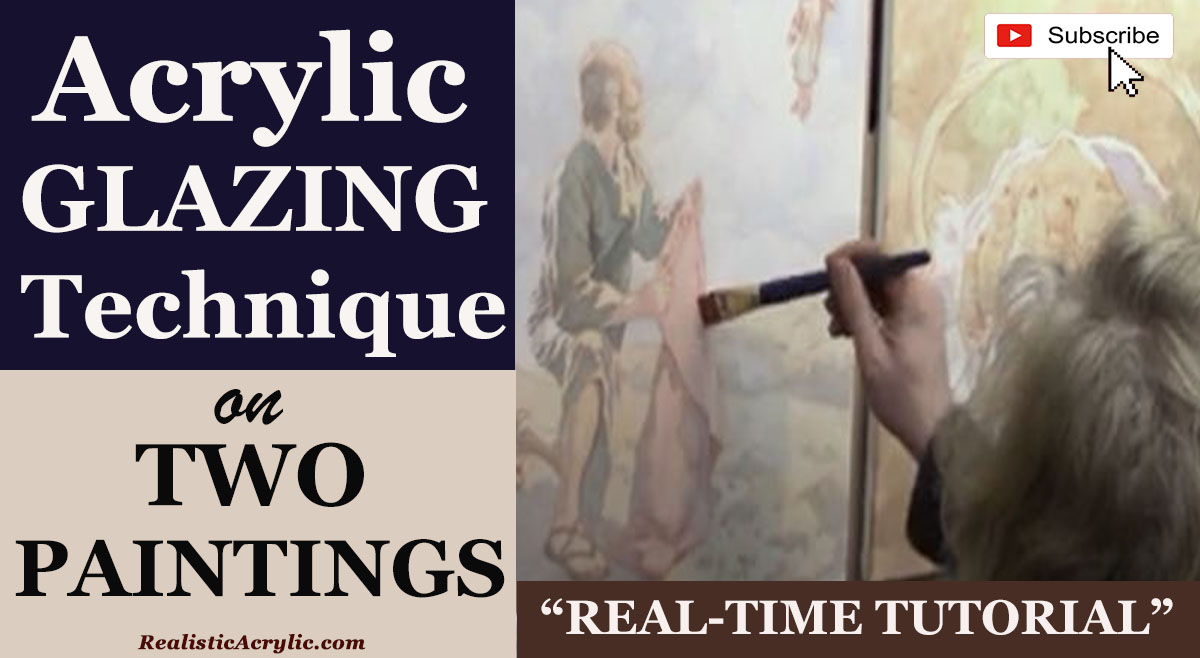
How to Paint 2 Paintings using Acrylic Glazing Technique
Explore the step-by-step process for painting two stunning pieces using the glazing technique
In the world of acrylic painting, efficiency and creativity often go hand in hand. When faced with tight deadlines, artists can benefit from multitasking by working on two paintings at once. This method not only saves time but also allows for the exploration of different techniques and color applications simultaneously. In this blog post, then we will explore how to paint 2 paintings using the acrylic glazing technique. Because this technique is known for creating rich, luminous surfaces by building layers of color.
Understanding the Acrylic Glazing Technique
Acrylic glazing involves the application of transparent layers of paint to achieve depth and vibrancy in your artwork. Because mixing paint with a clear medium, artists can manipulate color intensity and transparency, allowing for greater control over the final appearance.
Materials Needed
To get started, ensure you have the following materials:
- Acrylic paints (including nashville crimson and yellow)
- Clear acrylic medium (matte medium is preferred)
- Various brushes (flat and round, sizes varying from 1 inch to ½ inch)
- Canvas or hardboard
- Palette for mixing
- Water container
- Paper towels
Step-by-Step Process
- Preparation and Planning
- Before diving into the paintings, plan your compositions. In this case, the two paintings being created are “Elijah Picking Up the Mantle of Elijah” and “The Loaves and Fishes.” So, it is important to work from reference photos to ensure accuracy in color and detail.
- Set up your workspace to allow easy access to all materials and to also create a conducive environment for painting.
- Creating the Initial Glaze
- Begin by preparing your glaze because a typical glaze consists of a mix of a clear medium and a small amount of acrylic paint. For example, combine Nashville crimson with matte medium in a ratio of approximately 70% medium to 30% paint.
- Use a 1-inch flat brush to apply the glaze to the canvas, then ensure to push the color firmly into the grooves of the canvas for an even application.
- Layering Colors
- Once the initial layer has dried, you can move on to layering additional colors. While one painting dries, work on the other to maximize efficiency.
- For the painting of the loaves and fishes, introduce a yellow glaze to enhance luminosity. Apply this glaze using rapid strokes to maintain the distinct separation between the loaves and the fish.
- Reintroducing Colors for Unity
- To create color harmony throughout both paintings, reintroduce colors used in one painting into the other. For instance, use the Nashville crimson in shadowed areas of the loaves and fishes to maintain a cohesive color palette.
- This practice not only unifies the paintings but also adds depth to individual elements.
- Final Touches and Observations
- As you finish, step back to assess both paintings. Each piece will exhibit unique characteristics due to the individual application of glazes and layering techniques.
- Adjust highlights using a cooler color for secondary highlights and a warmer color for primary highlights to add dimensionality to the paintings.
Tips and Techniques for Successful Acrylic Glazing
- Patience is Key: Allow each layer to dry before applying the next. This prevents muddiness and ensures clarity in your colors.
- Experiment with Ratios: Different ratios of medium to paint can yield varying results, so do not hesitate to experiment until you find what works best for your style.
- Use Quality Materials: Invest in quality acrylic paints and mediums to ensure the best results in your work.
- Practice Makes Perfect: The more you practice the glazing technique, the more comfortable you will become. Don’t hesitate to try it on smaller canvases before committing to larger pieces.
Painting two artworks using the acrylic glazing technique can be an enriching experience that enhances your skill set and increases your efficiency. Because when layering colors thoughtfully and maintaining unity between the pieces, stunning results can be achieved. Whether you are a beginner or an experienced artist, this technique offers a wonderful opportunity to explore the depths of color and creativity.
Read more about my additional resources, tutorials, to learn more and check out my free courses here. . Whether you’re a beginner or an experienced artist, there’s always something new to learn and apply to your paintings. Happy painting!
LEARN MORE
- How to Paint Foliage Using the Acrylic Glazing Technique
- How to Trace for an Accurate Portrait Sketch
- How to Paint Realistic Eyes in Your Acrylic Portrait
- How to Add Raw Umber Dark & Ultramarine Blue to Your Portrait
- How to Make Your Own Raw Umber Dark
- How to Paint Realistic Trees & Grass in Your Acrylic
- How to Block In Skin Tone Values Using Glazing Technique
- How to Paint Vibrant Reds in Your Acrylic Portrait
- How to Glaze Background Colors & More Acrylic Portrait
- How to Paint White Clothing in Your Acrylic Portrait
- How to Easily Transition from a Sketch to a Painting
- How to Block In Shading & Skin Tones in Your Acrylic
- How to Build Up Color on Acrylic Pet Portrait
- How to Build Up Form on Clothing with Acrylic
- How to Paint Dark Clothing Using Acrylic Glazing Technique
- How to Paint a 24 x 30 Acrylic With 30 People
- How to Do Smooth Shading with Acrylic
- How to Sketch an Acrylic Portrait with a Grid

