Tag Archives for " how to varnish acrylic painting "

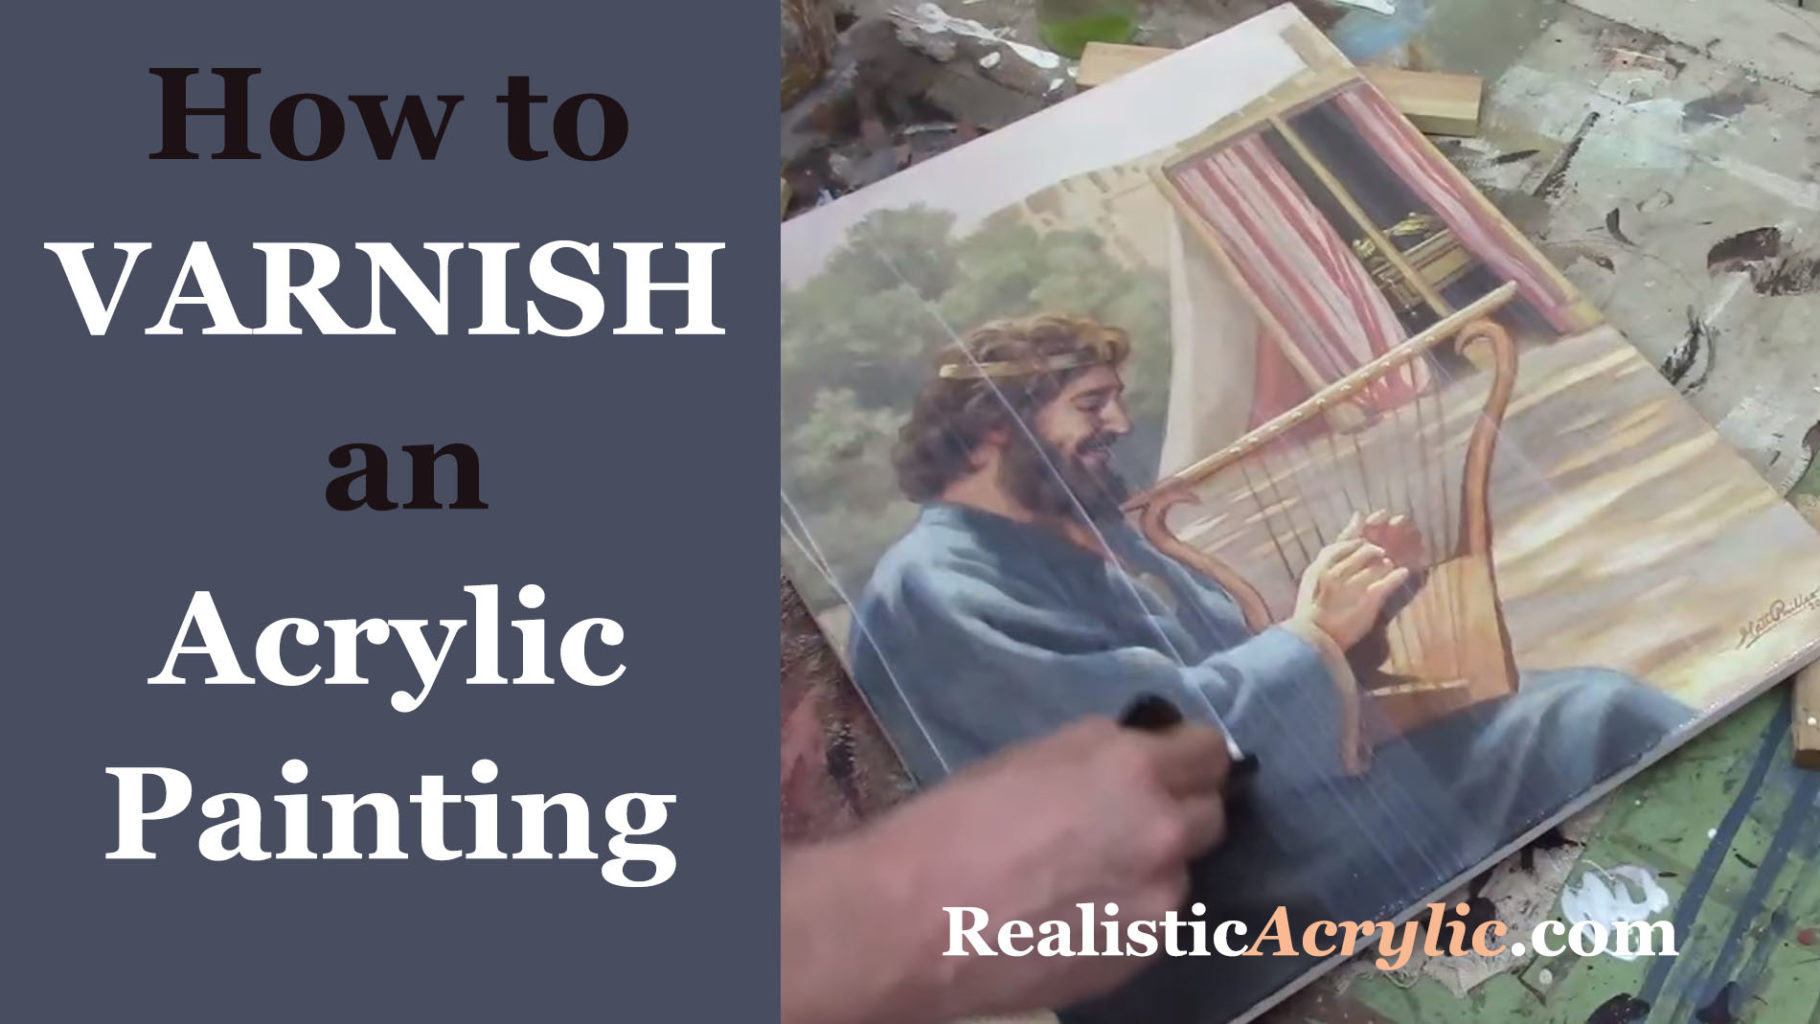
How to Varnish an Acrylic Painting in One Step
Discover the easy technique for how to varnish an acrylic painting in one step to enhance and preserve your artwork’s vibrancy
There’s a lot of controversy surrounding this topic, or at least, many different opinions on how to do it right.
Some say you need an isolation coat. But others say you should spray apply the varnish. And then there are some who pour it on or use a sponge!
I’m not here to dismiss any of those methods. If they work for that particular artist, more power to them.
Rather, I’d like to share with you the method I’ve been using for over 20 years as a portrait painter. And then it’s easy, and you can do it one step.
Let me break down this one-step acrylic varnishing method into how to actually do it…
- Lay your canvas flat on a table, oriented horizontally, but at an angle.
- Raise your canvas up, on four scraps of wood placed under each corner (make sure it’s level. 1″ x 2″s work well )
- Get your 4″ varnishing brush (Liquitex Freestyle works well)
- Pour matte varnish (Novacolor or Liquitex) into a clean yogurt container or any plastic container large enough to accommodate the width of the brush. Be sure to stir the varnish if it’s been sitting for a while! Over time the polymer resin can separate from the water in the mixture. If you don’t mix it, you may have streaks.
- “Sweep” any dust or debris off of the canvas surface with a large brush before you begin.
- Dip your brush into the varnish container, so the bristles are coated with varnish 1/3-1/2 of the way up from the tip.
- Begin brushing the varnish on the surface, starting with the end farthest from you. Brush in the longest direction of the canvas.
- Let your brush hit 1/3″ of the way from the left edge of the canvas. Apply even pressure and bring the brush all the way to the left edge.
- Bring the brush all the way to the right edge.
- Wipe any excess varnish that remains on your brush inside the top lip of your container.
- Flip the brush over and smooth out the entire first application, overlapping the edge slightly with 1-2 strokes. Do not overbrush!
- Dip your brush into the varnish container and repeat the process. Let your stroke slightly overlap the first (about 1/4″)
- You will be working your way toward your body. This will keep you from accidentally dripping onto the finished varnished surface.
- If you have any extra varnish that drips onto the side of the canvas, use a 3/4 flat brush to wipe it off. If the canvas will be framed, the side-drips are usually not a problem and can be left alone.
- Let your canvas dry flat on a table. It might look milky white in areas. Resist the temptation to brush it! If you followed my method, the varnish should dry crystal clear. It should dry completely within 3-5 hours, depending on humidity.
Disclaimer: I have used this method with great results in over 20 years of portrait painting. Because your results are up to you, how you apply this method, and the humidity levels of your studio space. I cannot be held responsible for any painting that gets damaged during the varnishing process. Then it would be a good idea to varnish a test piece first. You can add another layer (after 3-5 hours of dry time) if you feel the first one didn’t cover as well as you’d like, but most of the time, you won’t need to.
Watch this video below to see the process in action…
If you’re looking for more instructional videos on how to improve your acrylic painting, visit www.realisticacrylic.com for more tutorials and check out my free courses here. .
Let me know if you have any questions and I look forward to teaching you more!
LEARN MORE
- How to Paint Foliage Using the Acrylic Glazing Technique
- How to Trace for an Accurate Portrait Sketch
- How to Paint Realistic Eyes in Your Acrylic Portrait
- How to Add Raw Umber Dark & Ultramarine Blue to Your Portrait
- How to Make Your Own Raw Umber Dark
- How to Paint Realistic Trees & Grass in Your Acrylic
- How to Block In Skin Tone Values Using Glazing Technique
- How to Paint Vibrant Reds in Your Acrylic Portrait
- How to Glaze Background Colors & More Acrylic Portrait
- How to Paint White Clothing in Your Acrylic Portrait
- How to Easily Transition from a Sketch to a Painting
- How to Block In Shading & Skin Tones in Your Acrylic
- How to Build Up Color on Acrylic Pet Portrait
- How to Build Up Form on Clothing with Acrylic
- How to Paint Dark Clothing Using Acrylic Glazing Technique
- How to Paint a 24 x 30 Acrylic With 30 People
- How to Do Smooth Shading with Acrylic
- How to Sketch an Acrylic Portrait with a Grid
Read more about how to paint a portrait that you can surely be proud of!
I’d love to hear your thoughts about this video. Please share it with your friends and family. Let me know if you have any further questions. I’ll greatly help you.
If you’d like to learn more, sign up for my free email tips and video class today.
Learn How to Paint Acrylic Portraits With My Free Mini-Video Course!
Thank you so much for taking the time to read this tutorial and watch the video. That means a lot to me. I hope you find it very helpful in your portrait painting.
Yours for Better Portraits,

P.S. Did you find this post helpful or encouraging? If so, send it on ahead! Let others know with the share buttons below. I’d love to hear your comments. Thank you so much! Also, do you have a question on acrylic portrait painting you’d like answered? Let me know, and I’d be happy to help!

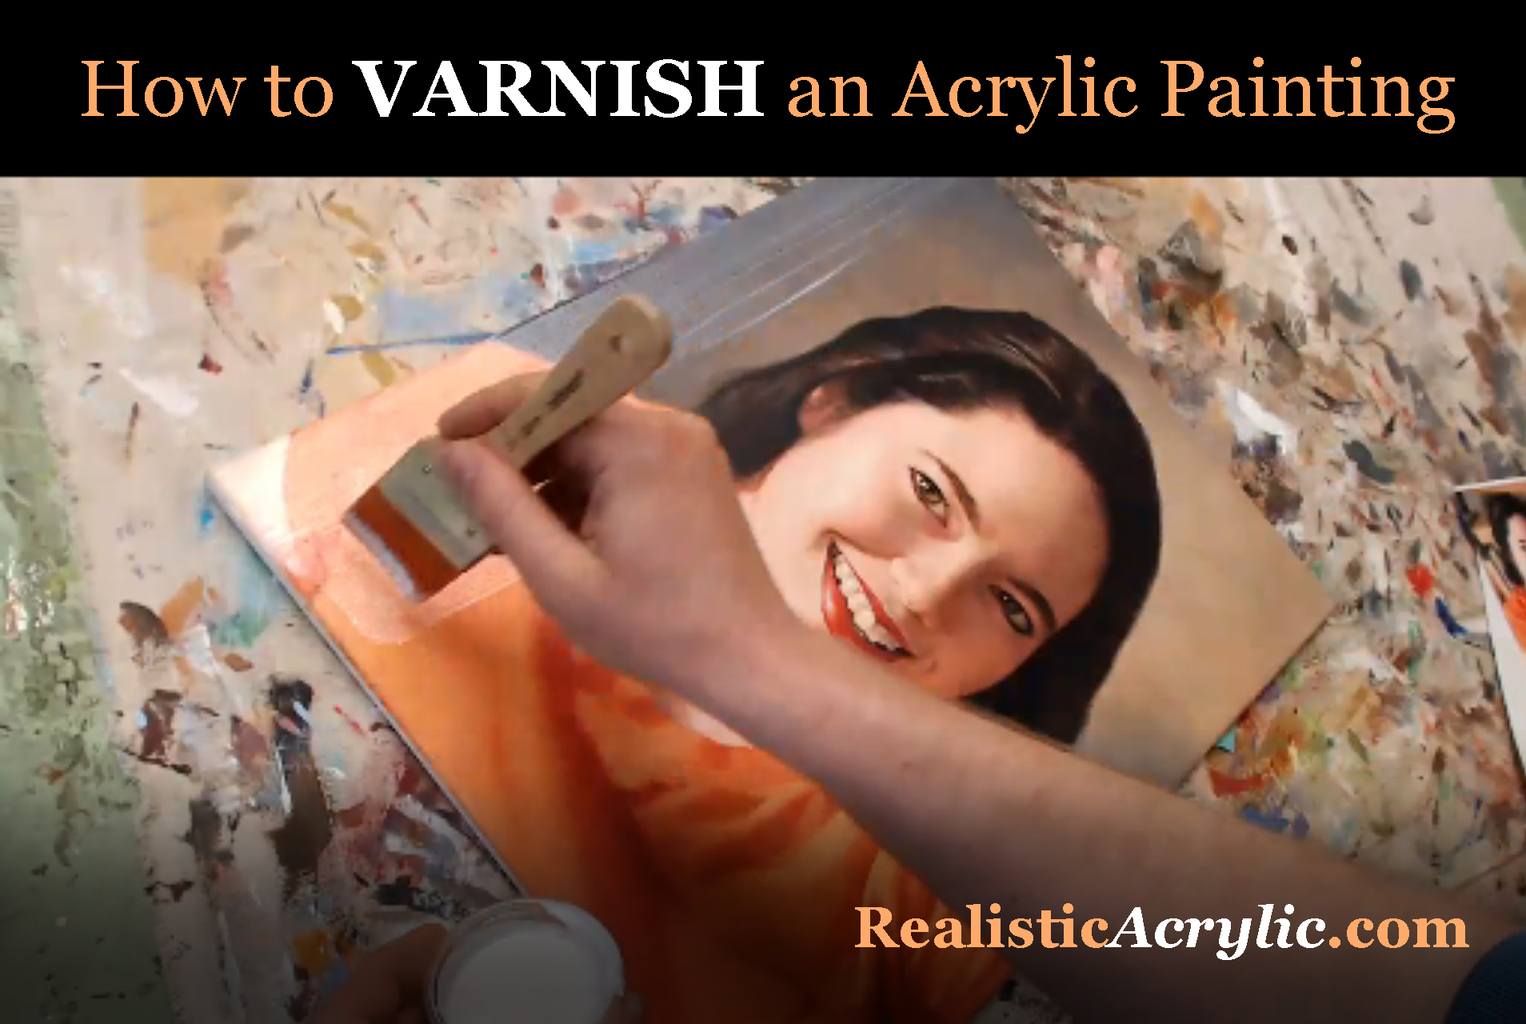
How to Varnish Your Painting
Protect and enhance your artwork: A step-by-step guide to varnishing your painting for a lasting finish.
It was a large portrait on hardboard, about 48″ tall. Having just done some mural work with a well known muralist, I attempted to copy his method of using a household paint roller and a clear coat.
It was a disaster.
The medium looked so milky white while it was drying, that I started to panic like Rowan Atkinson did in the movie “Bean” when he sneezed on Whistler’s Mother. I tried to clean off the half dried medium with a damp towel. To my dismay, the medium started globbing up and totally distorted the fine detail work on the surface. Some areas had no varnish. Other areas were covered with a streaky, bumpy film. My painting was a hideous mess.
I said I would never varnish a painting again.
Except that I did.
I knew I needed to learn how to do it correctly in order to protect my paintings from dust and debris, saturate the colors and dark values more, and give it a uniform finish.
What I’m going to teach you is the process I learned basically from trial and error over the years.
I’m not scared to varnish any more. But I like to say a quick prayer before I put brush to canvas, because if you don’t varnish correctly, you can mess up a good painting very quickly!
Here’s a video that will show you the correct way to do it…
Here are the steps, simplified.
- Use acrylic matte varnish. Not matte medium. (unless you want a flat finish) Matte varnish dries to a satin sheen and looks fantastic. If you want a little more saturation on your dark values and colors, you can add some gloss medium to your matte varnish and mix them together very thoroughly.
- Put your painting on a flat table, or slightly angled. Don’t varnish the painting on a vertical easel or you could get drips and it will look terrible.
- Use a 1″ or larger flat brush that’s in good condition. Put your varnish in a cup or container than is wide enough to accommodate the brush.
- Dip the brush into the varnish and apply from top down, left to right, overlapping slightly. Do not overbrush!
- Continue the process all the way down and when you’re done, leave it alone for a couple hours. It should dry completely clear.
That’s all there is to it!
What do you think? What are YOUR experiences with varnishing? Do you have any stories–or tips–to share? Do you avoid varnishing completely?
Let me know how this tutorial helps.
All the best,
- How to Paint Foliage Using the Acrylic Glazing Technique
- How to Trace for an Accurate Portrait Sketch
- How to Paint Realistic Eyes in Your Acrylic Portrait
- How to Add Raw Umber Dark & Ultramarine Blue to Your Portrait
- How to Make Your Own Raw Umber Dark
- How to Paint Realistic Trees & Grass in Your Acrylic
- How to Block In Skin Tone Values Using Glazing Technique
- How to Paint Vibrant Reds in Your Acrylic Portrait
- How to Glaze Background Colors & More Acrylic Portrait
- How to Paint White Clothing in Your Acrylic Portrait
- How to Easily Transition from a Sketch to a Painting
- How to Block In Shading & Skin Tones in Your Acrylic
- How to Build Up Color on Acrylic Pet Portrait
- How to Build Up Form on Clothing with Acrylic
- How to Paint Dark Clothing Using Acrylic Glazing Technique
- How to Paint a 24 x 30 Acrylic With 30 People
- How to Do Smooth Shading with Acrylic
- How to Sketch an Acrylic Portrait with a Grid
Read more about how to paint a portrait that you can surely be proud of!

P.S. Did you find this post helpful or encouraging? If so, send it on ahead! Let others know with the share buttons below. I’d love to hear your comments. Thank you so much! Also, do you have a question on acrylic portrait painting you’d like answered? Let me know, and I’d be happy to help!
